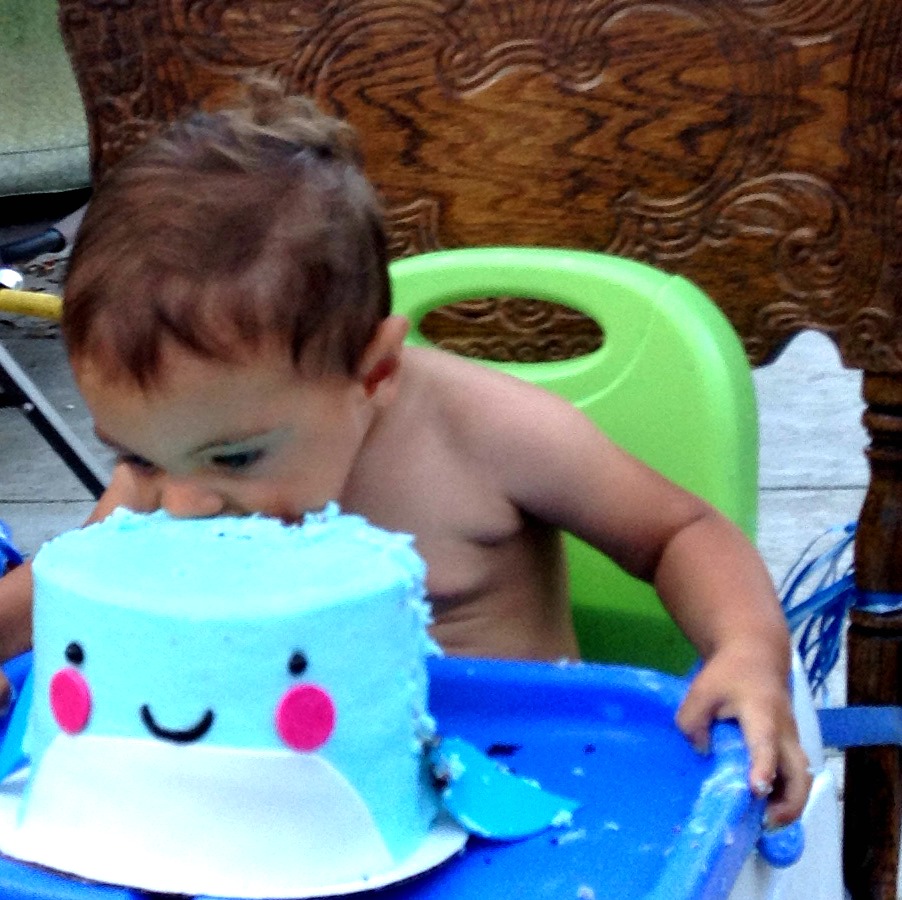
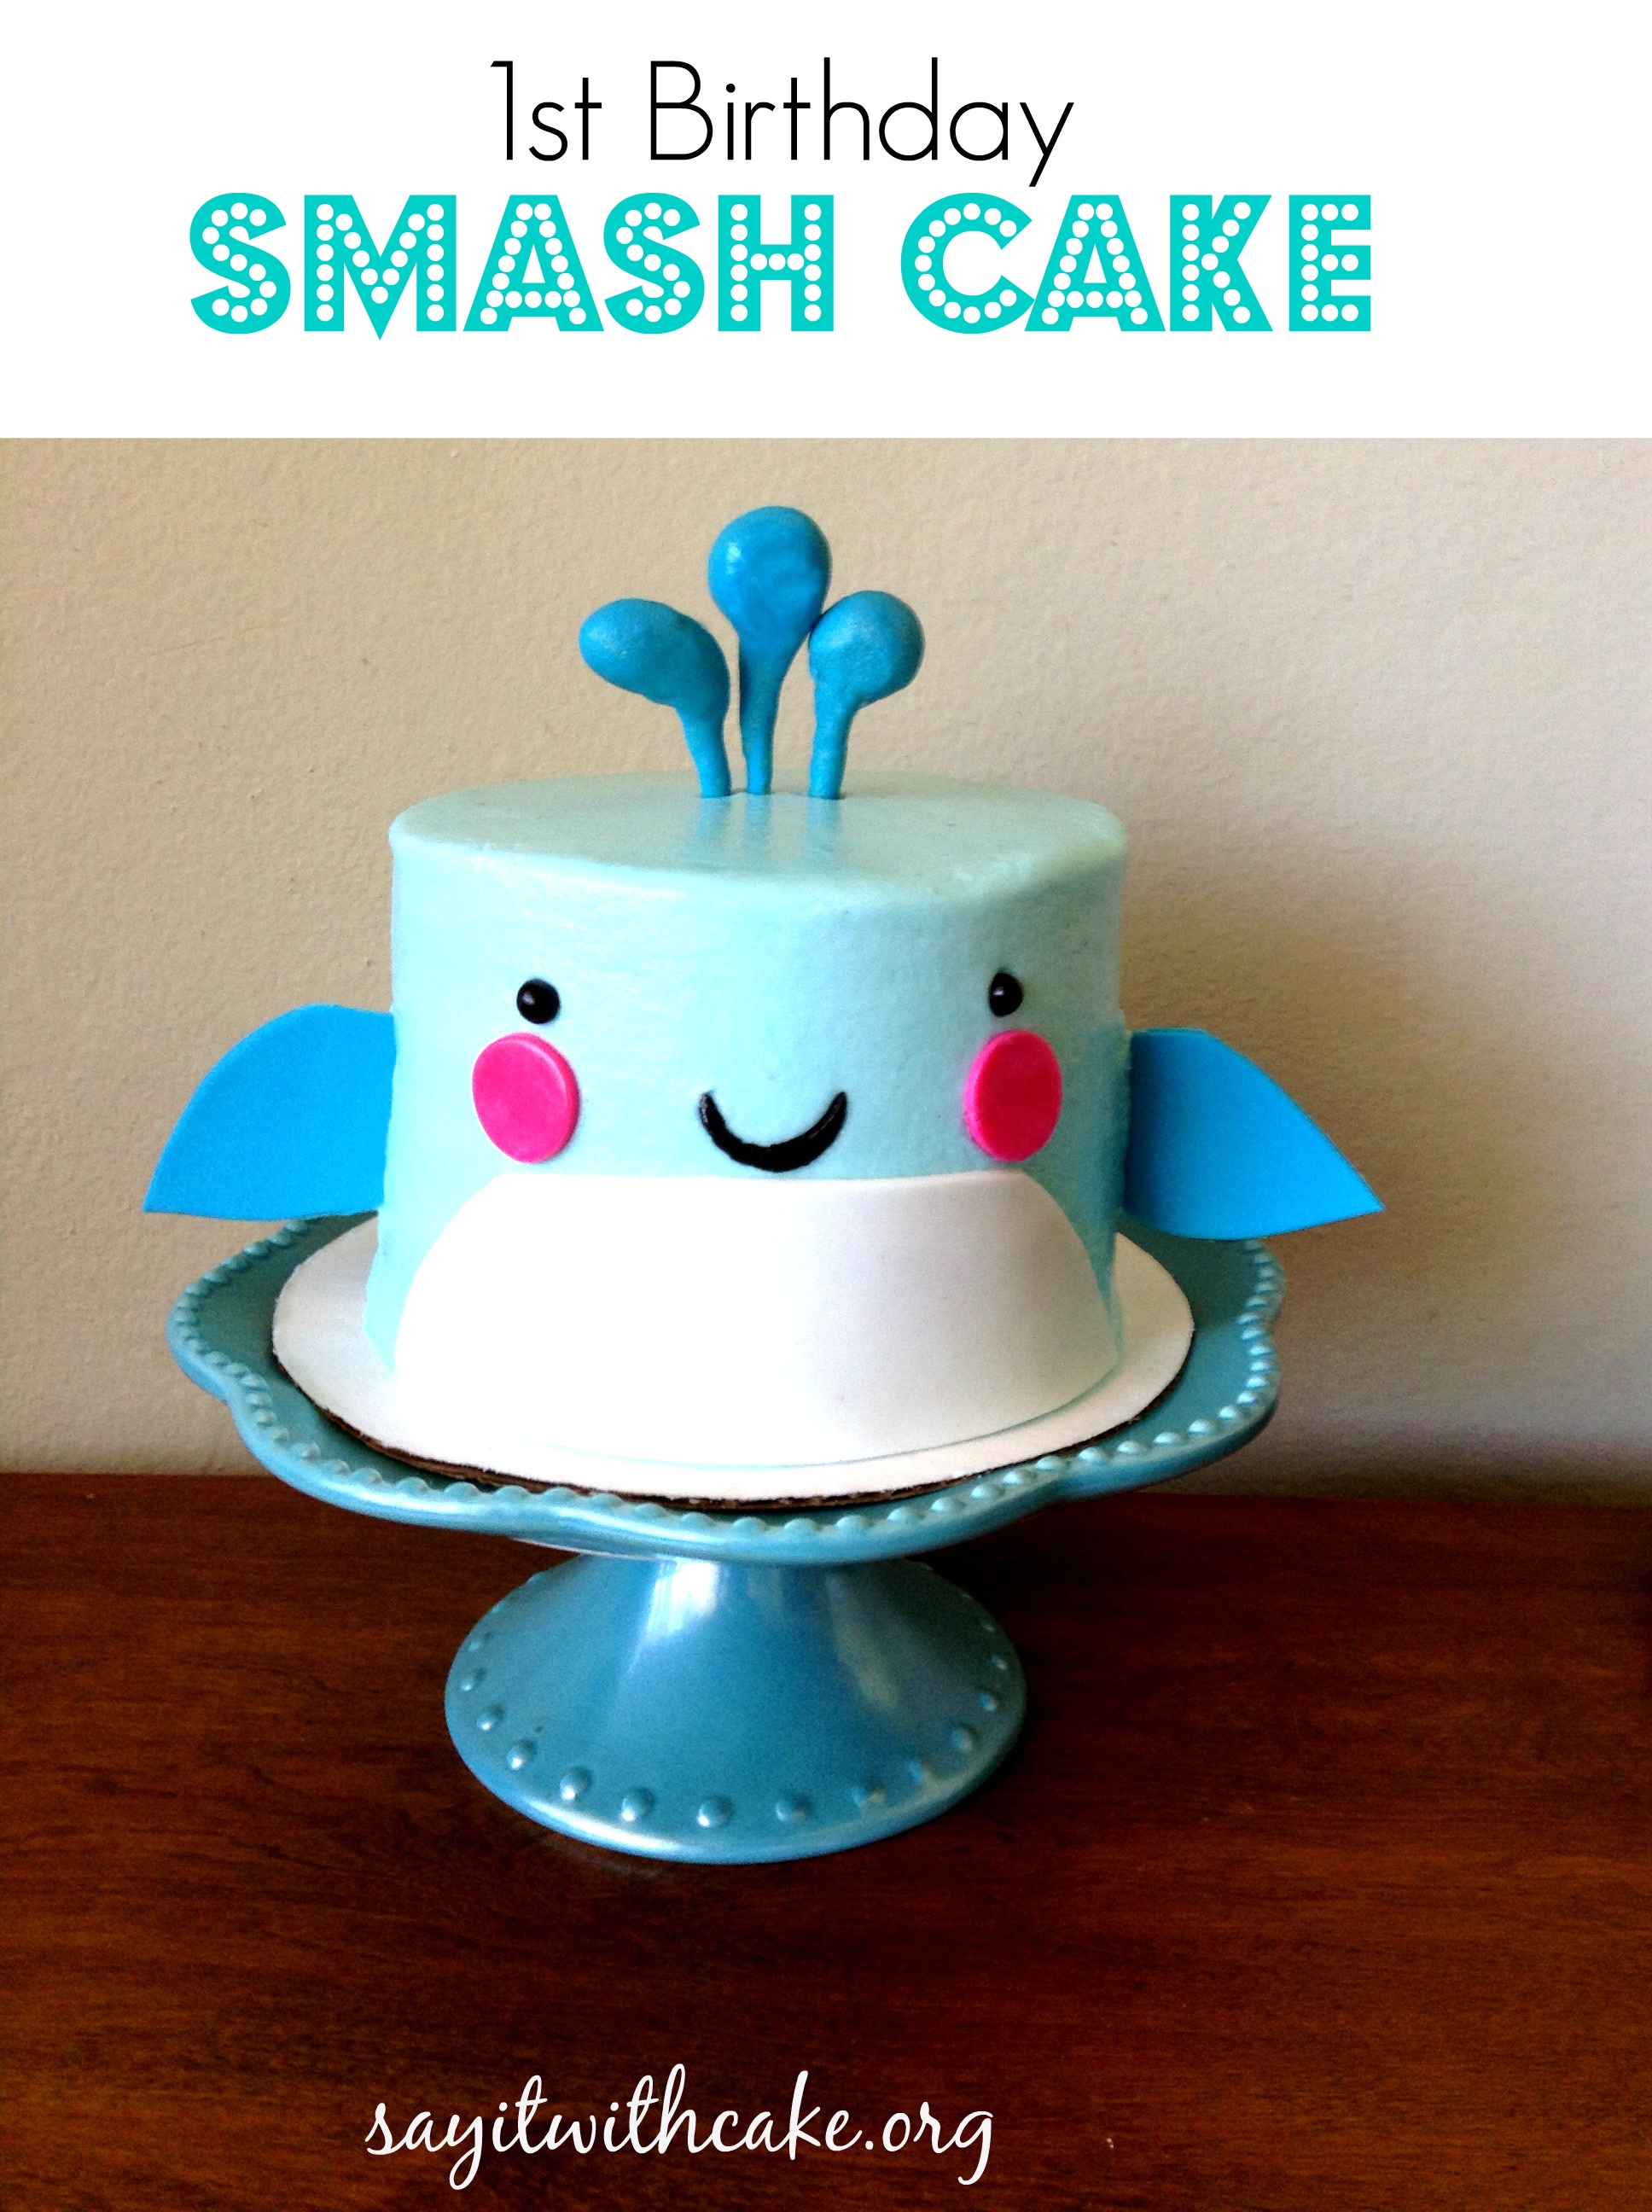 I made this little whale smash cake for my nephew Gabriel (I call him Gabey) who turned 1 years old! The inside is chocolate, and the outside whale is made with blue buttercream, and fondant pieces for the whale face. I have to say, Gabey really loved this cake and dug right in face first! By the end, the cake was destroyed and he seemed very pleased!
Doesn’t he look so cute sitting there with his legs crossed! He is patiently waiting while we take pictures so he can dig in!

now he can really enjoy a big bite! He is such a cutie!
To make this cake, I first baked three five inch cakes, cooled them, filled them with cream cheese filling, stacked them, and frosted them with a light blue buttercream.
Buttercream Frosting
- 1 1/2 cup sweetex or crisco
- 1/4 teaspoon salt
- 1 teaspoon meringue powder
- 2 pounds powdered sugar
- 1/2 cup milk or water
- 1 tsp vanilla
Instructions
- mix the sweetex, salt, and meringue powder with electric mixer to blend aobut 30 seconds
- Add the milk and vanilla in the bowl, then add the sugar and blend by hand with a spatula until the sugar is absorbed into the liquid
- .put bowl back on the mixer and beat on medium speed for 2-5 minutes until smooth and a little fluffy.
- if mixture is too stiff, you can add more liquid. if it is too runny add more powdered sugar
Then I made the fondant and colored it pink, blue, and black and left some white.
- 8 ounces miniature marshmallows (4 cups not packed, or half of a 16-ounce bag)
- 1 pound powdered sugar (4 cups), plus extra for dusting
- 2 tbsp water
- Food coloring or flavored extracts, optional
Instructions
- Dust your counter or a large cutting board with powdered sugar. Place the marshmallows and the water in a large microwave-safe bowl. Microwave on high for 1 minute, until the marshmallows are puffy and expanded.
- Stir the marshmallows with a rubber spatula until they are melted and smooth. If some unmelted marshmallow pieces remain, return to the microwave for 30-45 seconds, until the marshmallow mixture is entirely smooth and free of lumps. If you want colored or flavored fondant, you can add several drops of food coloring or extracts at this point and stir until incorporated. If you want to create multiple colors or flavors from one batch of fondant, do not add the colors or flavors now. Instead, refer to step 6 below for instructions.
- Add the powdered sugar and begin to stir with the spatula. Stir until the sugar begins to incorporate and it becomes impossible to stir anymore.
- Scrape the marshmallow-sugar mixture out onto the prepared work surface. It will be sticky and lumpy, with lots of sugar that has not been incorporated yet–this is normal. Dust your hands with powdered sugar, and begin to knead the fondant mixture like bread dough, working the sugar into the marshmallow with your hands.
- Continue to knead the fondant until it smoothes out and loses its stickiness. Add more sugar if necessary, but stop adding sugar once it is smooth–too much sugar will make it stiff and difficult to work with. Once the fondant is a smooth ball, it is ready to be used. You can now roll it out, shape it, or wrap it in cling wrap to use later. Well-wrapped fondant can be stored in a cool room or in the refrigerator, and needs to be kneaded until supple before later use.
- If you want to add coloring or flavoring to your fondant, flatten it into a round disc. You might want to wear gloves to avoid getting food coloring on your hands during this step. Add your desired amount of coloring or flavoring to the center of the disc, and fold the disc over on itself so that the color or flavor is enclosed in the center of the fondant ball.
- Begin to knead the ball of fondant just like you did before. As you work it, you will begin to see streaks of color coming through from the center. Continue to knead until the streaks are gone and the fondant is a uniform color. Your fondant is now ready to be used or stored as outlined above.
Cut out shapes for eyes, cheeks, fins, chest, and water. Put the blue fondant for the blow hole around toothpicks or skewers and dry and harden overnight. You can also add some tylose powder to the blue fondant to make it dry harder like gum paste.
Enjoy!