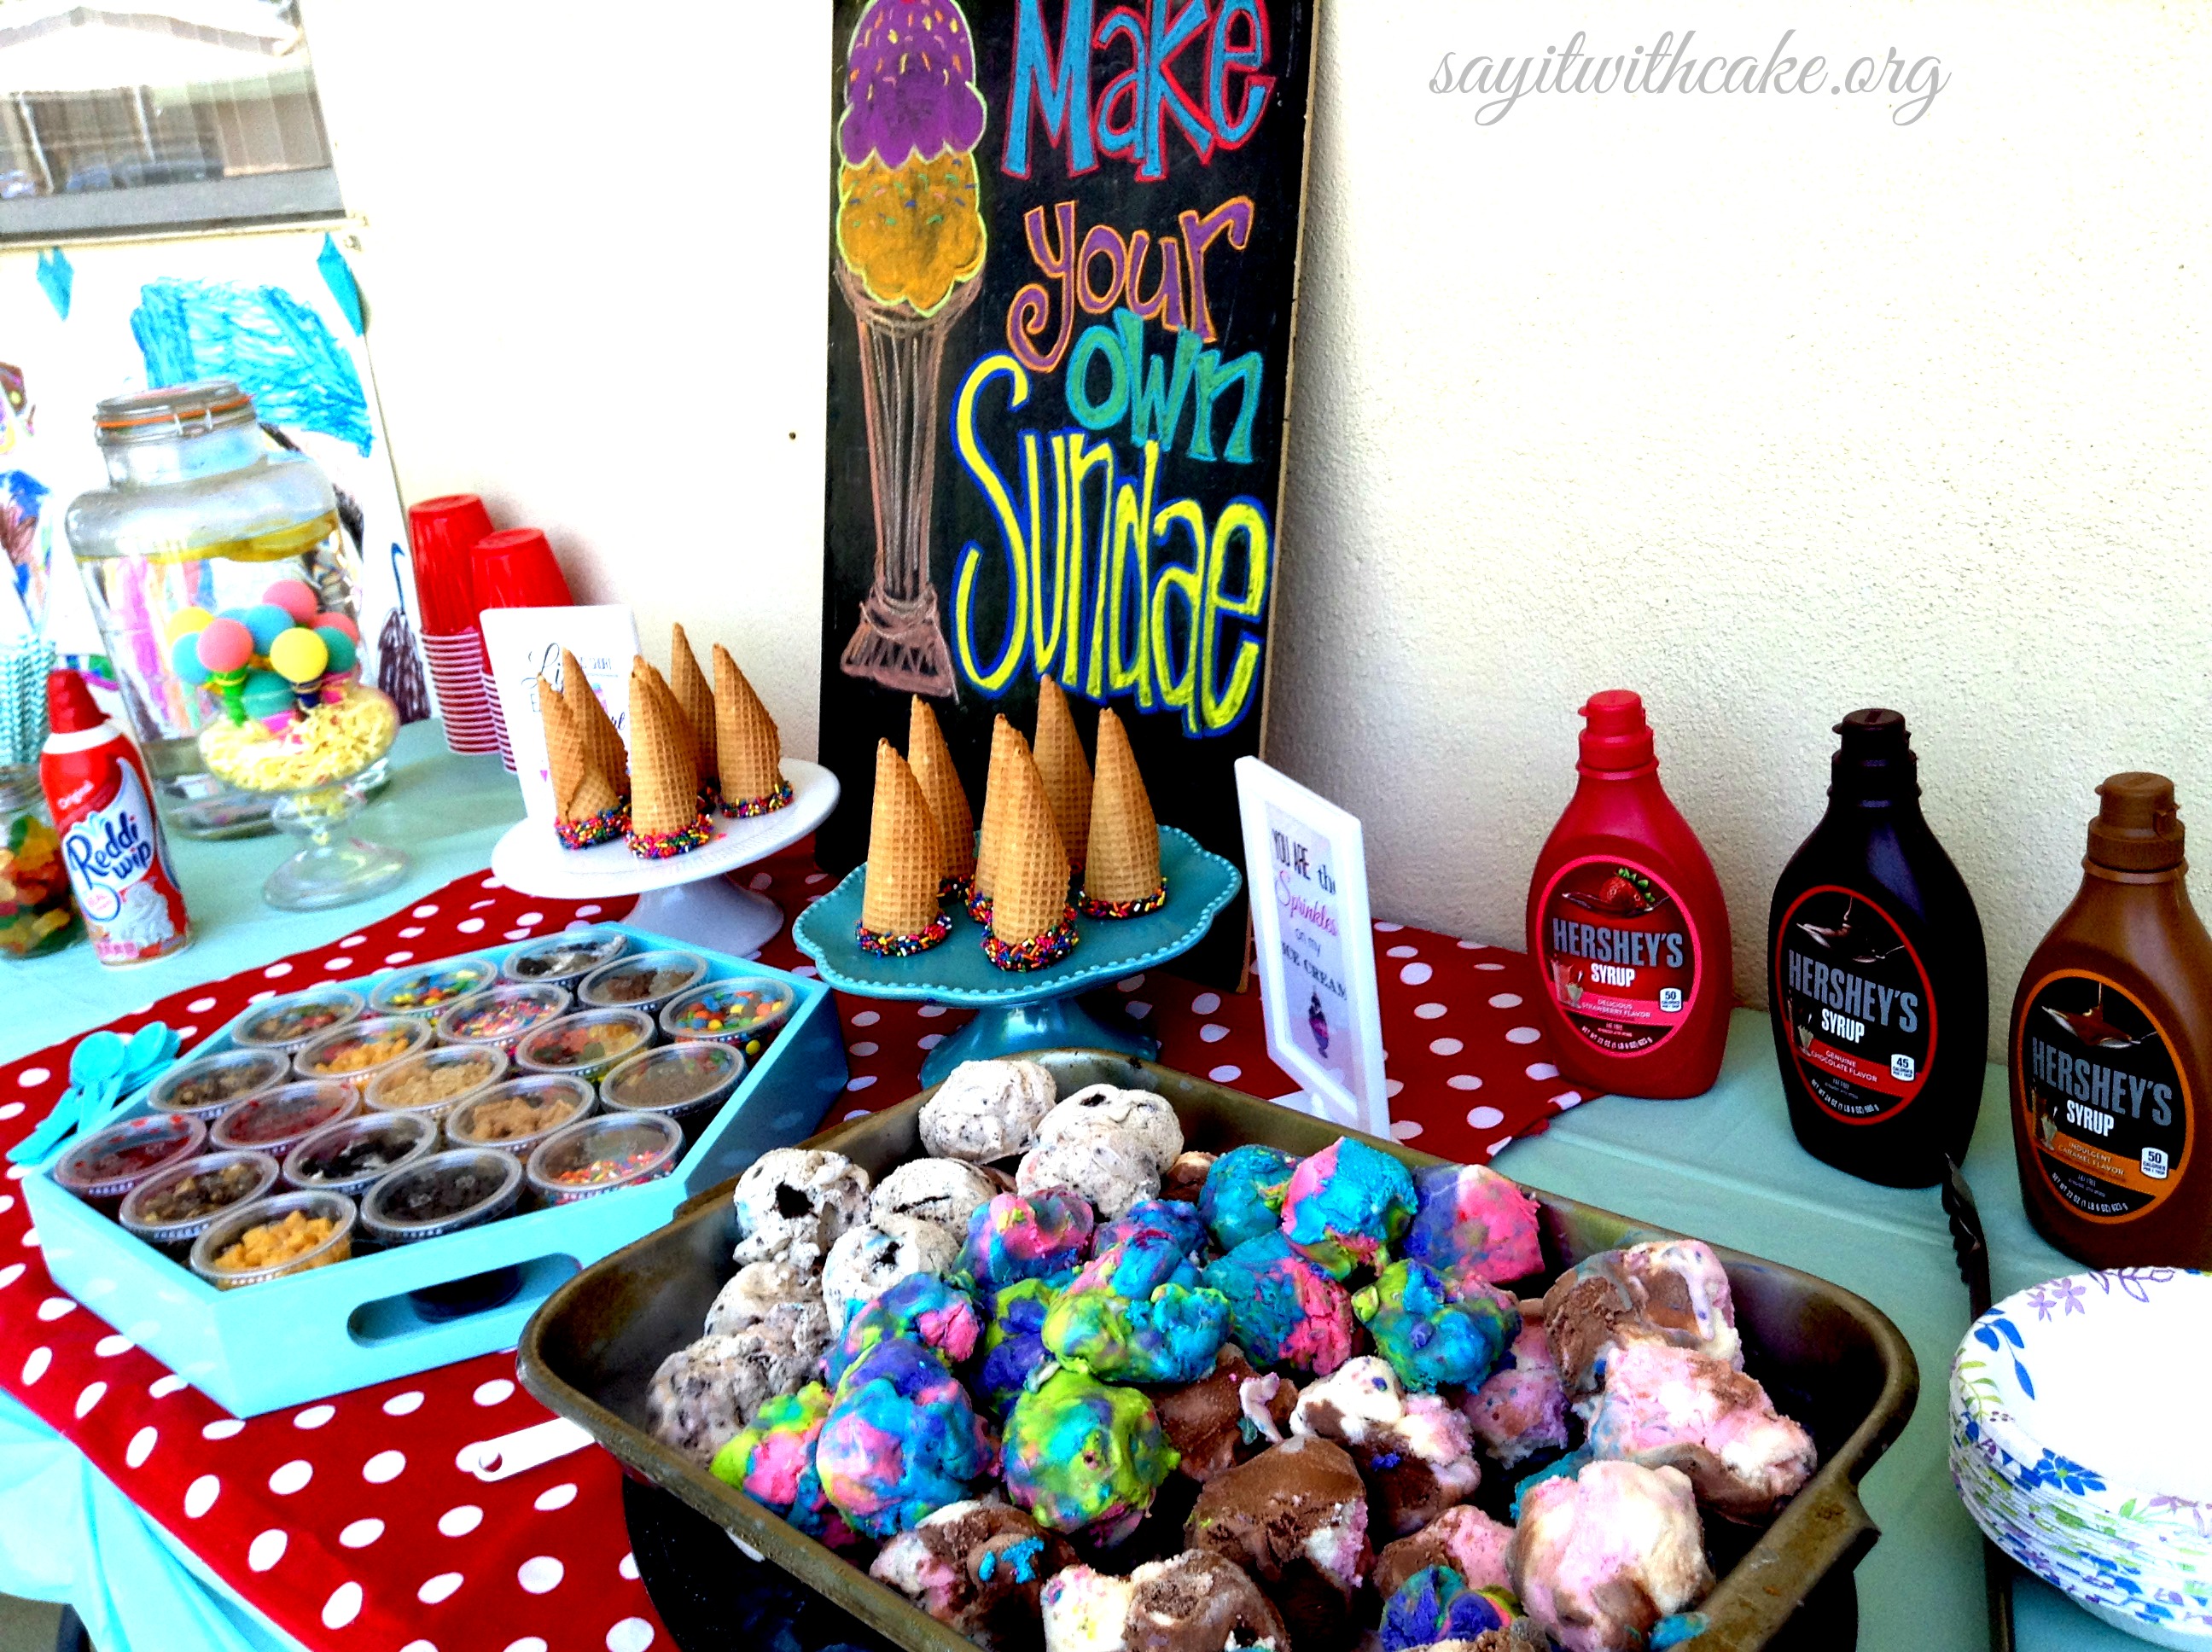
 This Ice Cream Party was an end of the Summer celebration for my son Dylan who is starting 1st grade in a few days. Instead of our usual watermelon party, we had an ice cream party complete with homemade ice cream, hand dipped cones, and all the toppings you could ever want!


For games we played an ice cream stacking game. There were 12 ice creams and whoever could stack the most won!

We also played a messy game of feeding each other ice cream blindfolded. The kids had a lot of fun with this one.


We also played an ice cream relay, and the game “Pie in the face” It was fun getting messy!

After that, we made our own ice cream sundae’s and pigged out! Yum!

Happy Summer!

Other Parties you might like


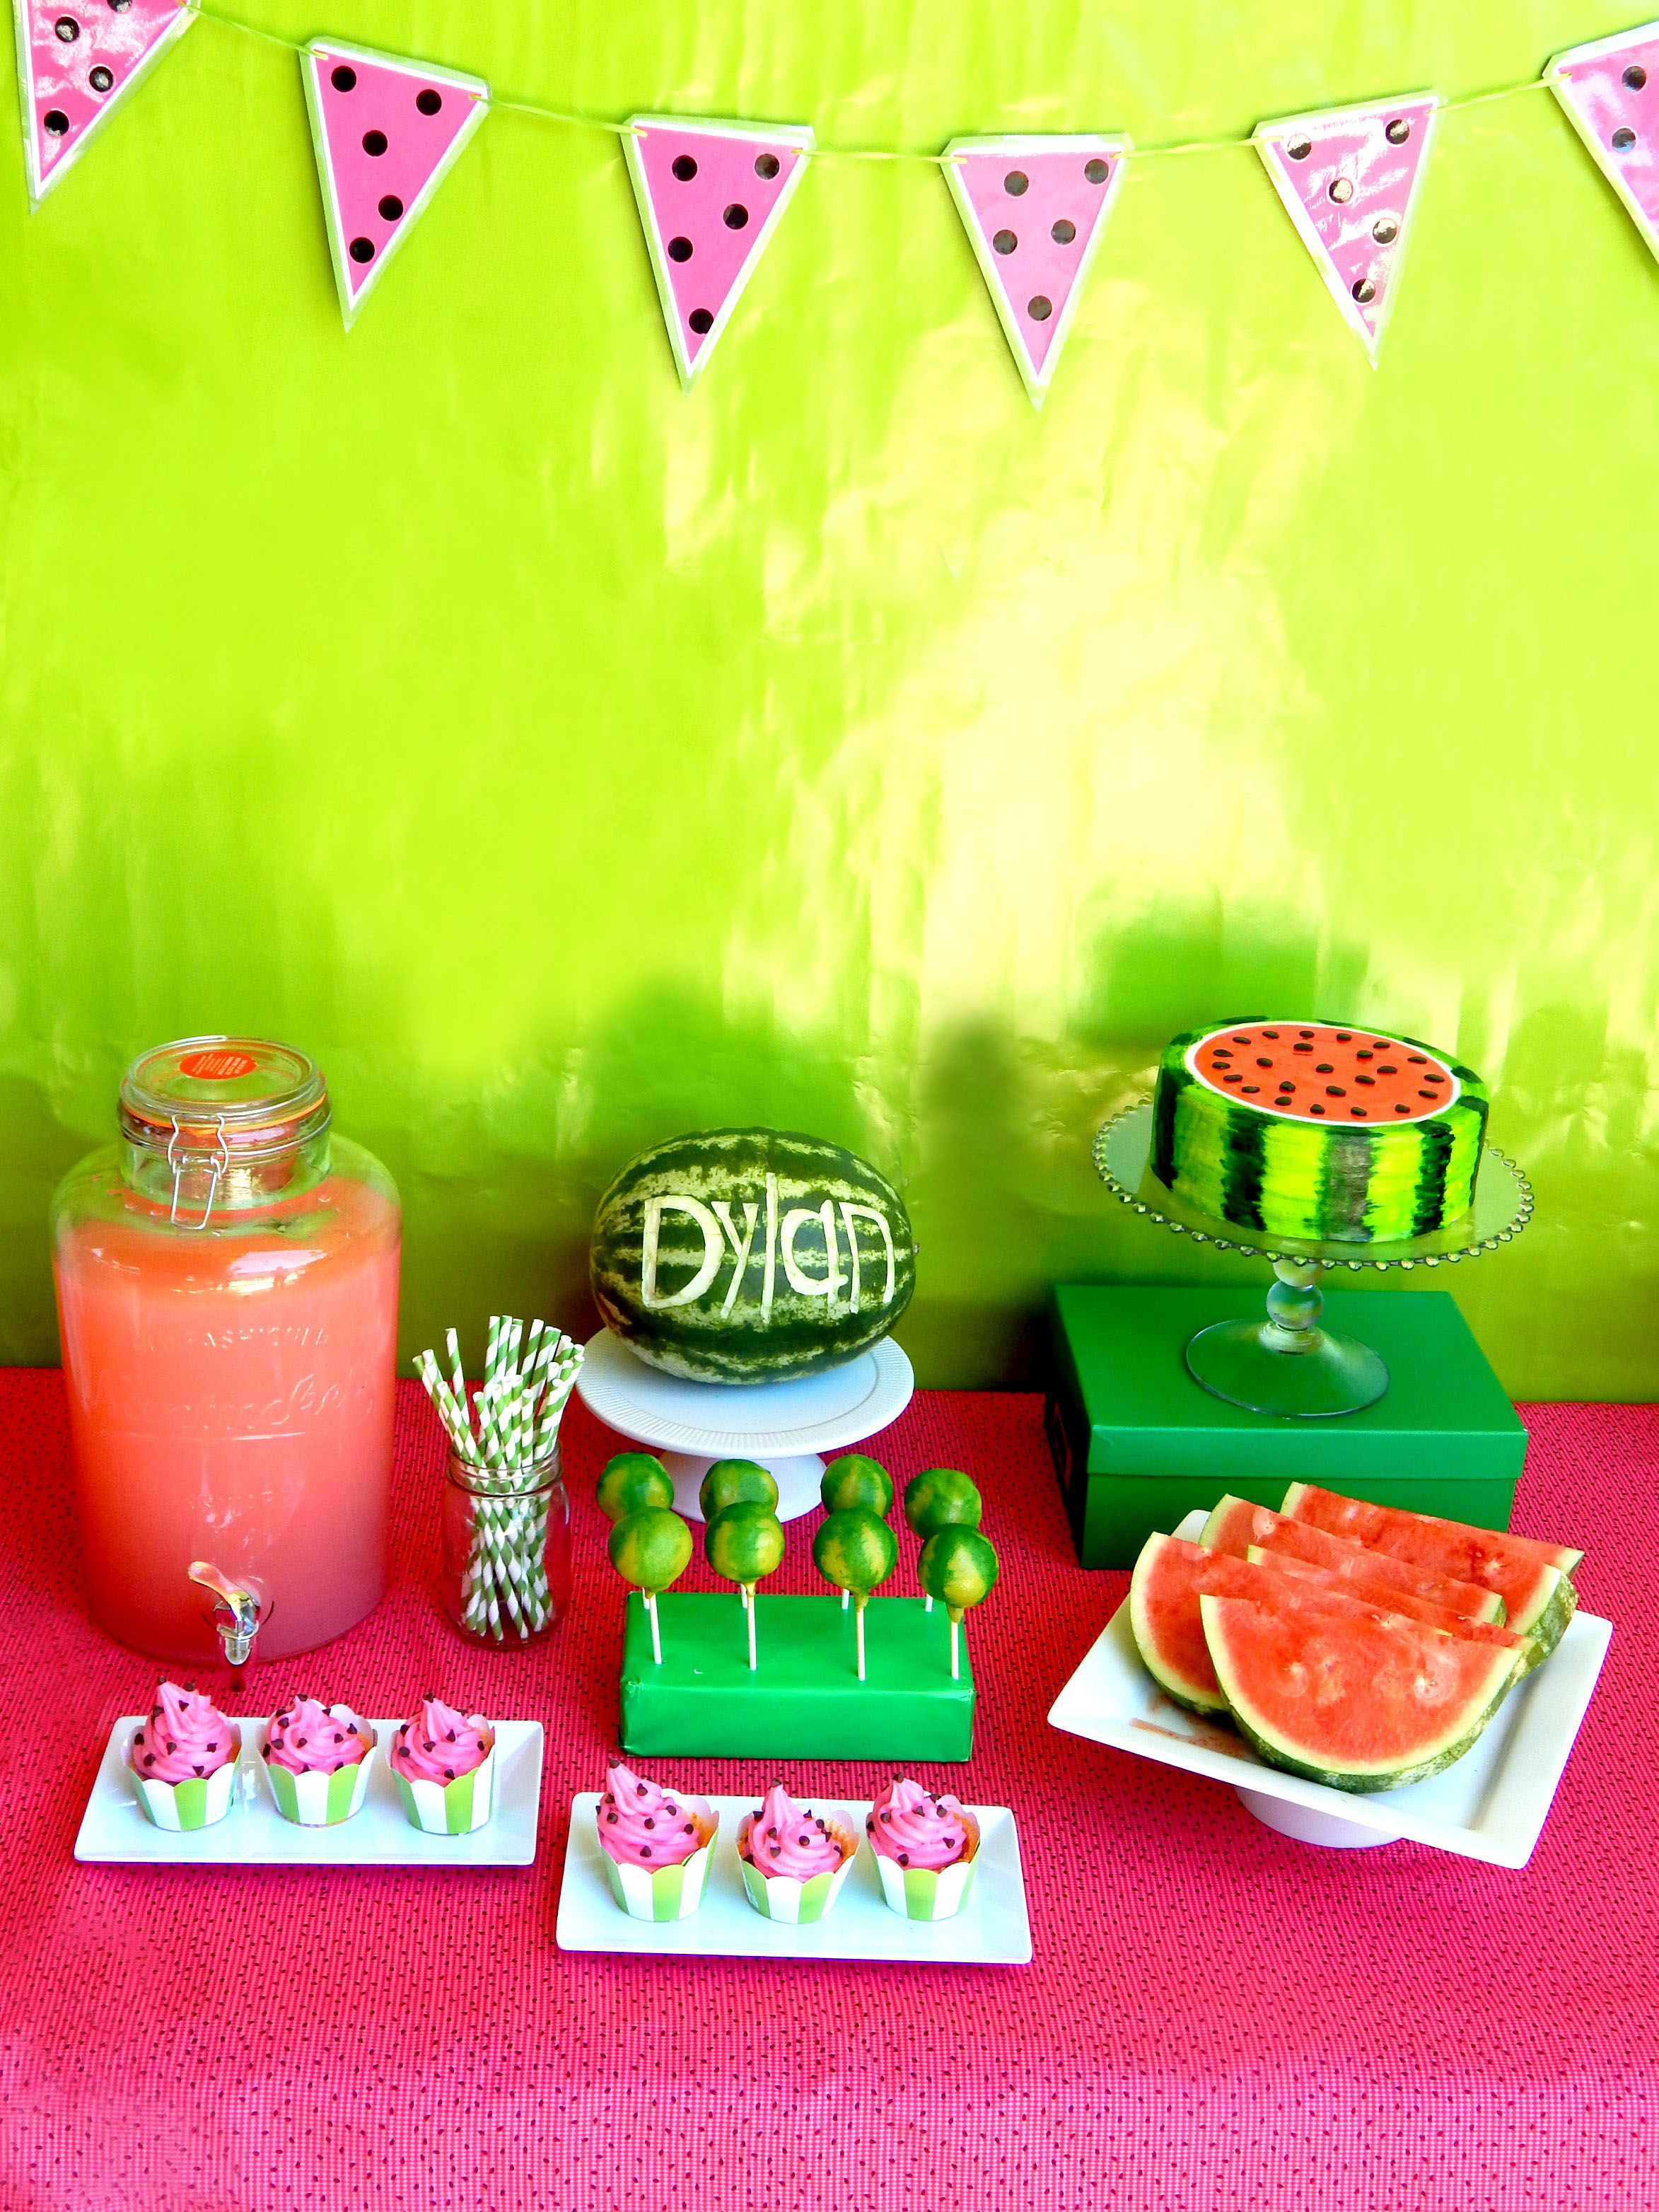
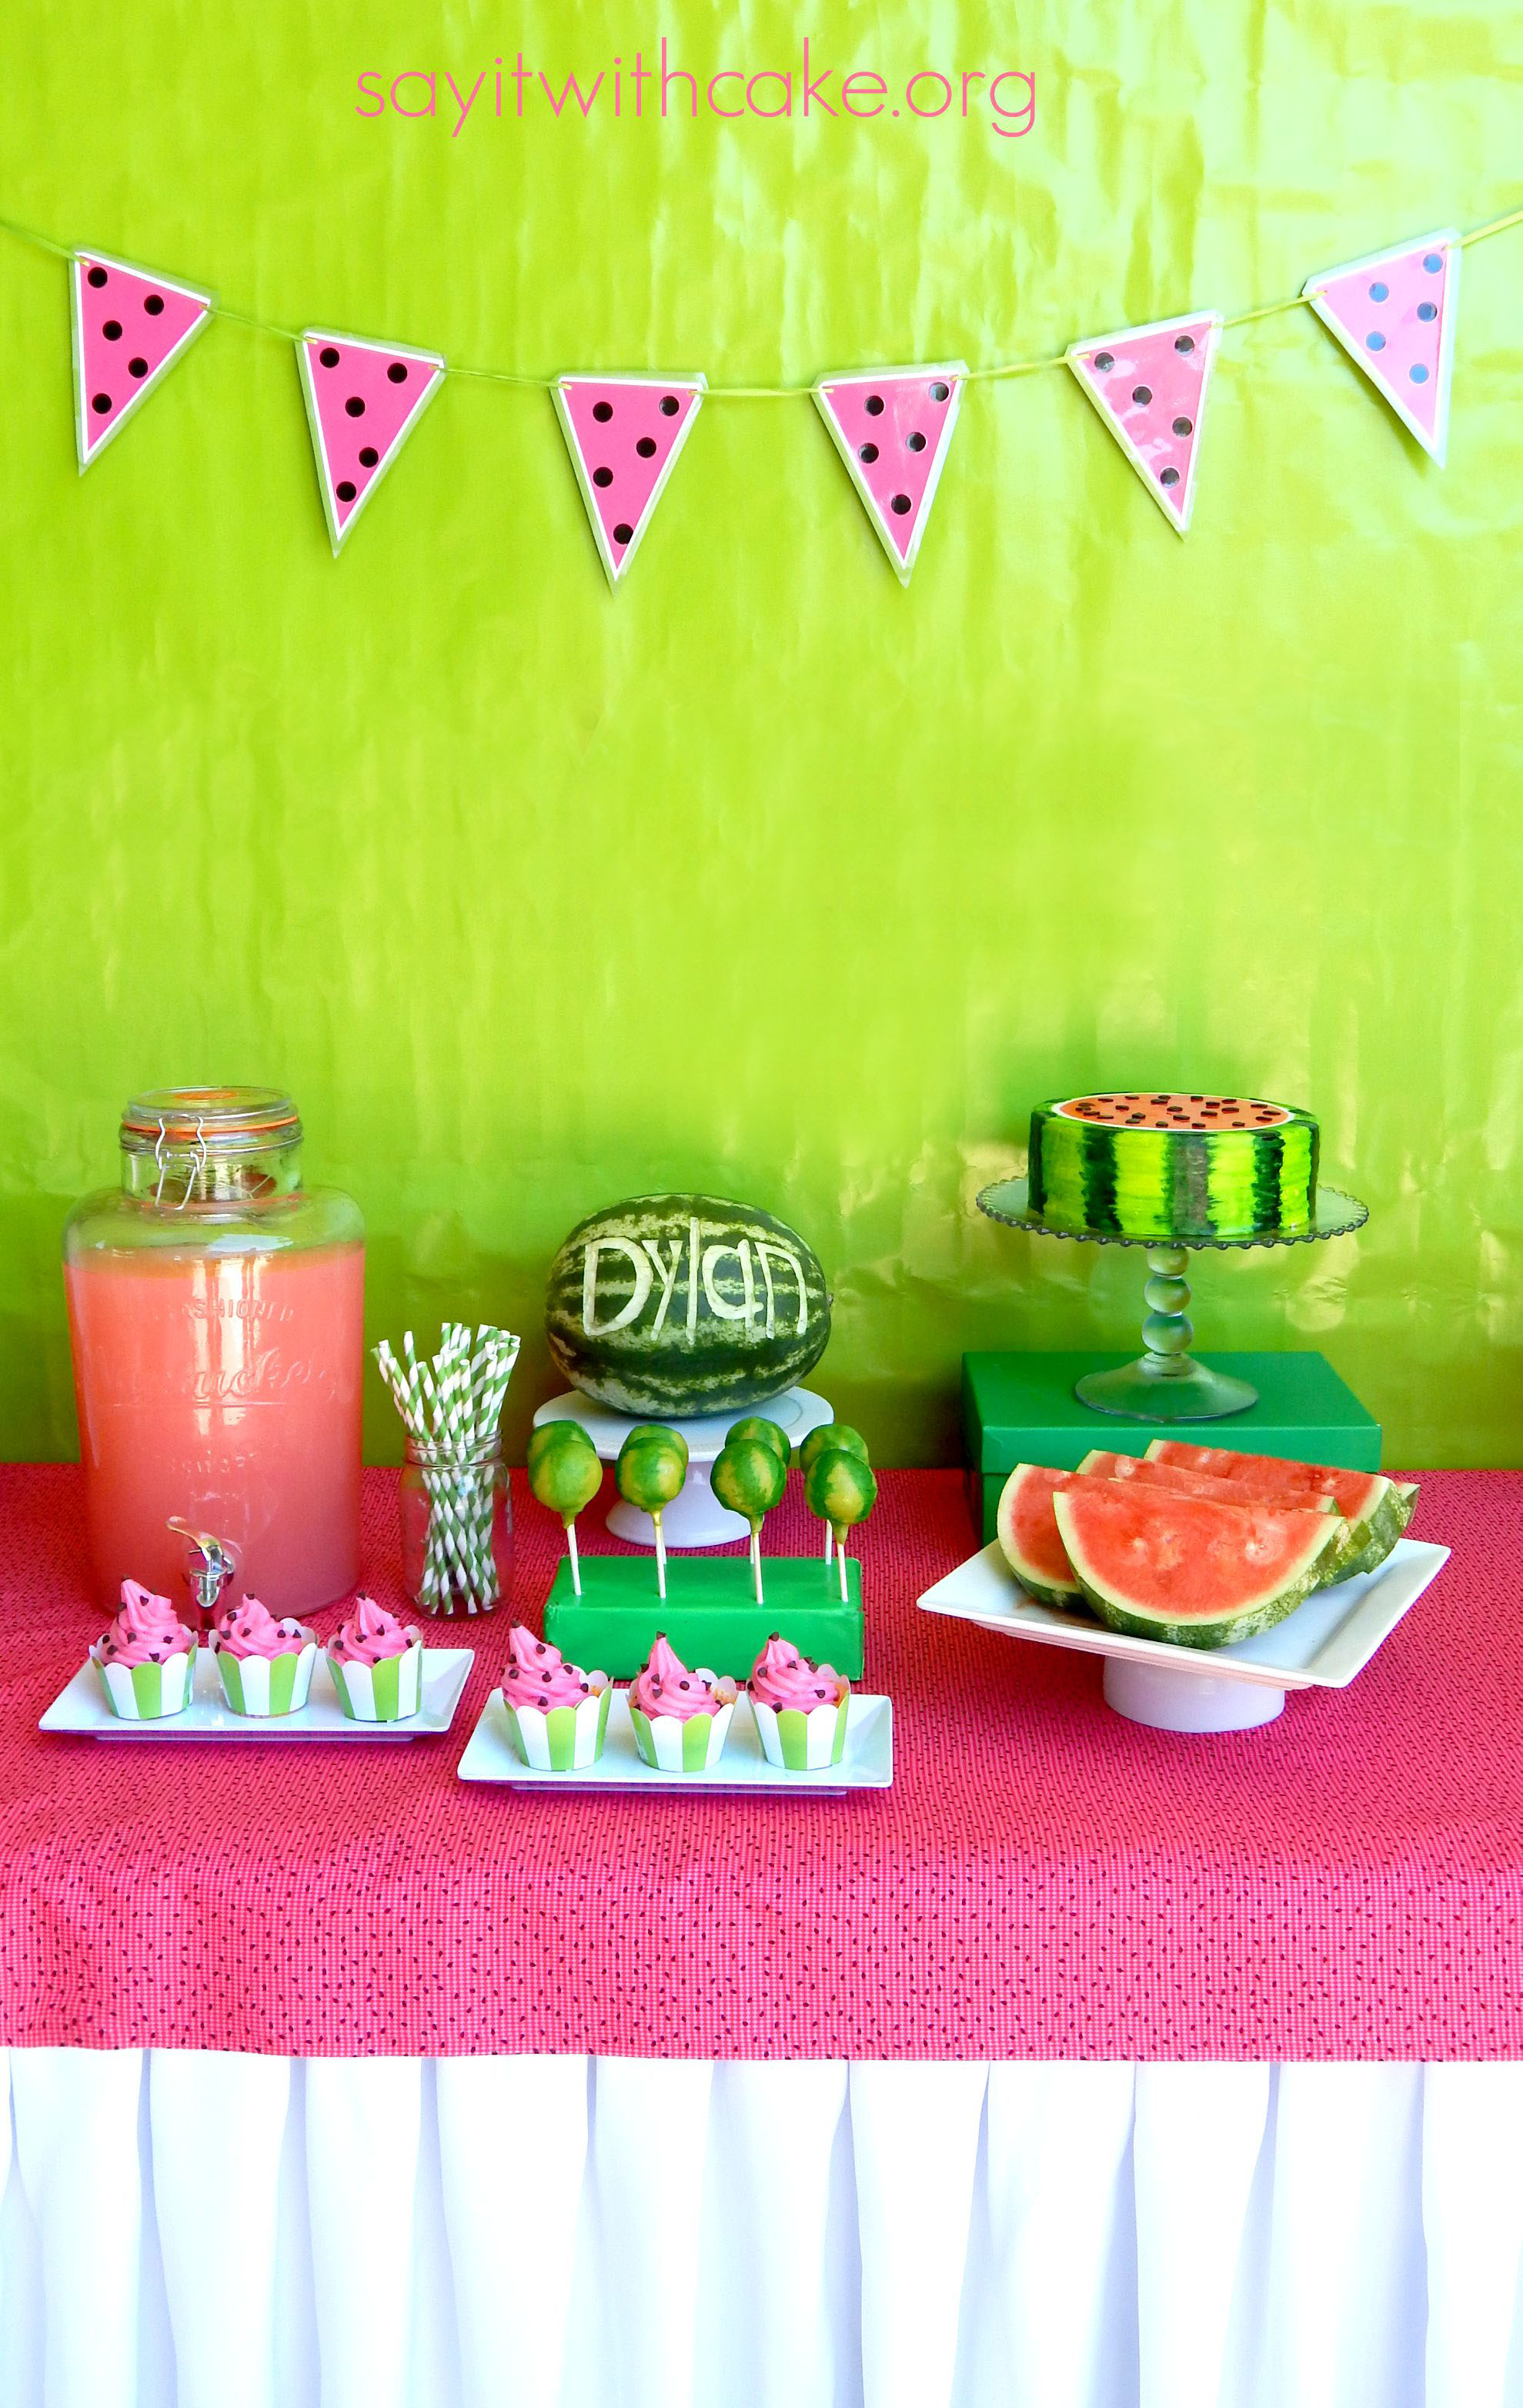 This Watermelon Party is called “Everything Watermelon” because everything on the table, the games, and the decorations are all watermelon! On the dessert table I served watermelon flavored cake, big juicy watermelon slices, watermelon cake pops, watermelon cupcakes, and watermelon lemonade!
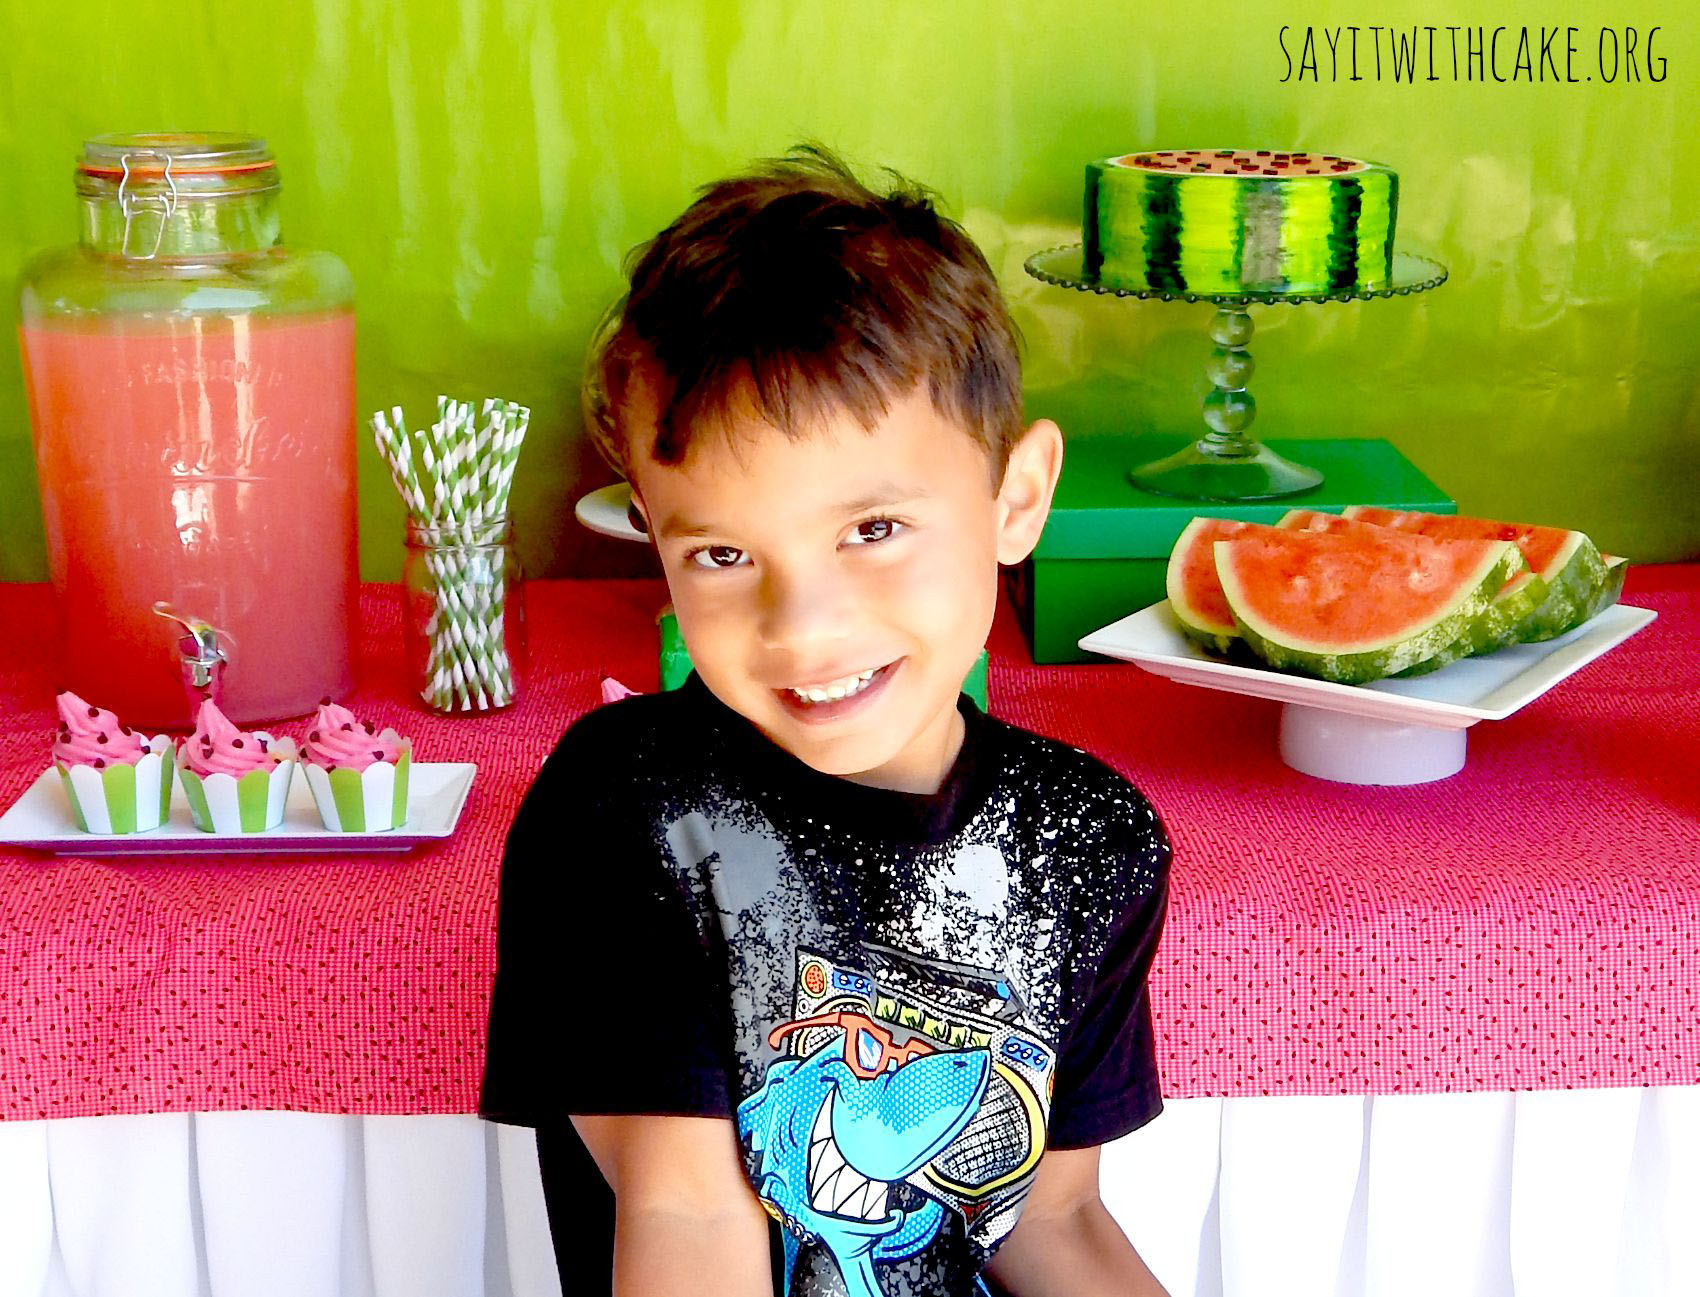
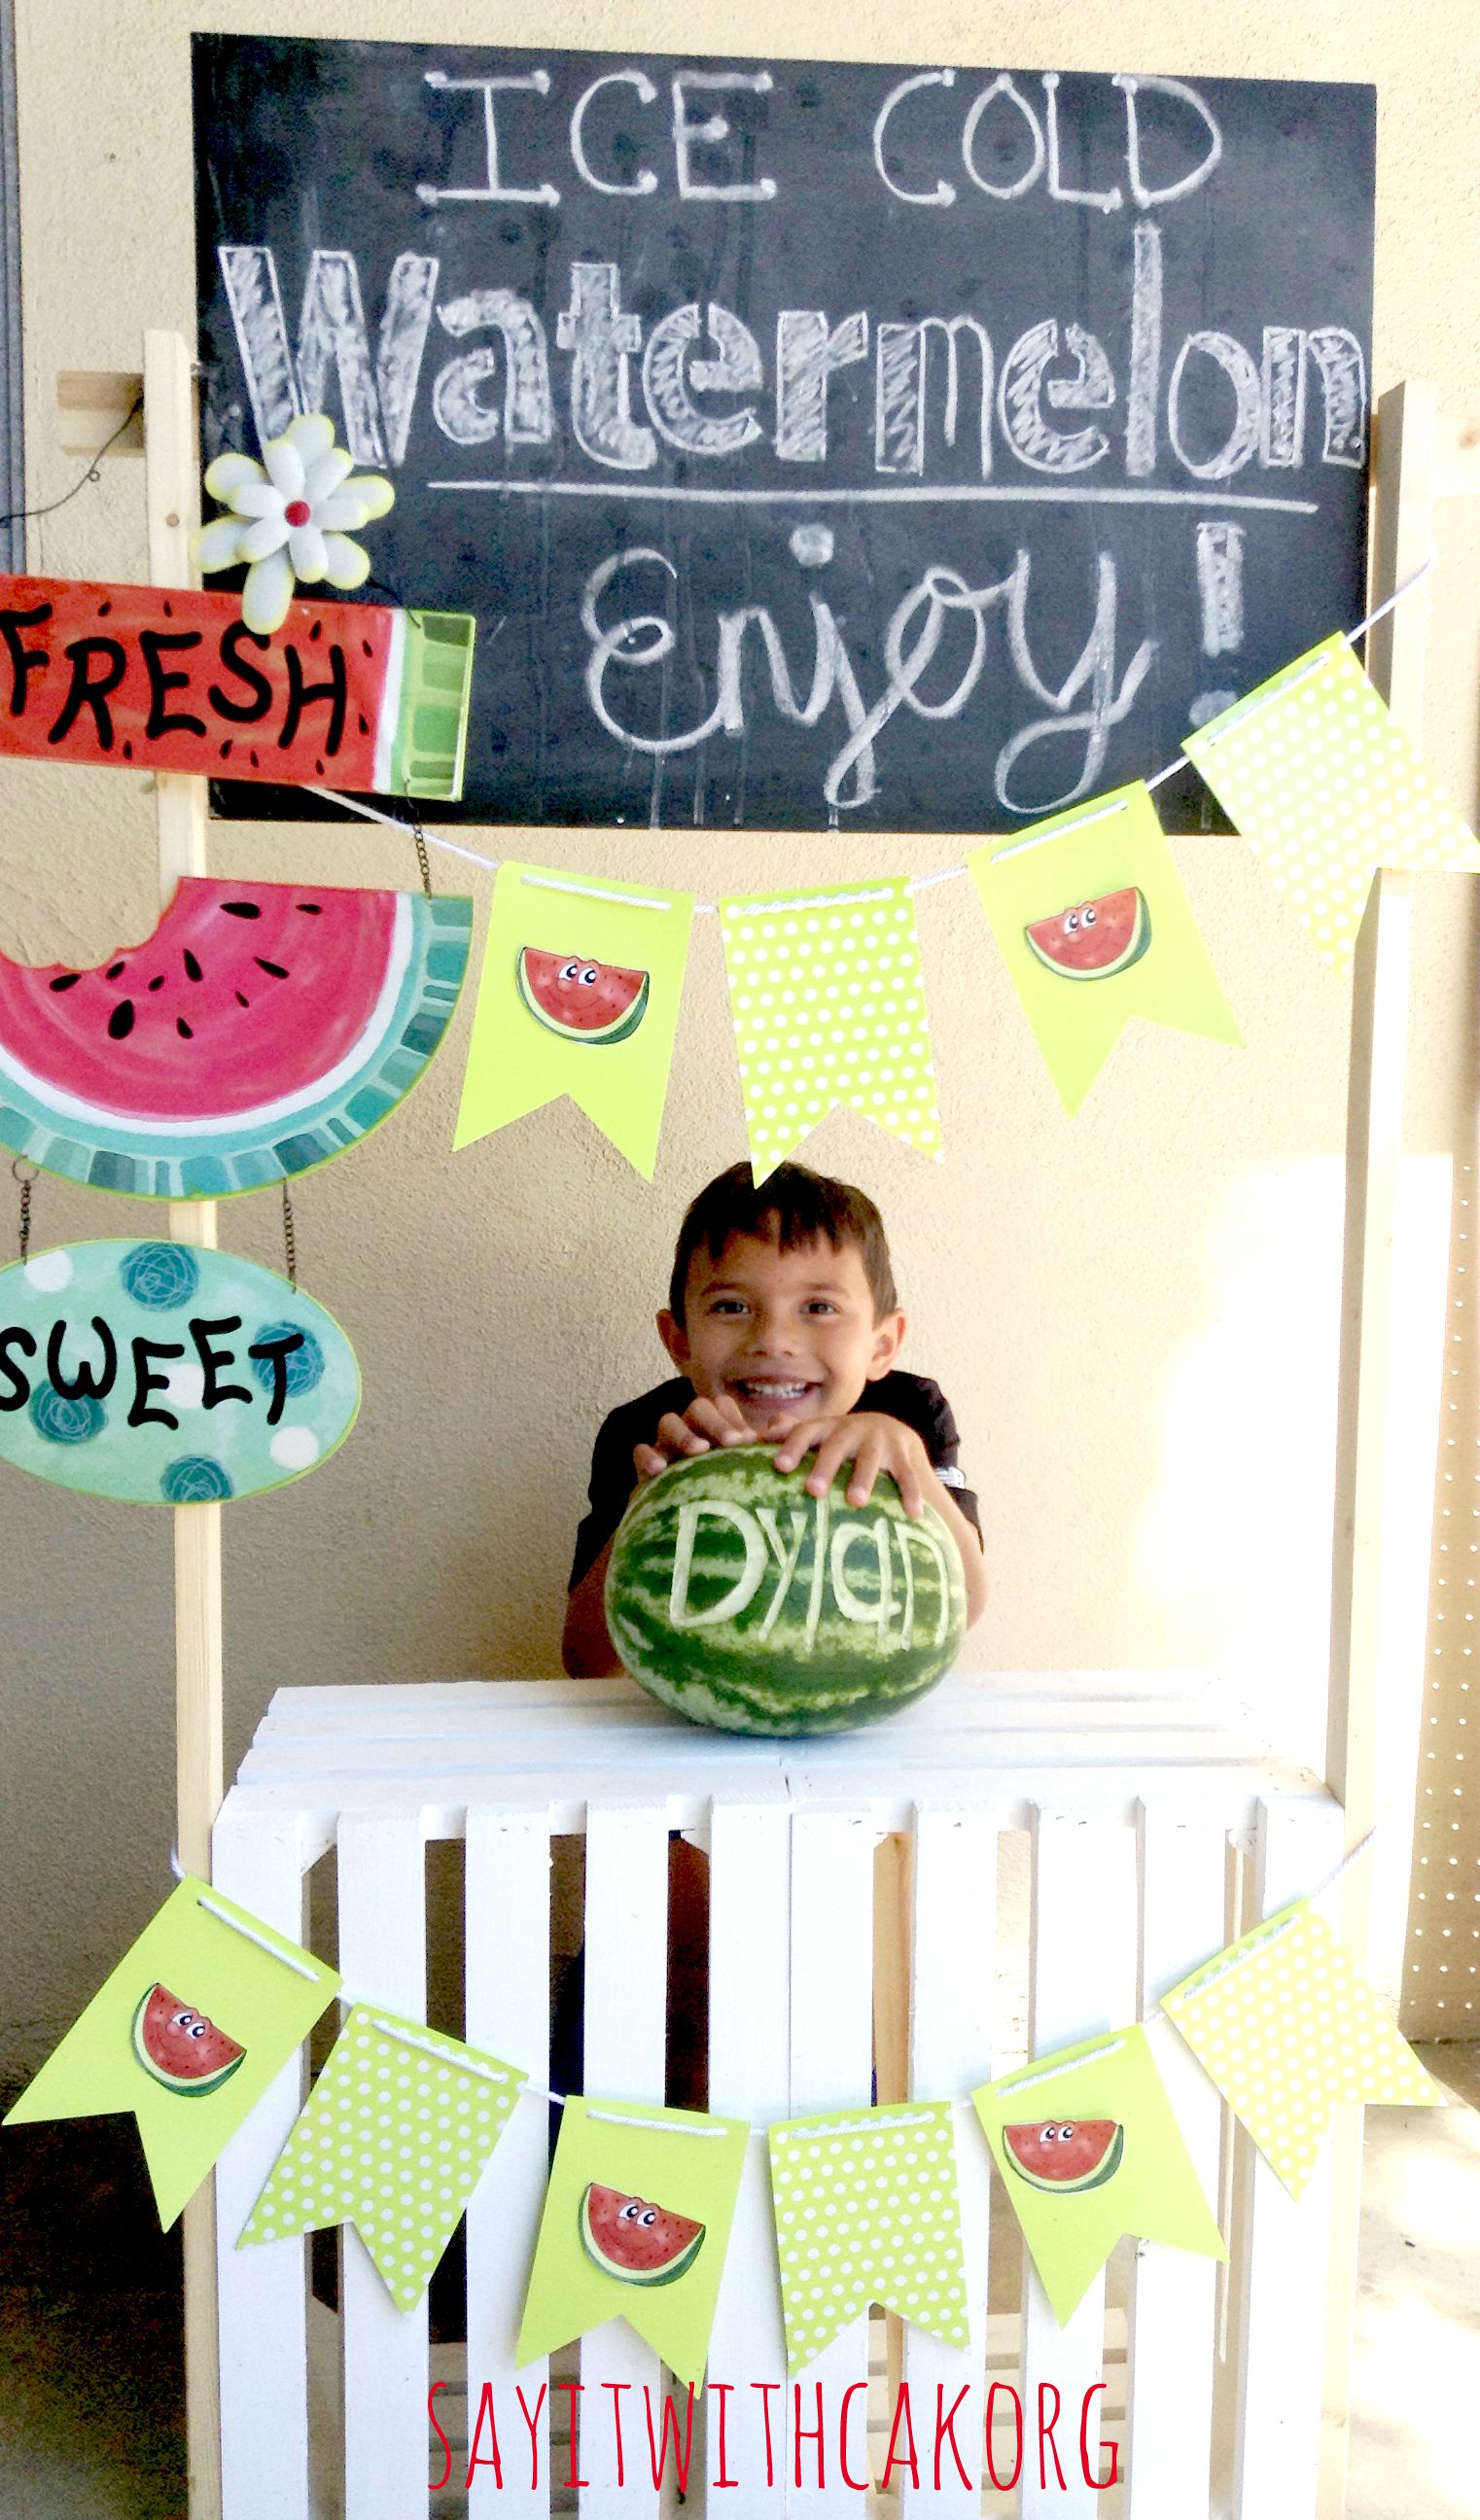
This party was for my 5 year old son Dylan. His favorite part of the party was the watermelon bowling. I’m glad he liked his party and had a great time!
The cupcakes are watermelon flavored with watermelon buttercream on top and mini chocolate chips for the seeds.
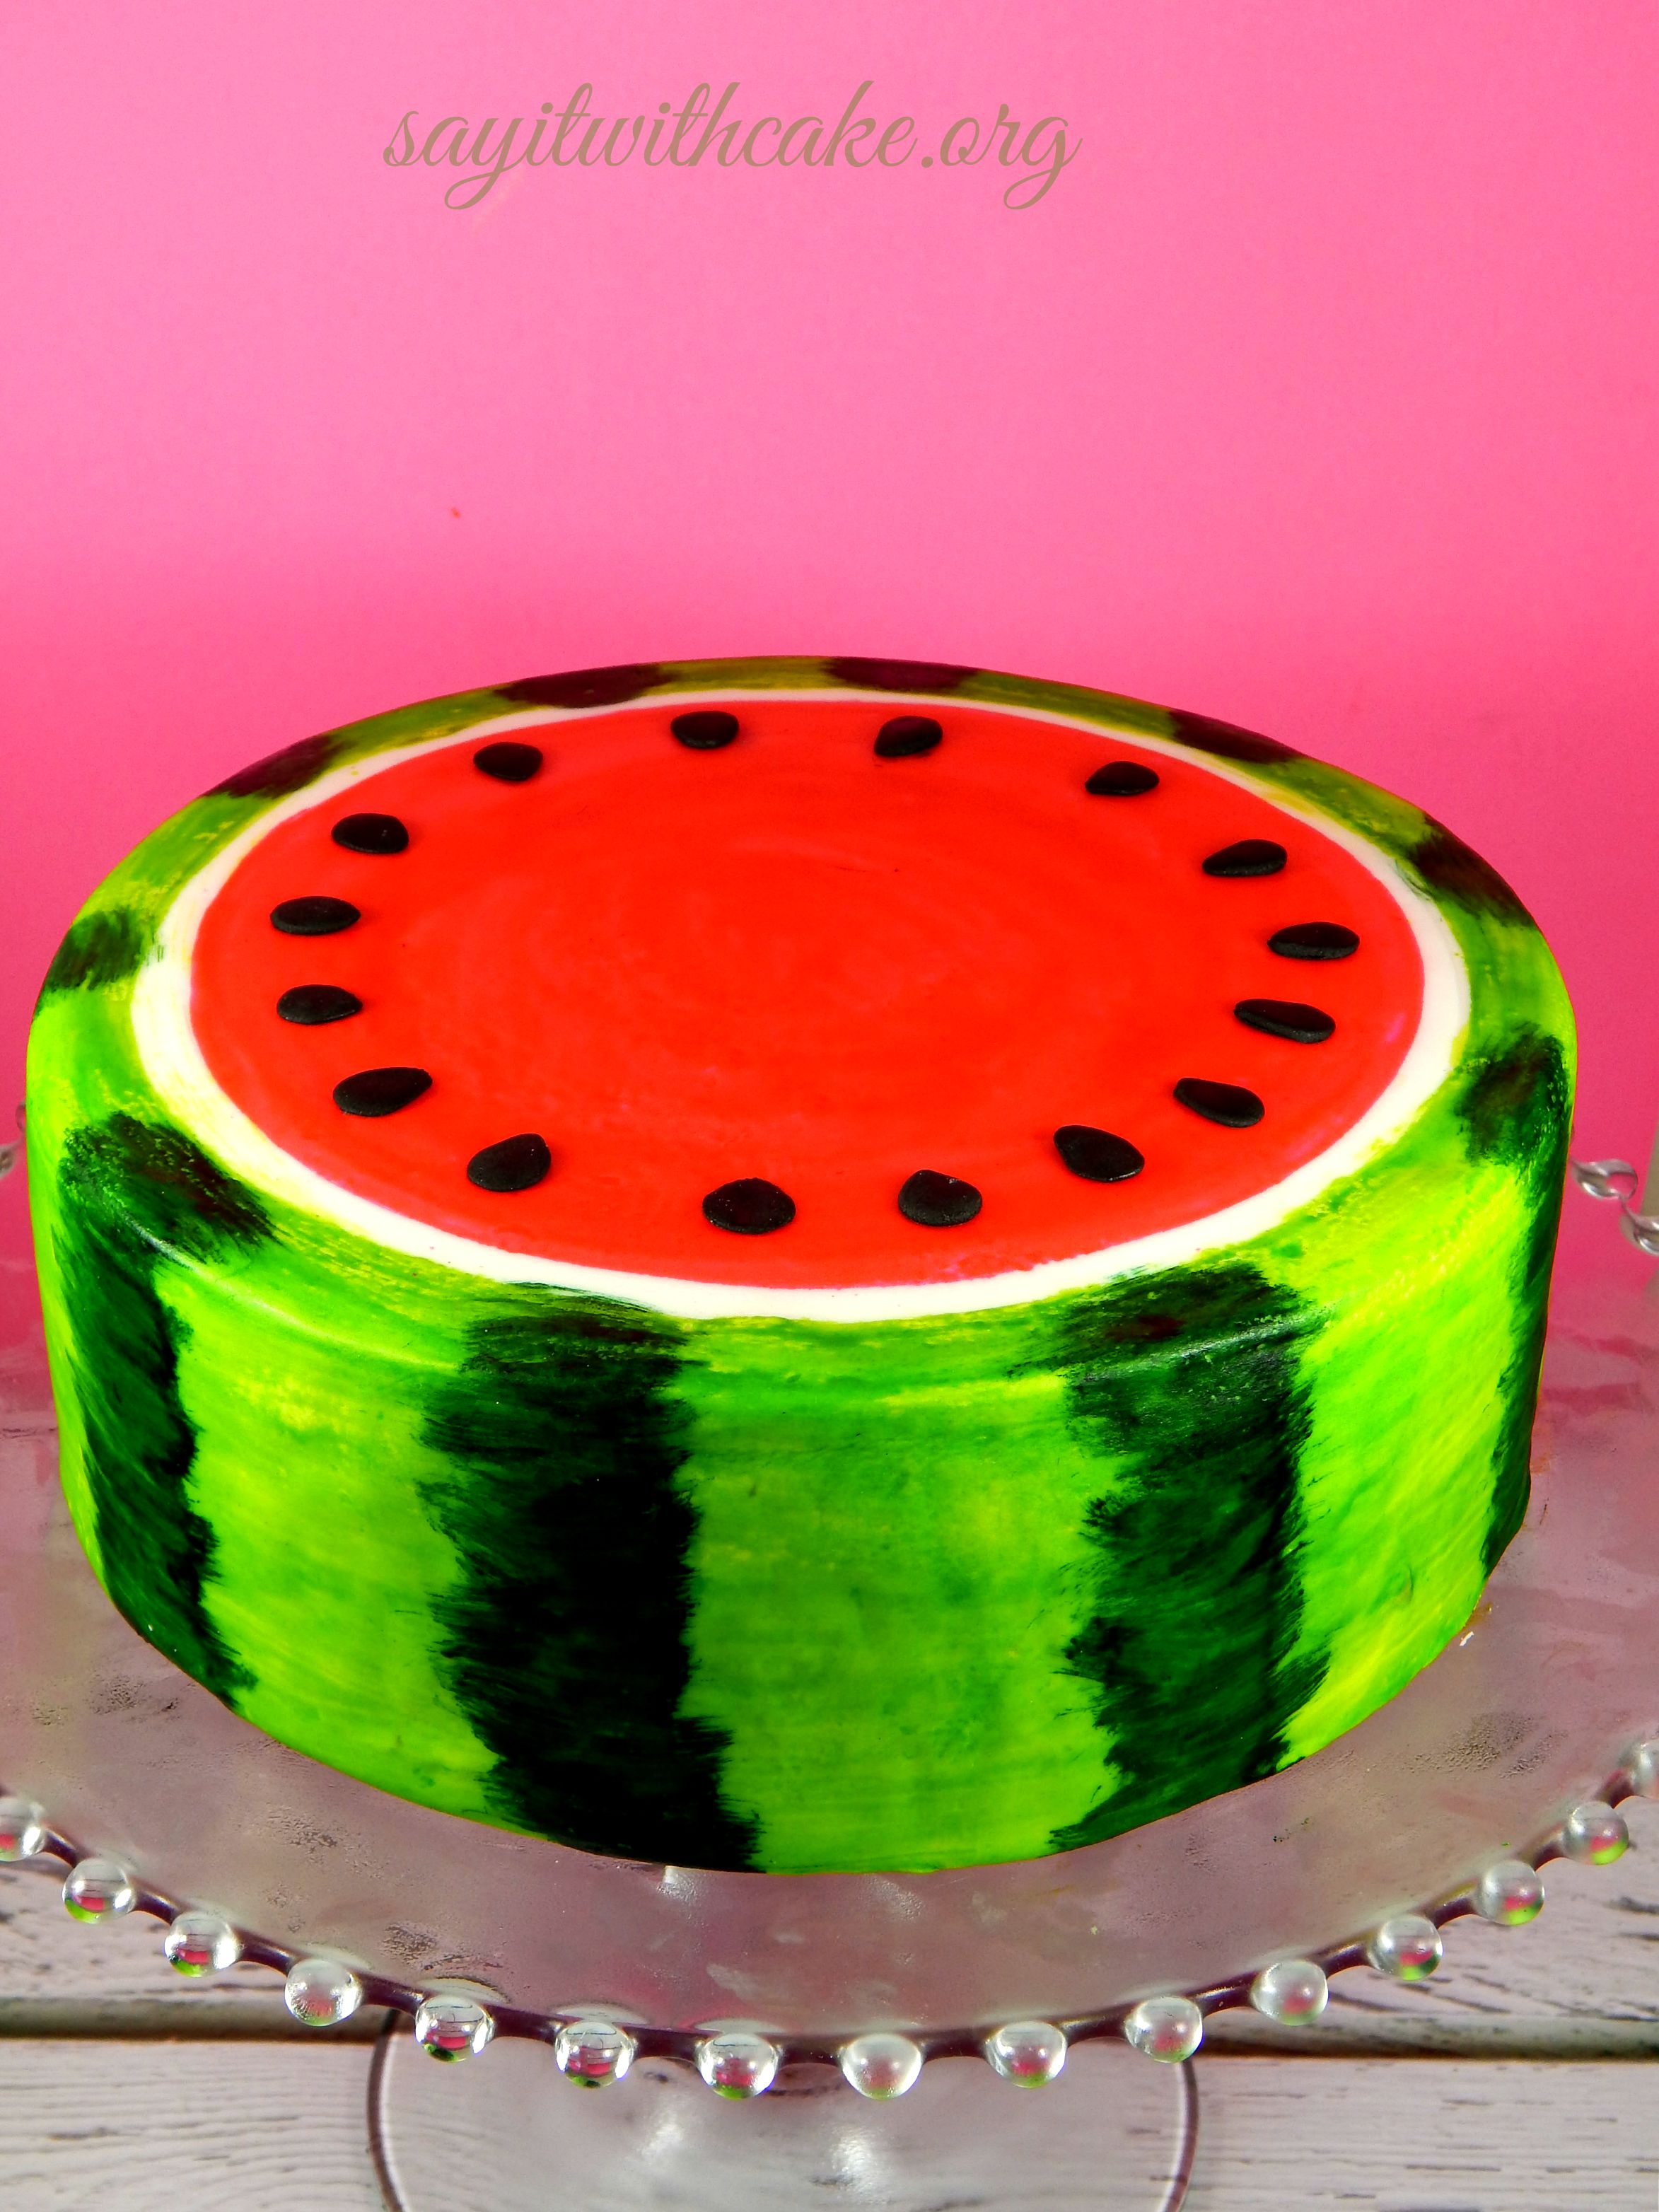
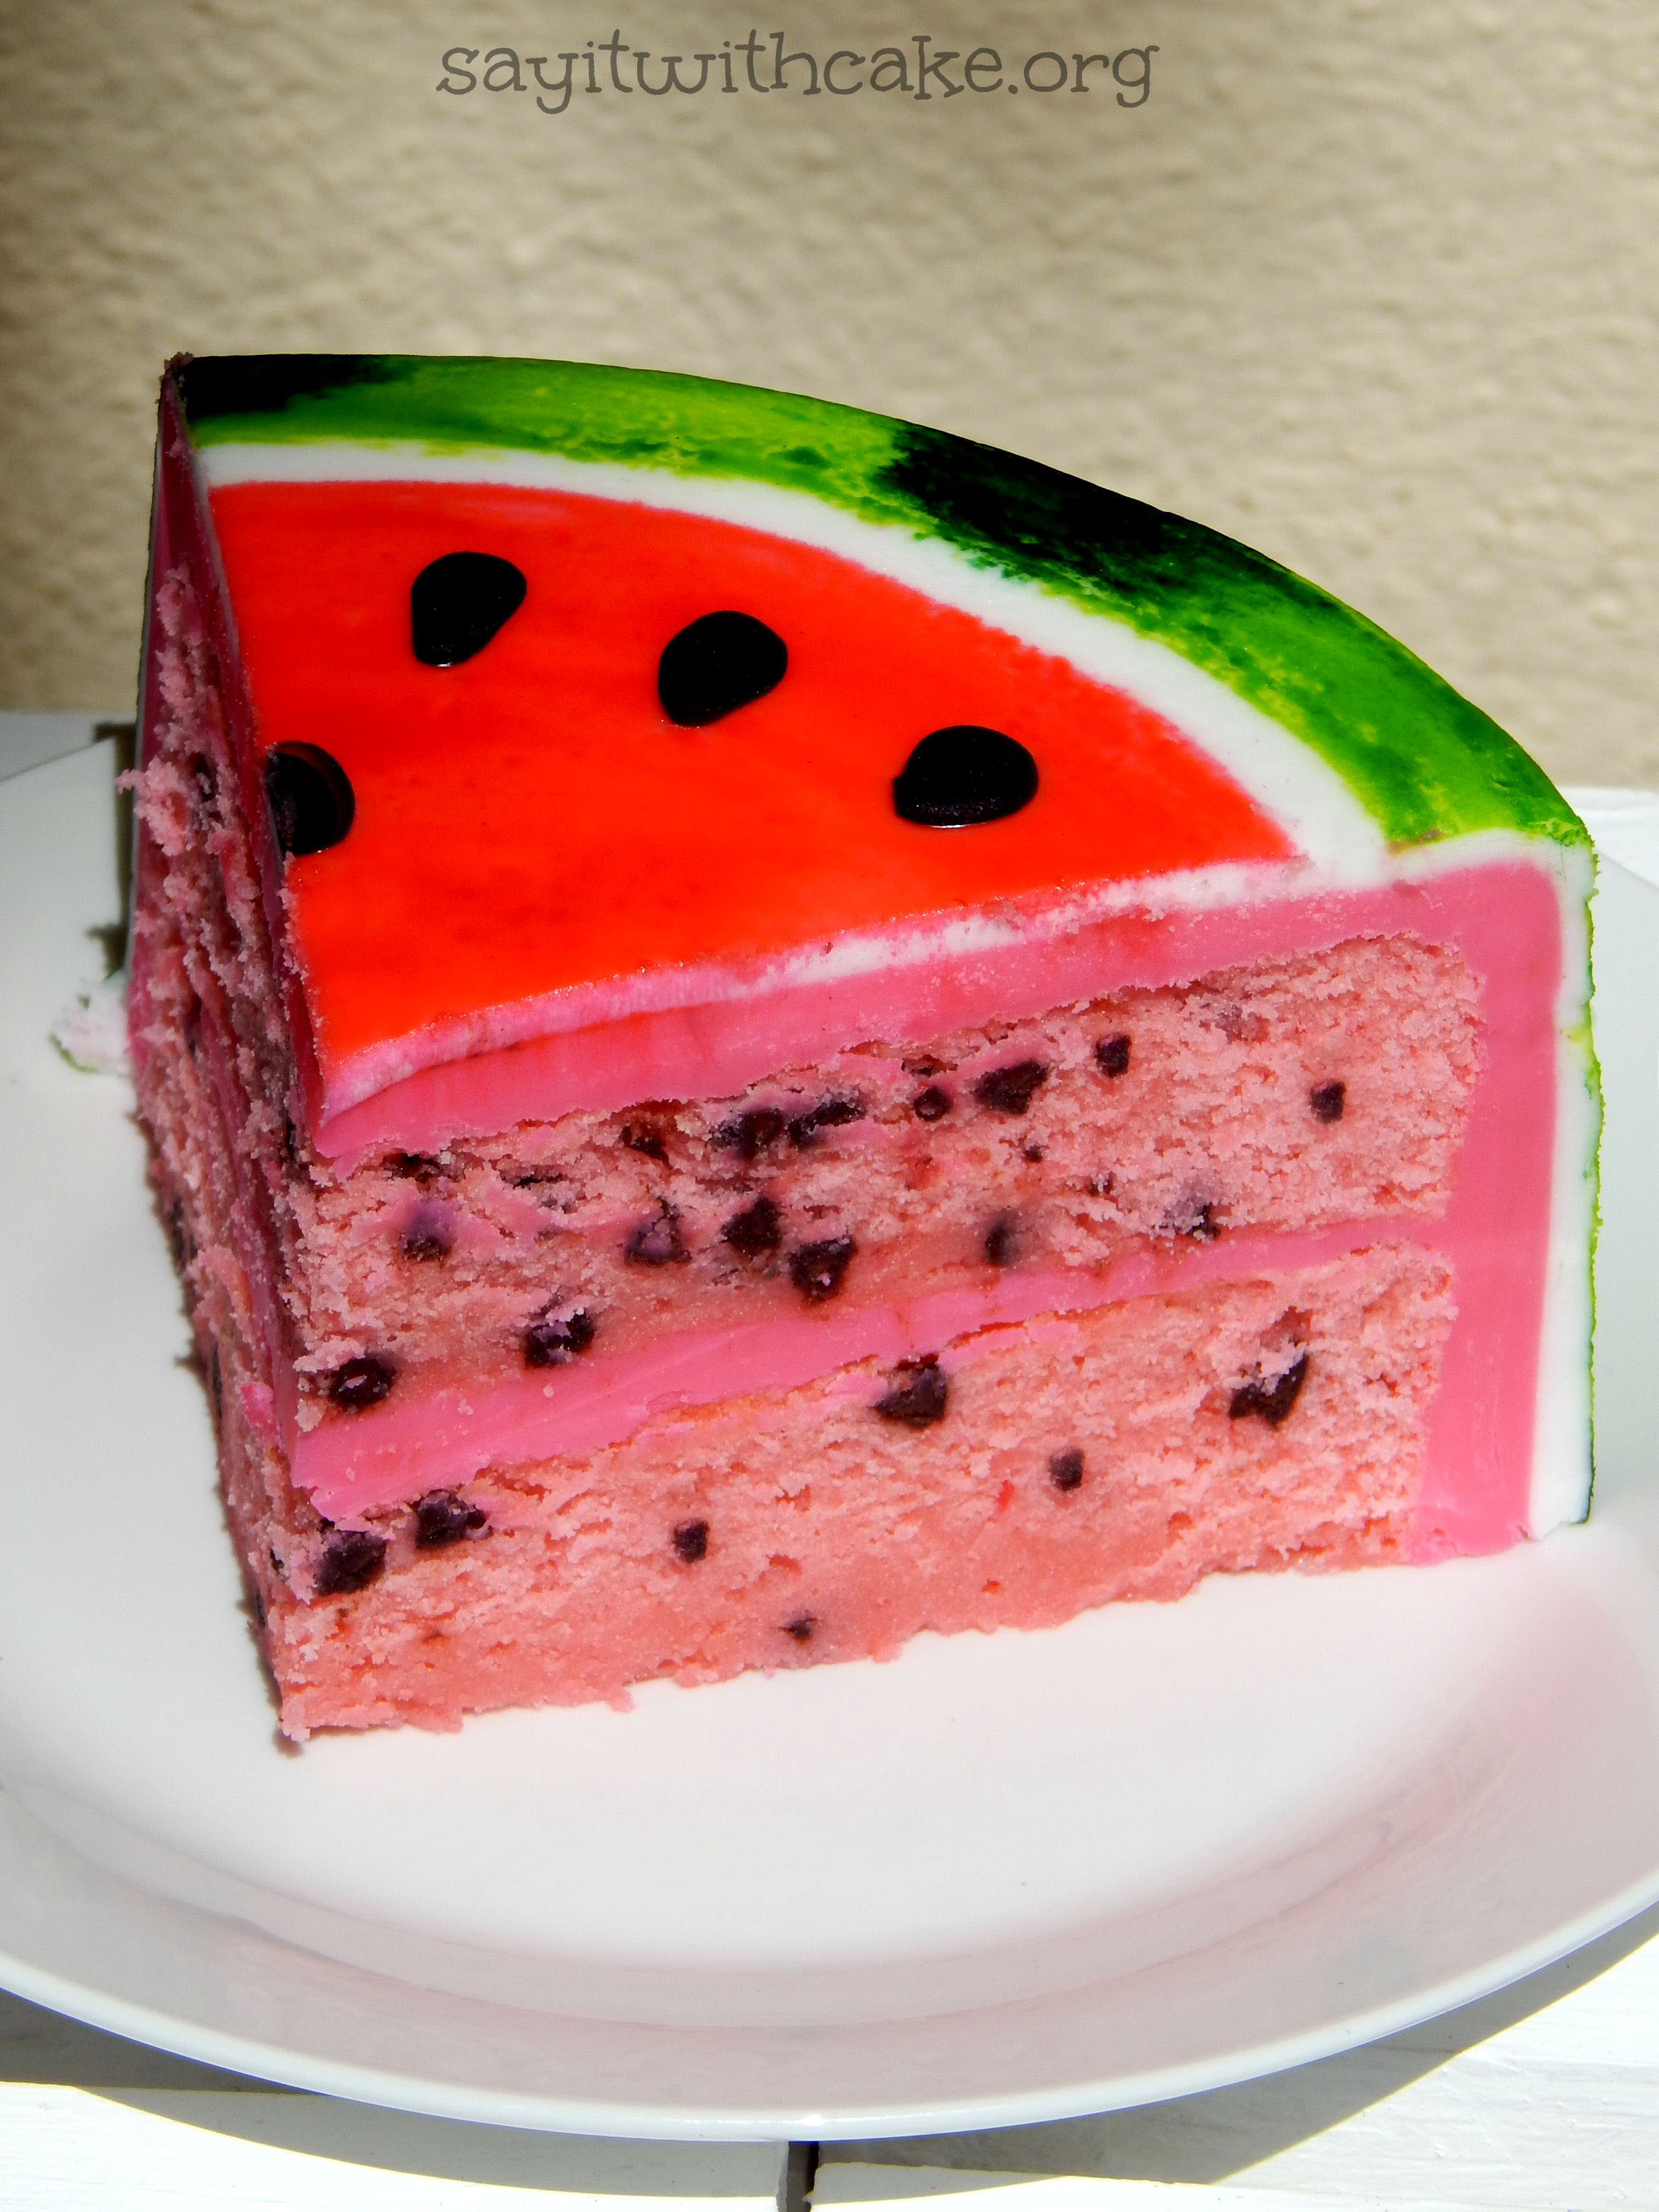
The cake is watermelon flavored with pink watermelon ganache and fondant. The recipe for this cake is Here.
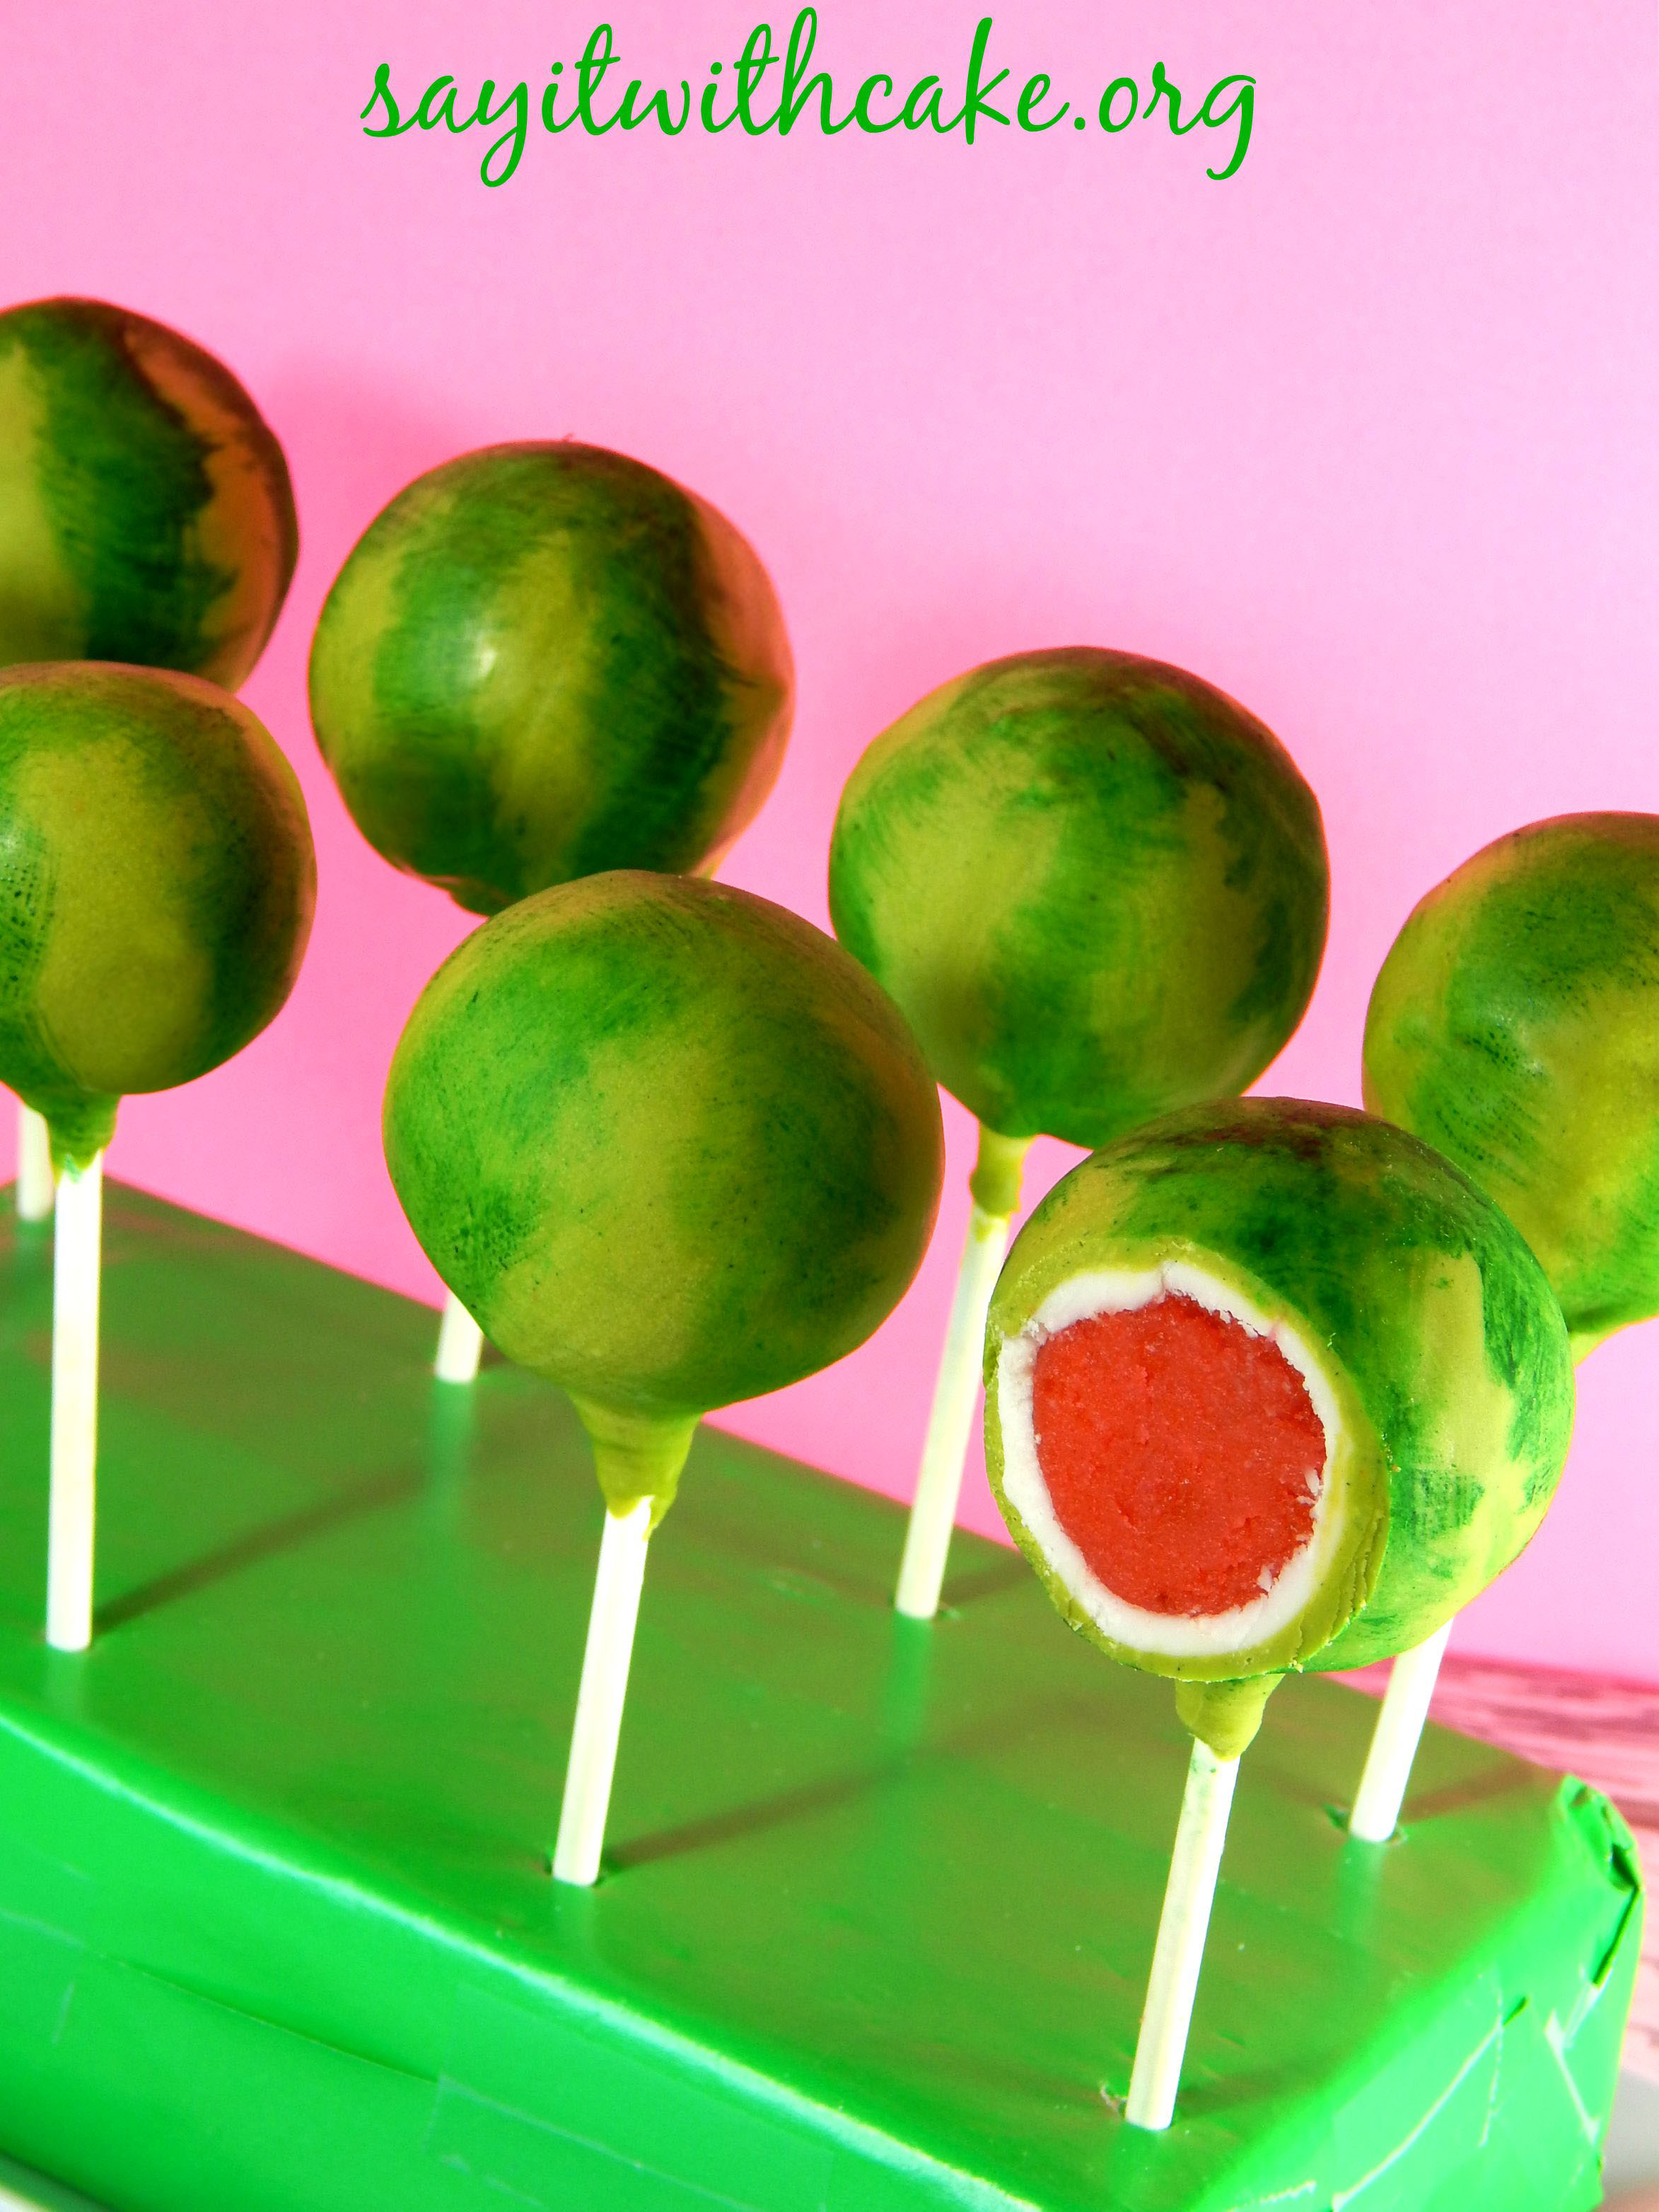
The cake pops are also watermelon flavored with a layer of white chocolate and a layer of green chocolate. I painted the stripes on the chocolate. You can find the tutorial for these cake pops Here.
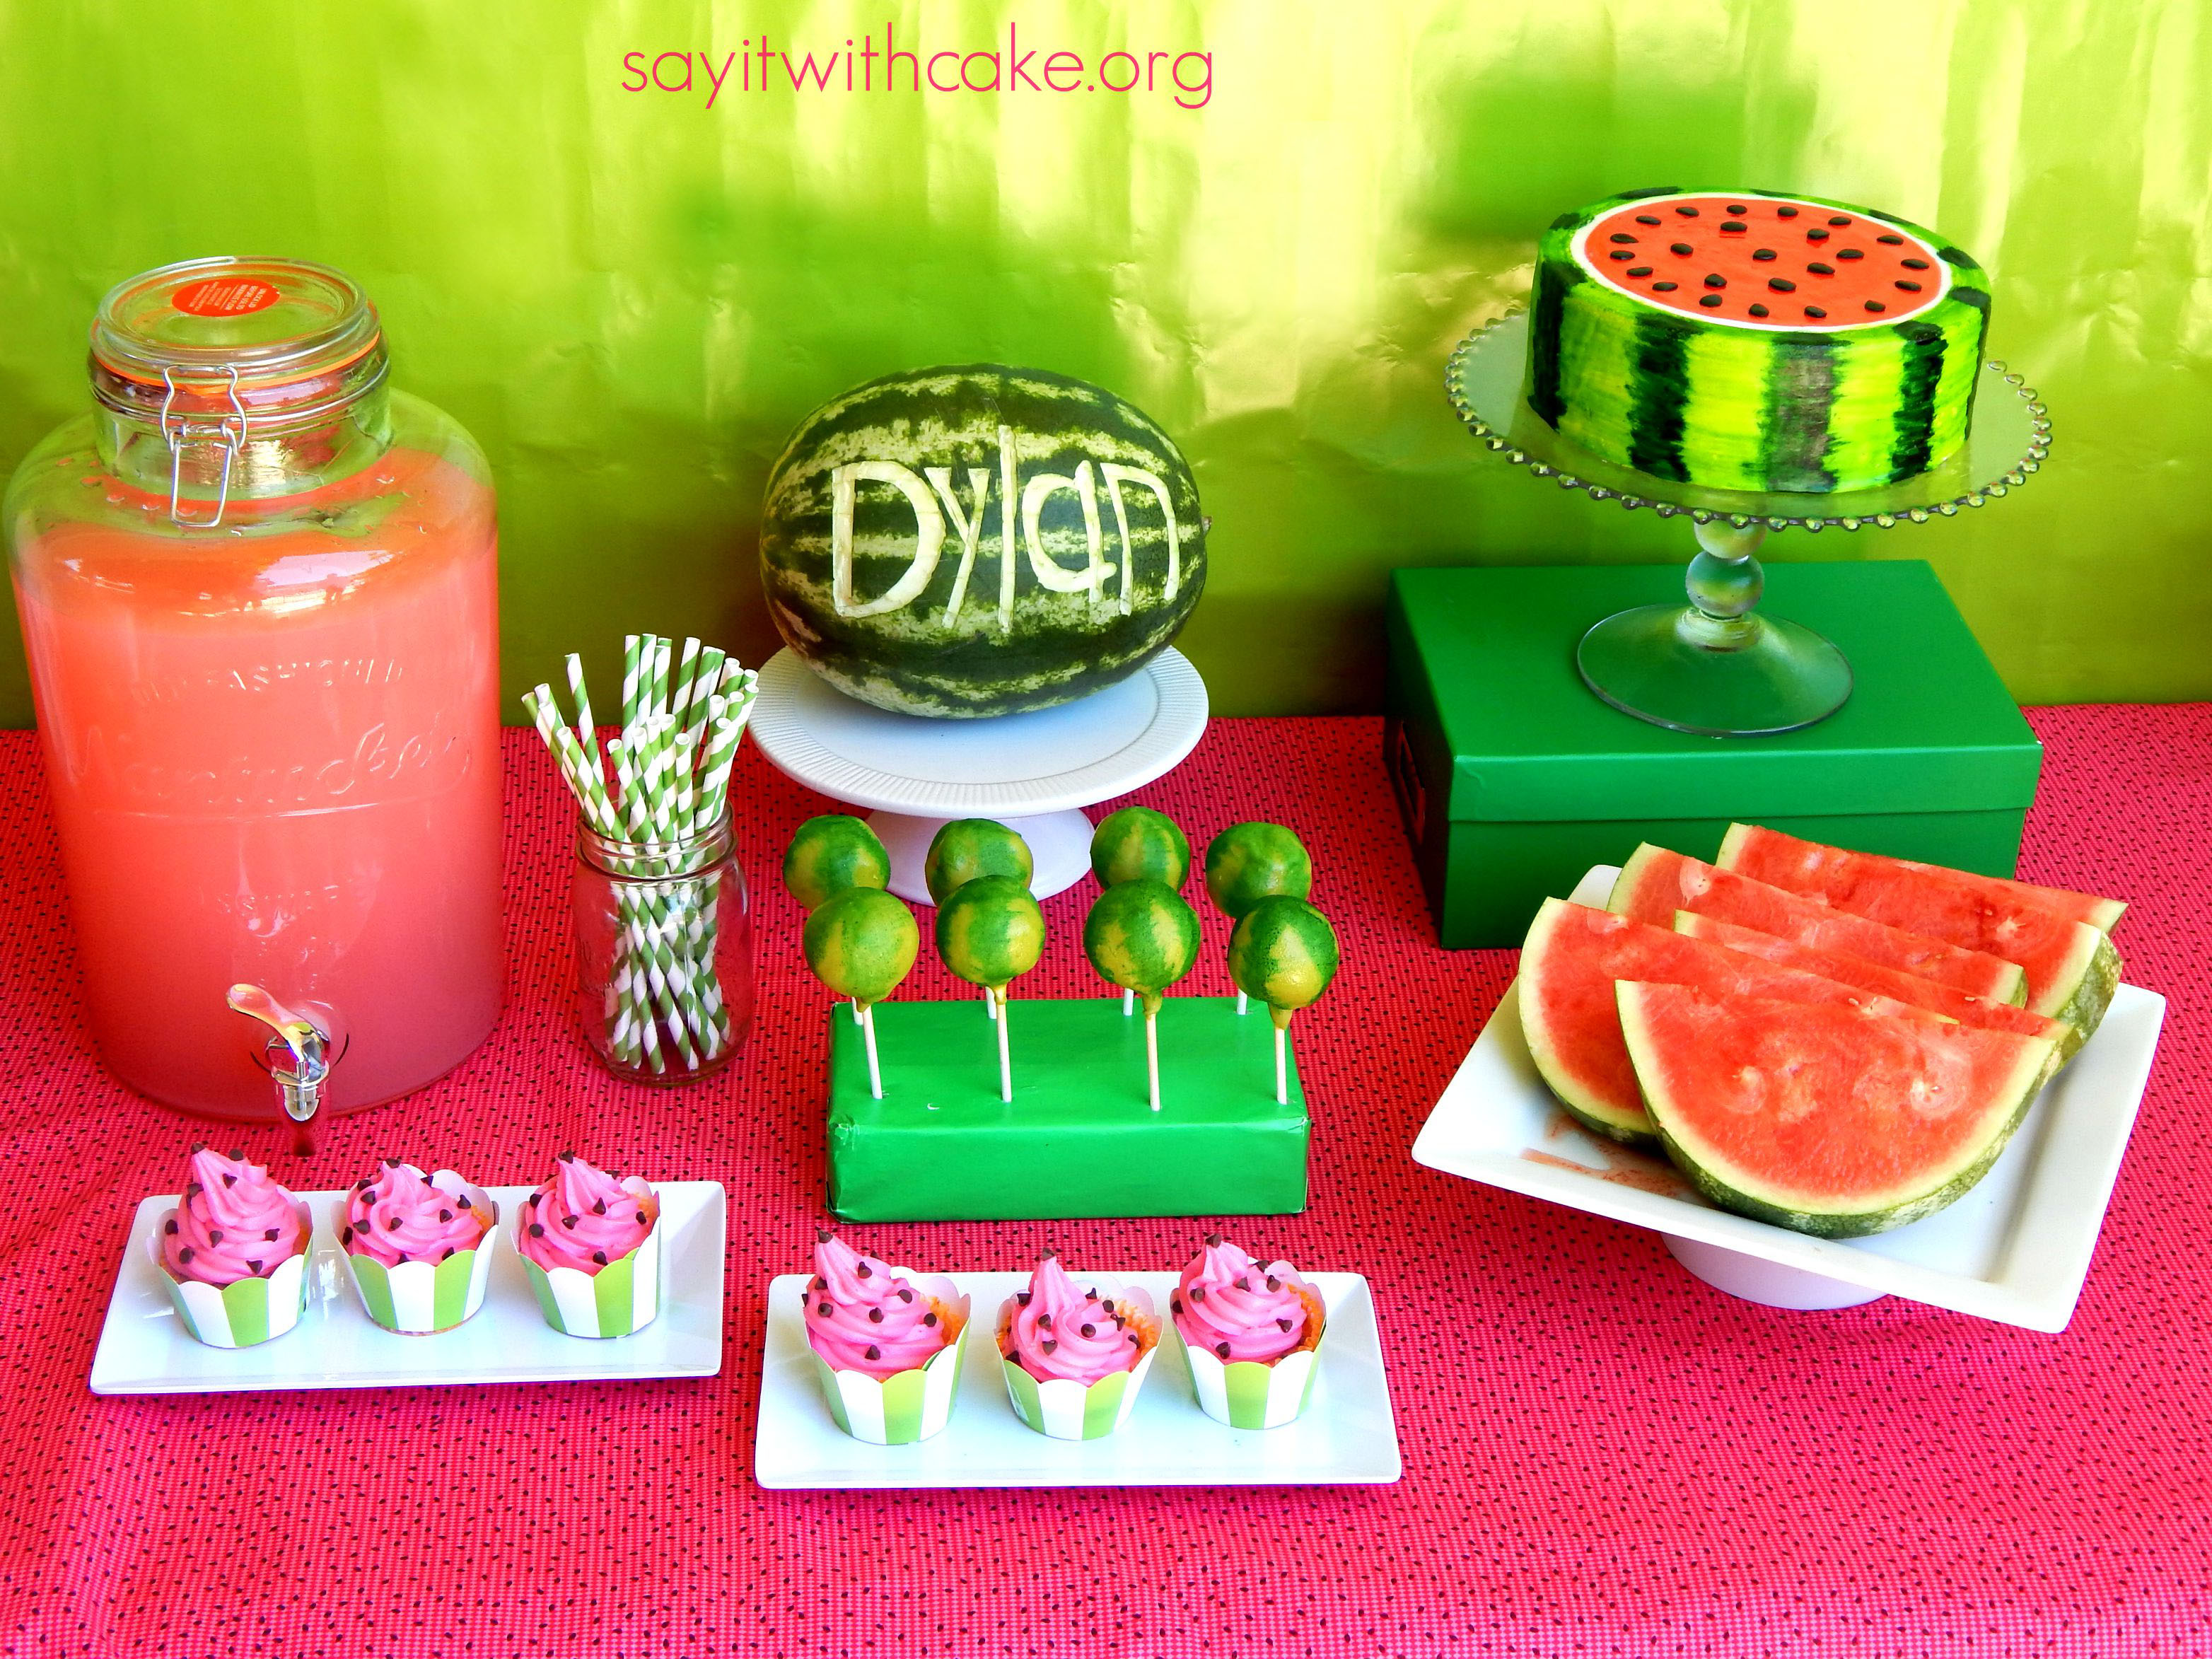
The watermelon lemonade was delicious. I made a little too much and there was a lot left over, but I don’t mind! You can find the recipe below.
Ingredients
- 6 cups cubed seedless watermelon, chilled (2 lbs after peeling)*
- 4 cups cold water
- 3/4 cup fresh strained lemon juice, chilled
- 2/3 cup granulated sugar (more or less to taste)
- Ice and fresh mint for serving
Instructions
- Add watermelon to a blender and pulse until well pureed (there should be about 4 cups). Pour through a fine mesh strainer into a bowl.
- In a large pitcher whisk together water, lemon juice and sugar until sugar has dissolved. Stir in pureed watermelon. Stir in ice and mint (alternately add ice and mint directly to individual cups and pour lemonade over). Store in refrigerator.
- from cooking classy
For the games we played
- Watermelon bowling
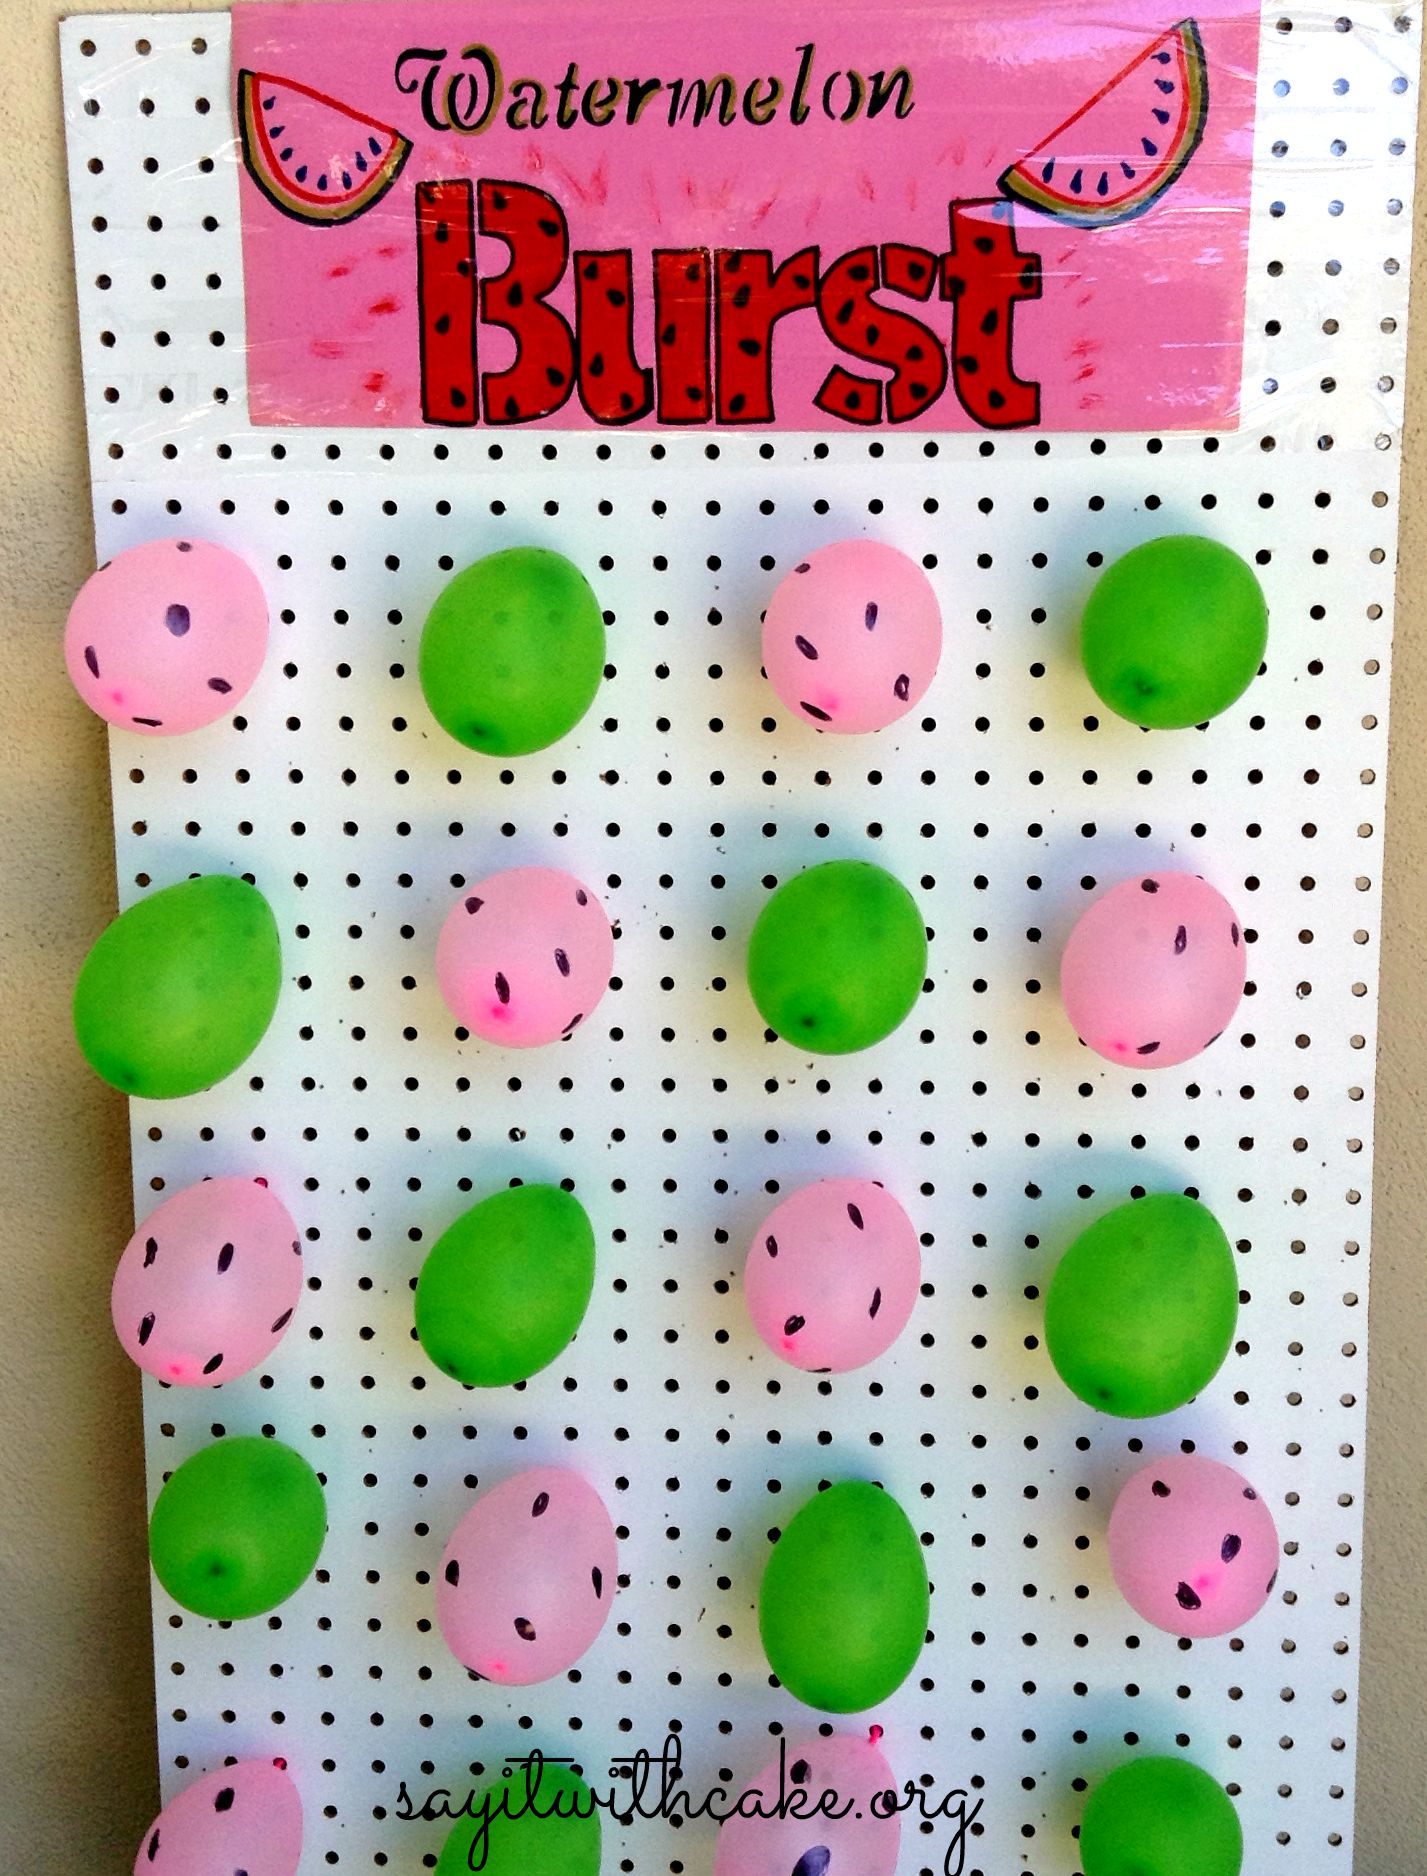
- Watermelon burst (popping watermelon balloons with darts)
- Water Balloon toss and fight
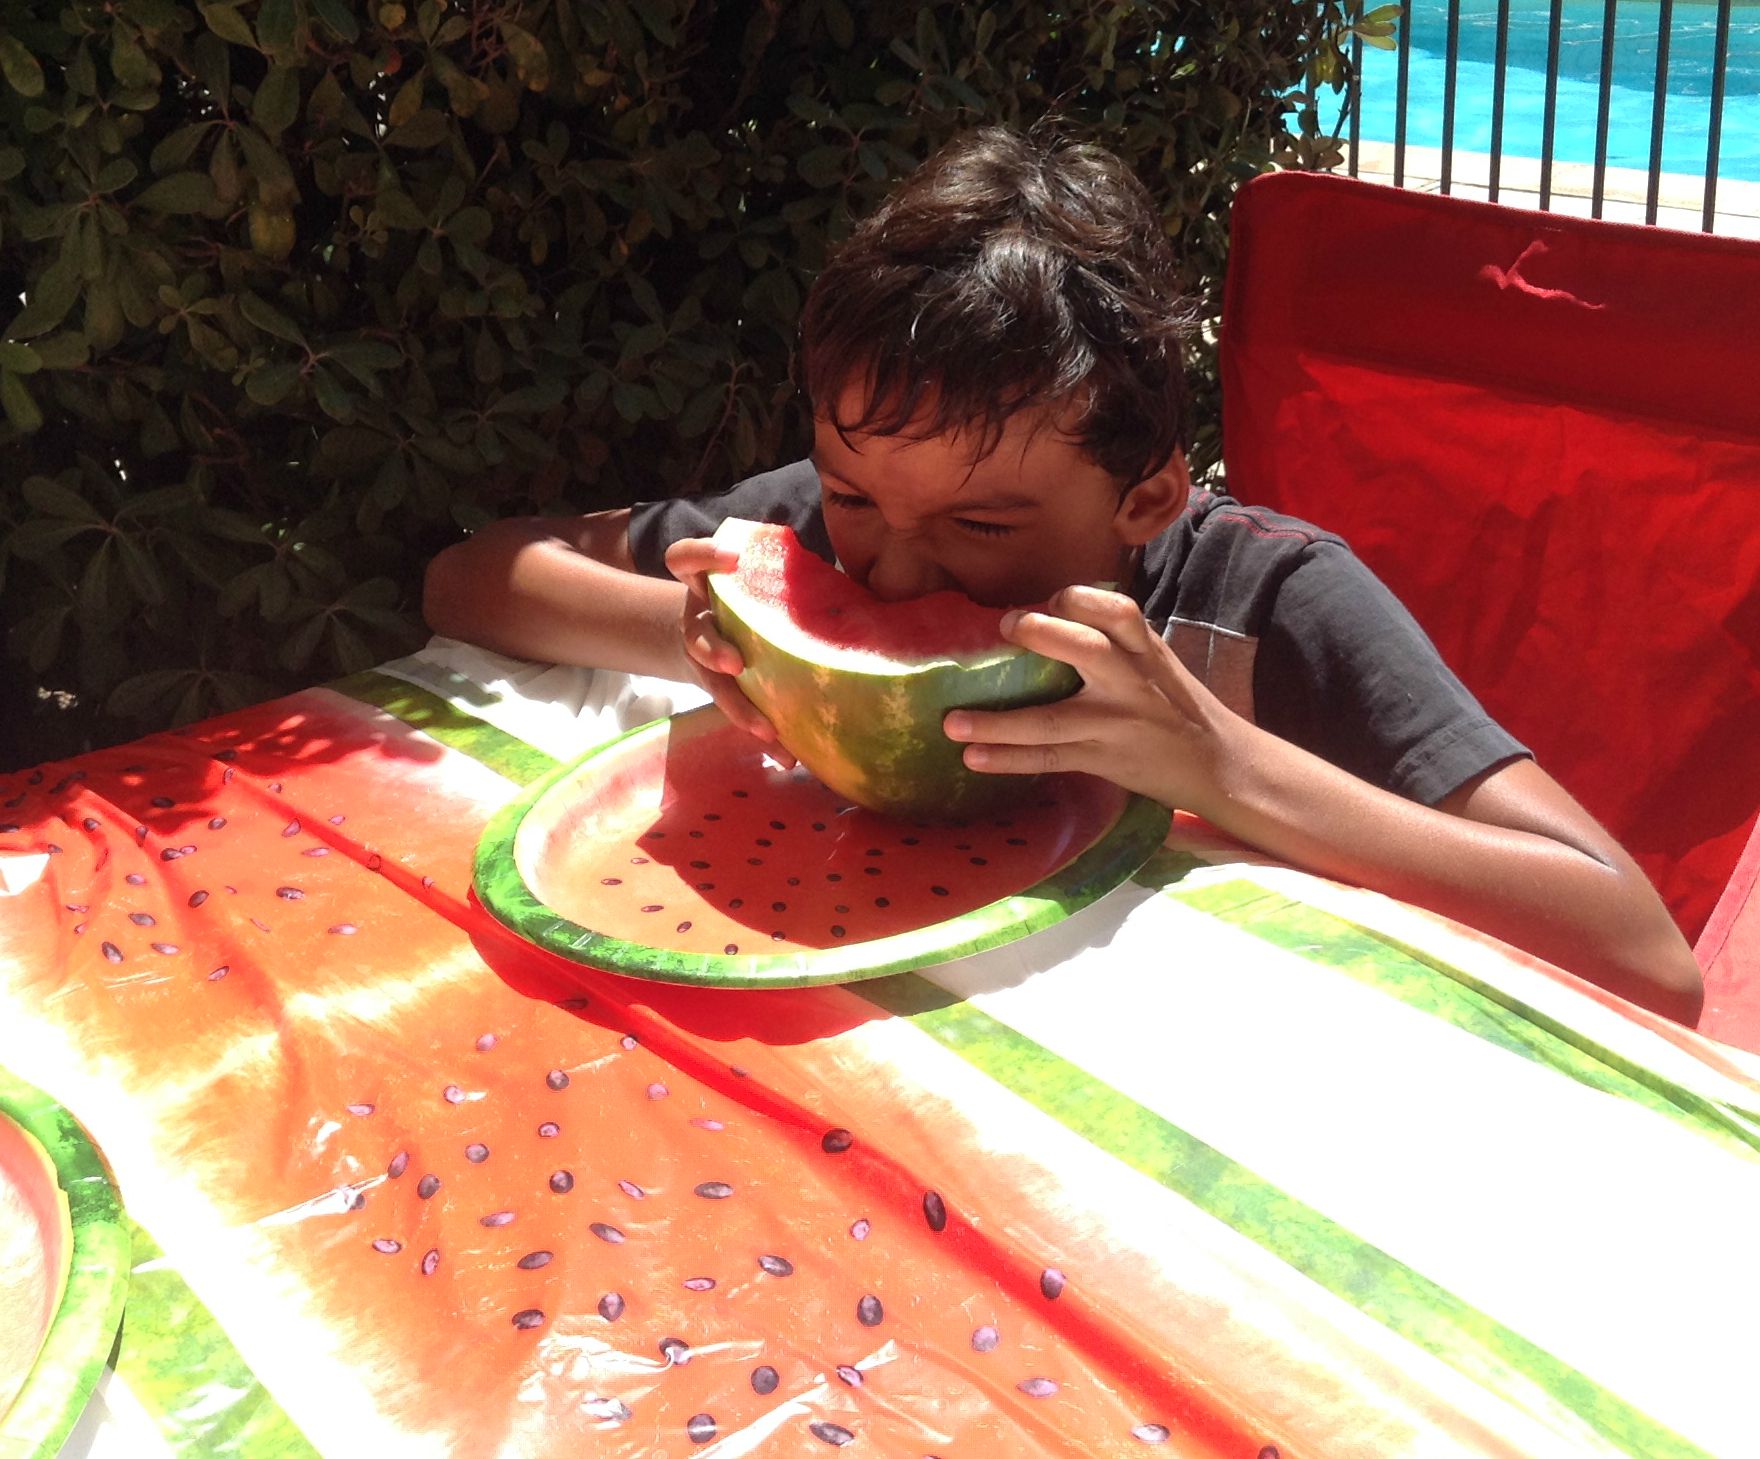
- Watermelon eating contest
- Watermelon relay in the pool
- Limbo in the pool
- Watermelon Polo in the pool
This is a picture from the Watermelon eating contest. This is my son’s friend Georgie…he really got into the contest!
This is the Watermelon burst game. You throw darts at the watermelons and try to pop them! The kids really enjoyed this game!
I hope you like some of these ideas and can use them at your next Watermelon Party!
Enjoy!

]]>
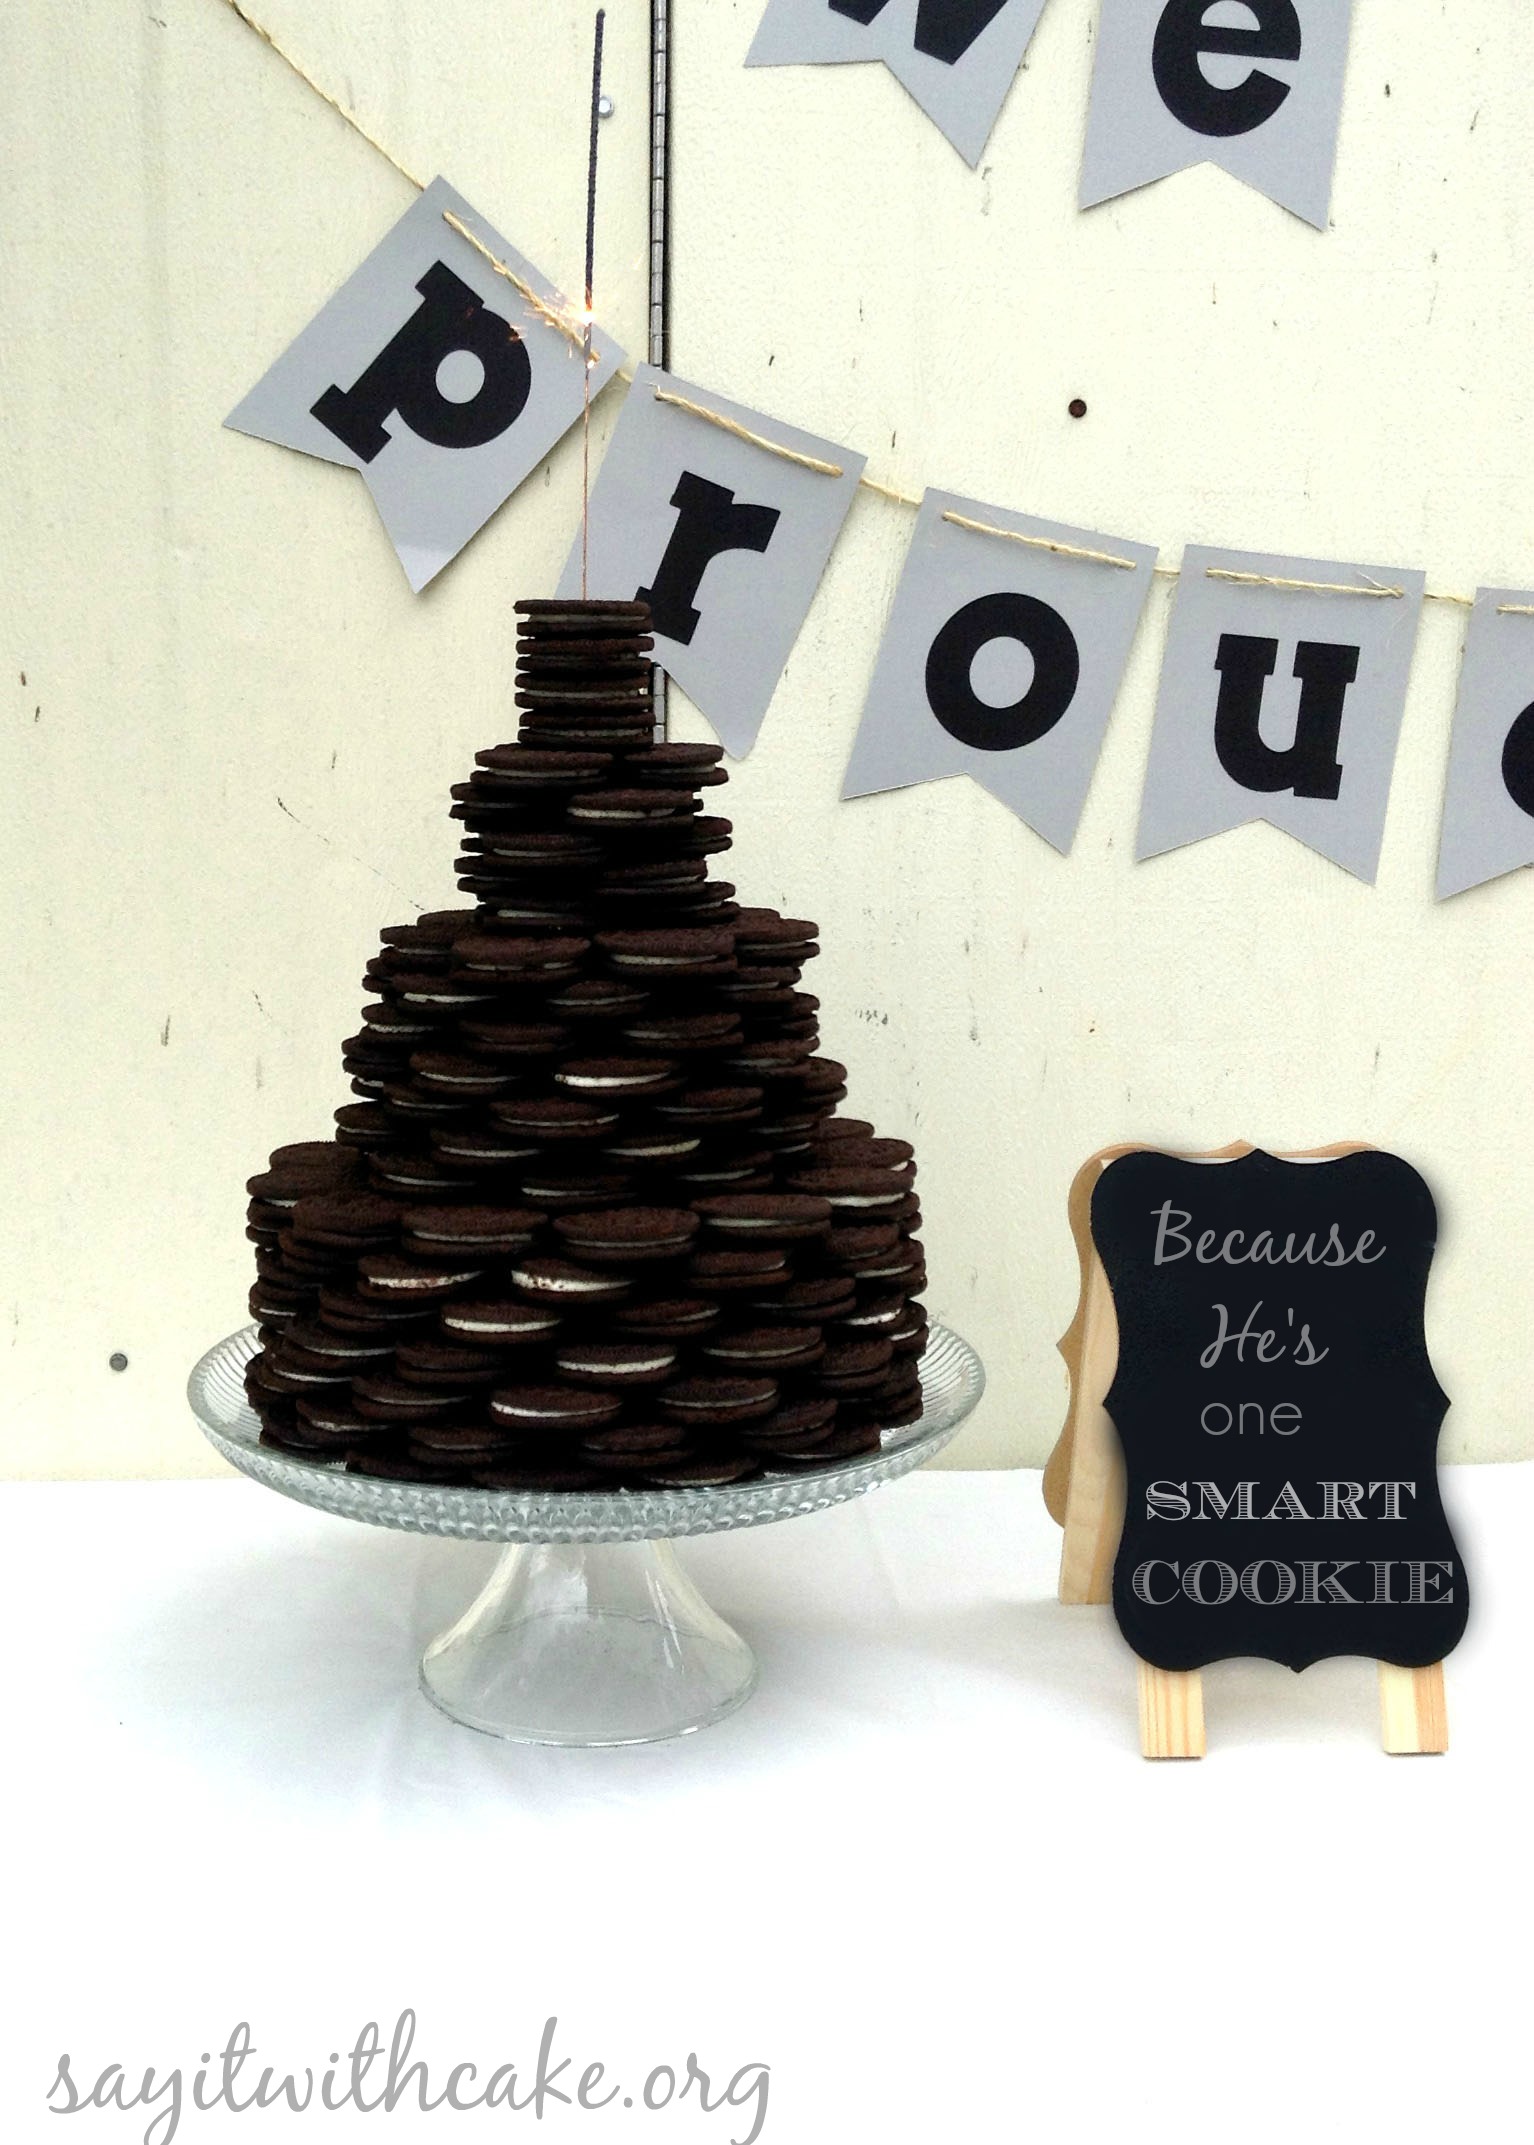 My awesome Brother in Law graduated with his MBA this weekend! We are all so proud of him! Since Oreo cookies are his favorite, I made him this stacked Oreo cookie “Cake’.
This stacked Oreo cookie “cake” is not really a cake at all, but it is shaped like a three tier cake. It is purely Oreo cookies stacked and staggered. It is made with 150 Oreo cookies. My sister bought three big boxes of Oreo cookies with fifty Oreos in each box. I used three boxes. It is pretty easy to make and only took about 30 minutes to make. The bottom layer is 8 inches, but if I could do it again I would start with a 10 inch bottom layer. Each layer had 7 stacks. Some people put a drop of royal icing on each cookie so they will stick together. This would be important if you are going to be transporting the cake. I didn’t use the royal icing because the cake stayed put at my sisters house.
For my brother in law David’s party we used all his grad school books for part of the decorations and put giant MBA letters on top of the books that my sister decorated in red and black his school colors. I think that was a great idea and it turned out really cute! My sister also thought of the quote “Because he’s one smart cookie” next to the cookie cake. I loved this and it was perfect because he is so smart getting his MBA and he loves Oreos!

I wish I had a picture of him in his graduation gown, if he lets me I will put one up! I hope you like the stacked oreo cookie cake! Congratulations David!
]]> I am so excited to be throwing my four year old son his first Halloween Party! I have been planning it out for months!
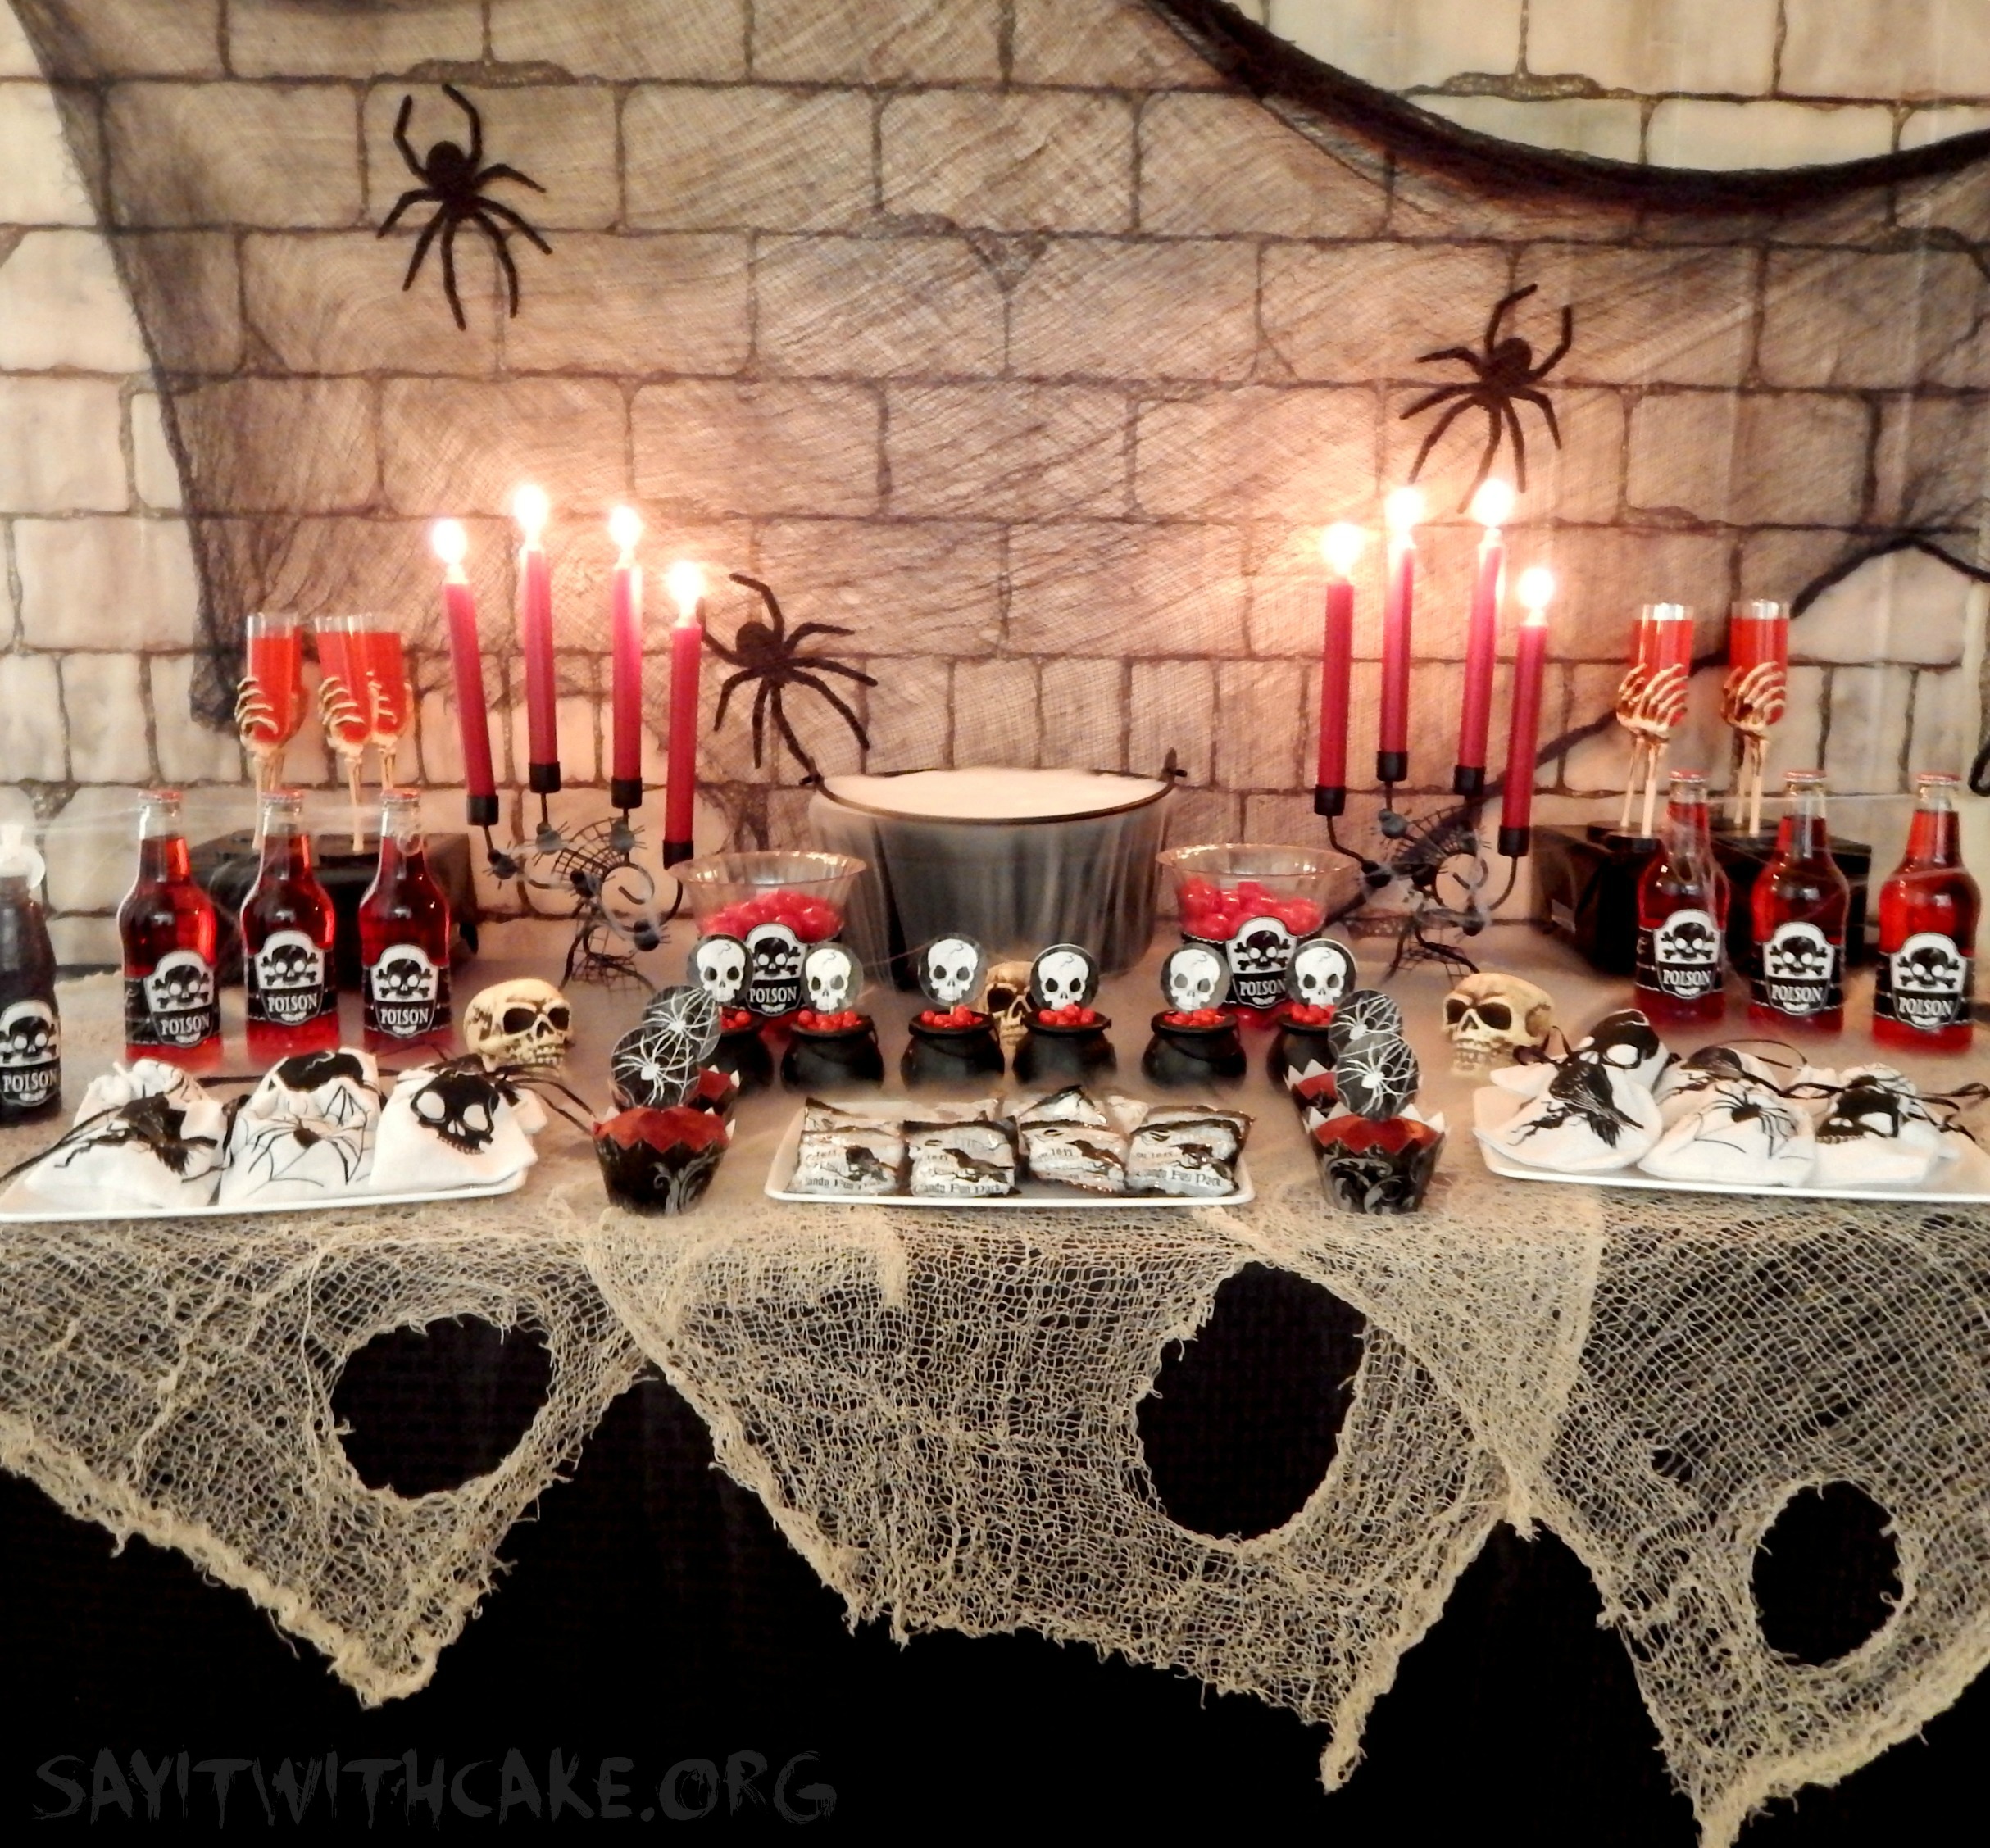
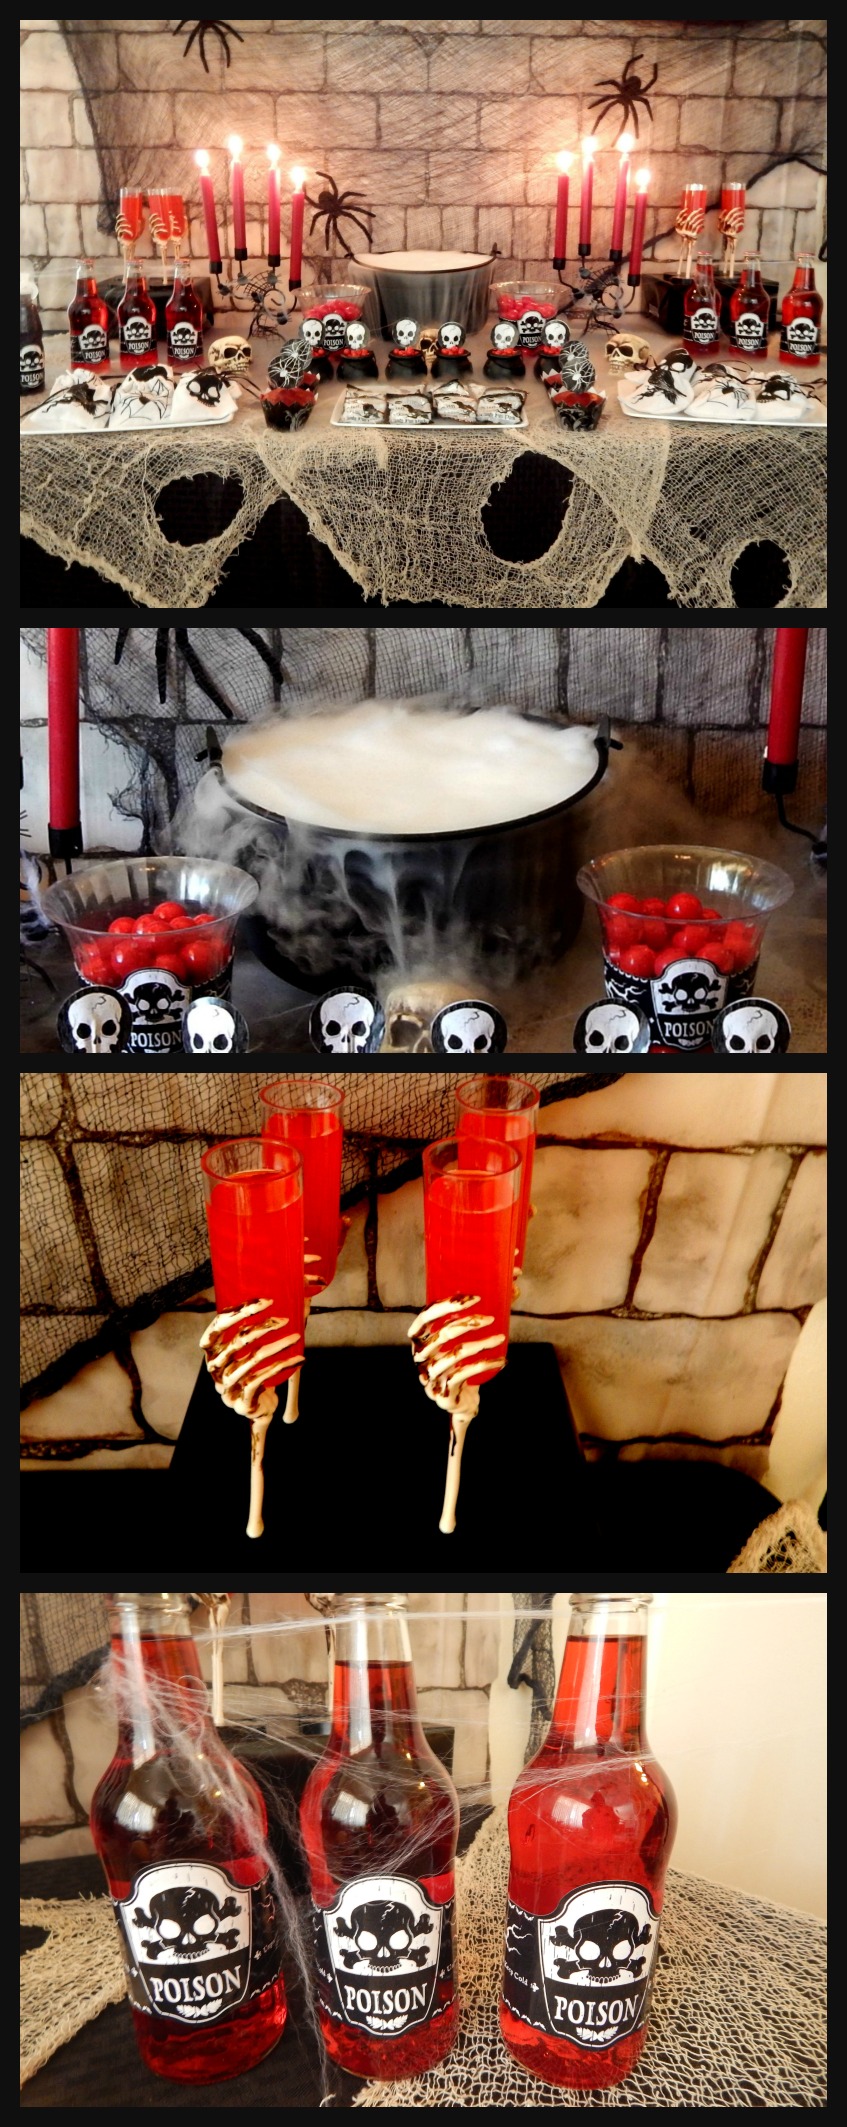
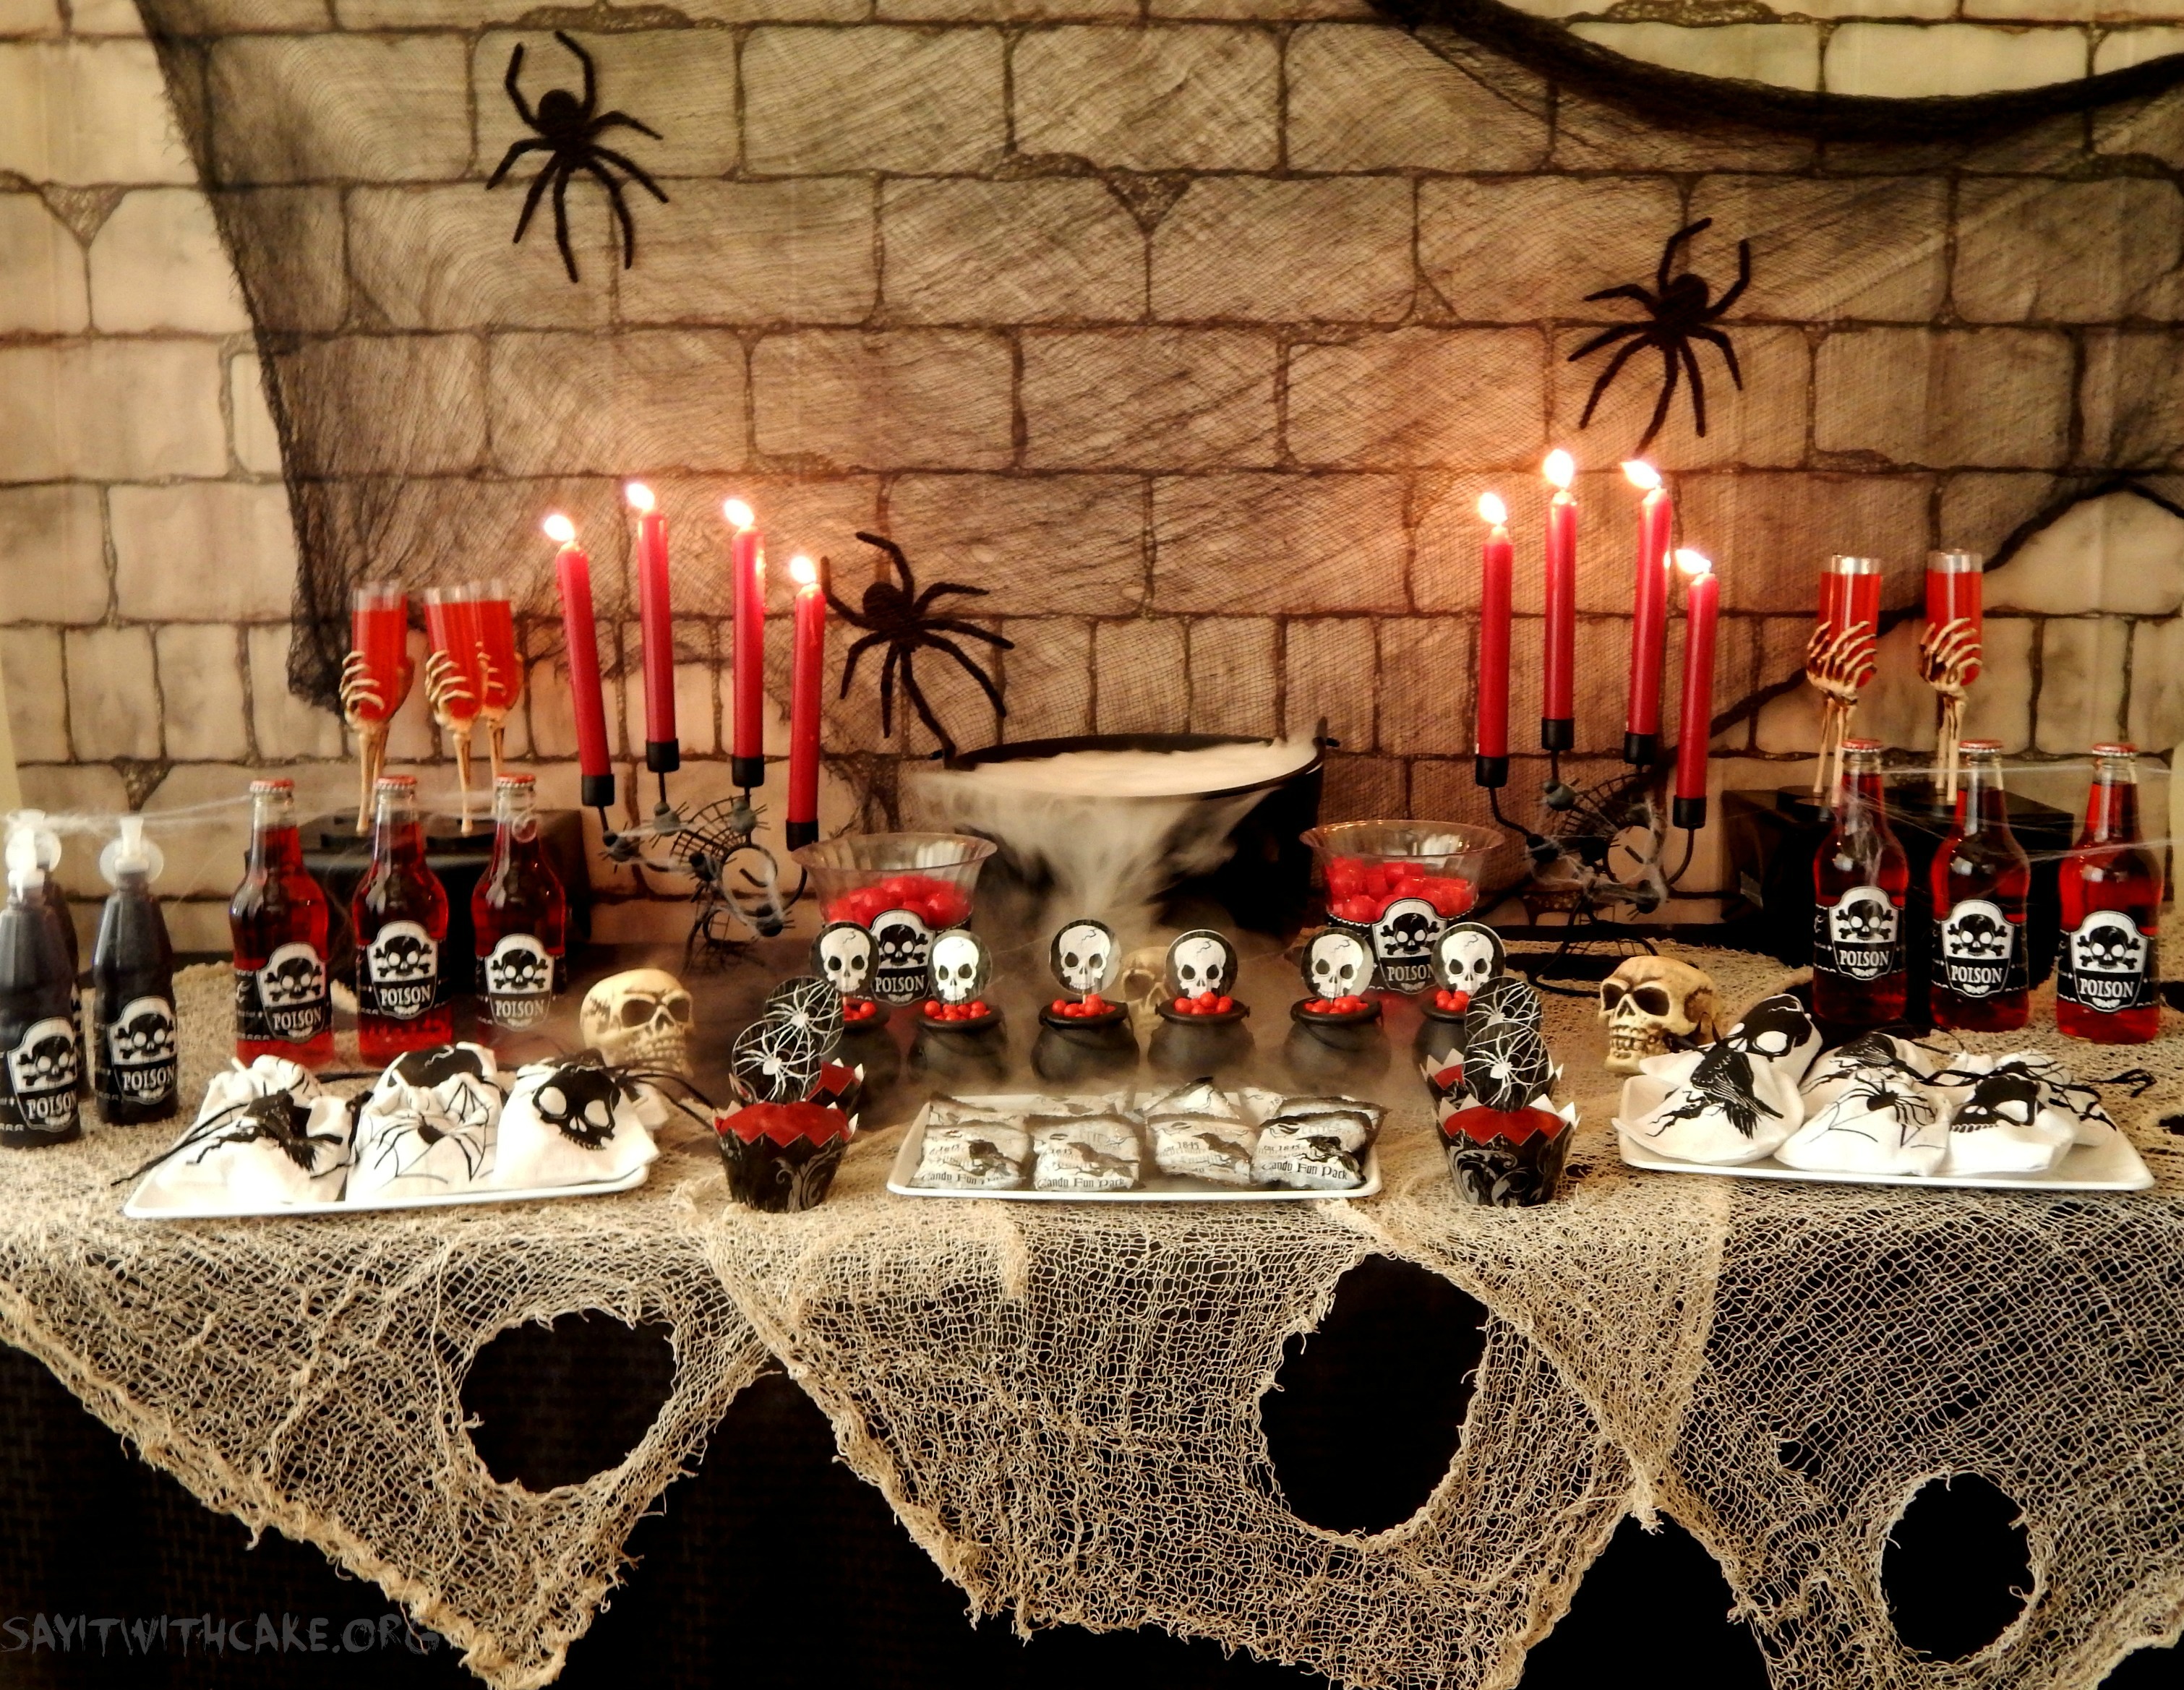
This Halloween Party was super fun to make! I started with the centerpiece…a black cauldron with dry ice. It bubbled and smoked just like a witch’s brew! I bought the cauldron at party city, and found the dry ice at Albertsons. I filled the cauldron up with hot water, then put on gloves and dropped one pound of dry ice inside. The effect lasted about 20 minutes. After that, keep dropping pieces of dry ice inside for an all night effect! Be sure to wear gloves when handling dry ice, and also do not drink any pieces of dry ice. If you want to use a drink inside, the dry ice will carbonate the drink. For this party, I had several dessert tables, one with the dry ice, a table with the candy apples, cupcakes, and cakes, and one for the drinks. I hope you like some of my ideas and will use them for your next Halloween Party! For the recipe for black candy apples go HERE
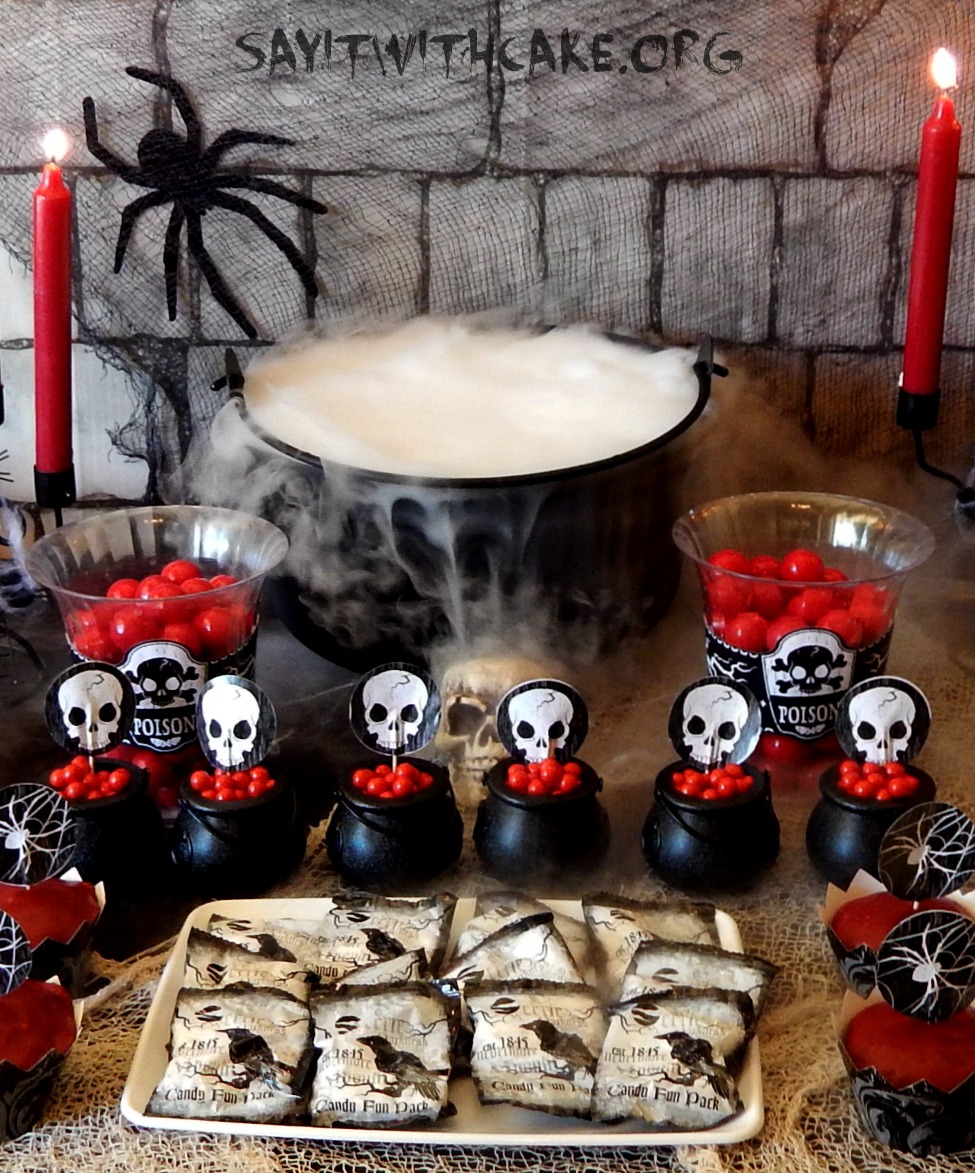

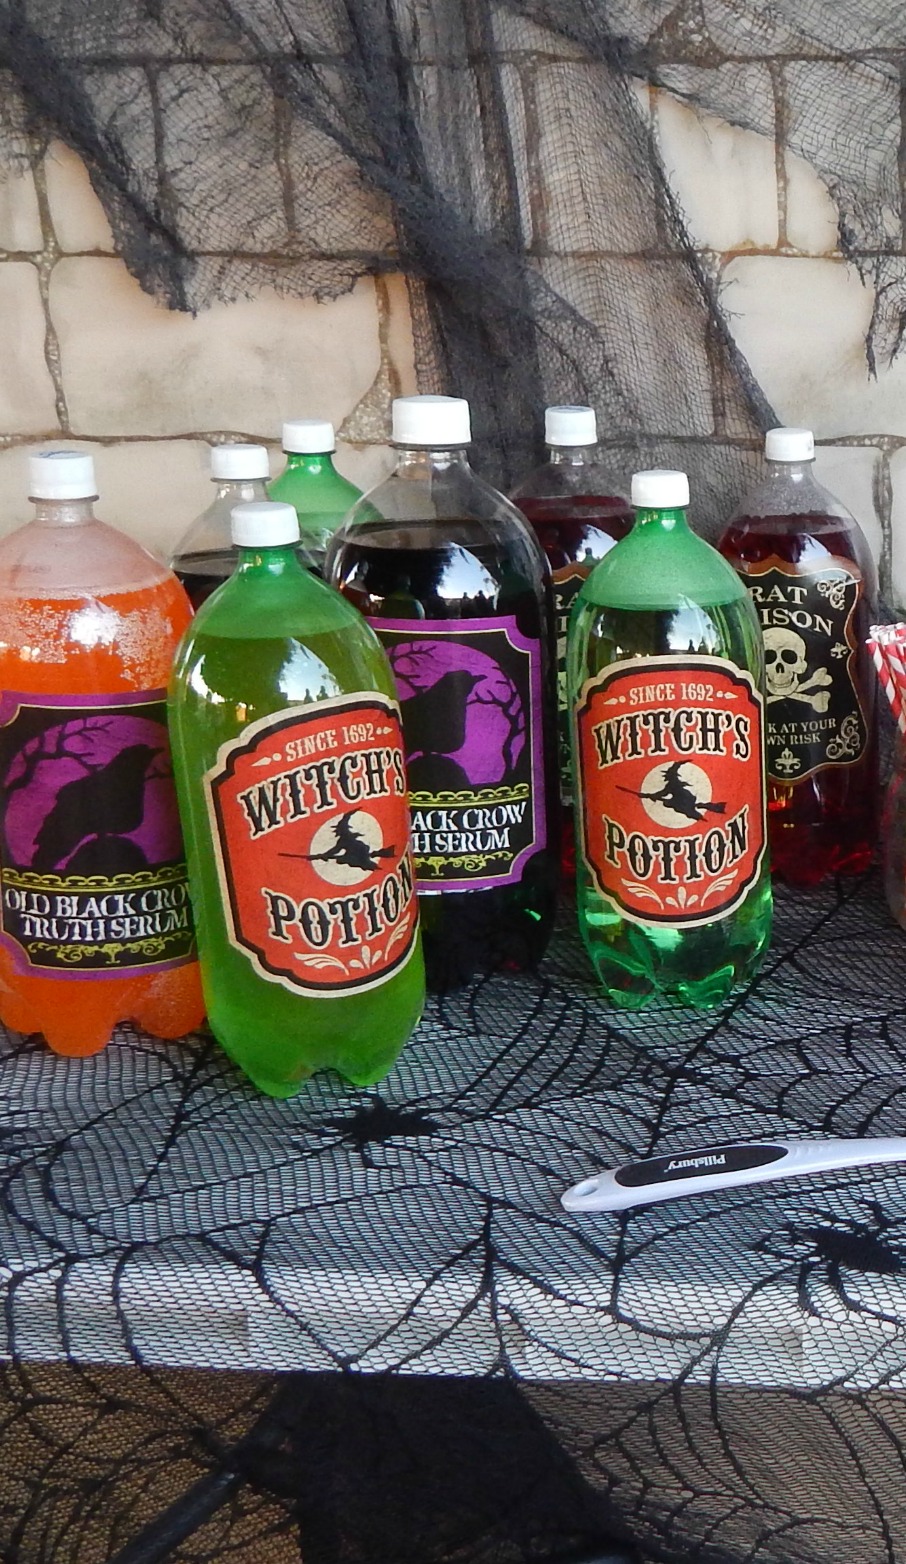
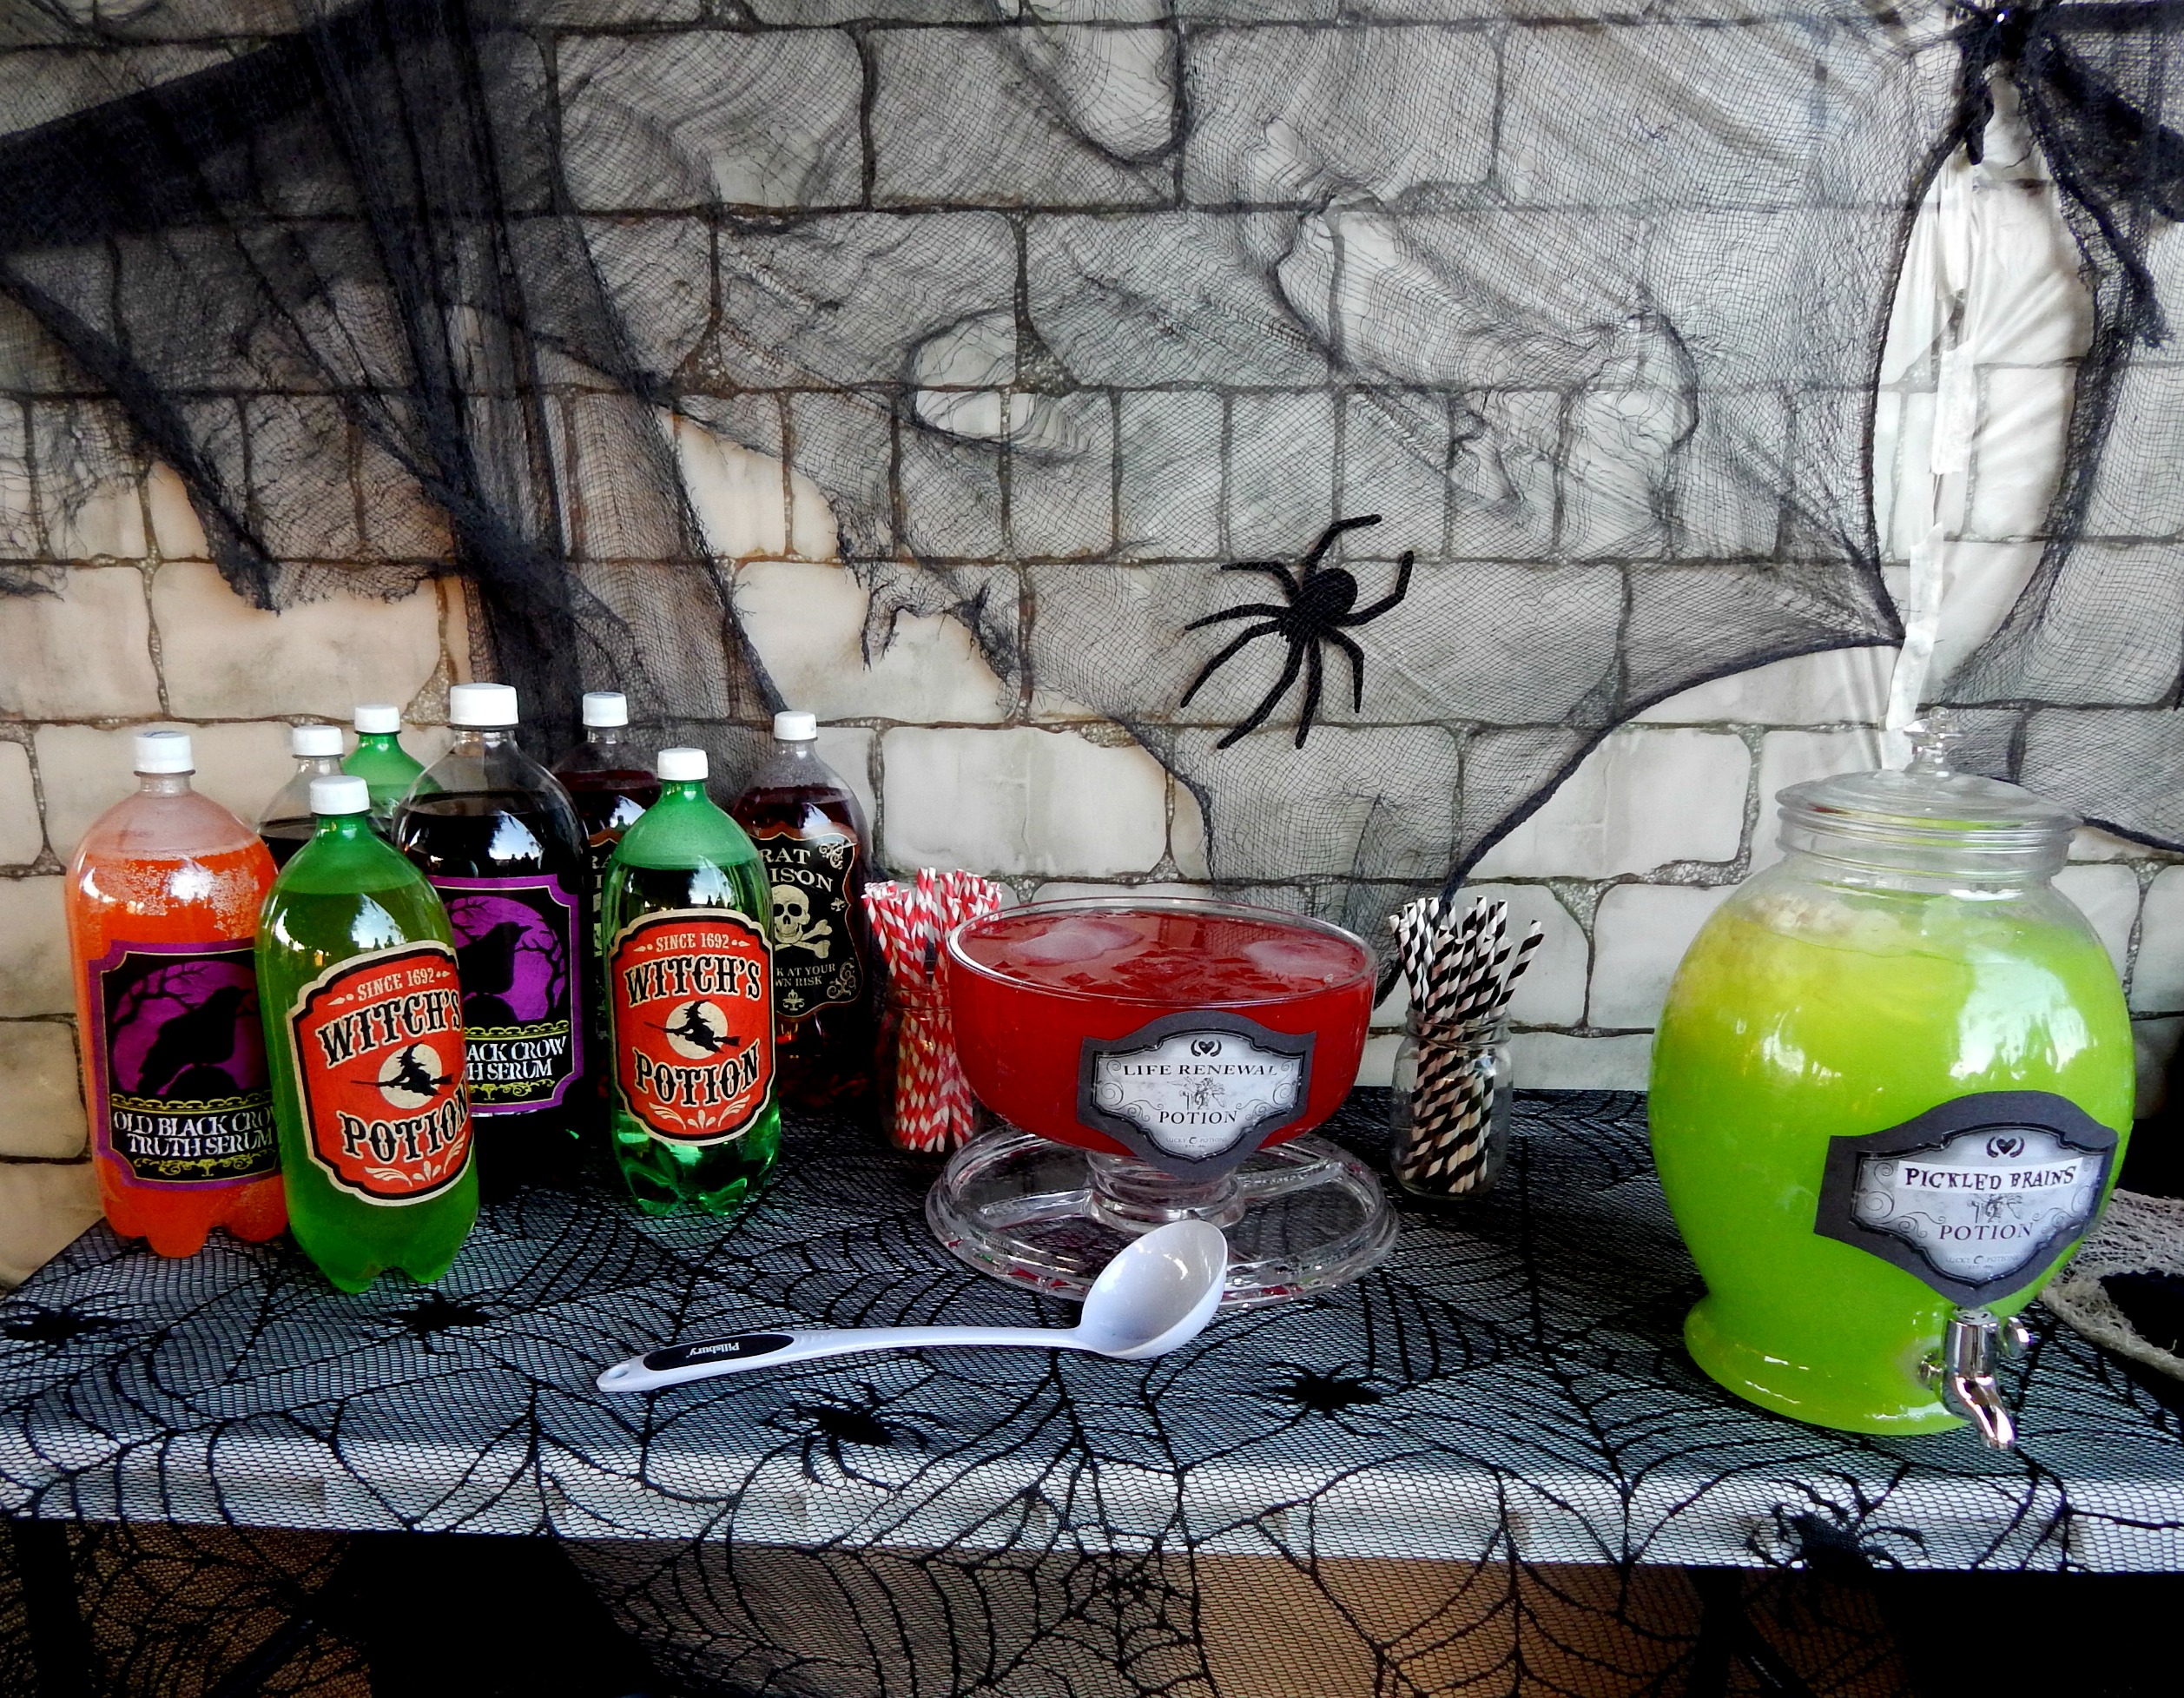
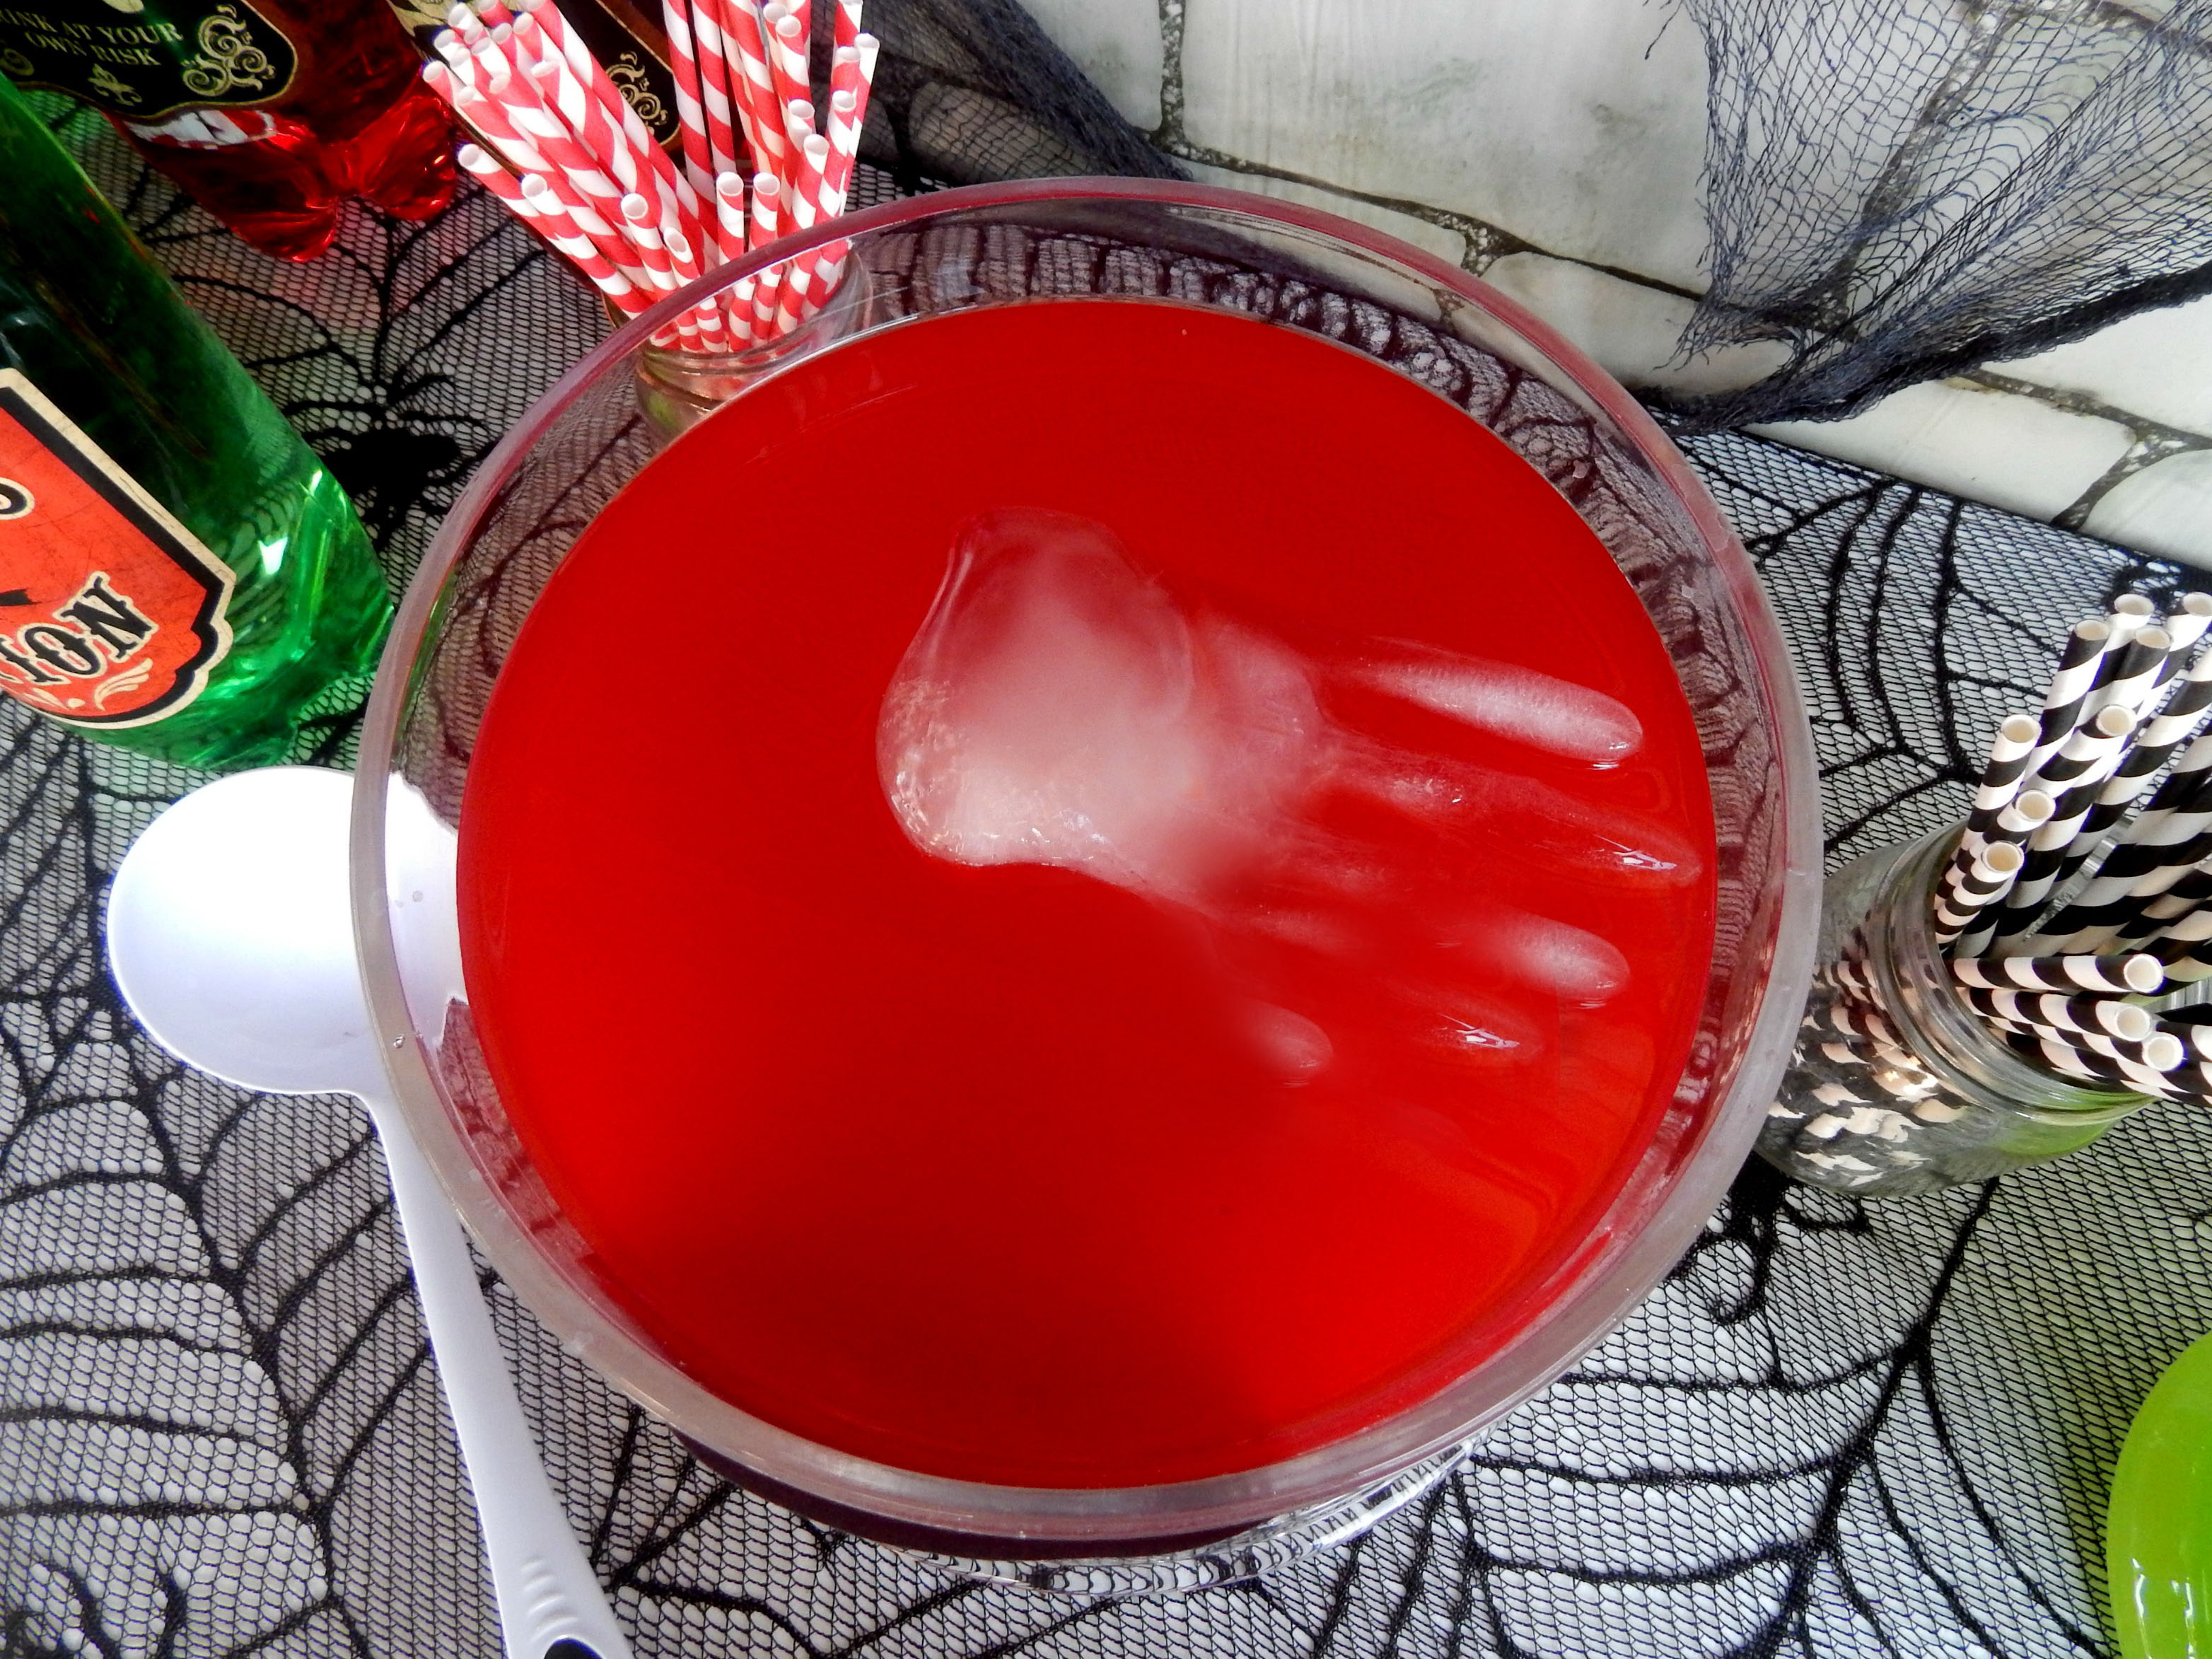
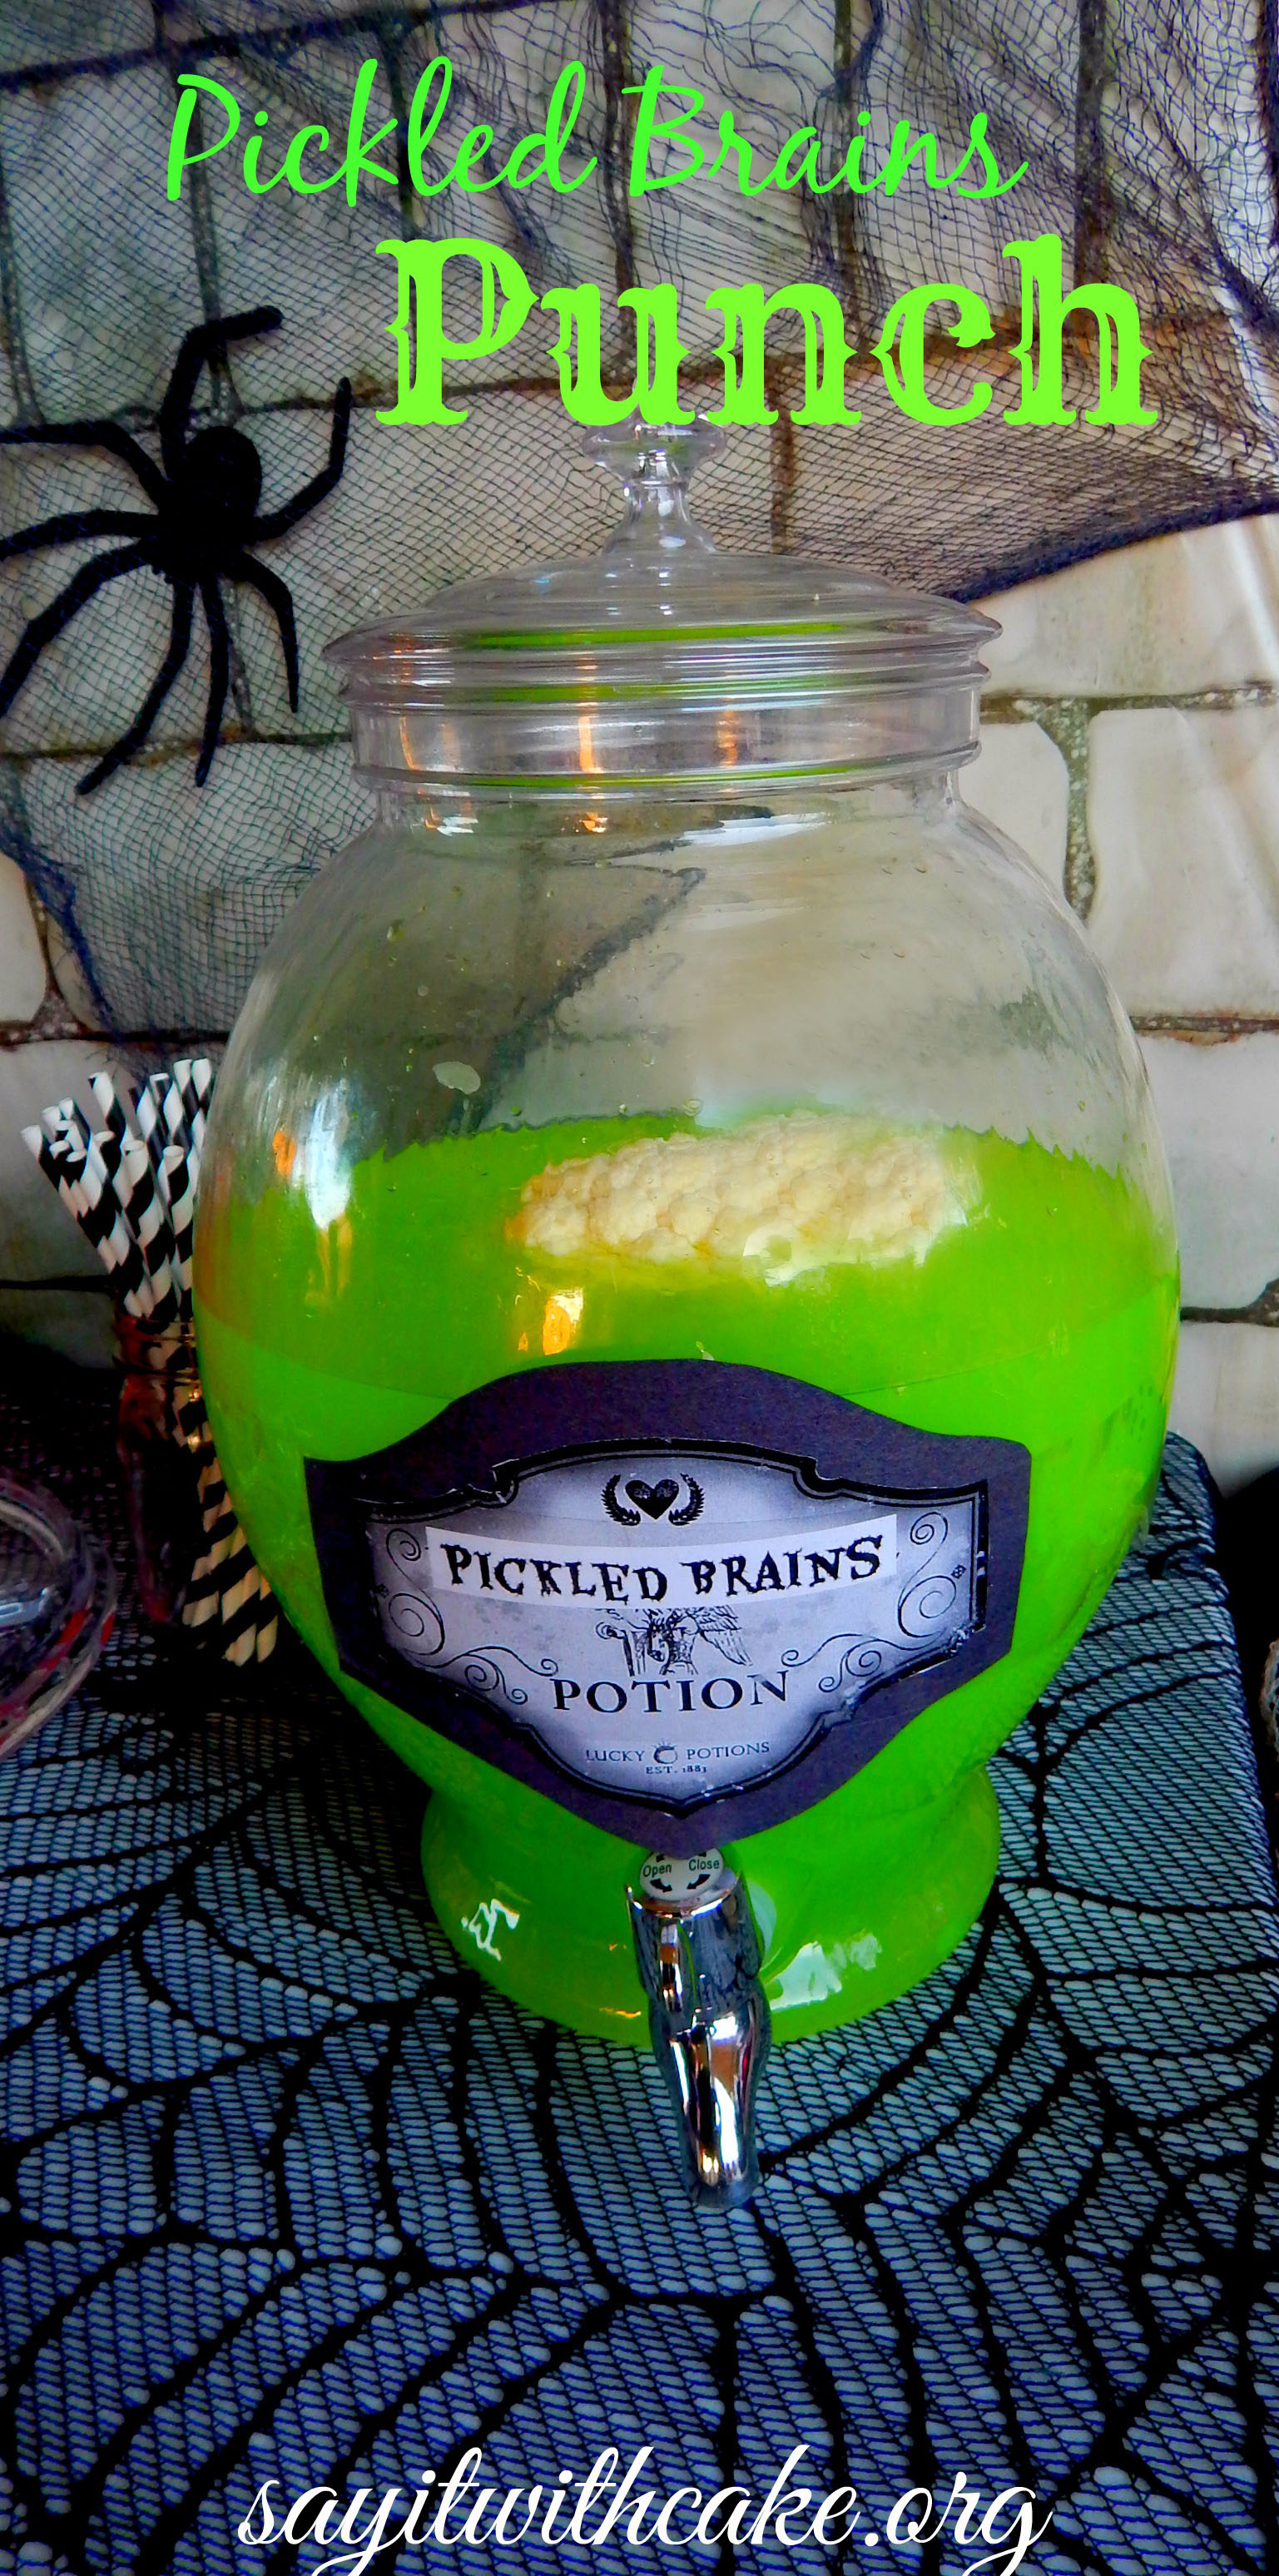
I made this punch using lemonade and sprite. I added a drop of neon green food coloring. For the brain I put in a cauliflower. This picture doesn’t really capture it, but it looks really cool when the “brain” is floating against the glass. For the floating hand punch, I just made red punch and froze a glove full of water over night. I cut the glove off, and put it into the punch! It looks so cool and spooky!
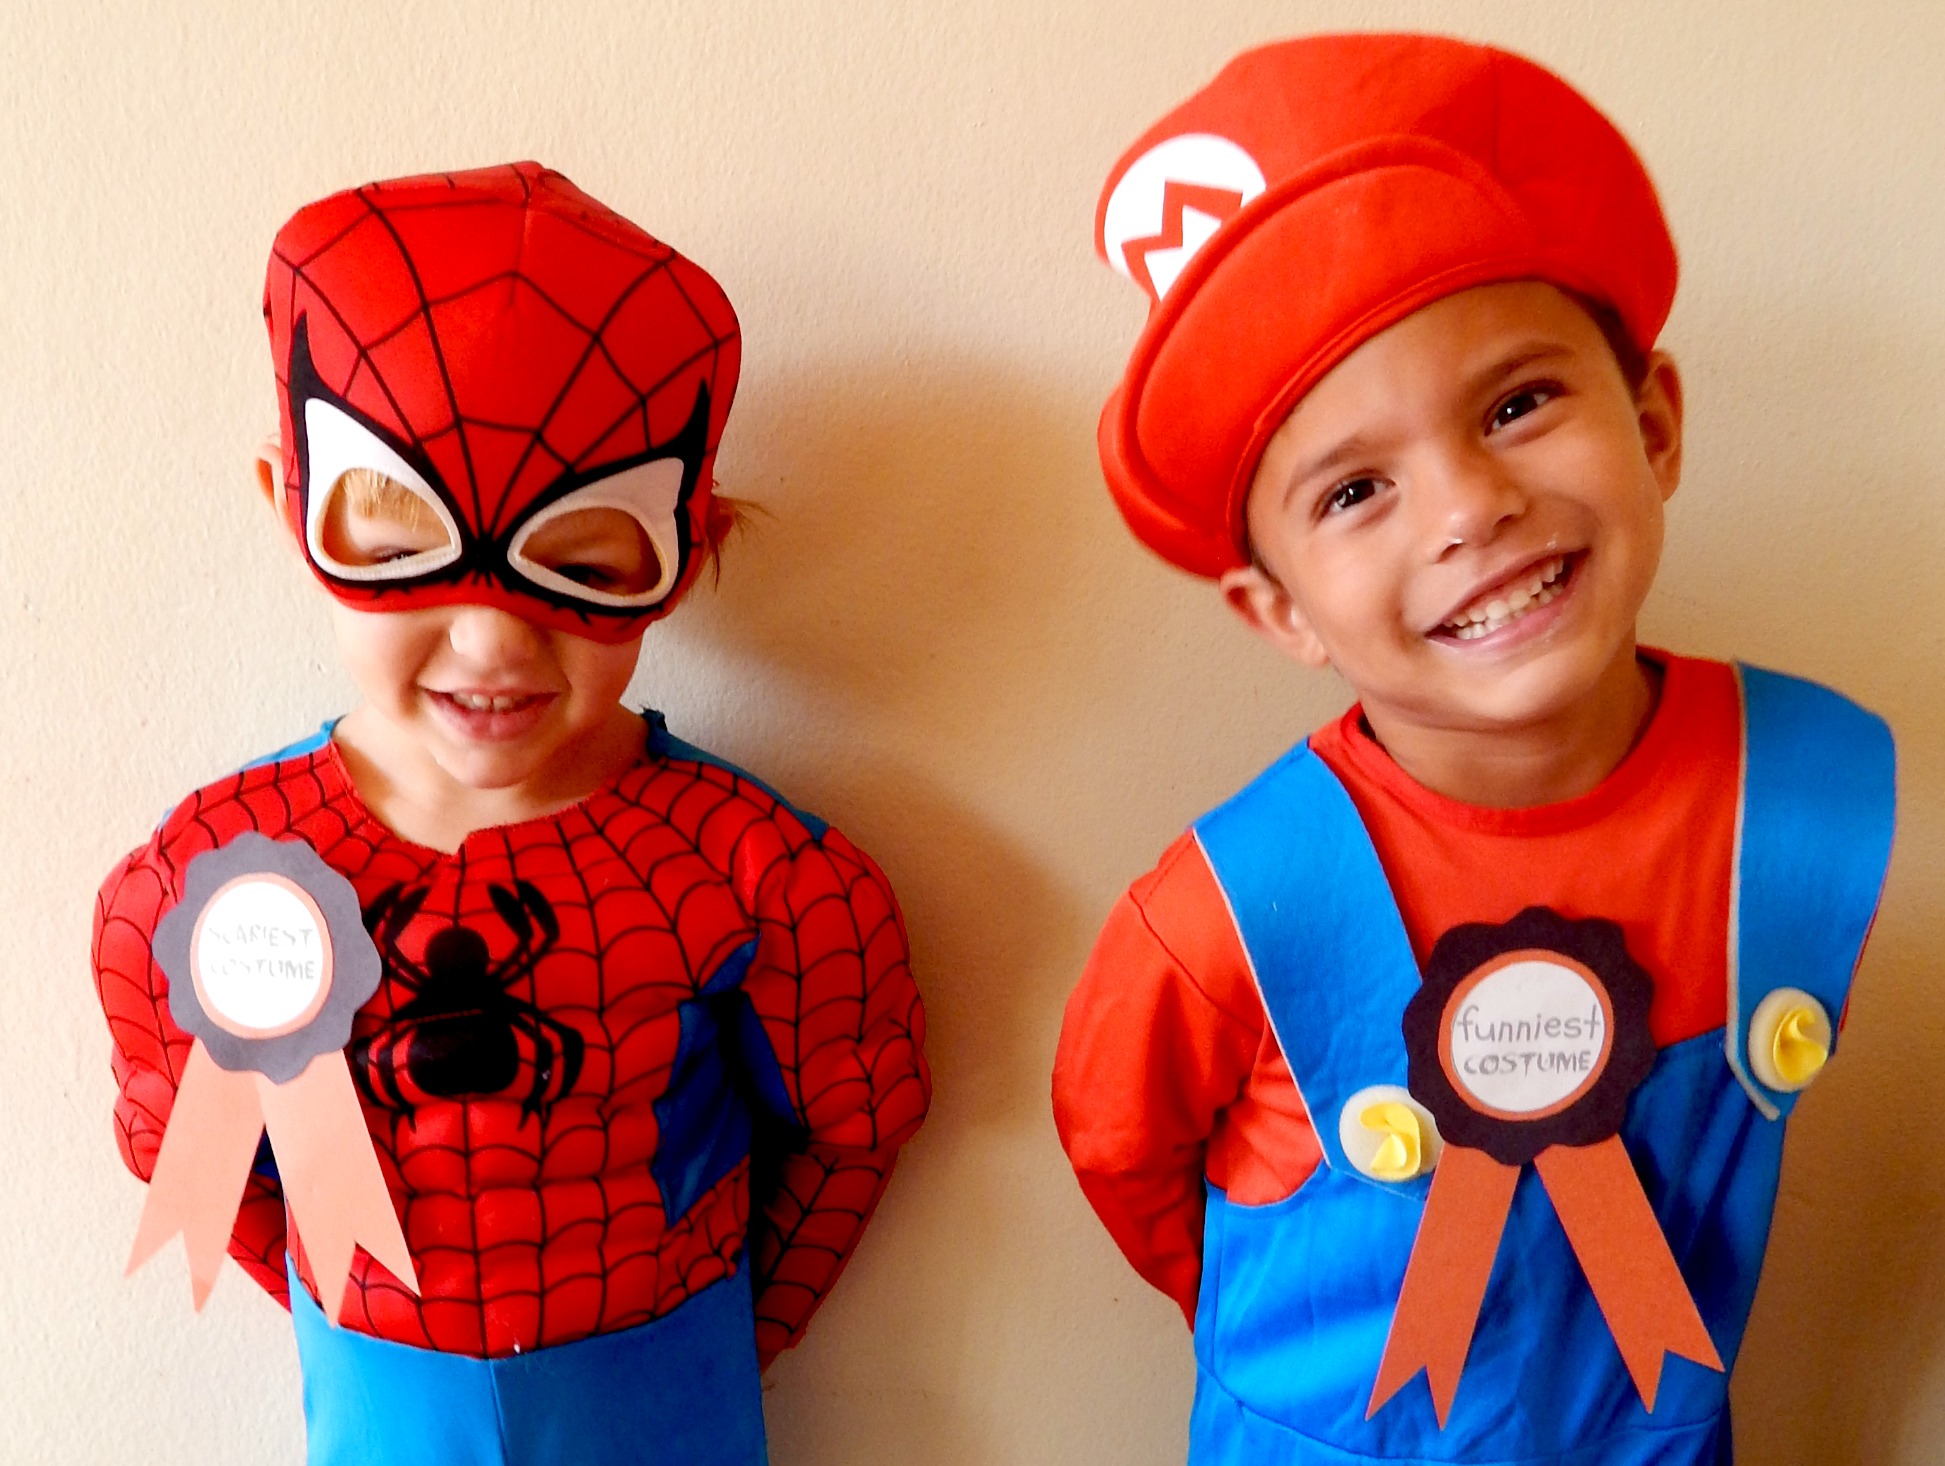
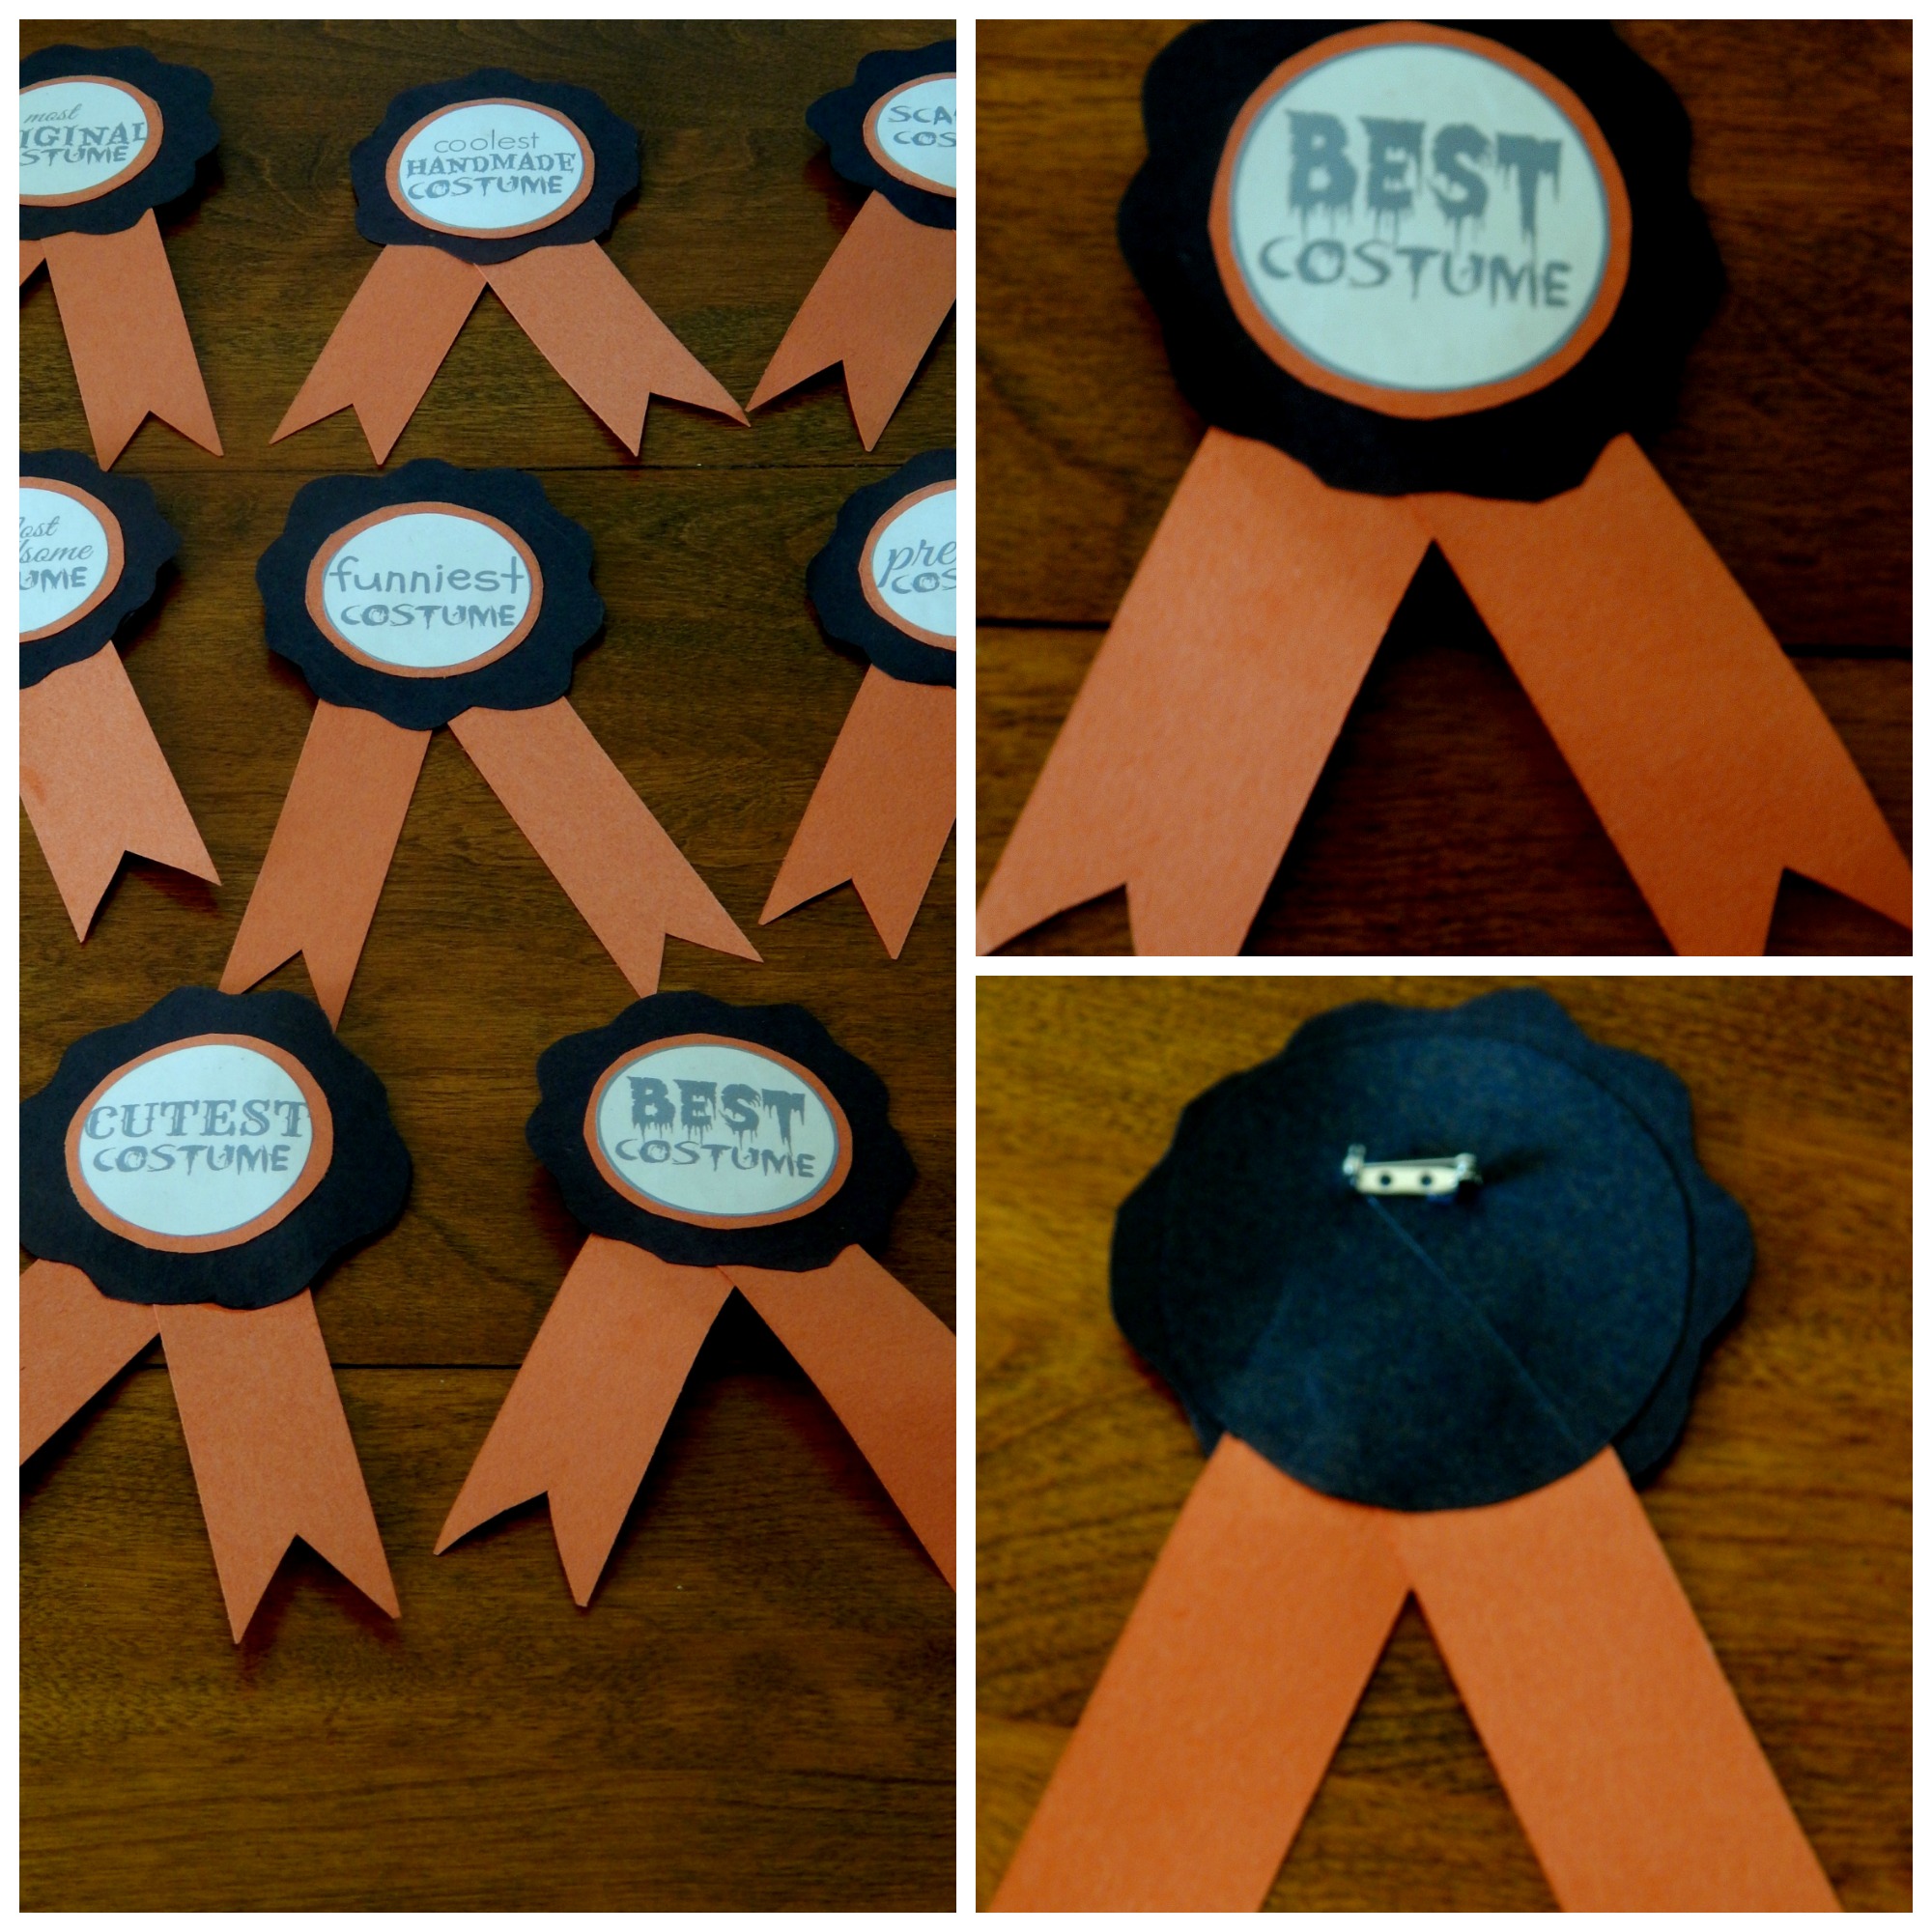
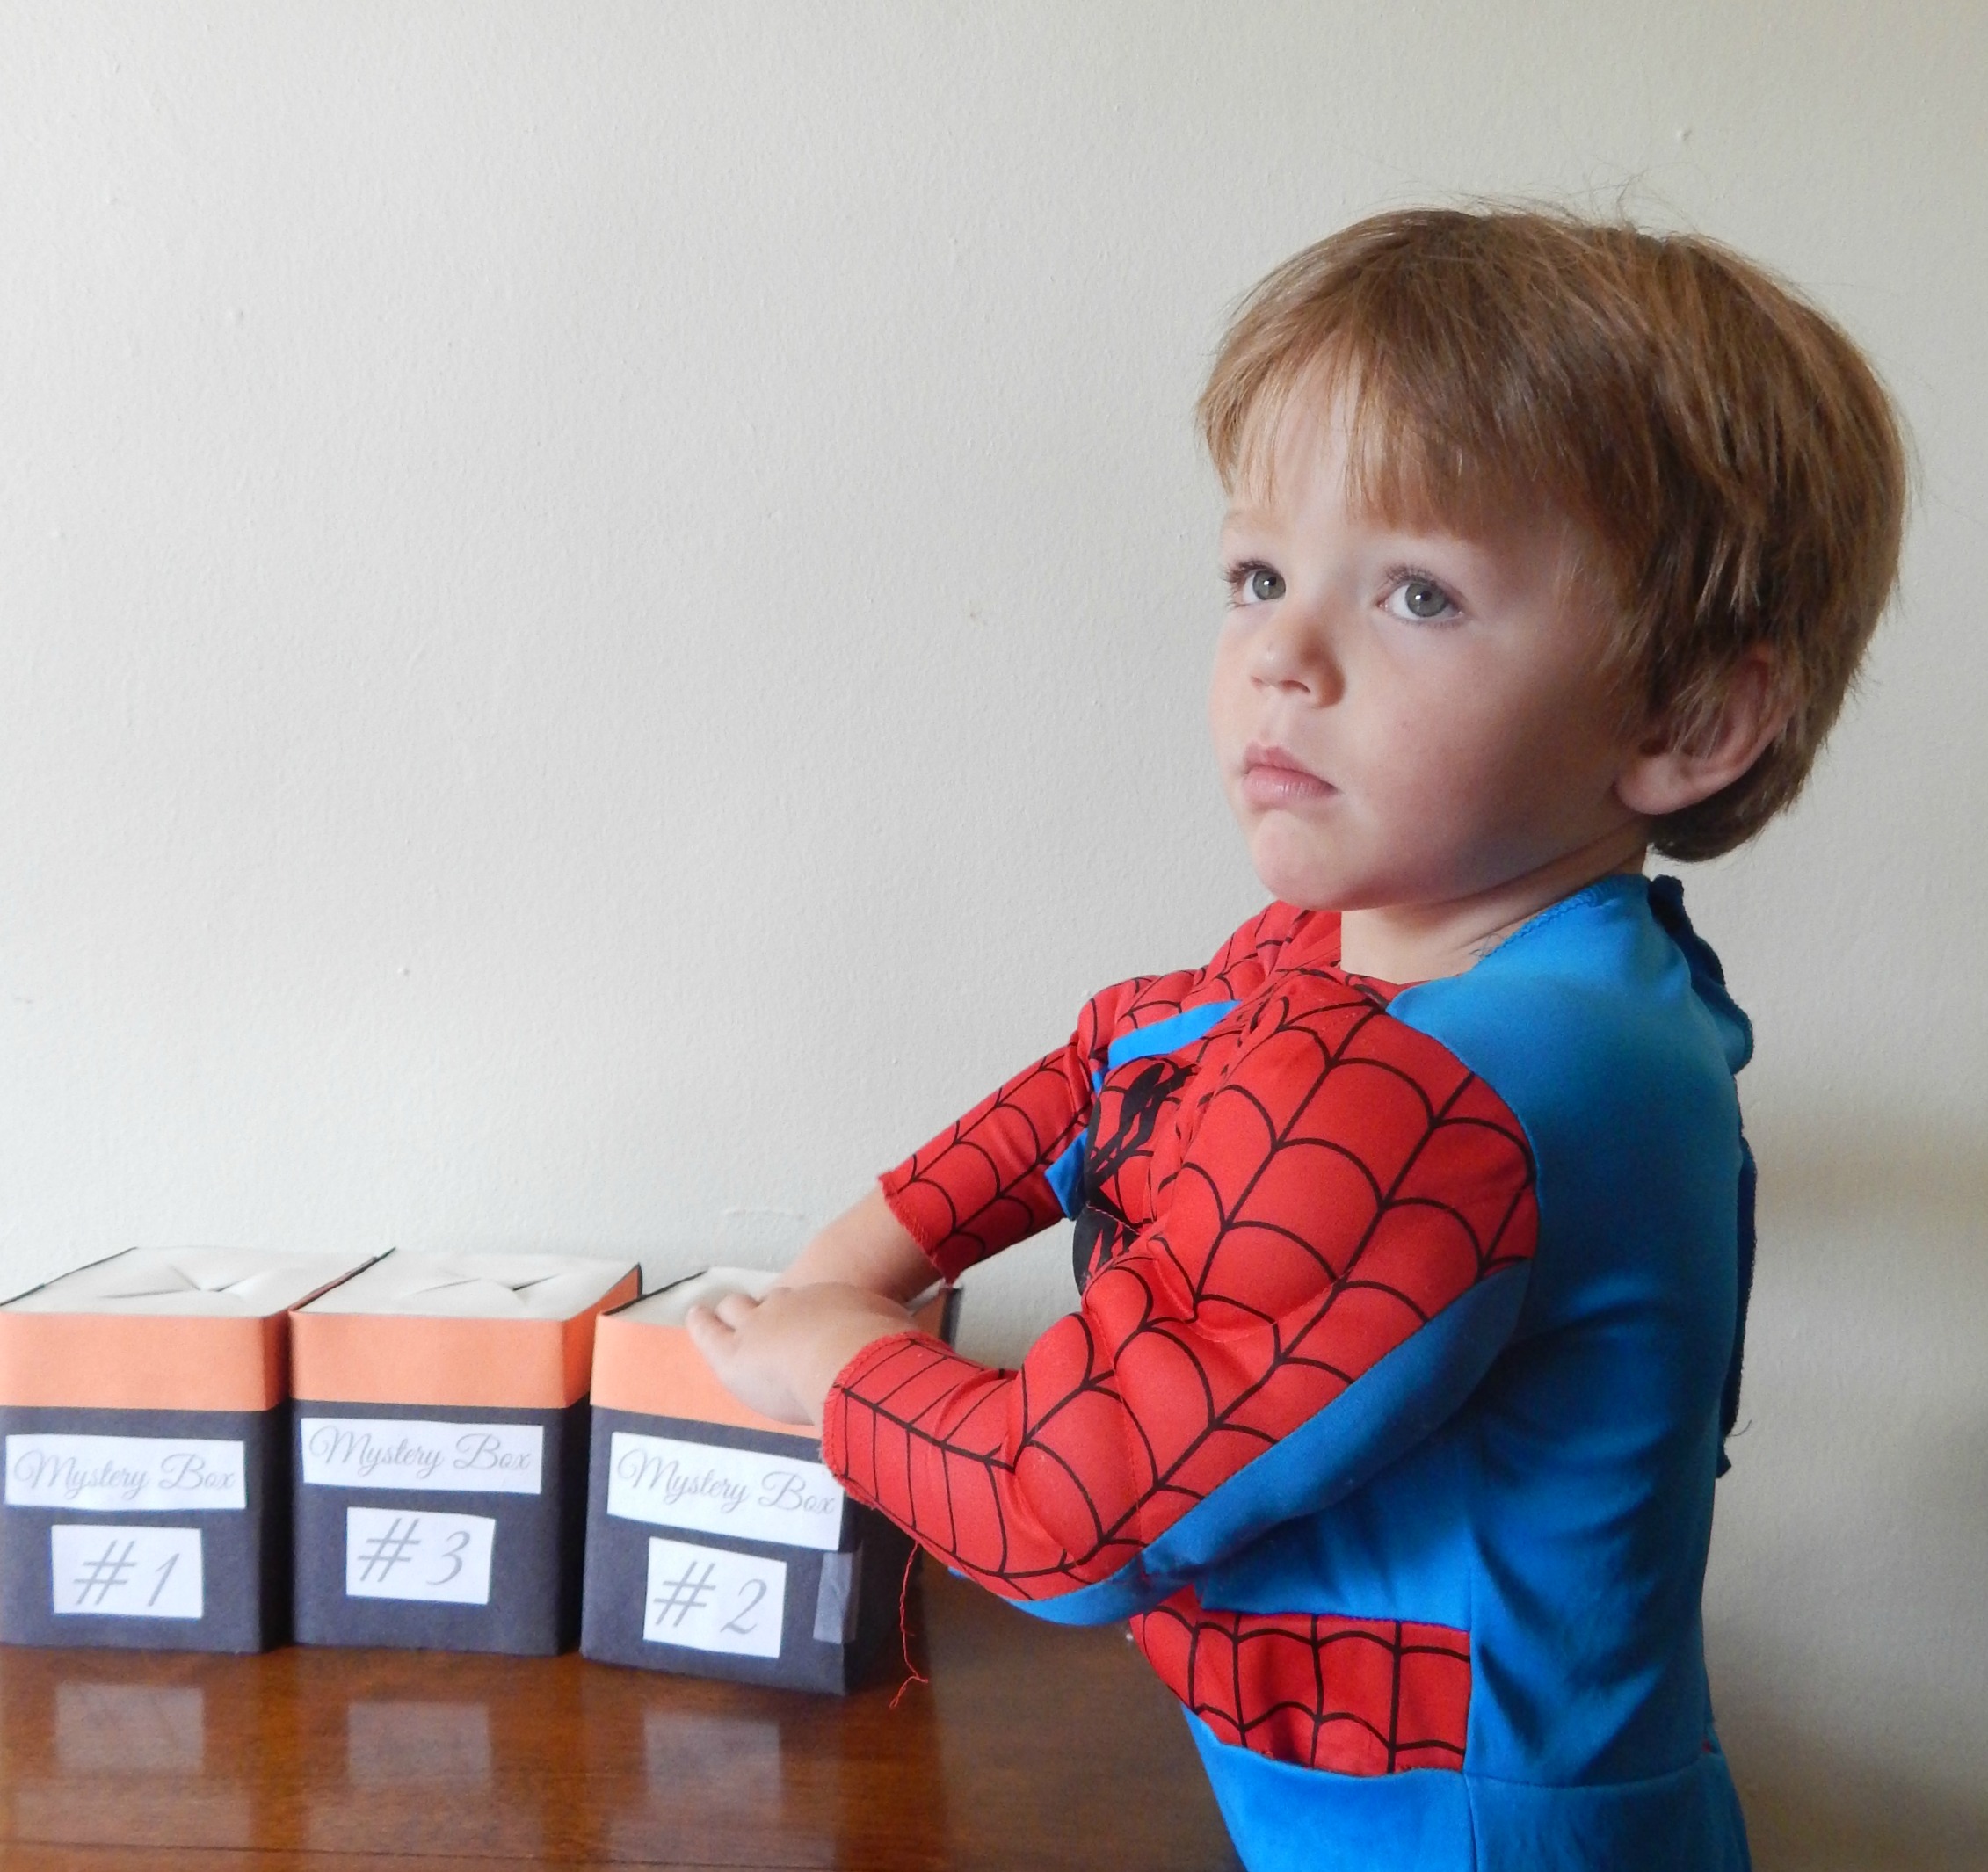
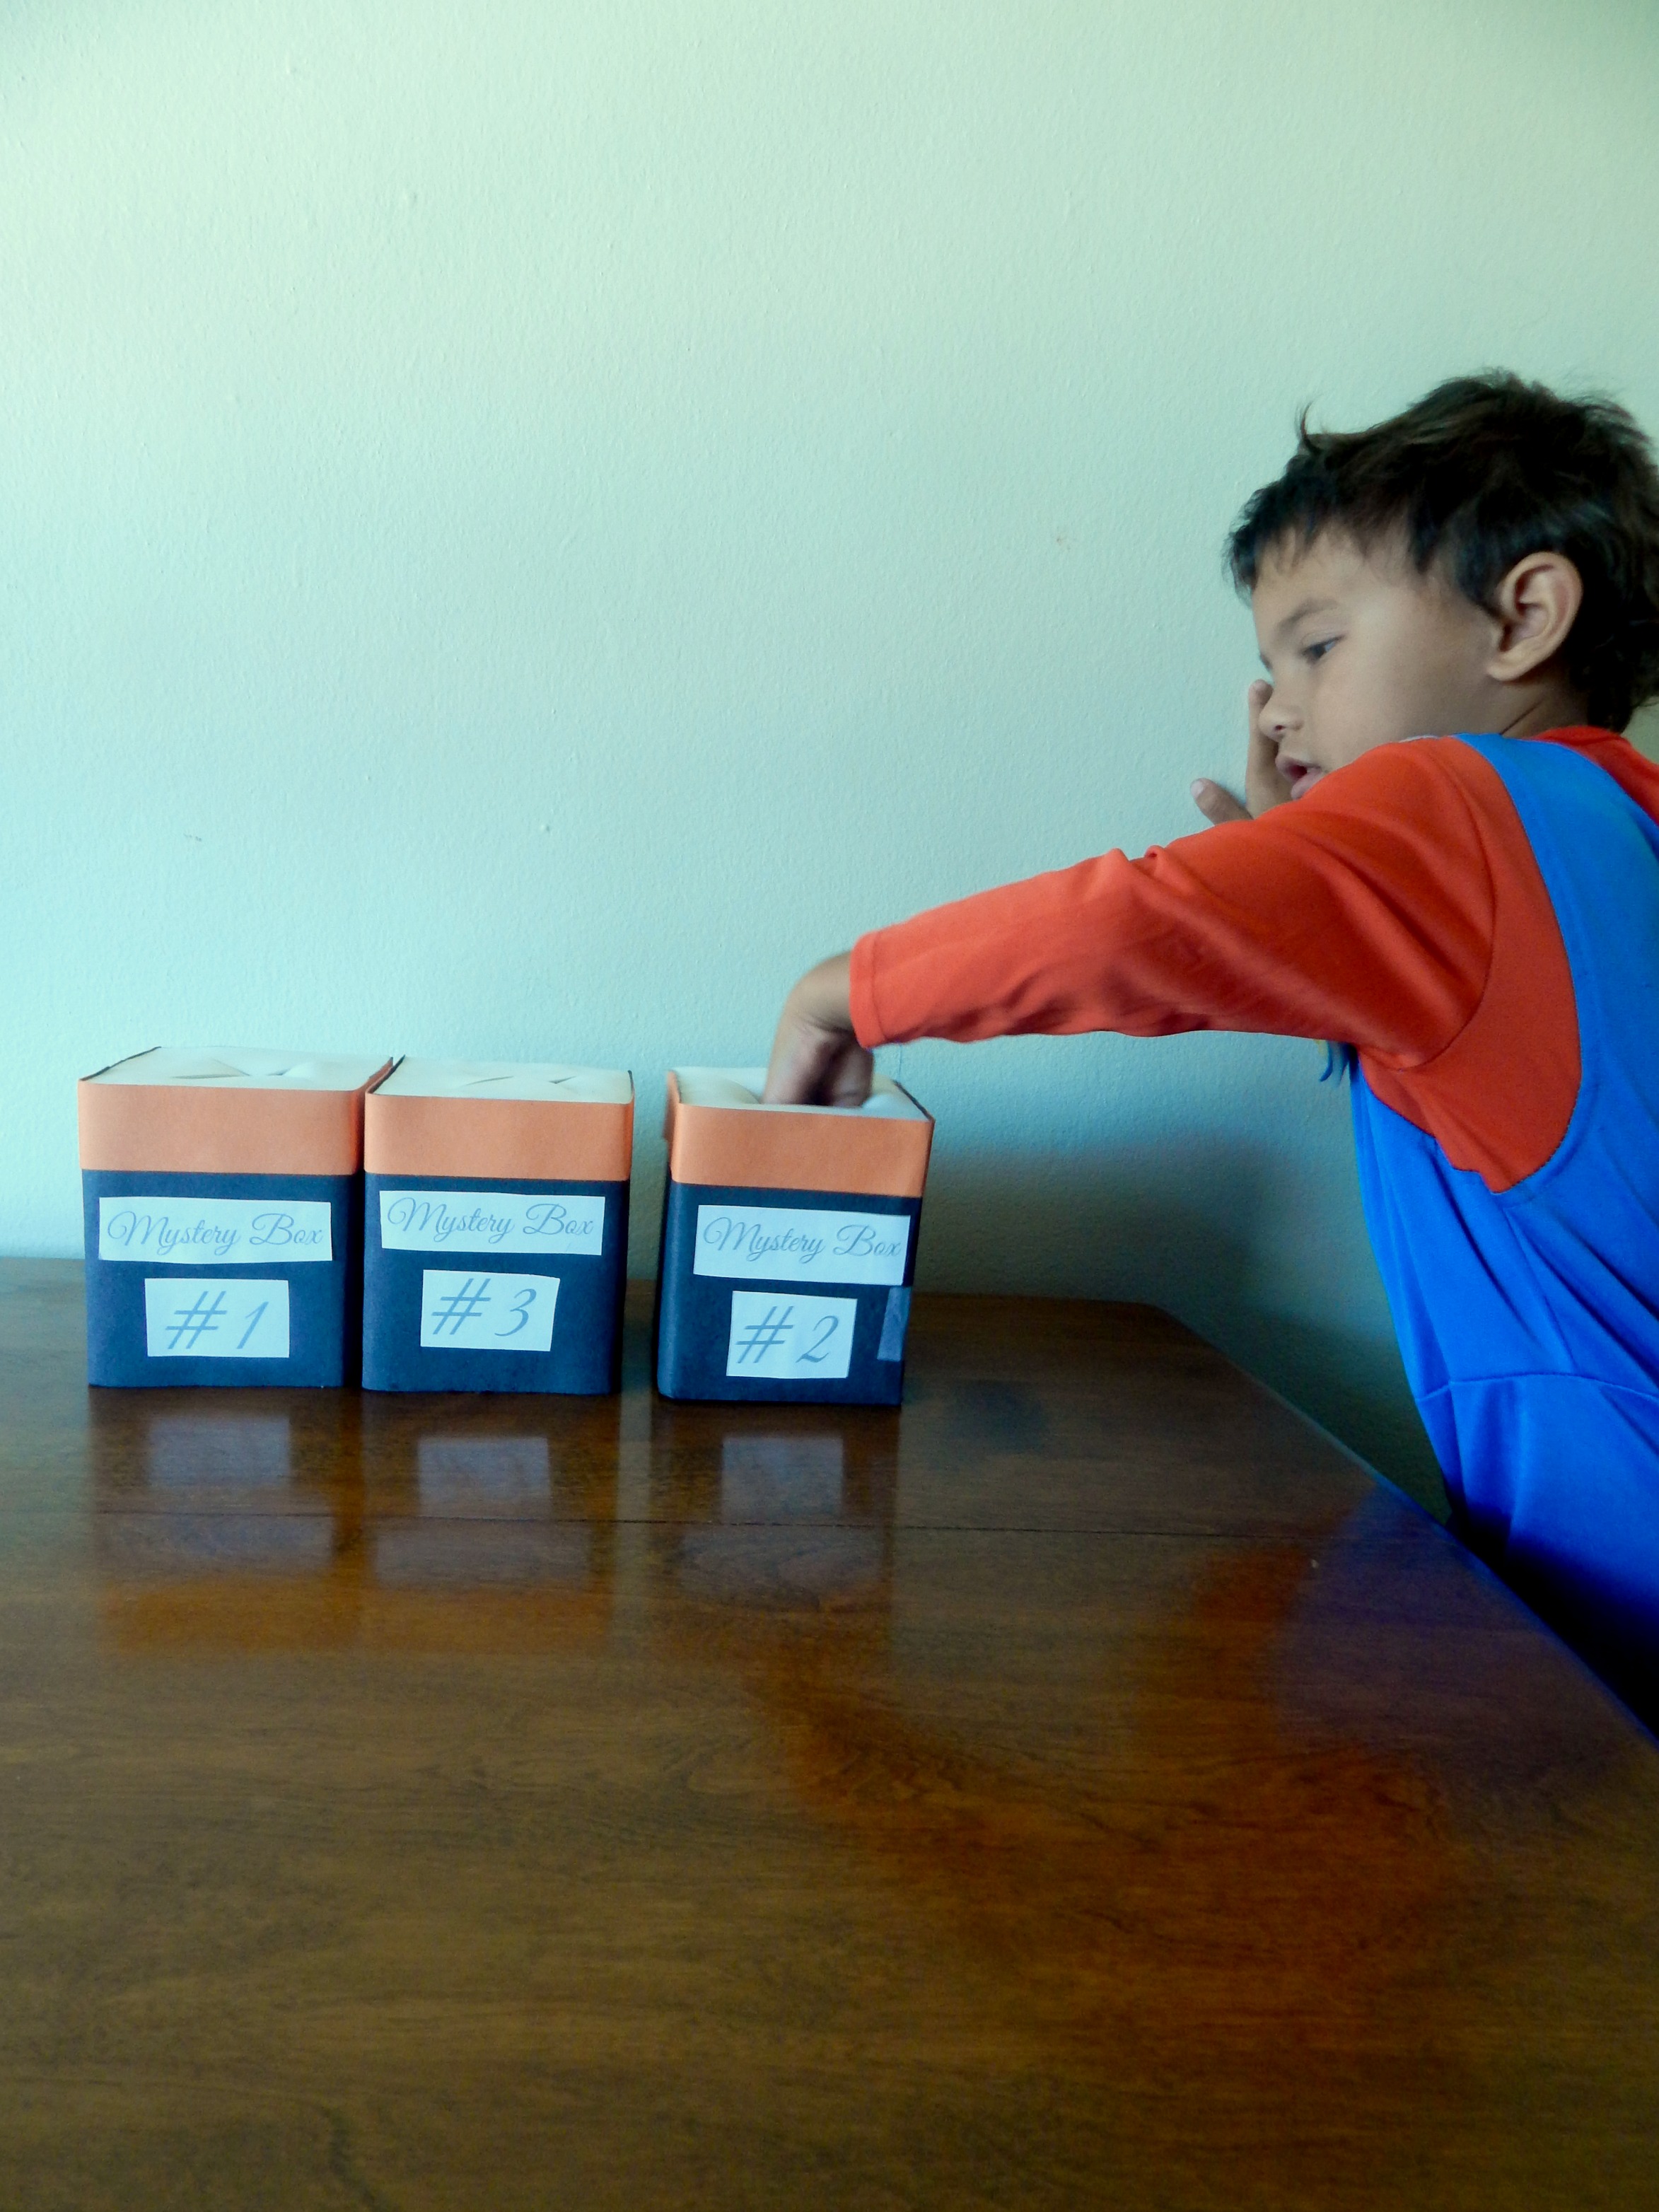
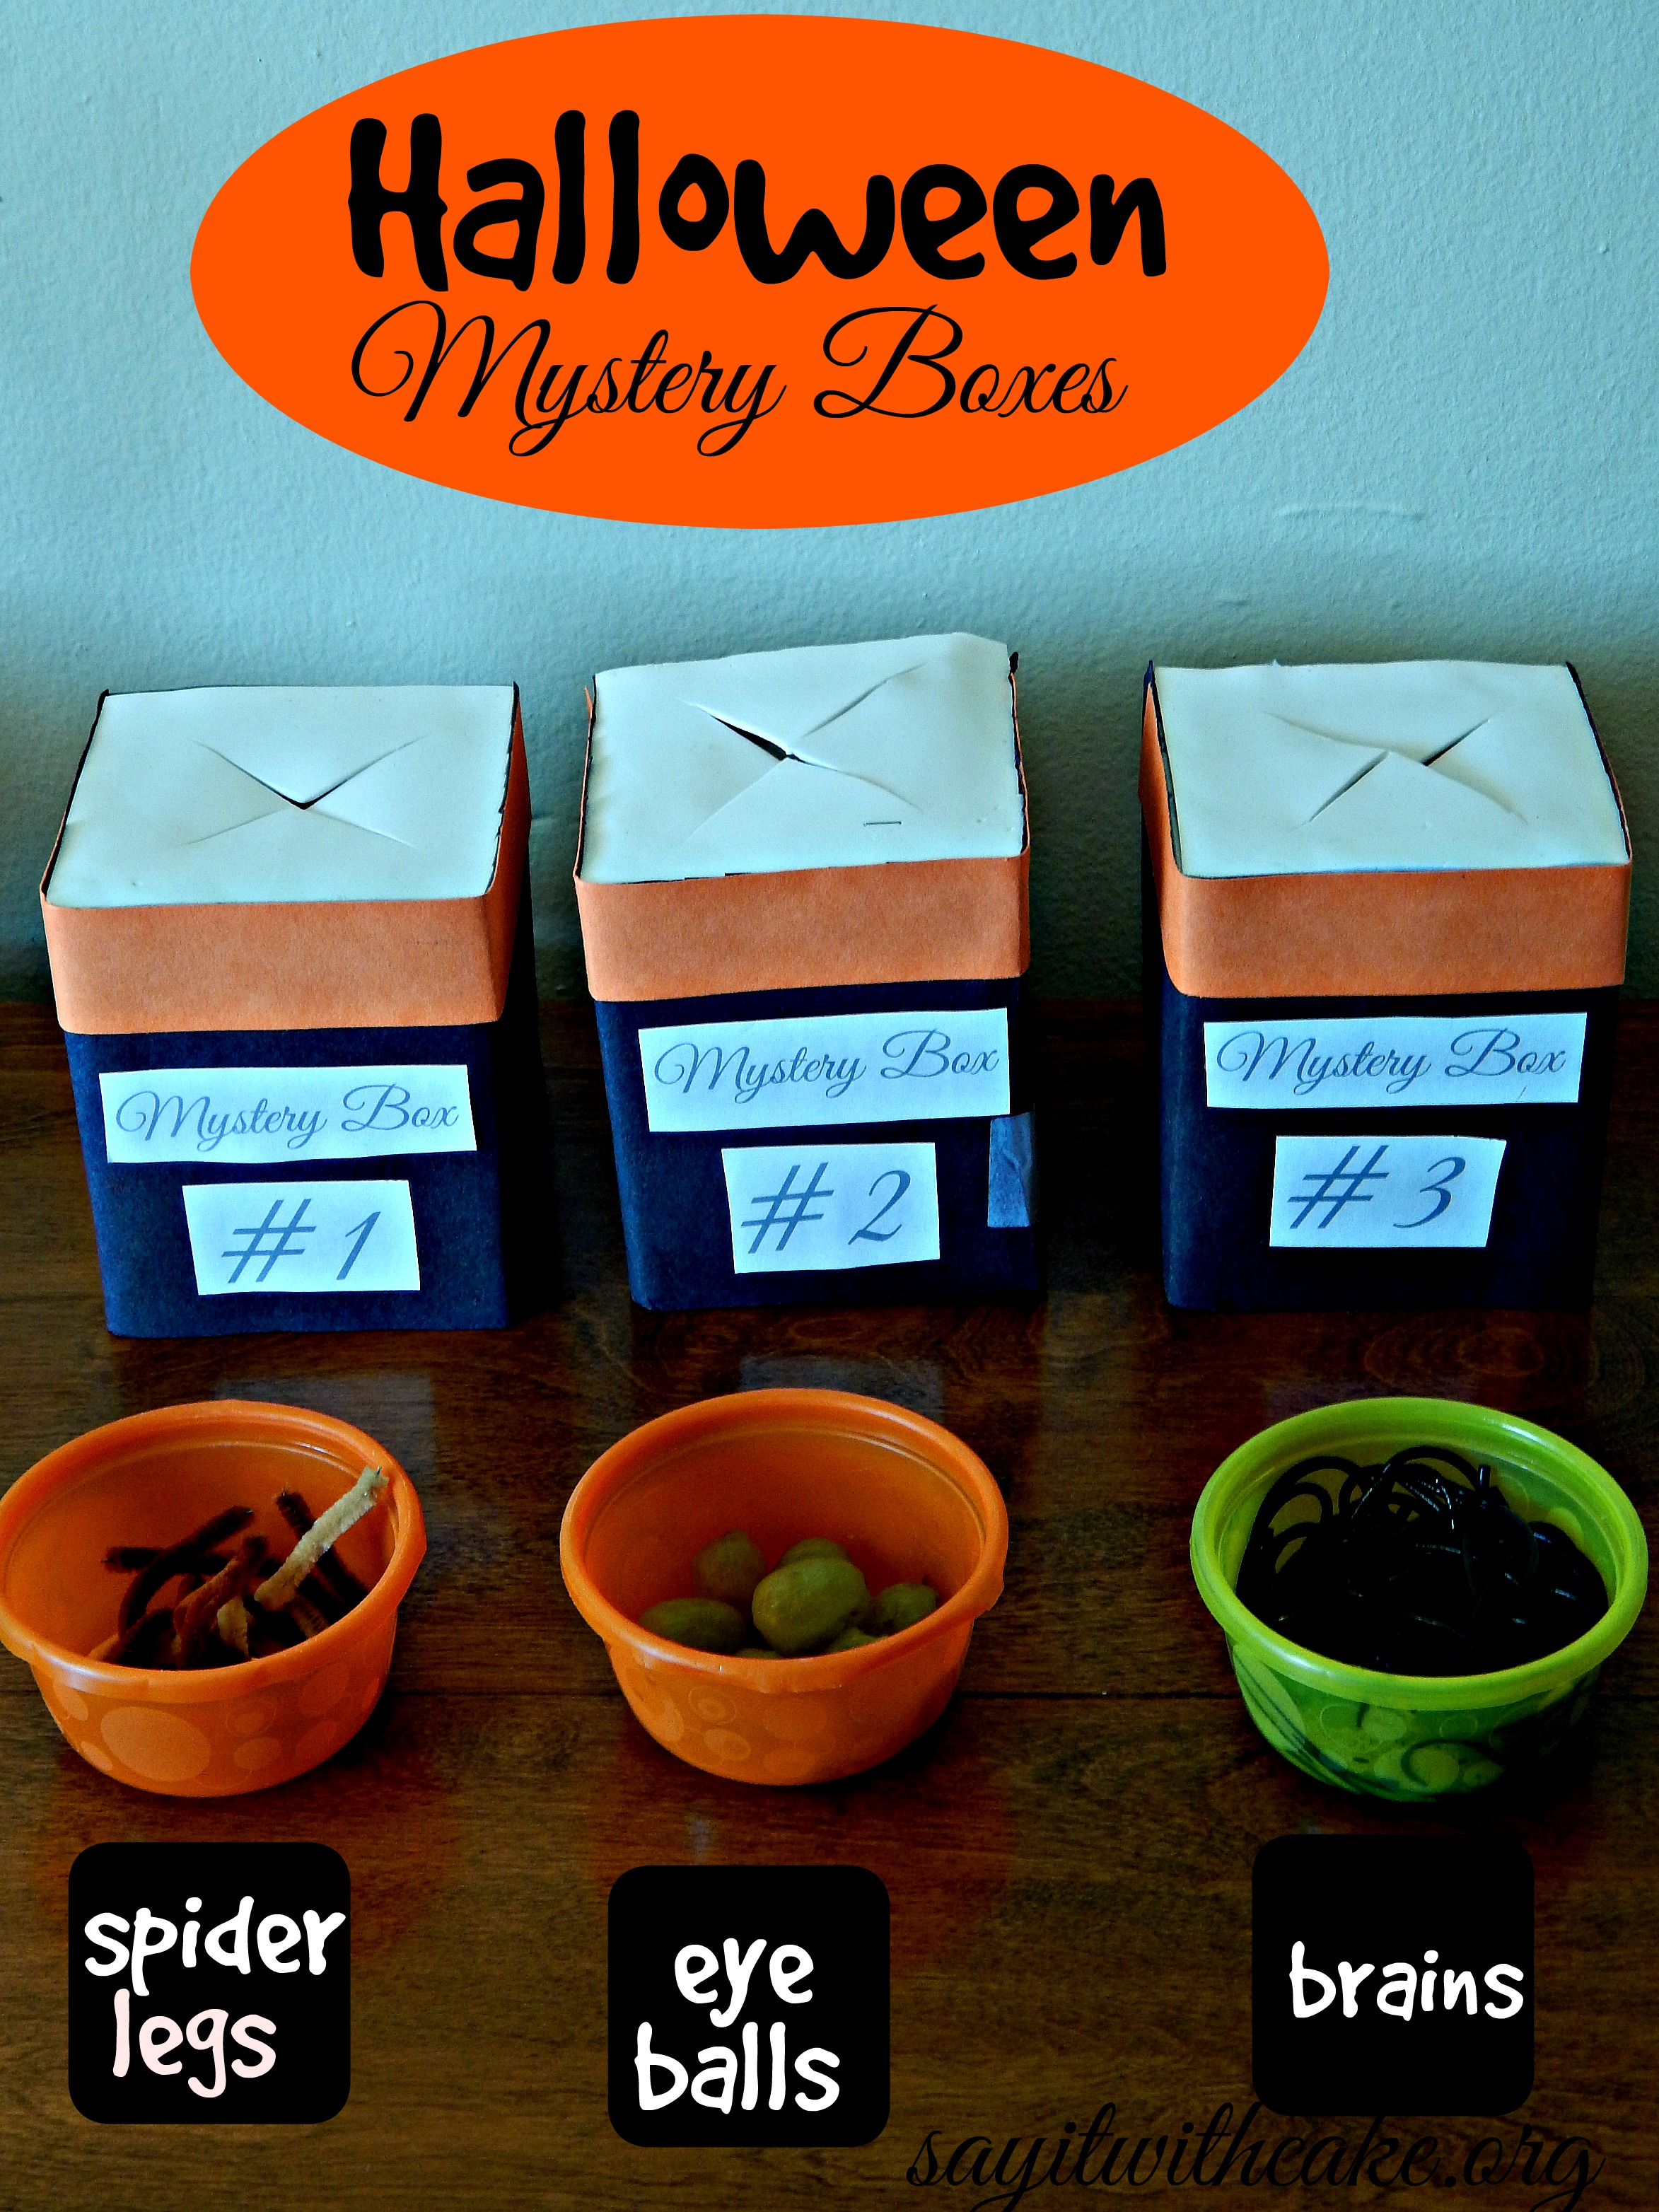
For these costume awards, I used orange and black construction paper, and hot glued a pin on the back. They were so easy and fun to make! For the mystery boxes, I used tissue boxes and glued construction paper on them. For the top, I cut a piece of foam paper and cut an x in the middle. I used peeled grapes for the eyeballs, pipe cleaners for spider legs, and spaghetti noodles for brains or intestines.
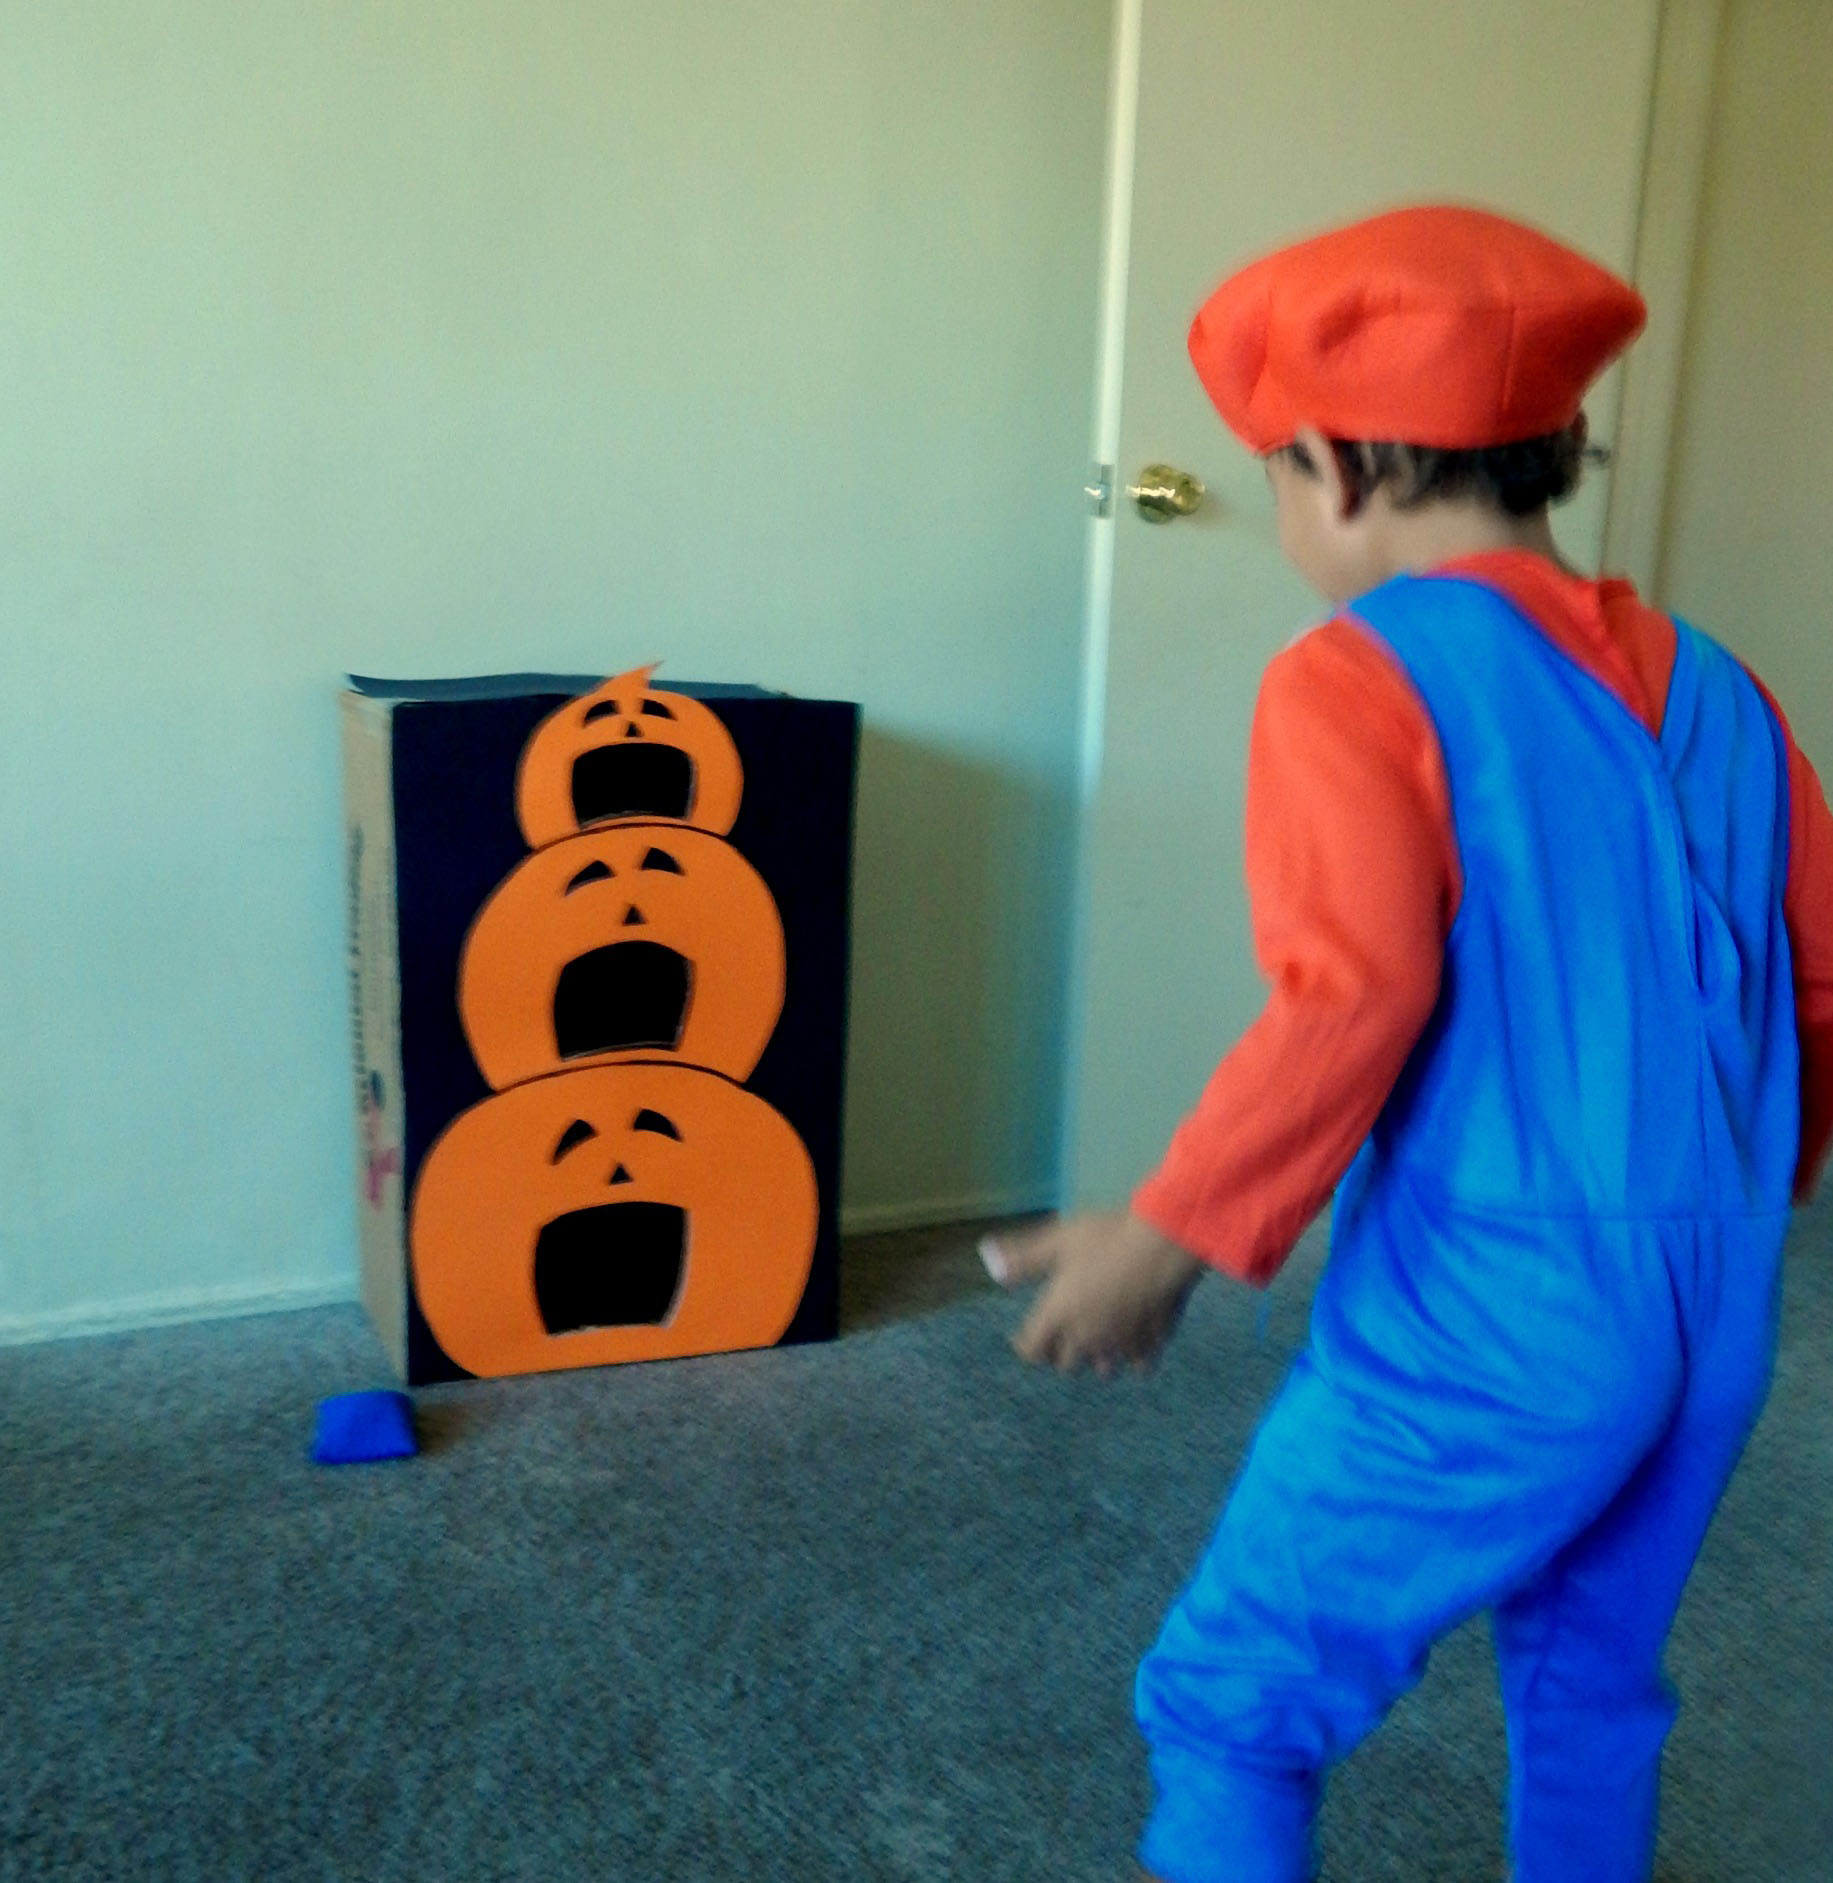
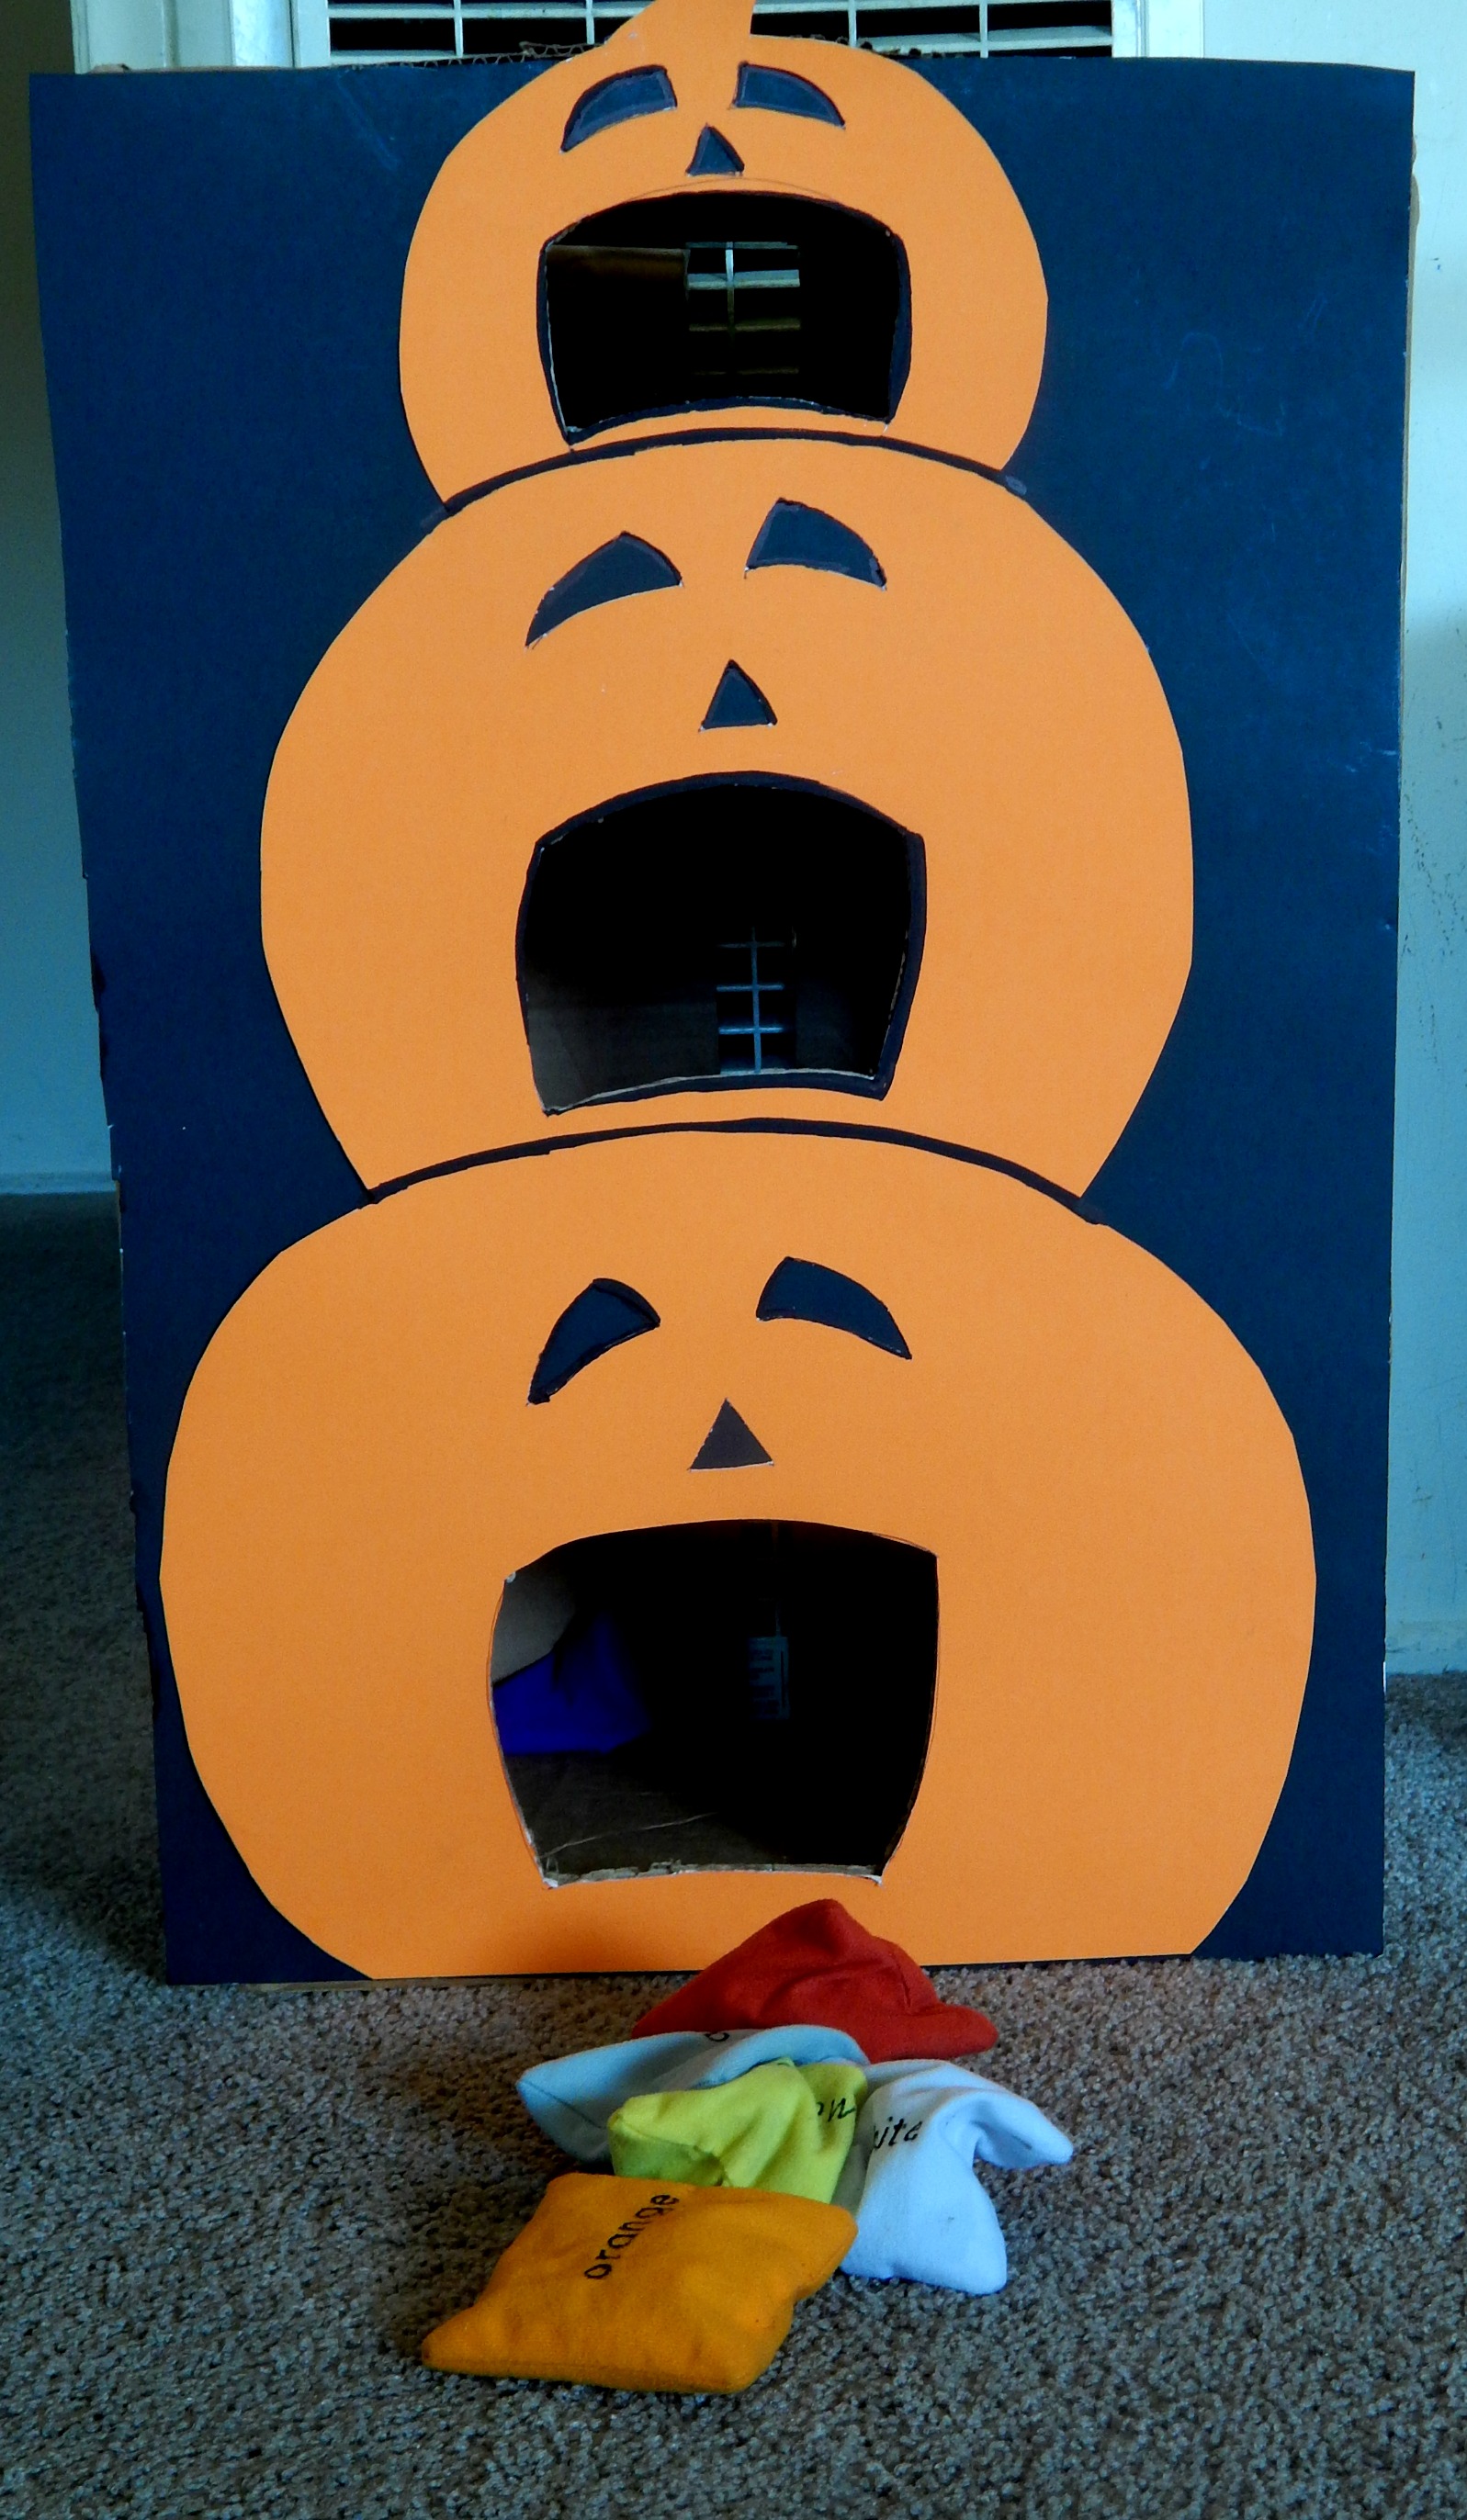
For the PUMPKIN BEANBAG TOSS GAME:
You will need:
- Poster board: orange and black
- Cardboard box
- Spray adhesive
- Crafts knife
- 8 to 10 orange table-tennis balls
- Medium-tip black permanent marking pen
How to Make It
- Using a photocopier, enlarge the patterns as indicated on the pattern.
- Trace the pumpkin patterns onto orange poster board and the eye and nose patterns onto black poster board; cut the pieces out, but do not cut out the pumpkin mouth openings.
- Tape one end of the box shut and cut off the flaps on the opposite side.
- Place the box with the open-side down and use spray adhesive to attach the black poster board to the front of the box.
- Beginning with the largest pumpkin, use spray adhesive to attach it along the bottom edge of the poster board.
- Spacing the pumpkins about 1 inch apart, adhere the medium pumpkin above the large pumpkin and the small pumpkin on top.
- Cut out the pumpkin mouths through all the layers using a crafts knife.
- Draw pumpkin faces on table-tennis balls using a medium-tip black permanent marking pen.
- Allow the faces to dry.

adapted from Better Homes and Gardens
This donut game is very easy and fun. You tie a string and have it hang from a tree. Tie a donut at the end and have the kids try to eat the donut with out using hands.

linked up at thecountrycook.net
My party was featured here!

]]>
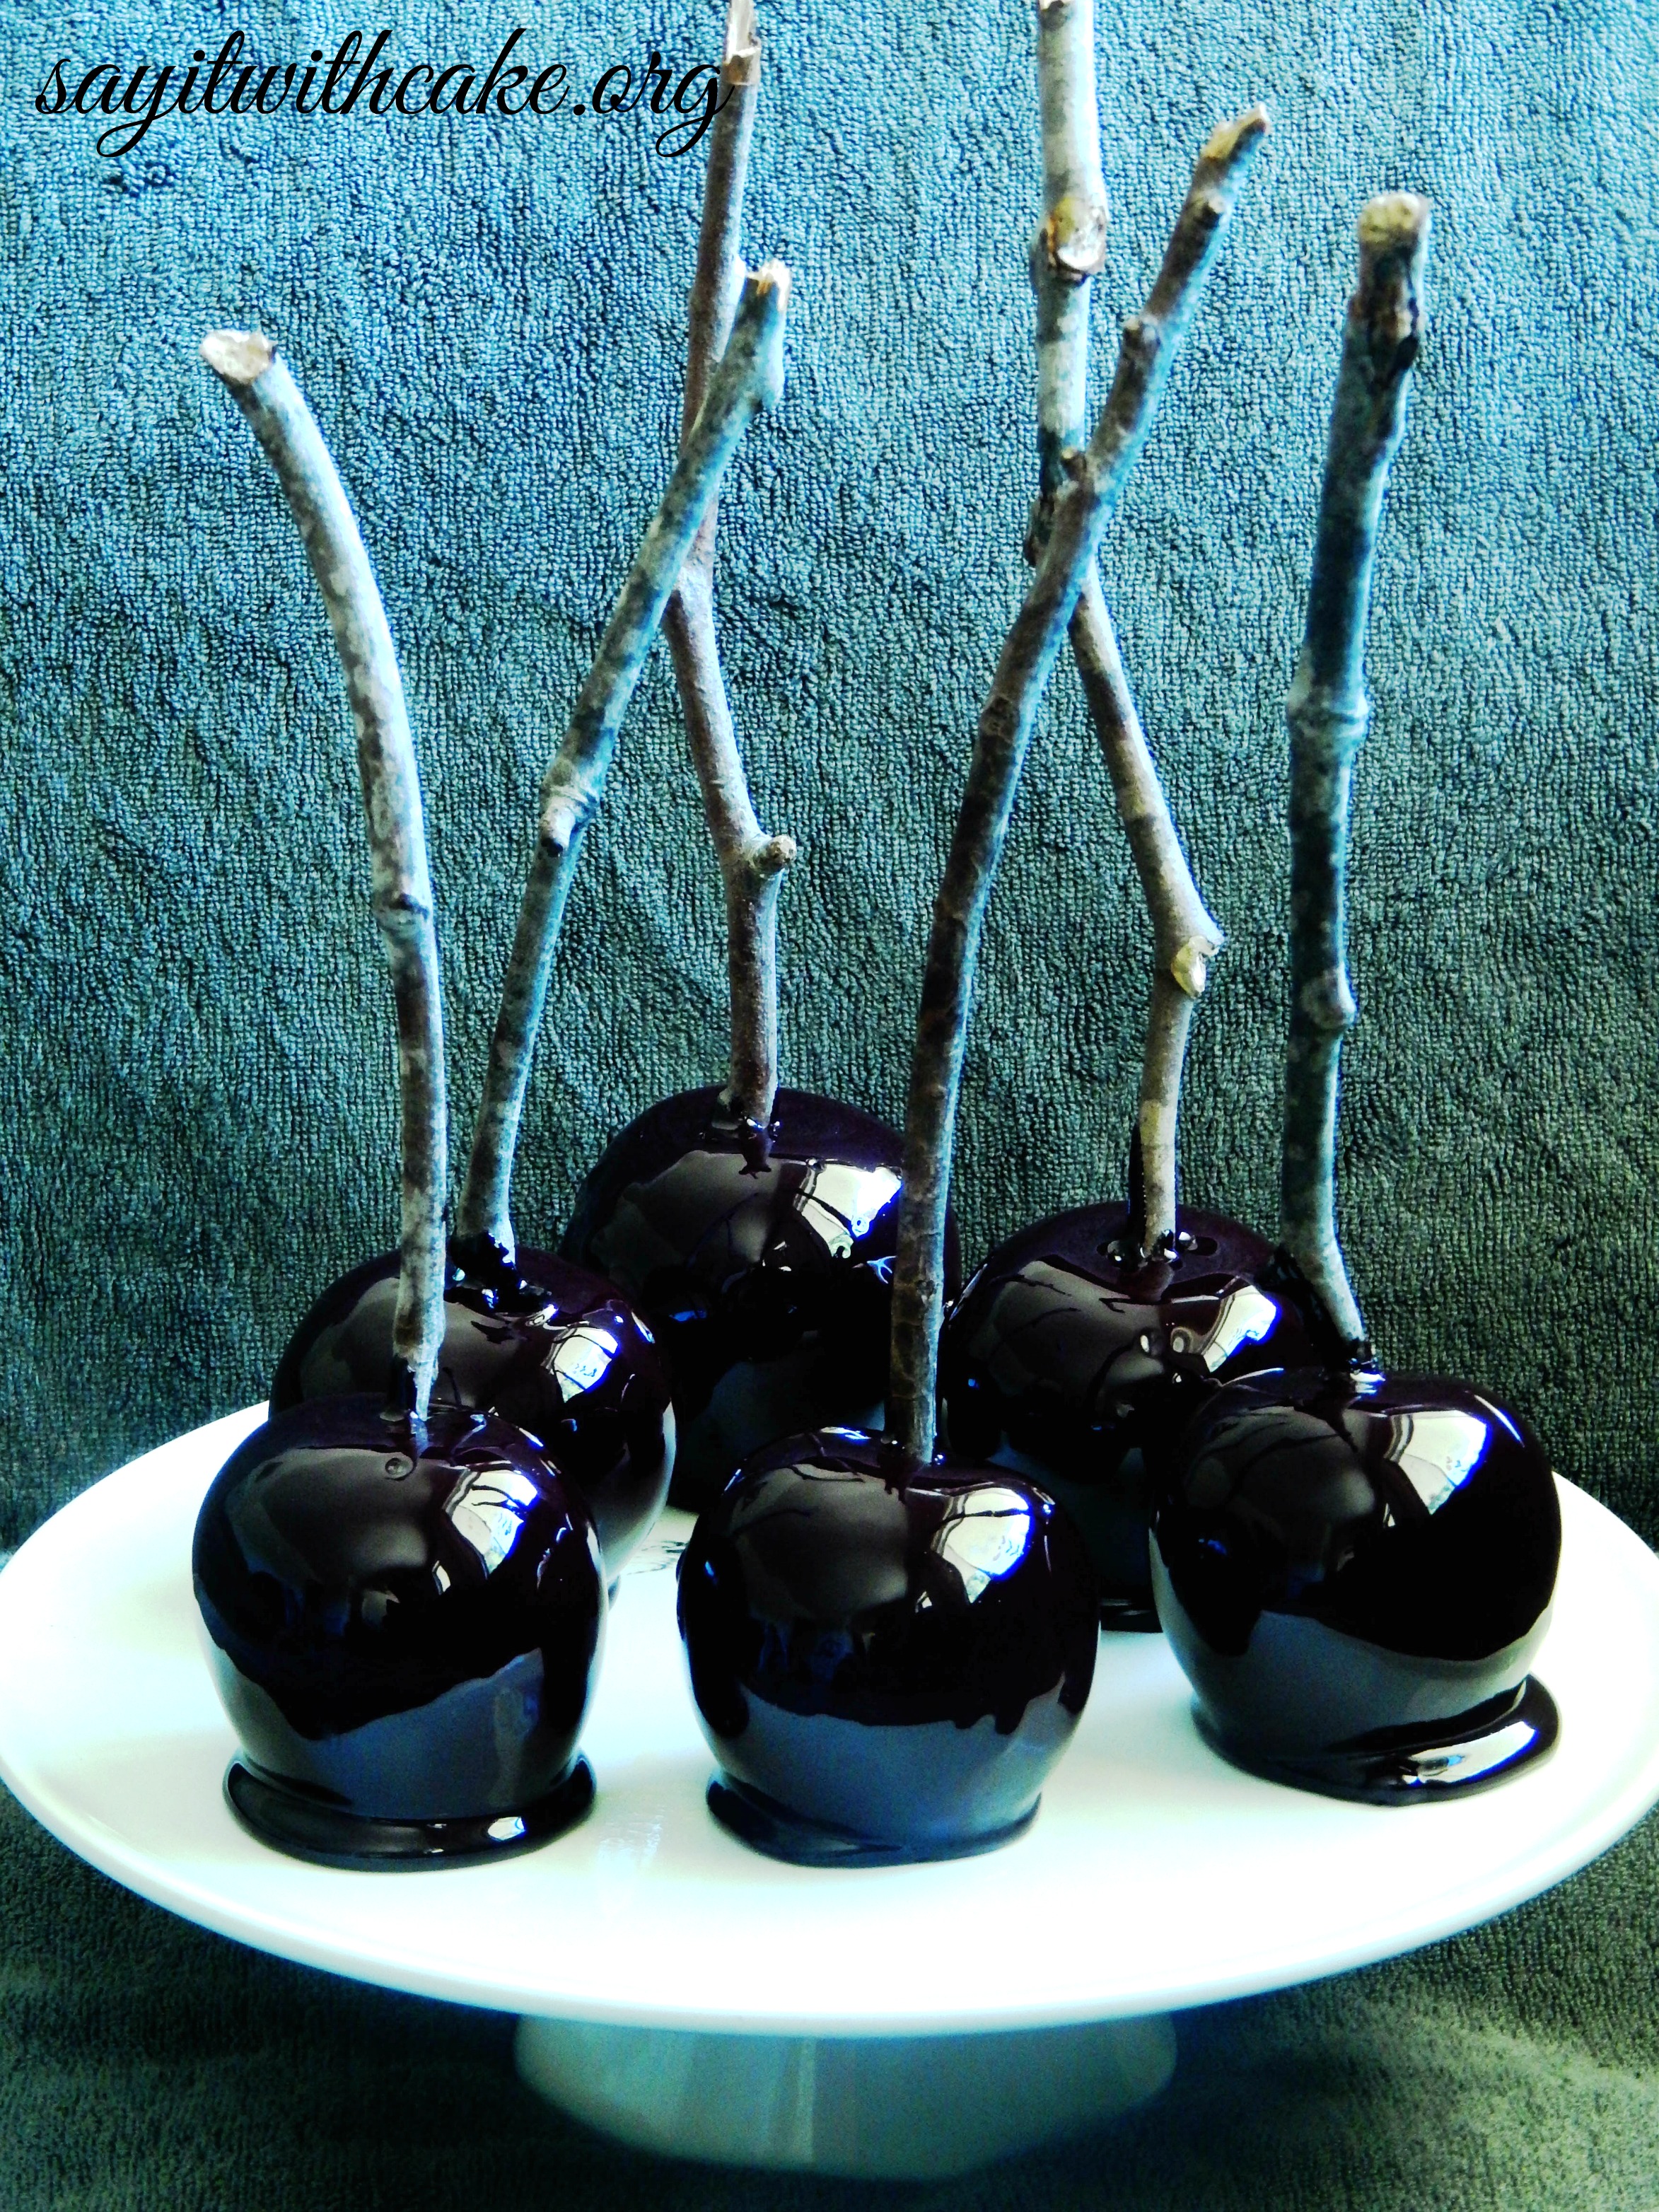
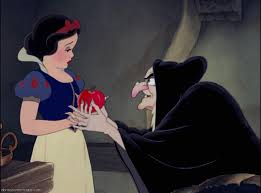
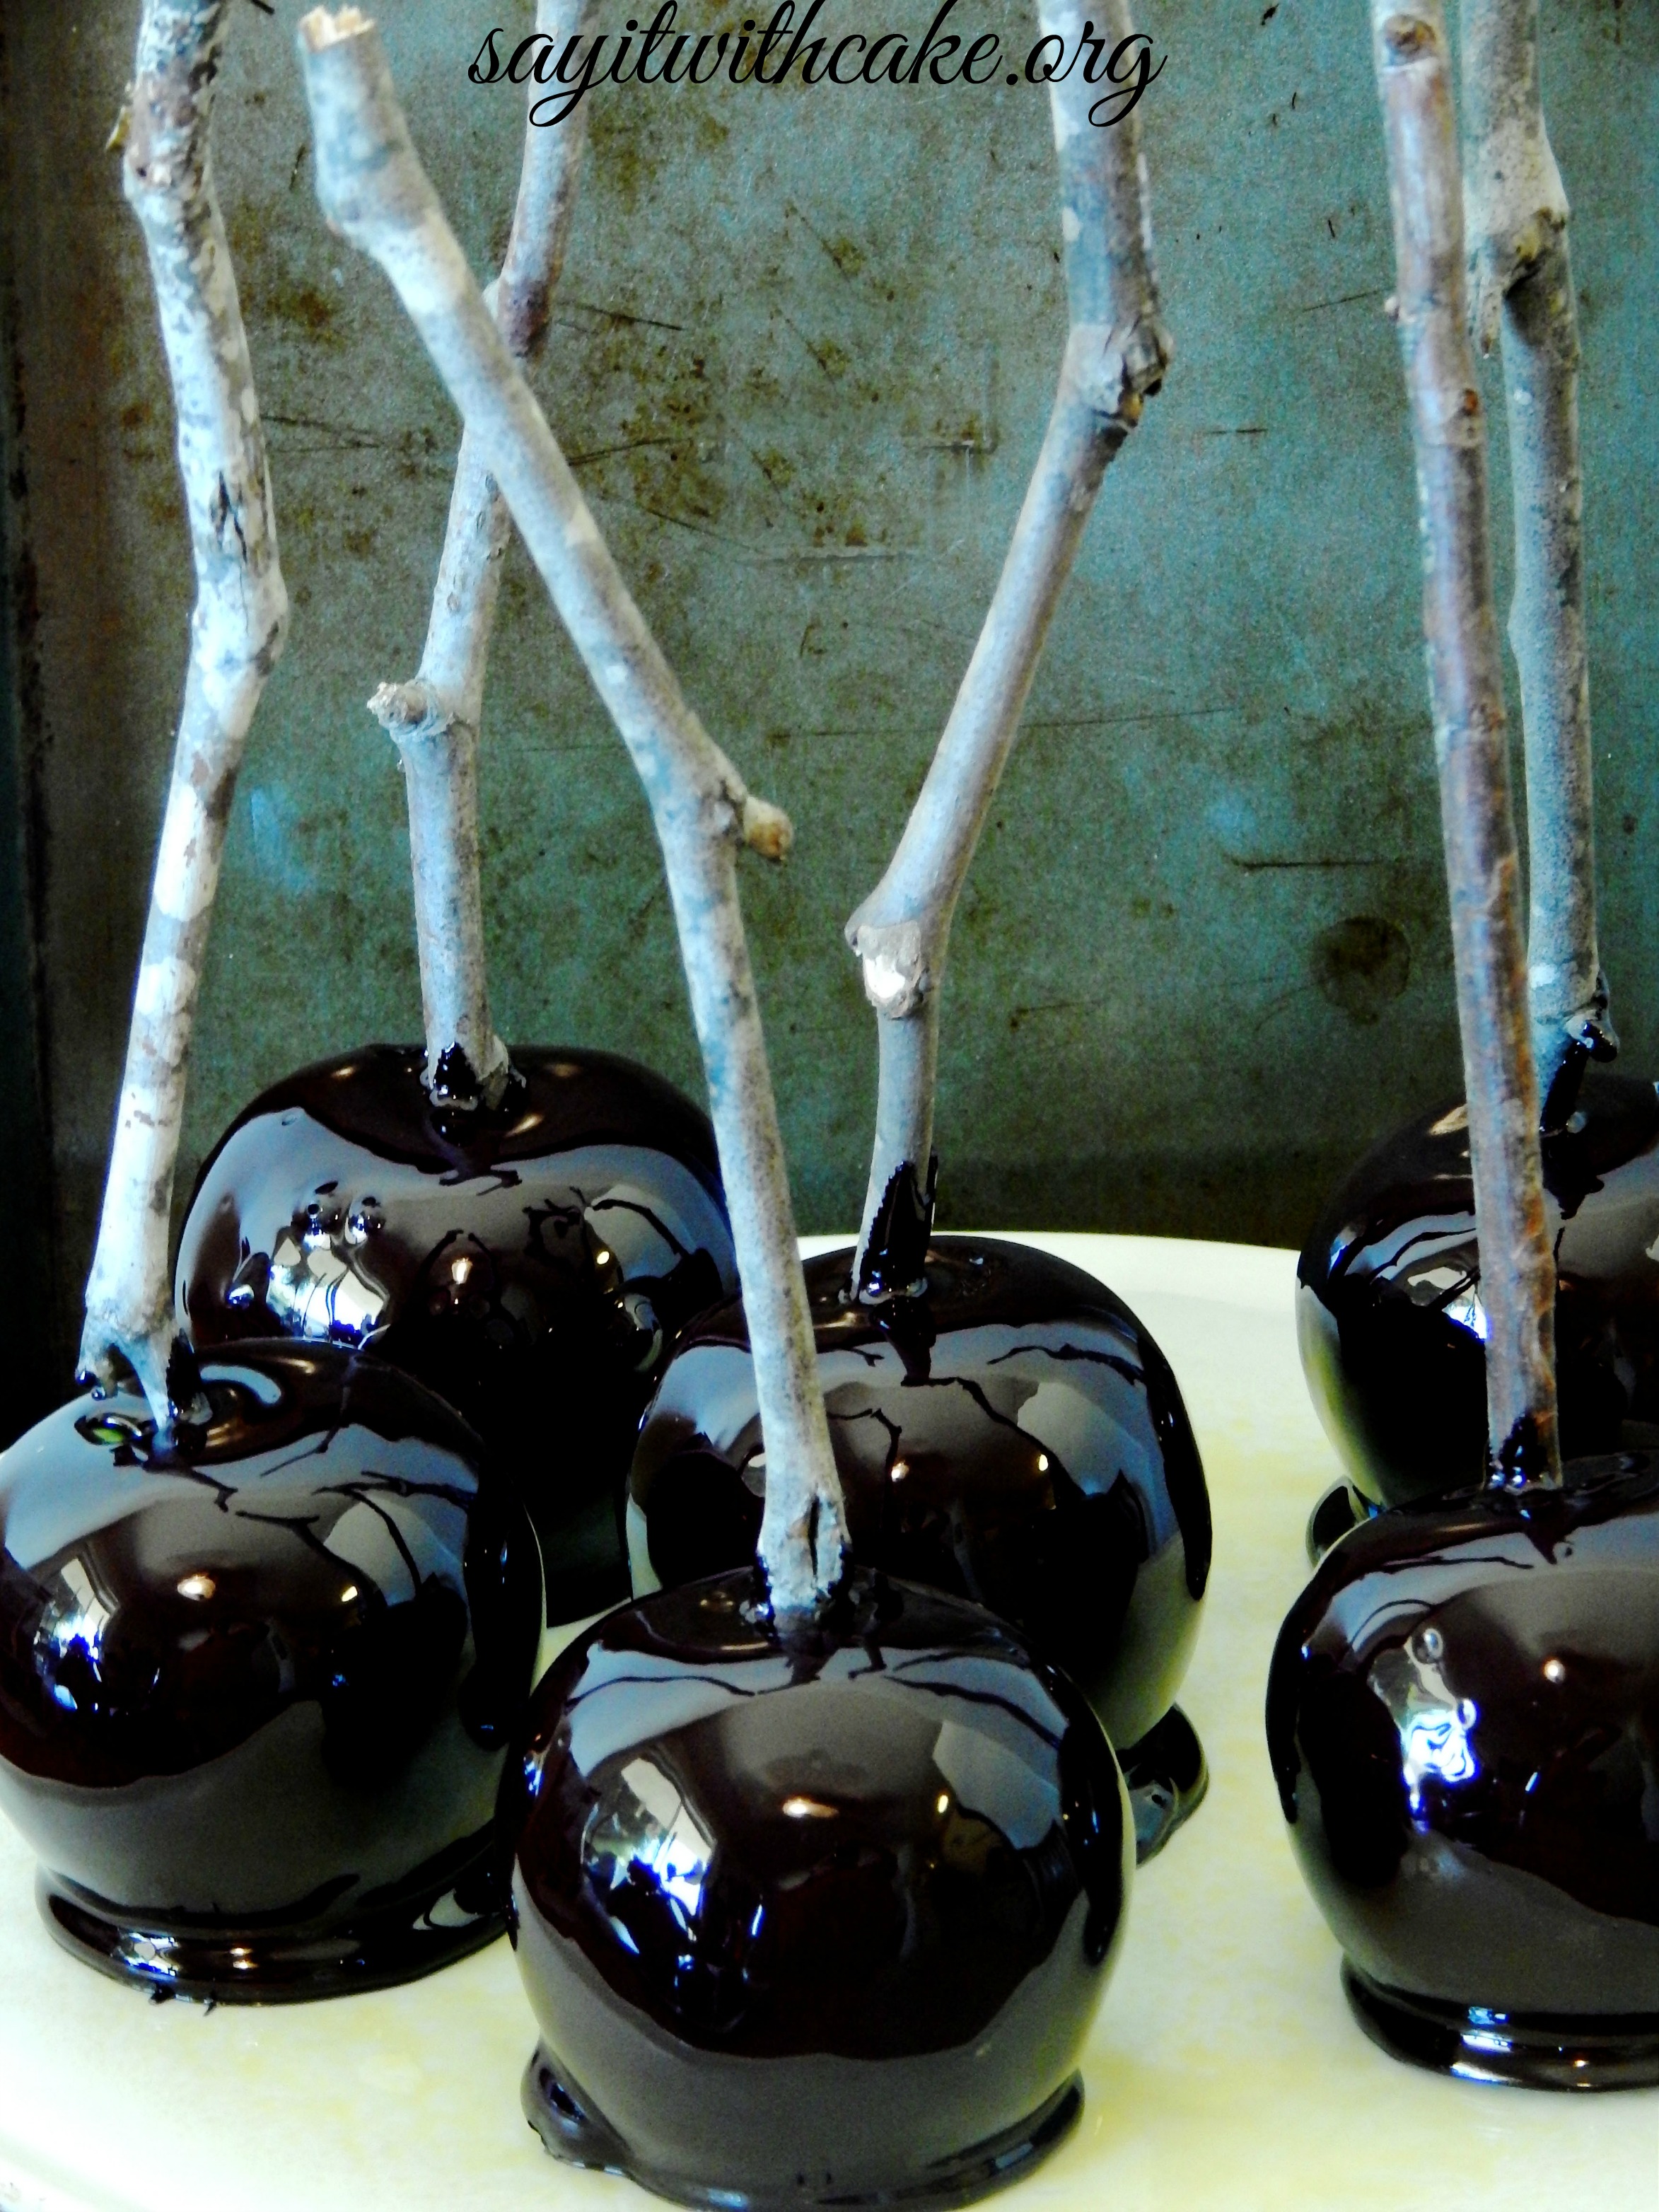 Happy Halloween! The first treat I couldn’t wait to start baking was candy apples! I wanted to make black candy apples to look something like the poison candy apples the witch gives Snow White. I love that movie! I think the sticks give them a spooky Halloween look, but you can also use skewers, popsicle sticks, or dowels. I love how these candy apples are so shiny! I can even see my reflection in them!
HOW TO TELL IF YOUR CANDY HAS REACHED THE HARD CRACK STAGE WITHOUT A CANDY THERMOMETER:
This recipe calls for a candy thermometer because it is important that your candy reaches the hard crack stage which is 310 degrees F. What to do if you don’t own a candy thermometer? Don’t fret: you don’t need a candy thermometer to get accurate temperatures, just a little know-how and a bowl of ice water.
On a candy thermometer, and in most recipes, you will get measurements in 2 forms: a numeric temperature and a stage (e.g. “soft ball”, “hard crack”, etc.) Obviously, if you don’t have a thermometer you should just forget about the number and focus on the stage, because the names of the stages correspond to a physical matter state. In other words, if it’s called “soft ball” stage, that means the mixture should get to a point where it forms a soft ball at room temperature. (While this may sound intuitive, to many people it’s not.) So to get your candy recipe just right, you have to figure out what stage you’re in. All it takes is a spoon, some ice water, and a few tries.
Heat the mixture as directed. While it’s coming to a boil, set a medium-sized bowl of ice water and a small metal spoon (like a normal spoon you would eat ice cream with) next to the stove. When the mixture has been bubbling for a few minutes, do your first test. Dip the spoon into the mixture and get a little bit on the spoon (1/4 tsp to 1/2 tsp.) Dip the mixture-coated spoon immediately into the ice water and plunge your hand in to grab the now-cooling sugar mixture. Roll it around between your fingers and thumb and see what it feels like. If you’re looking for…
- Thread: It should form fine threads that disintegrate in the water within seconds
- Soft ball: It should form a ball that holds together but still feels a little squishy and can be flattened when you press on it
- Firm ball: It should form a ball that holds its shape, is a little sticky, and about as firm as a store bought caramel
- Hard ball: It should form a ball that’s hard to the touch yet pliable (if you threw it on the floor it wouldn’t shatter)
- Soft crack: You should be able to separate it into threads that are hard but not brittle
- Hard crack: You should be able to separate it into threads that will crack cleanly with a snap
This process will take a few tries at least, but you can see (well, feel) it moving through the stages to give you an indicator of how close you are. It’s kind of like a science experiment.
It bears mentioning that when I learned this process from a French chef, he insisted that only wusses used spoons – real pastry chefs used their FINGERS to dip the sugar instead of a spoon. The thought is that if you dip your fingers in the ice water and then the syrup and back into the water really really quickly you won’t get burned, but my experience tells me that’s not entirely true. If you do it enough, you will build up some nasty burn calluses and wear them as a badge of honor. So unless you have, like, a prosthetic hook hand or are reasonably masochistic and/or made of asbestos, I would not recommend that technique.
TIPS That I learned the hard way!
*Before you start making the candy apples, prepare two baking sheets covered with wax paper and sprayed with cooking spray. You will place your finished candy apples on this.
*After your candy apple syrup has reached the hard crack stage, take it off the stove and WAIT until all the bubbles have disappeared. If you dip the apples in the mixture while there are still bubbles, the candy apples will have bubbles on them, and they will turn into holes in the candy, and will get bigger and bigger until all the candy slides off of your apple! This happened to me the first time lol.
*Tip the pan a little to the side so all the syrup pools and you have more syrup to dip the apple in
*After you are done, you can fill your dirty pan with water and boil the water for easy clean up. It will come right off this way!
*Store apples in the refrigerator
Ingredients
- 8-10 medium sized apples
- 8-10 wooden twigs, trimmed
- 3 cups granulated sugar
- 1/2 cup light corn syrup
- 1 cup of water
- several drops of cinnamon flavored oil OPTIONAL
- 1/4 teaspoon of red food coloring OR
- 1/4 teaspoon of black food coloring
Instructions
- Clean and dry the apples. Try to remove as much of the wax as possible. If you purchase them from your local farmer’s market then chances are they have not been treated with the food grade wax that makes then shine. Remove any stems or leaves and insert a twig into the end of each apple. To facilitate easier twig entry you can carefully sharpen the end of the twig or use a candy stick to create a guide hole. Set apples aside.
- Heat and stir sugar, corn syrup and water in a saucepan until sugar has dissolved.
- Boil until the syrup reaches 300 degrees on a candy thermometer. Don’t go over 310 degrees or your candy burns and then you’ll be sad.
- Remove from heat and stir in flavored oil and food coloring.
- Dip one apple completely in the syrup and swirl it so that it becomes coated with the melted sugar candy. Hold the apple above the saucepan to drain off excess. Place apple, with the stick facing up, onto a baking sheet that’s greased
- Repeat the process with the remaining apples. If your syrup thickens or cools too much, simply reheat briefly before proceeding.
- Let the apples cool completely before serving.
Shamene
Other Halloween treats you might like

Brain Cake

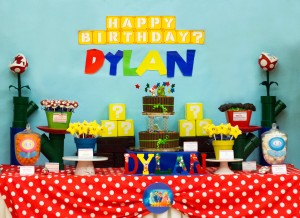
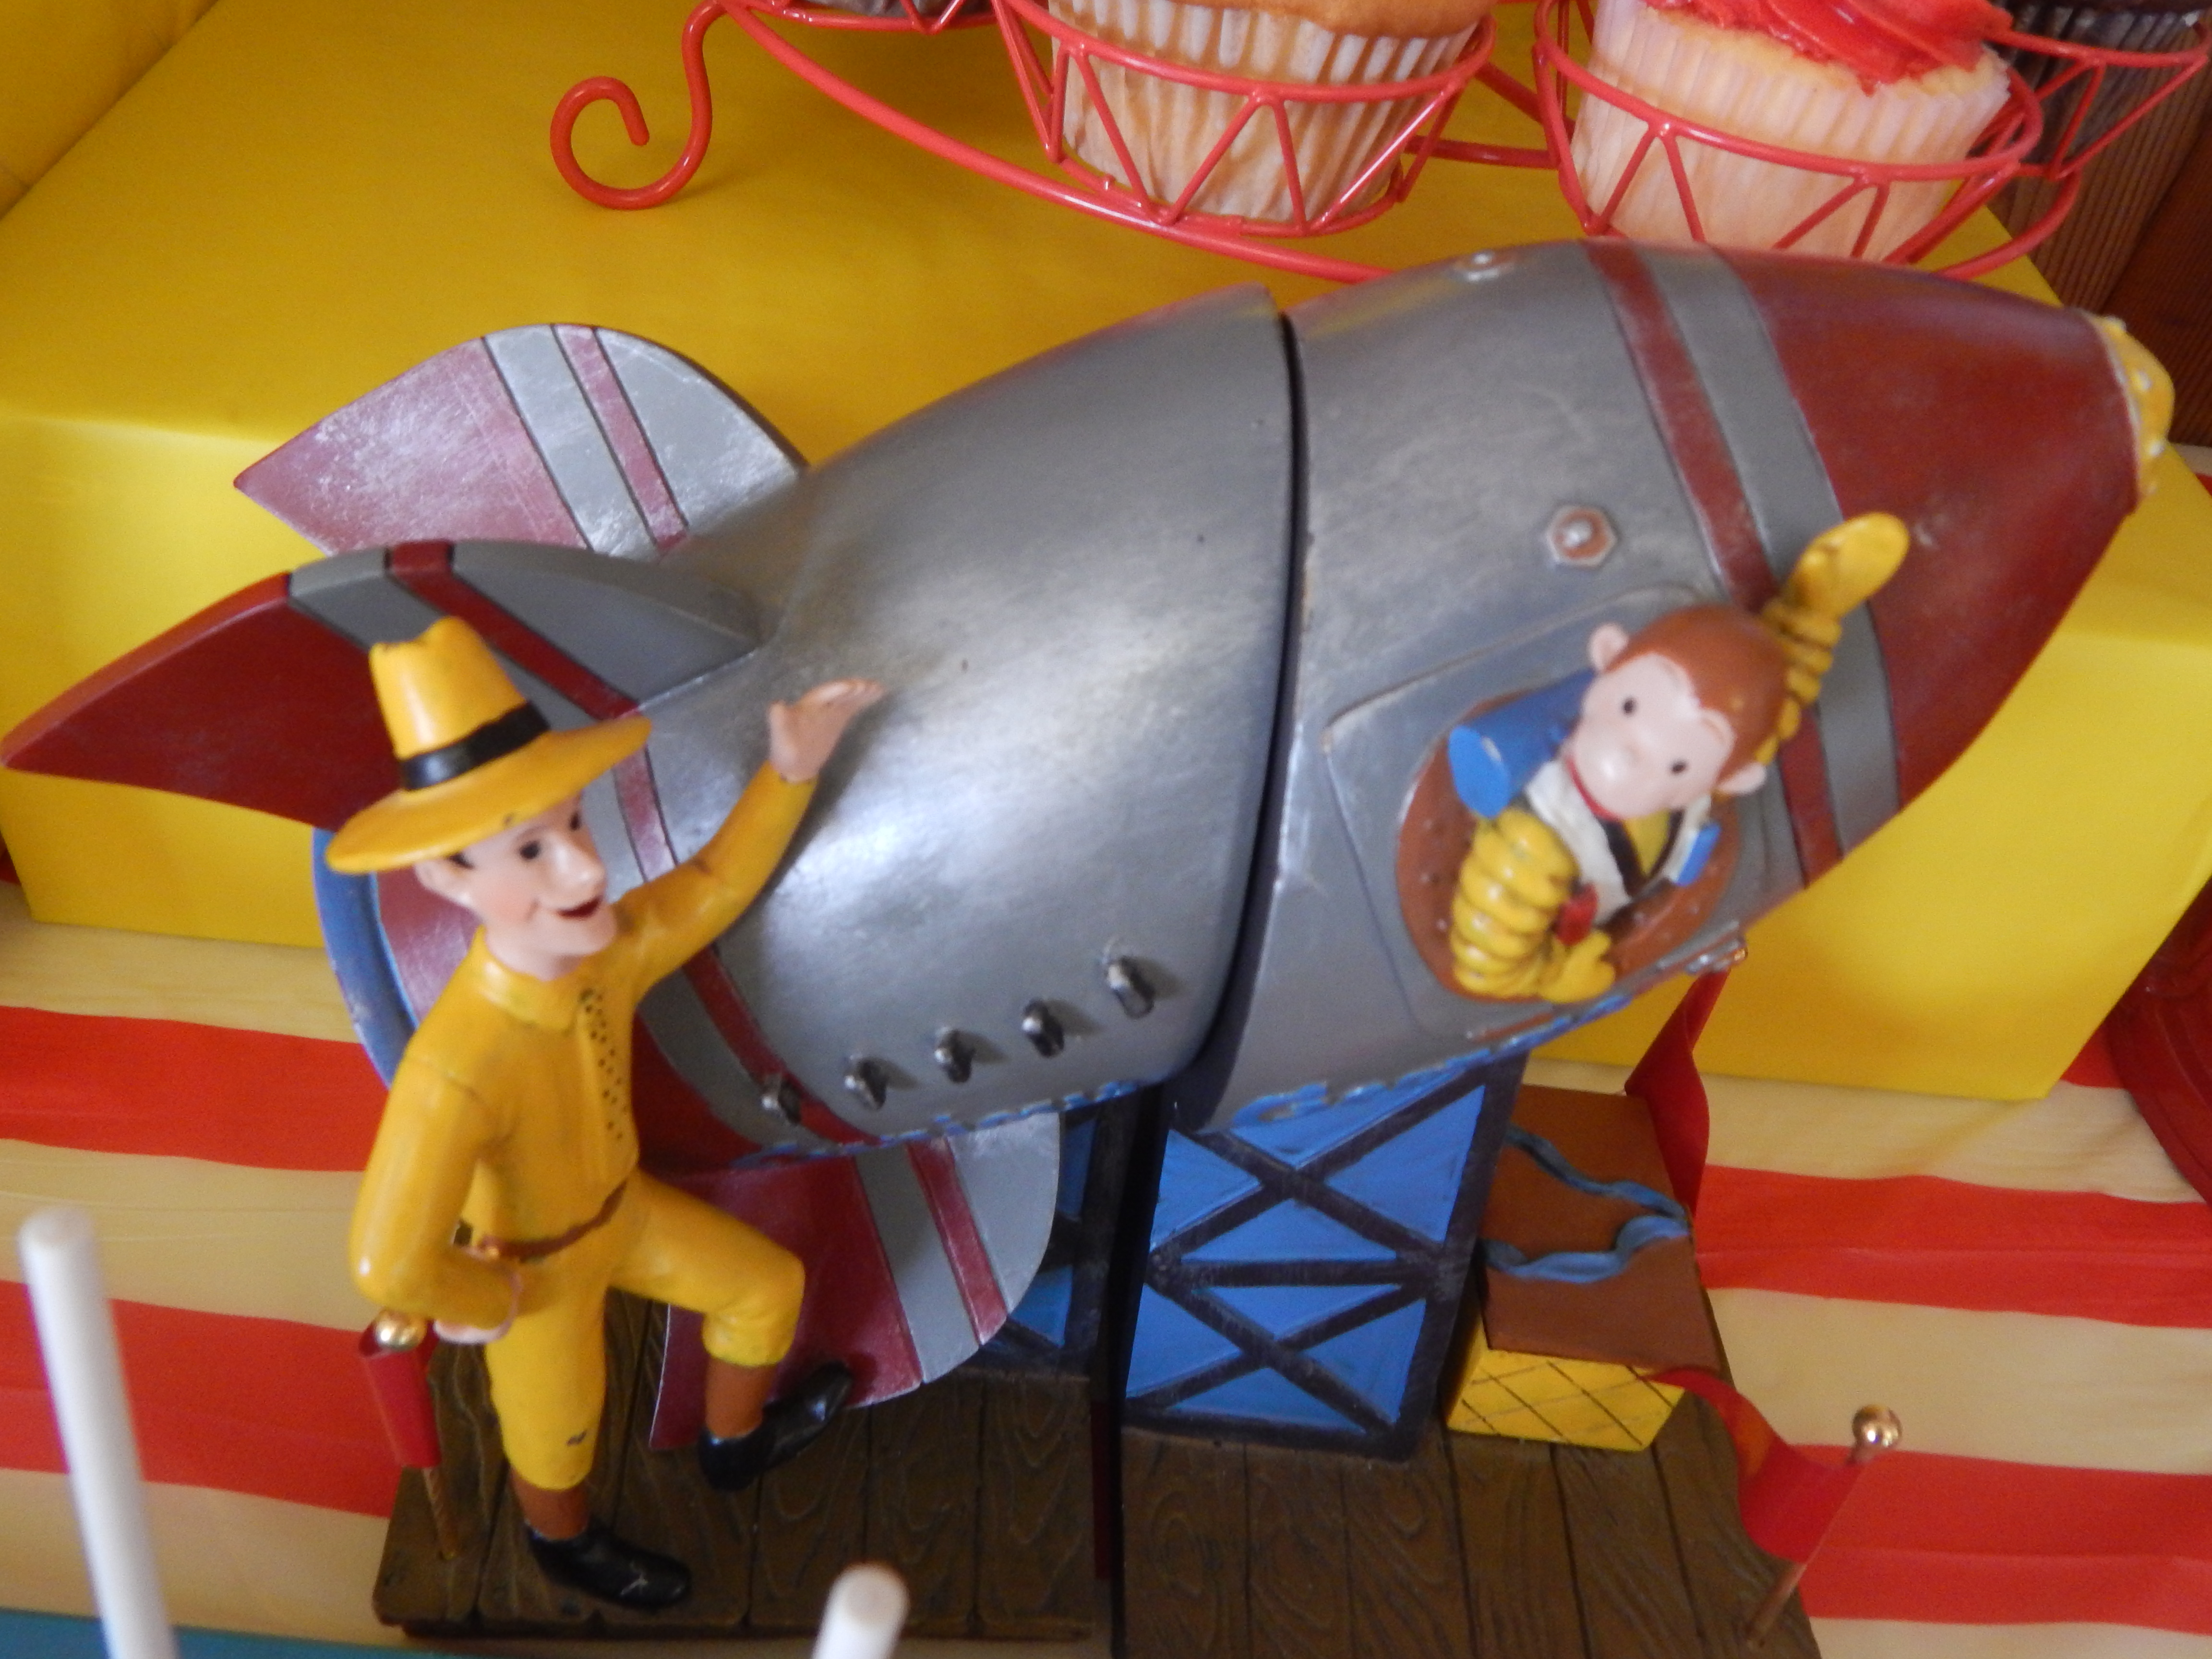
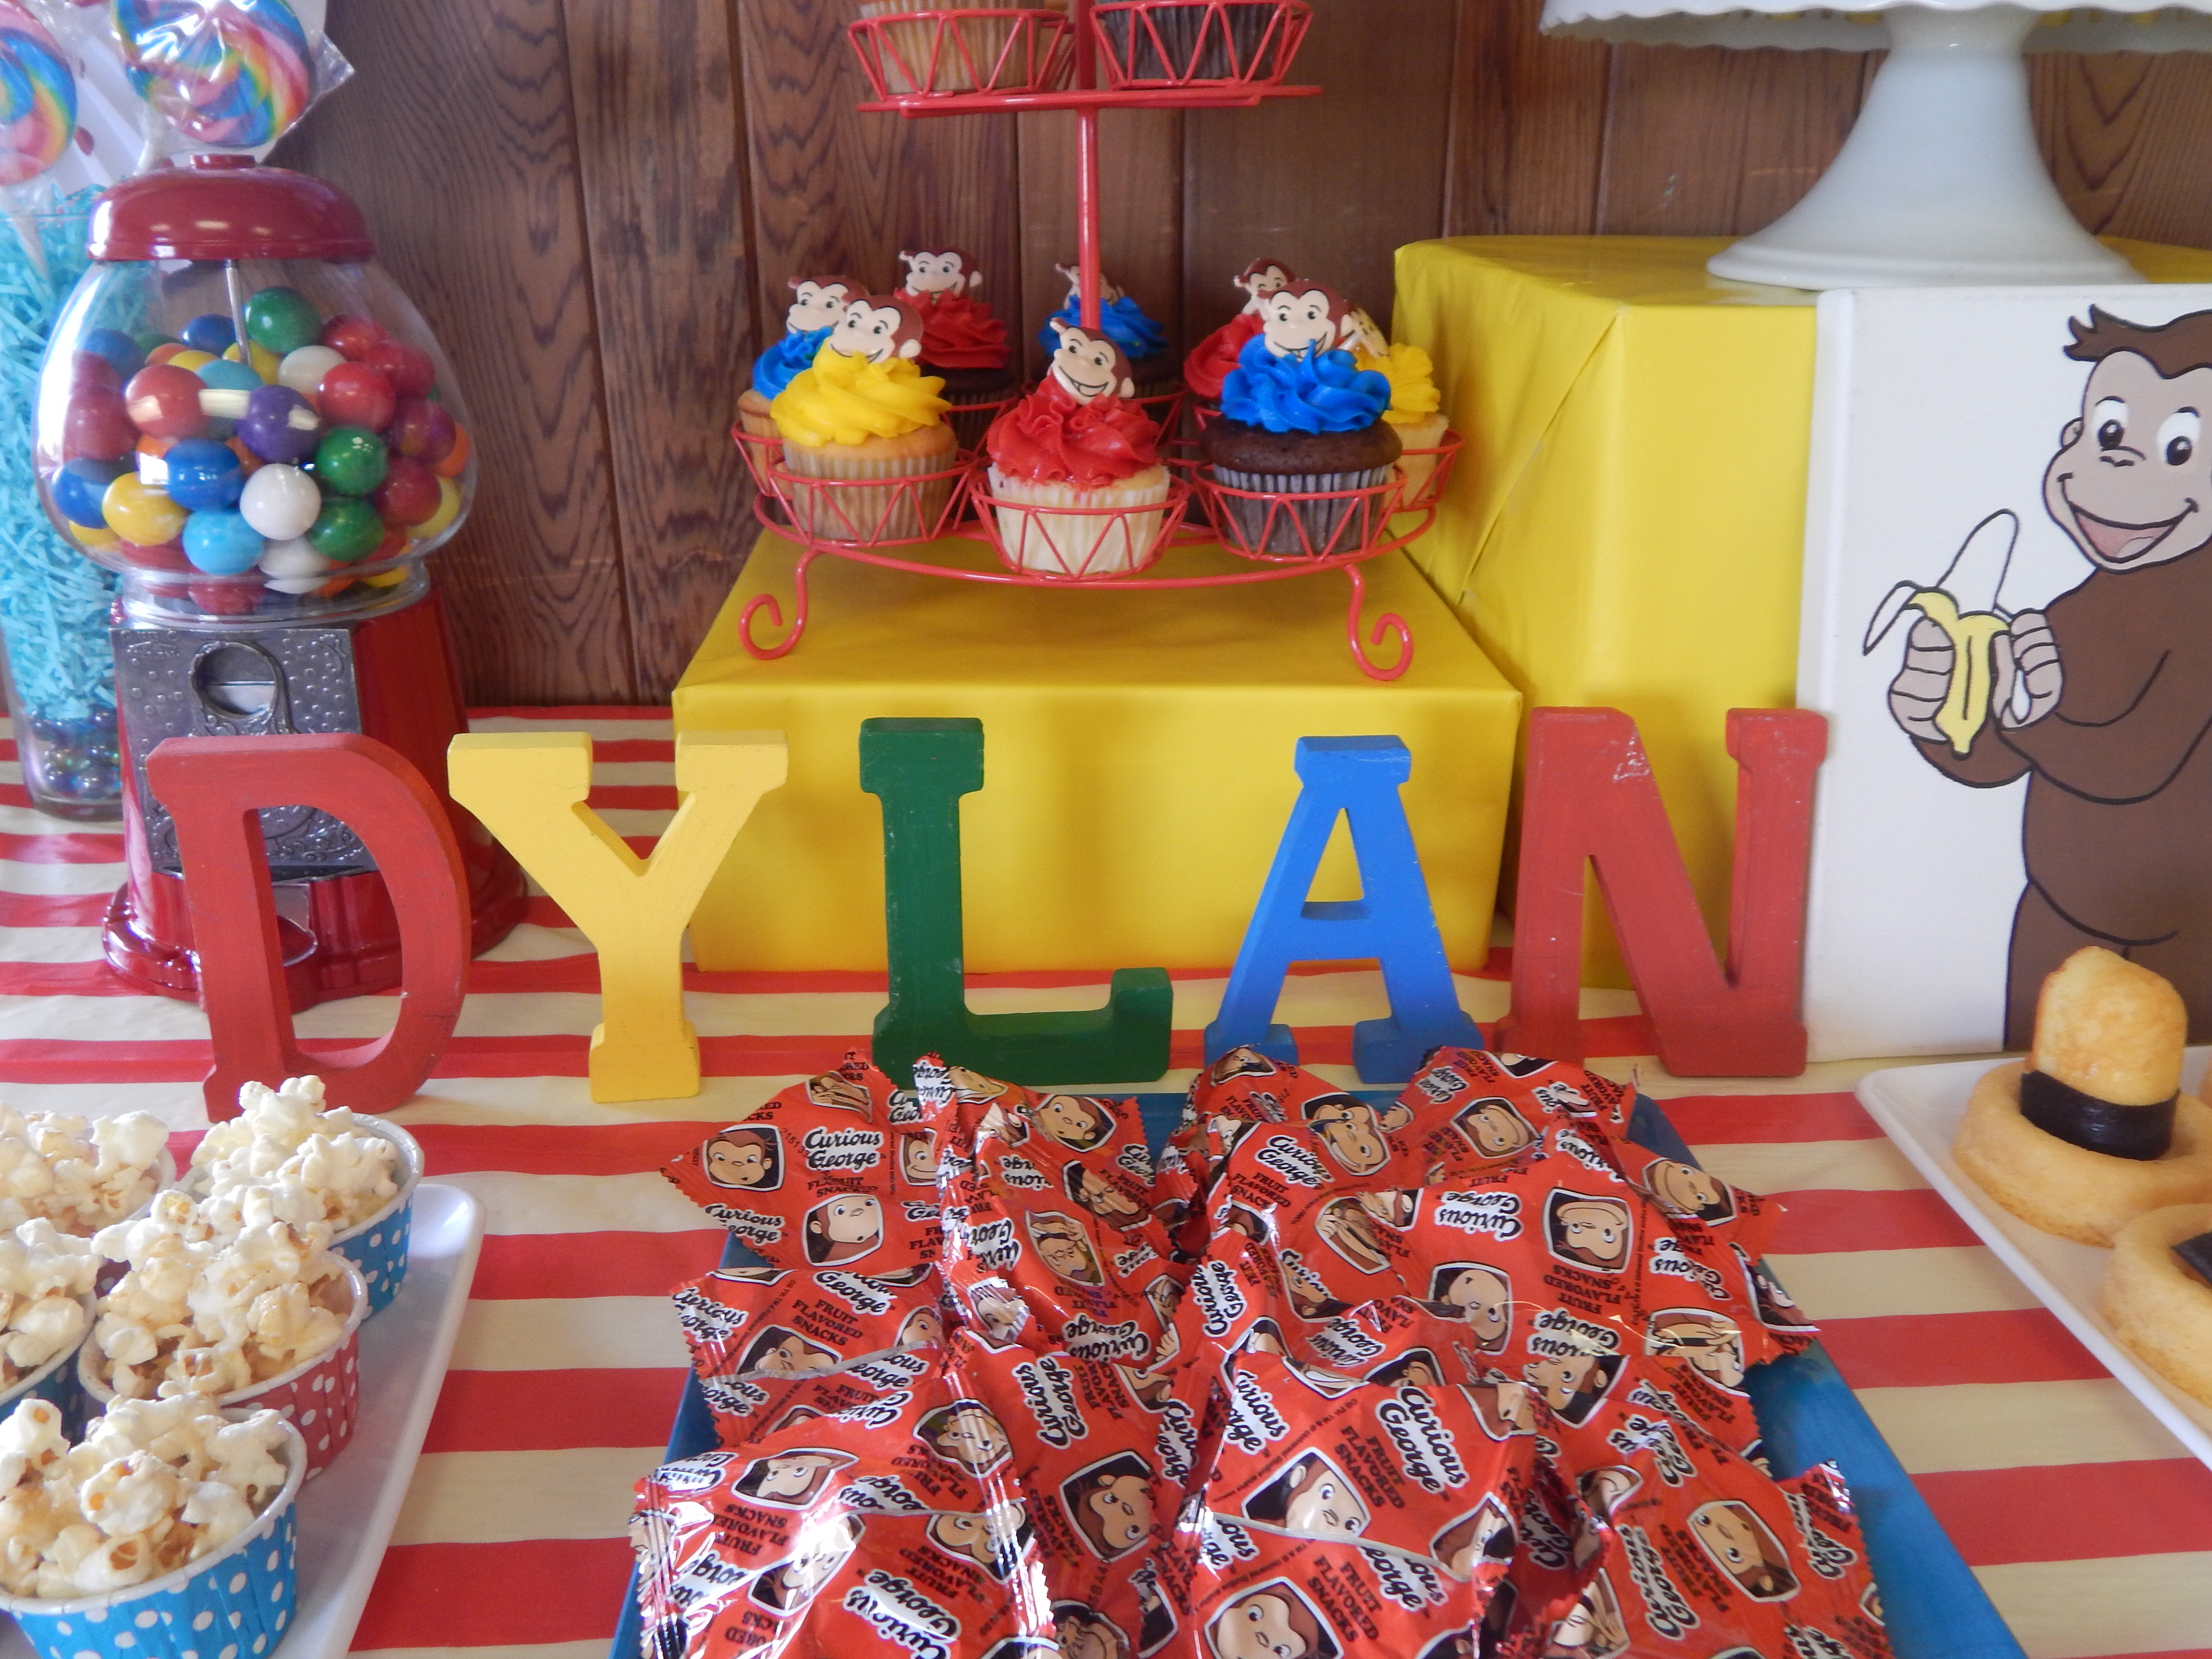
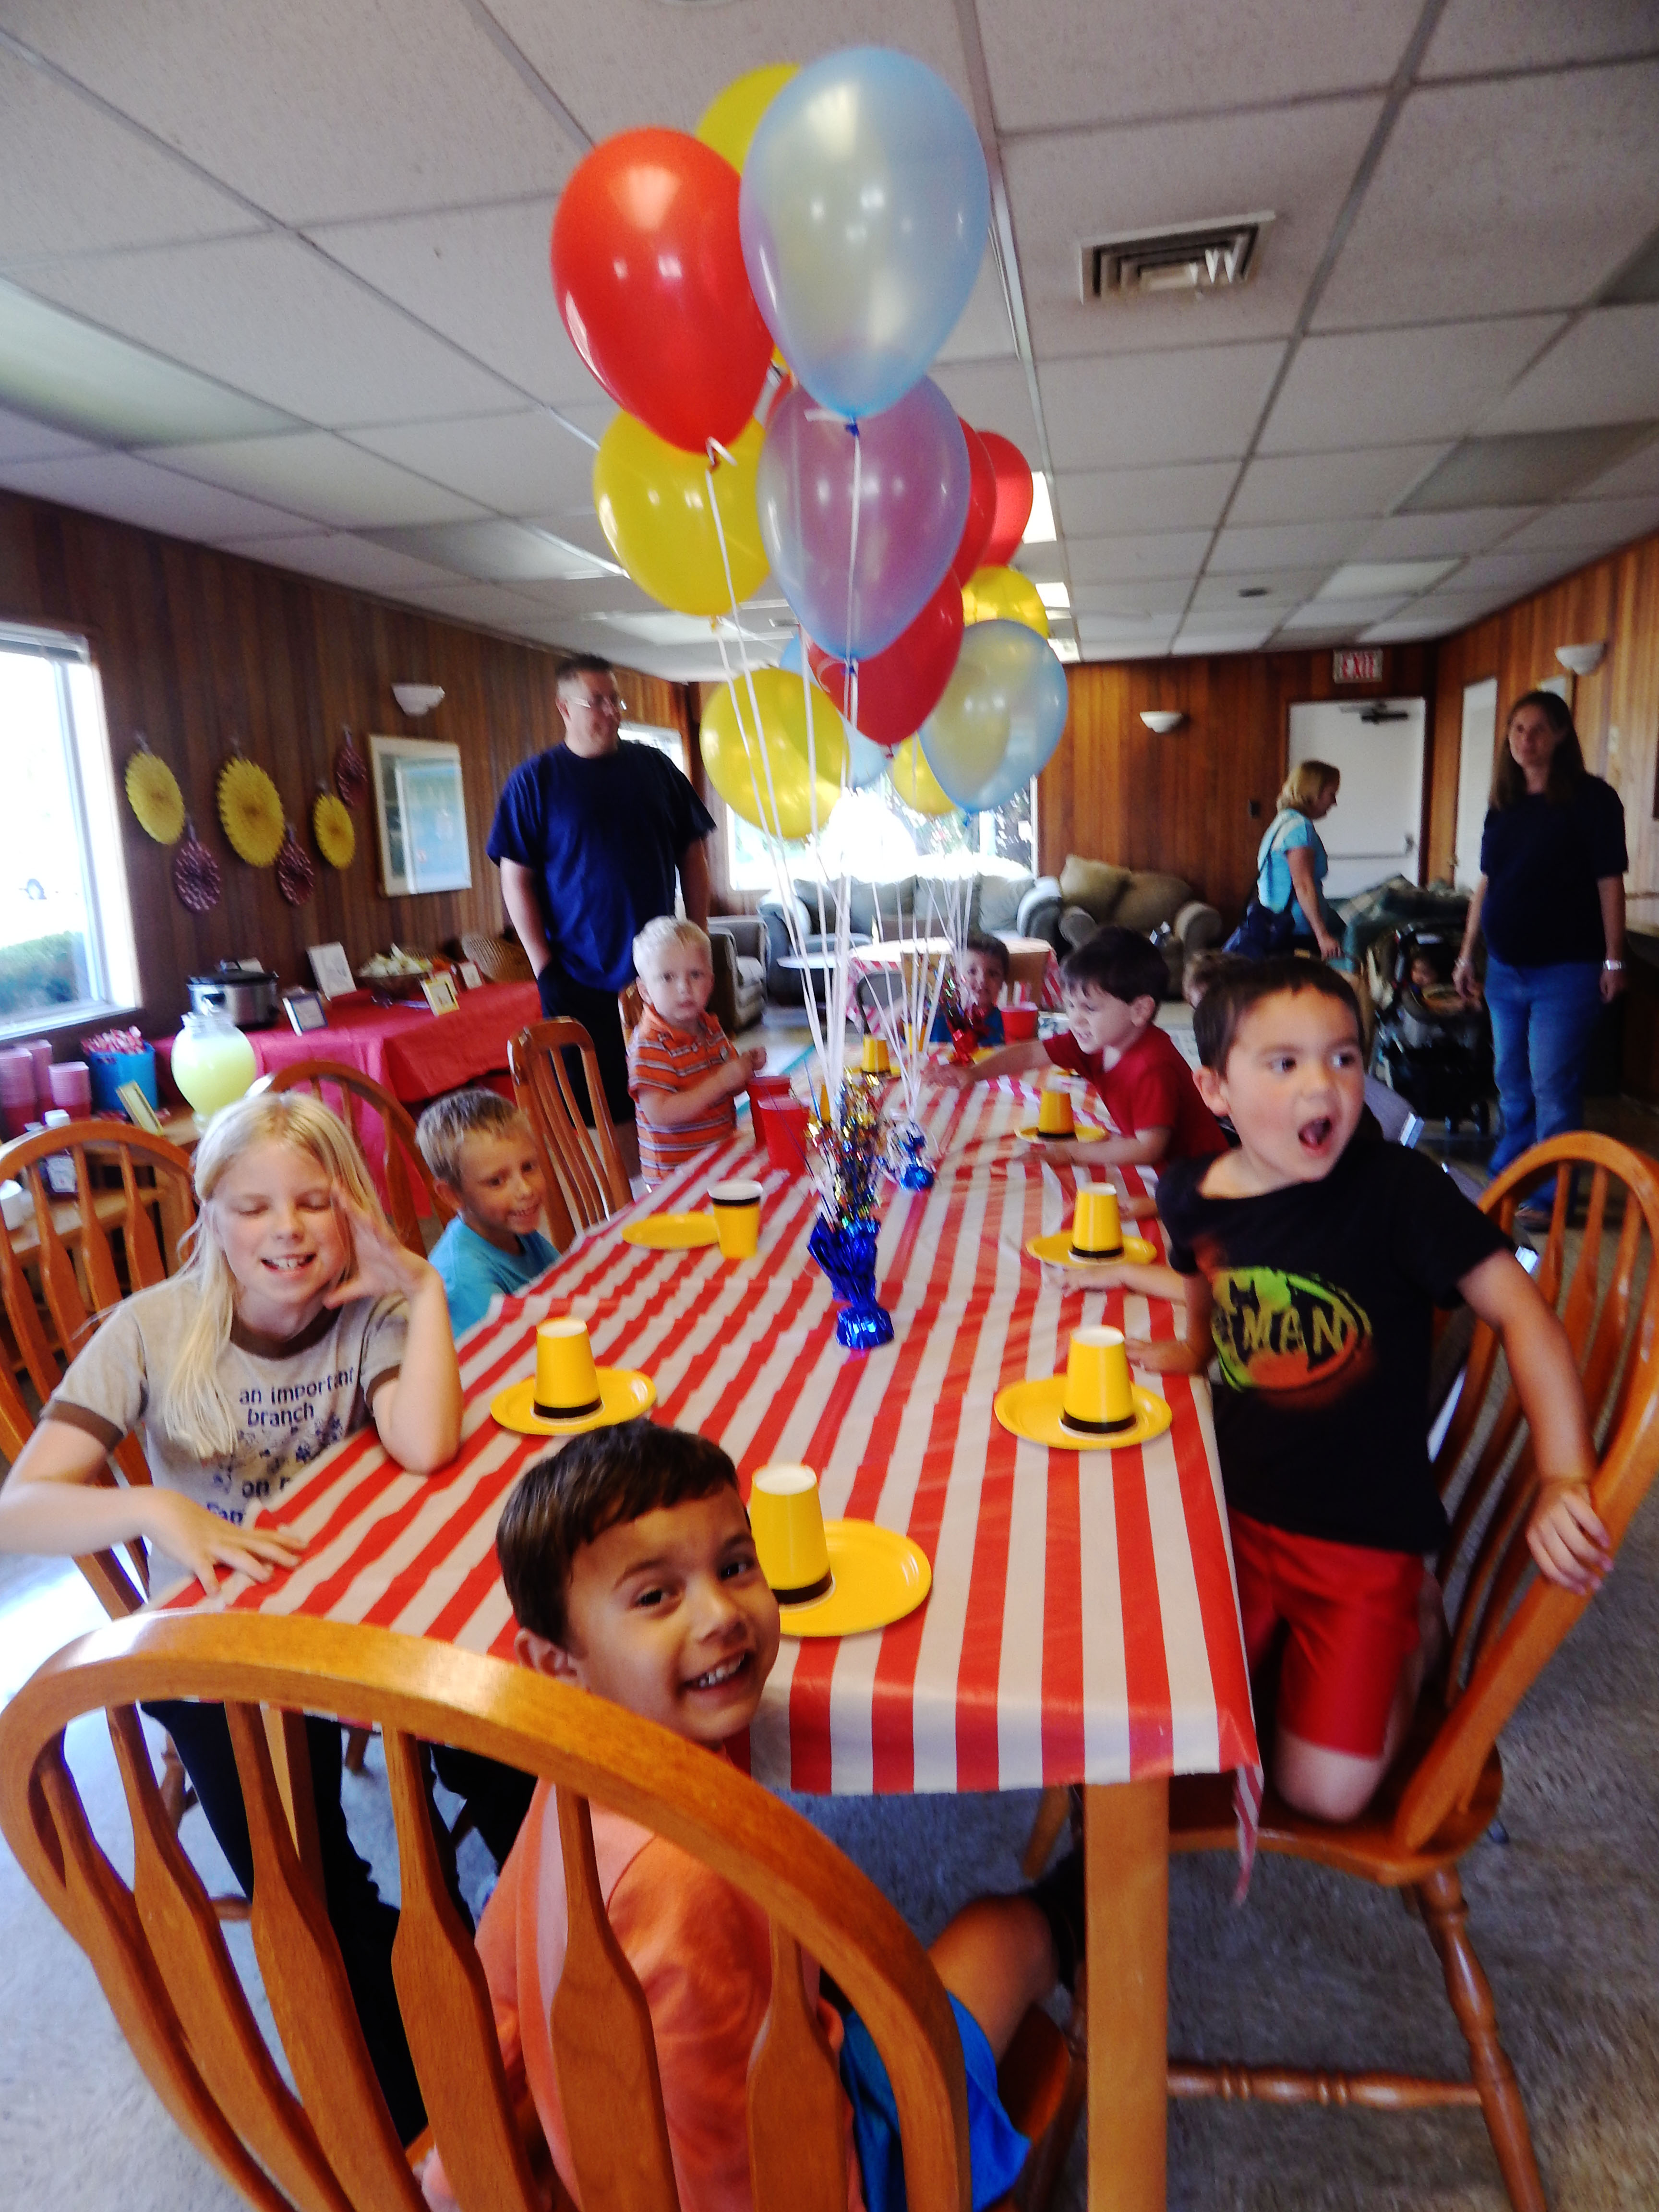
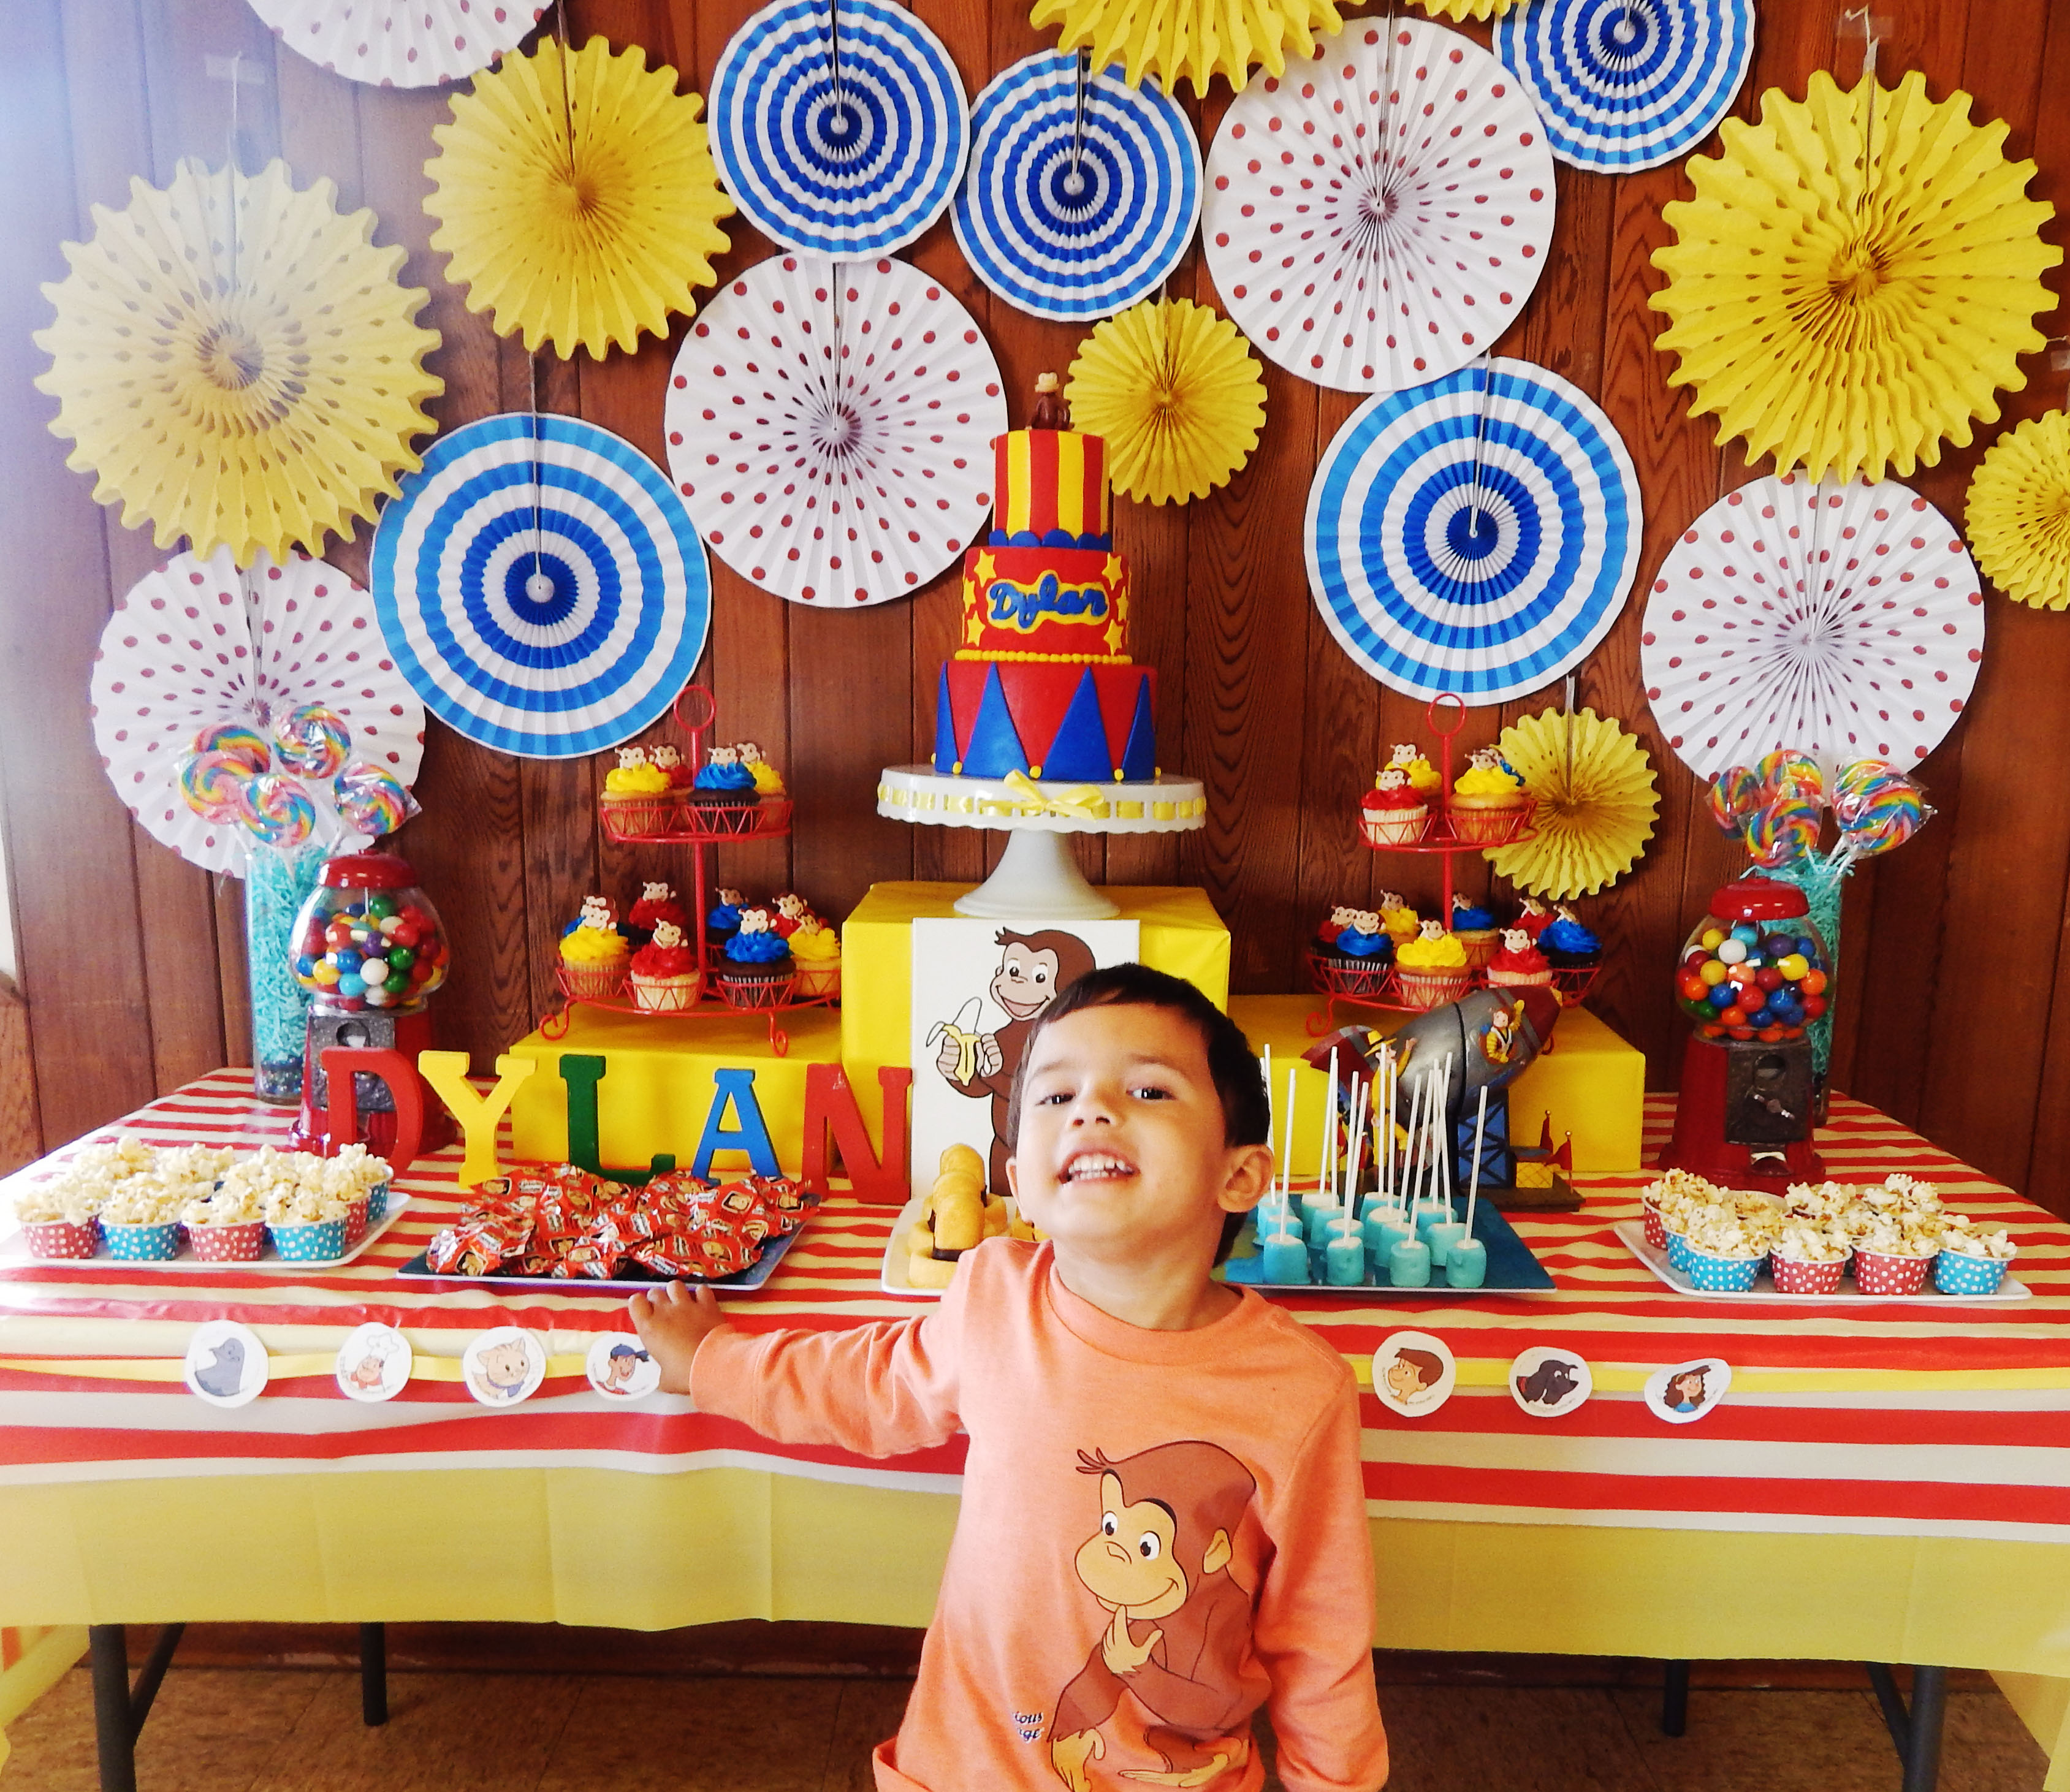
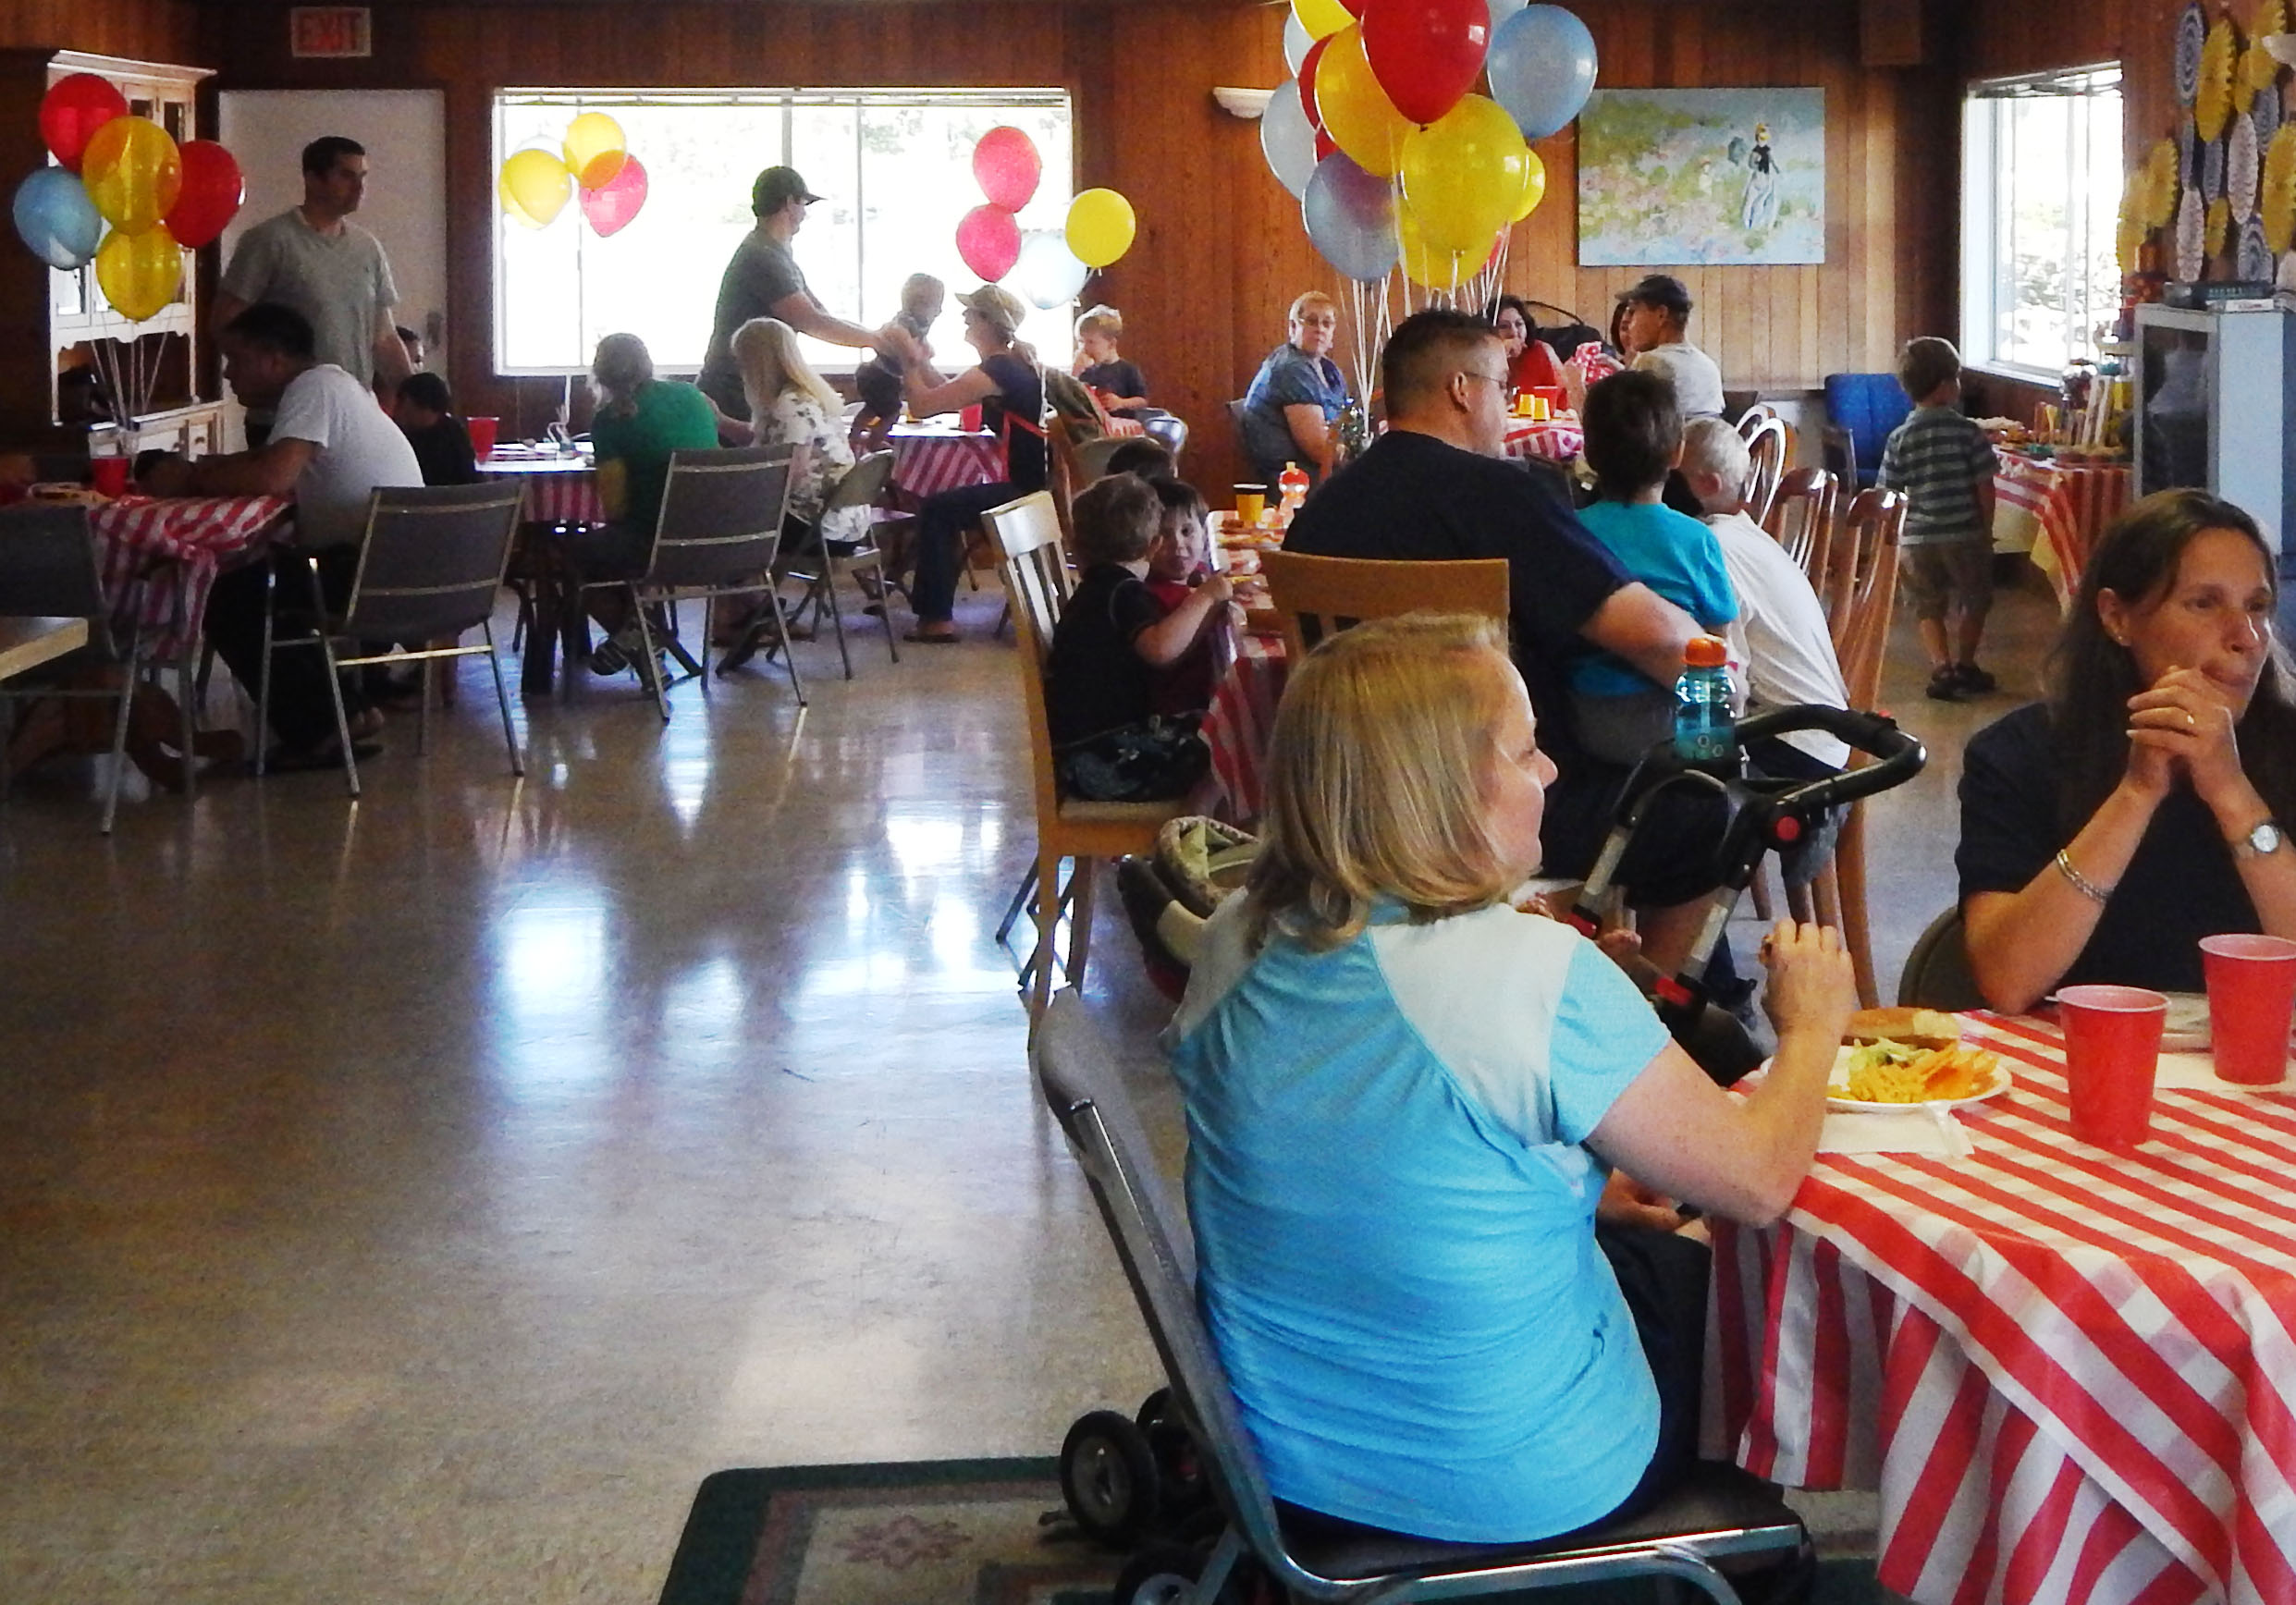
Oh my goodness, what a crazy couple of weeks this has been! My son Dylan is turning 4, and since he is obsessed with Curious George of course he decided on a Curious George party! It was SUCH a great time! I went for a Curious George Goes to the Circus kind of theme. My son loves gumball machines so I incorporated those into the decor. I made the cake, cupcakes, man with the yellow hat cakes, and marshmallows myself, along with painting the curious George pictures, and painting the Dylan letters. The rest of the decorations come from Oriental trading company.
Here is my son Dylan’s Curious George Party!
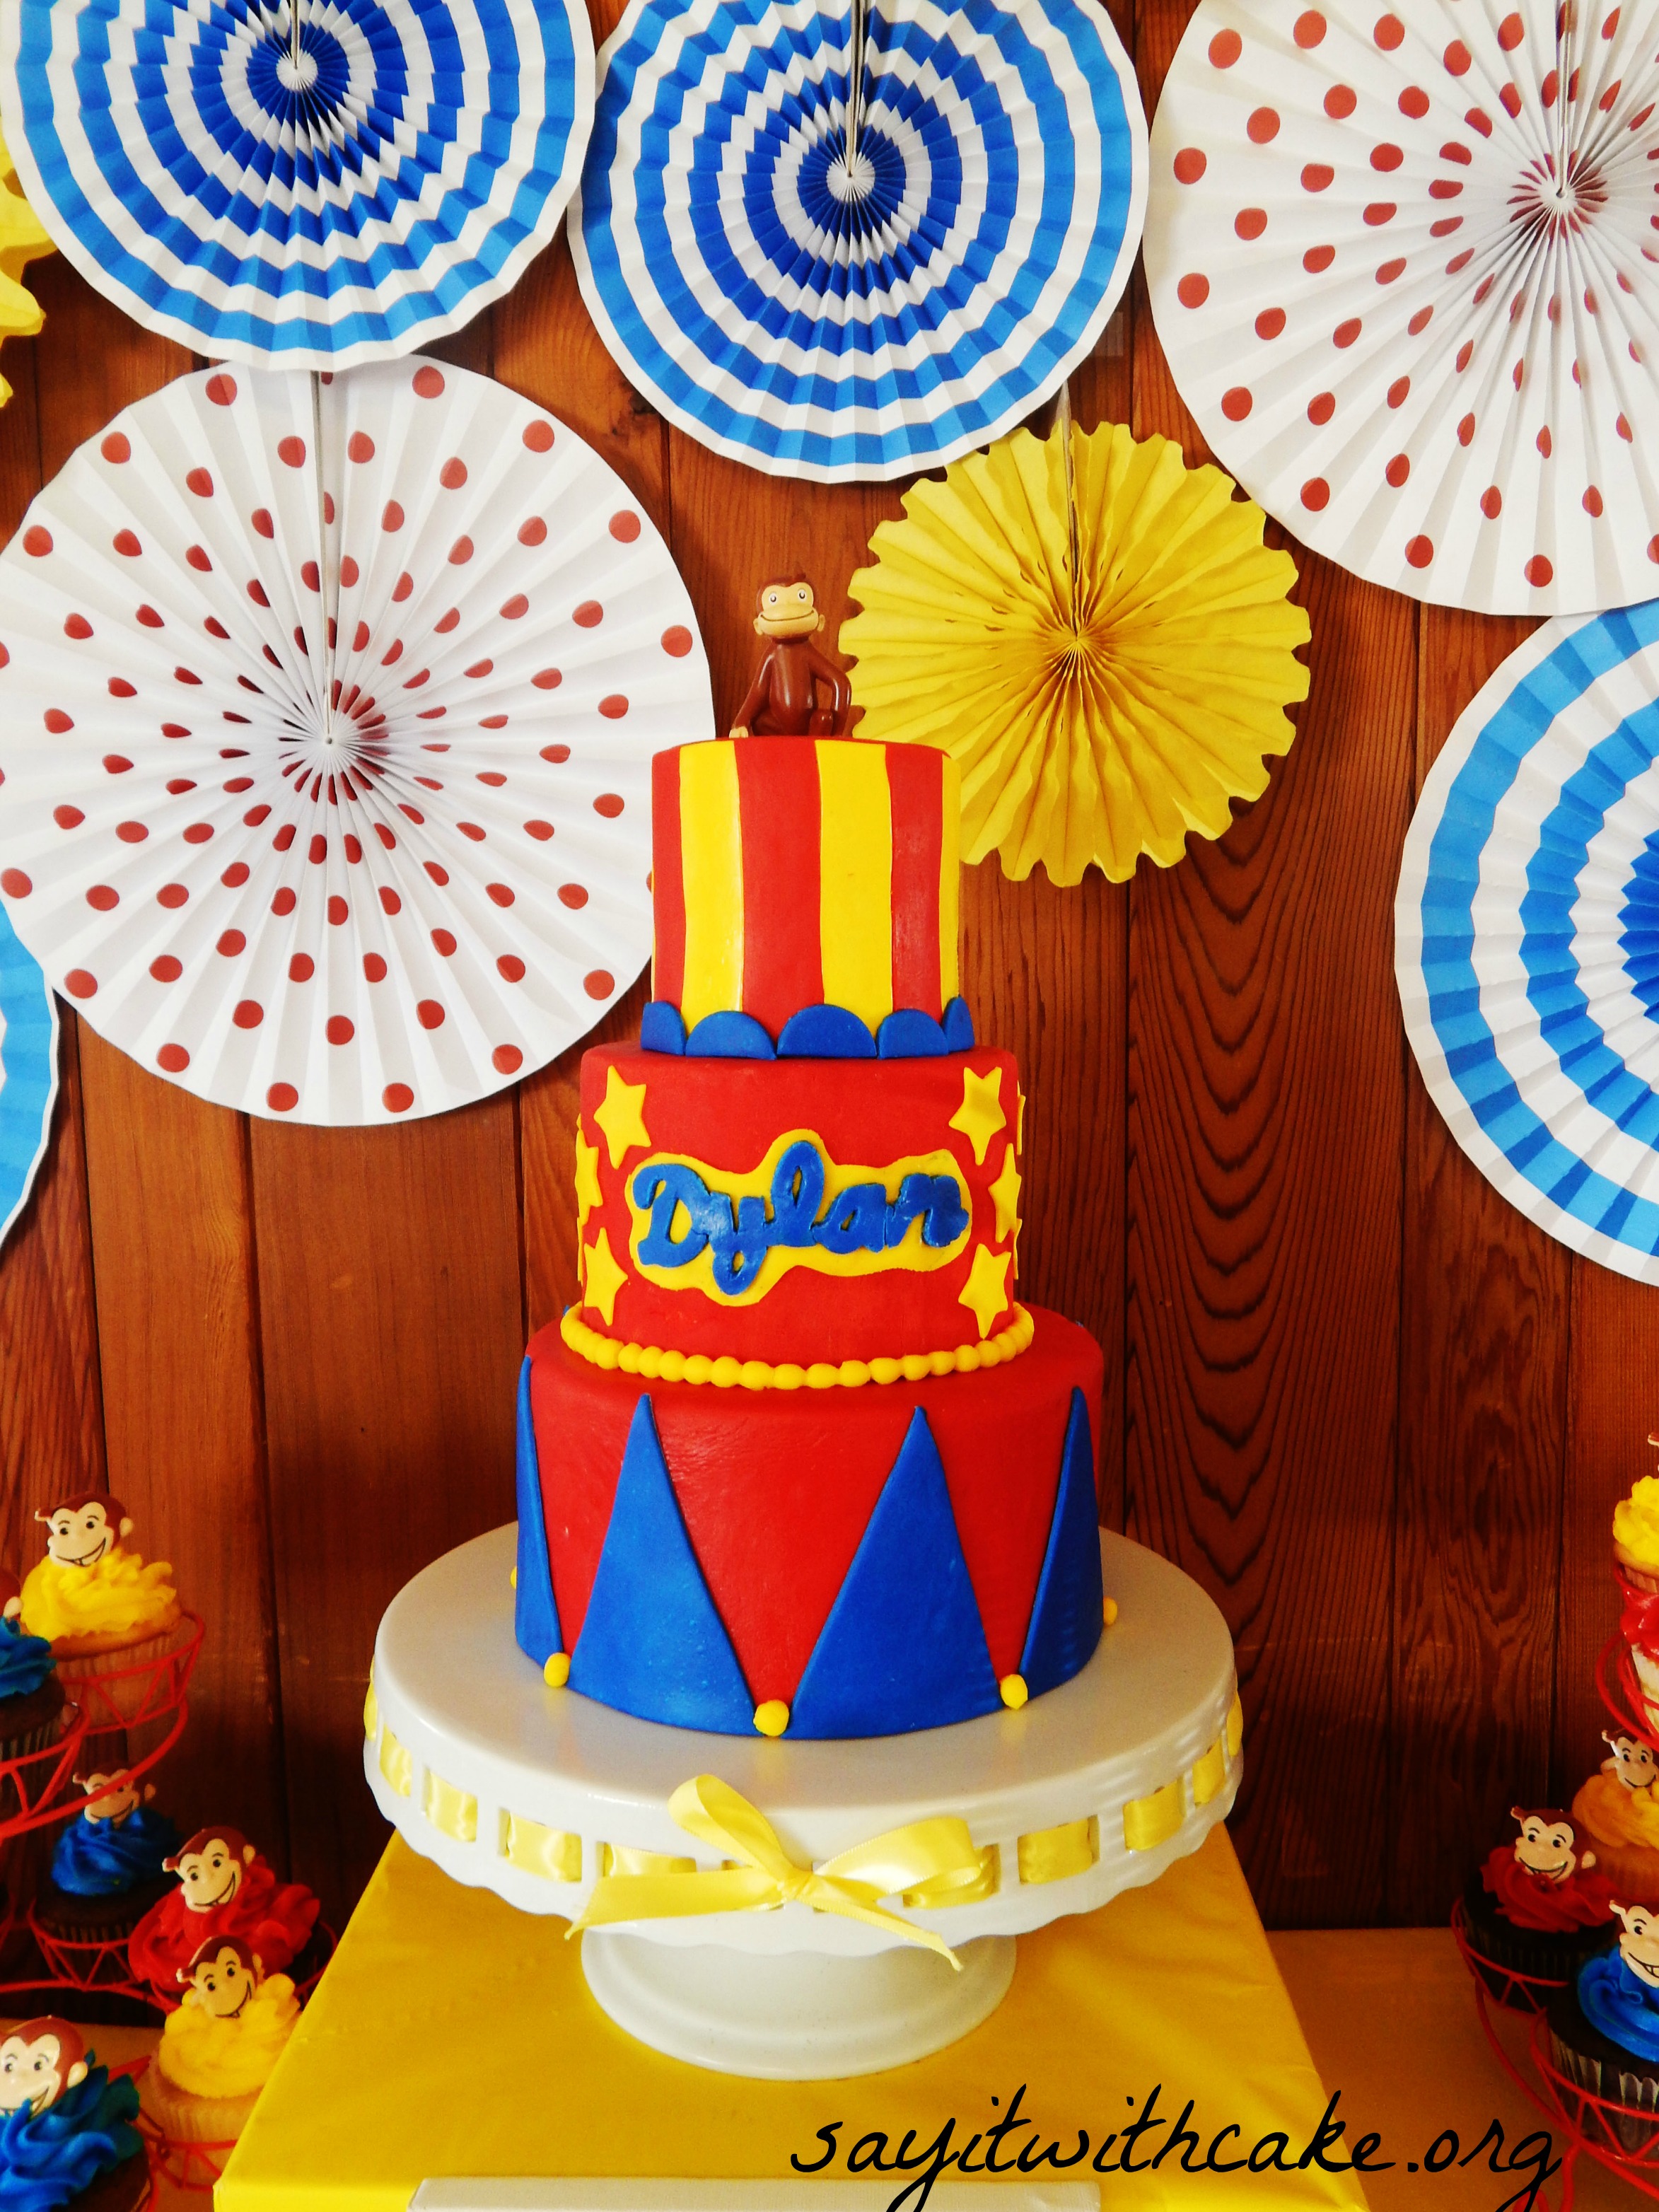 The Cake!
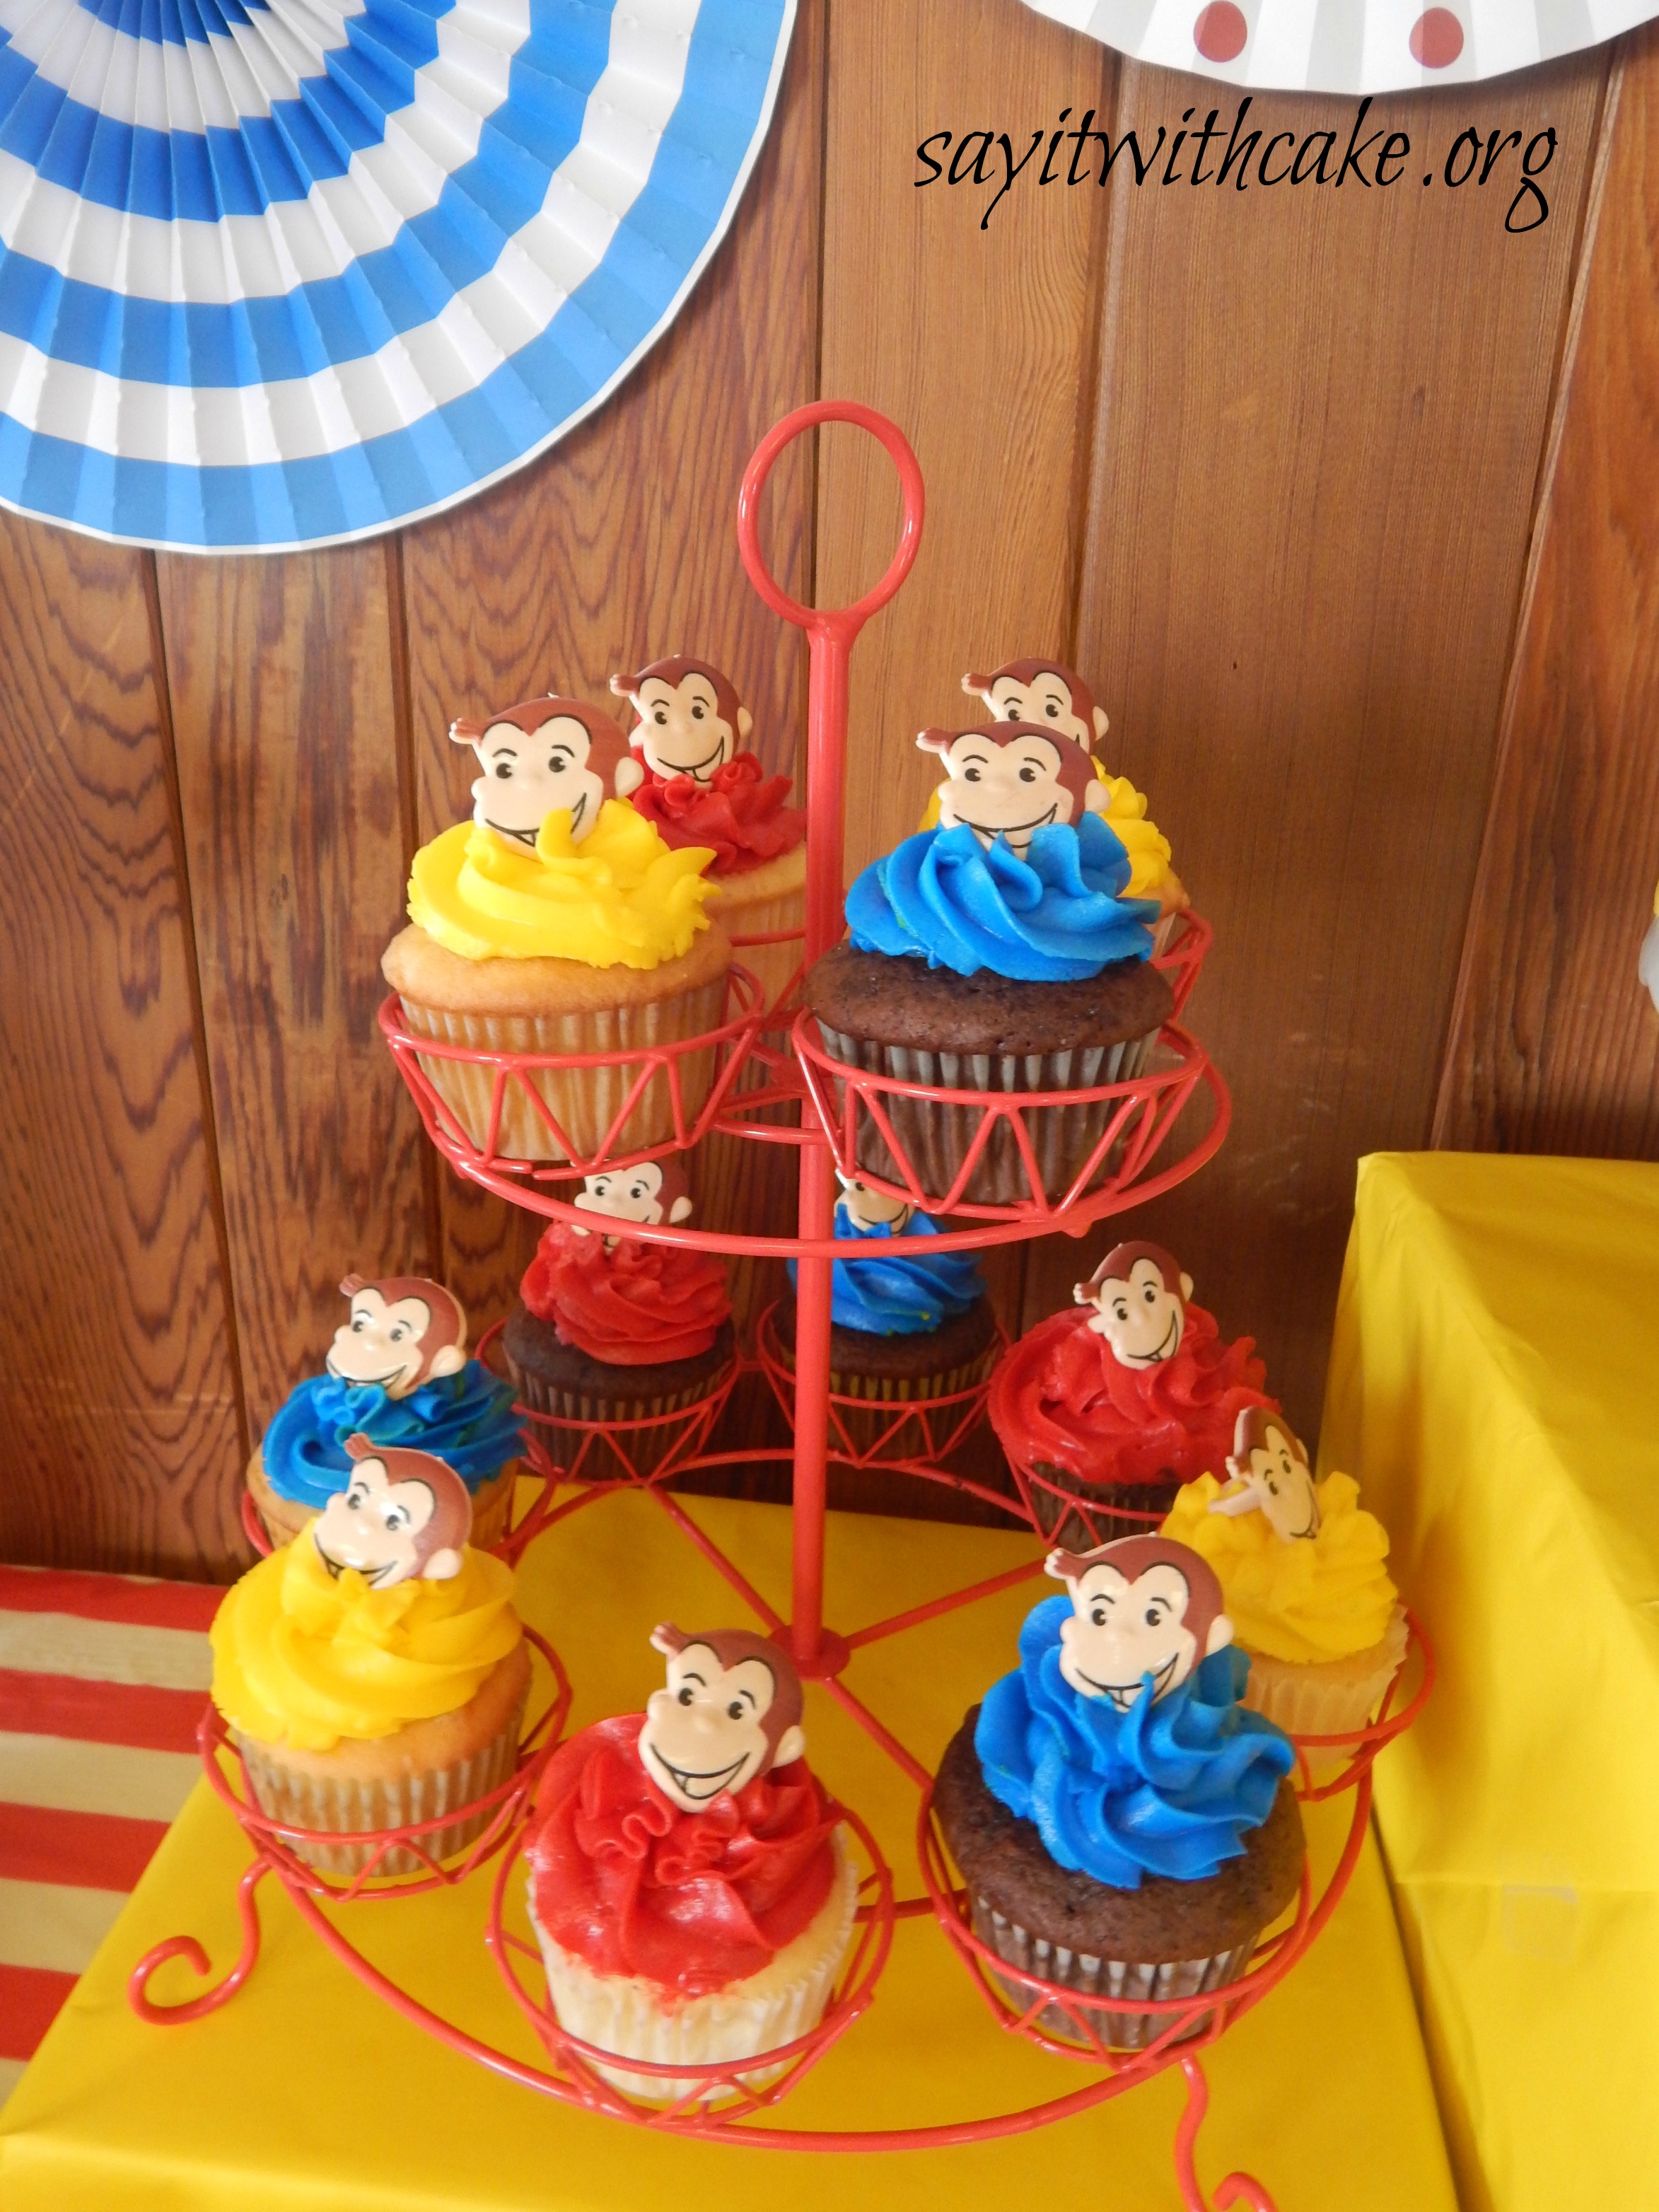
The cupcakes! Chocolate and Vanilla flavors topped with red, blue and yellow piped homemade buttercream frosting and a cute curious George ring on top that I found online. It took a whole bottle of red food coloring to get the red frosting! lol
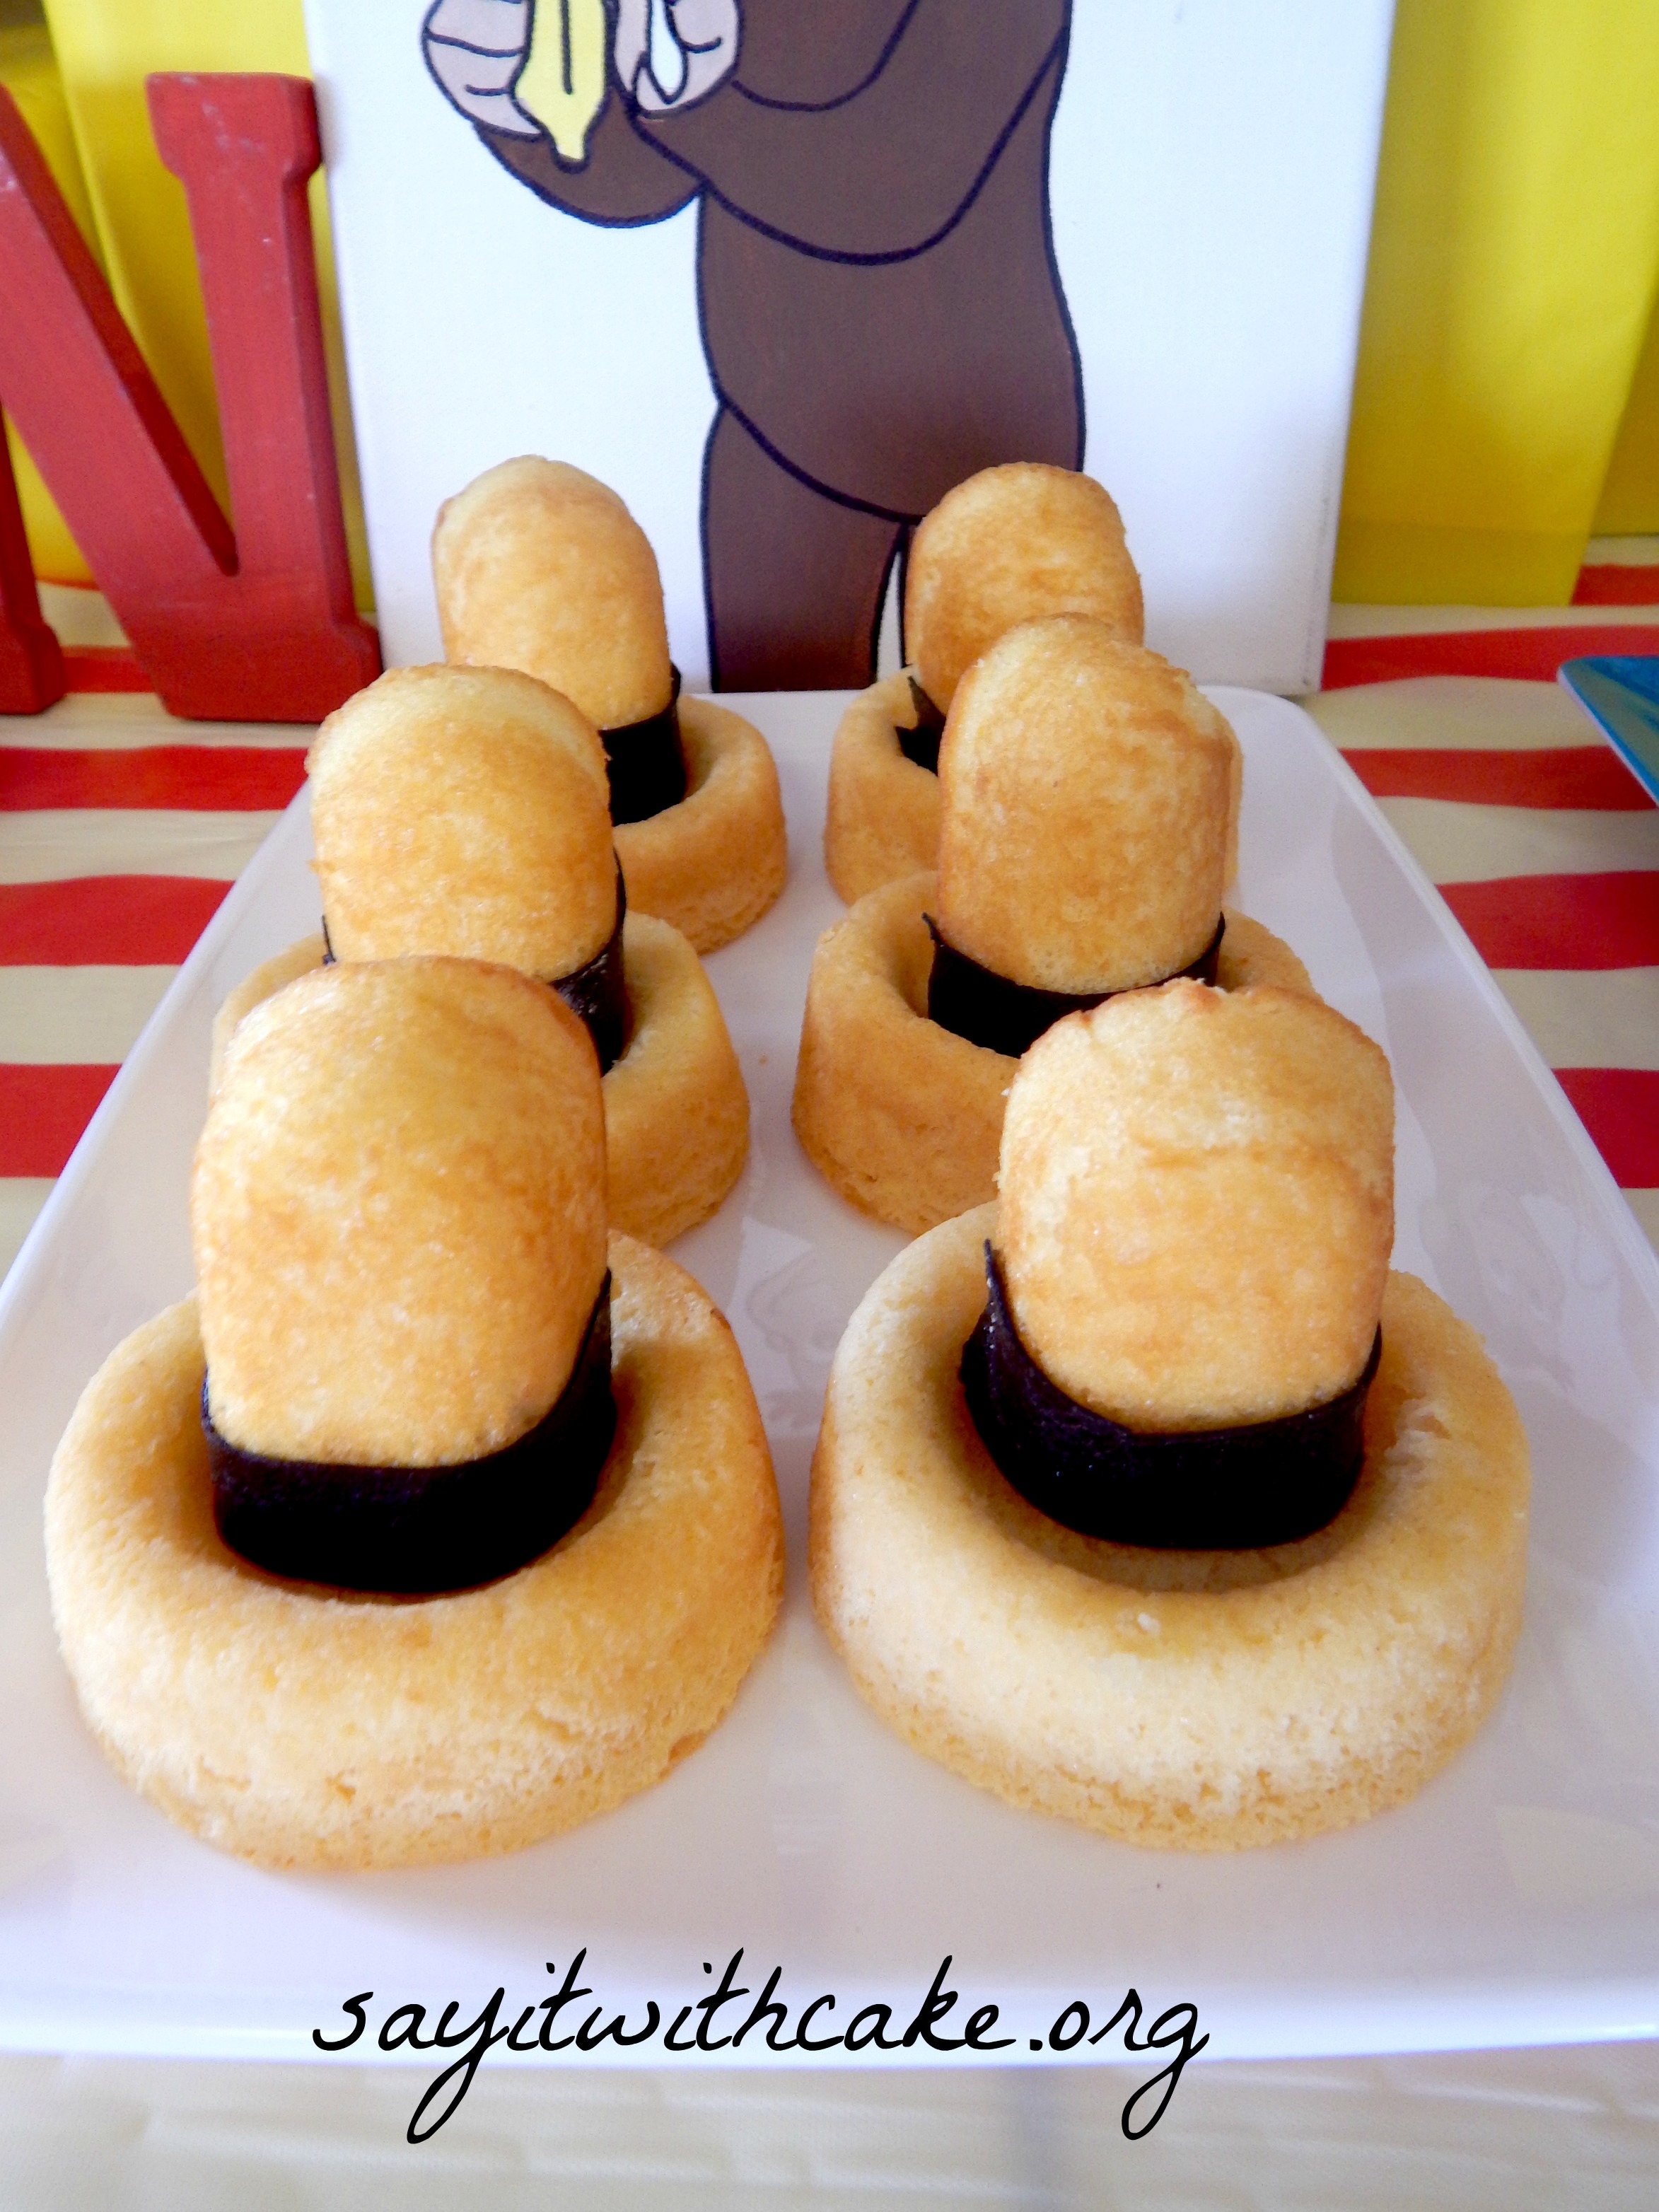
Man with the Yellow hat cakes! I made these using a shortcake on the bottom and a twinkie on top with a strip of fruit roll up for the band around the hat. The kids loved these! I got the idea here!
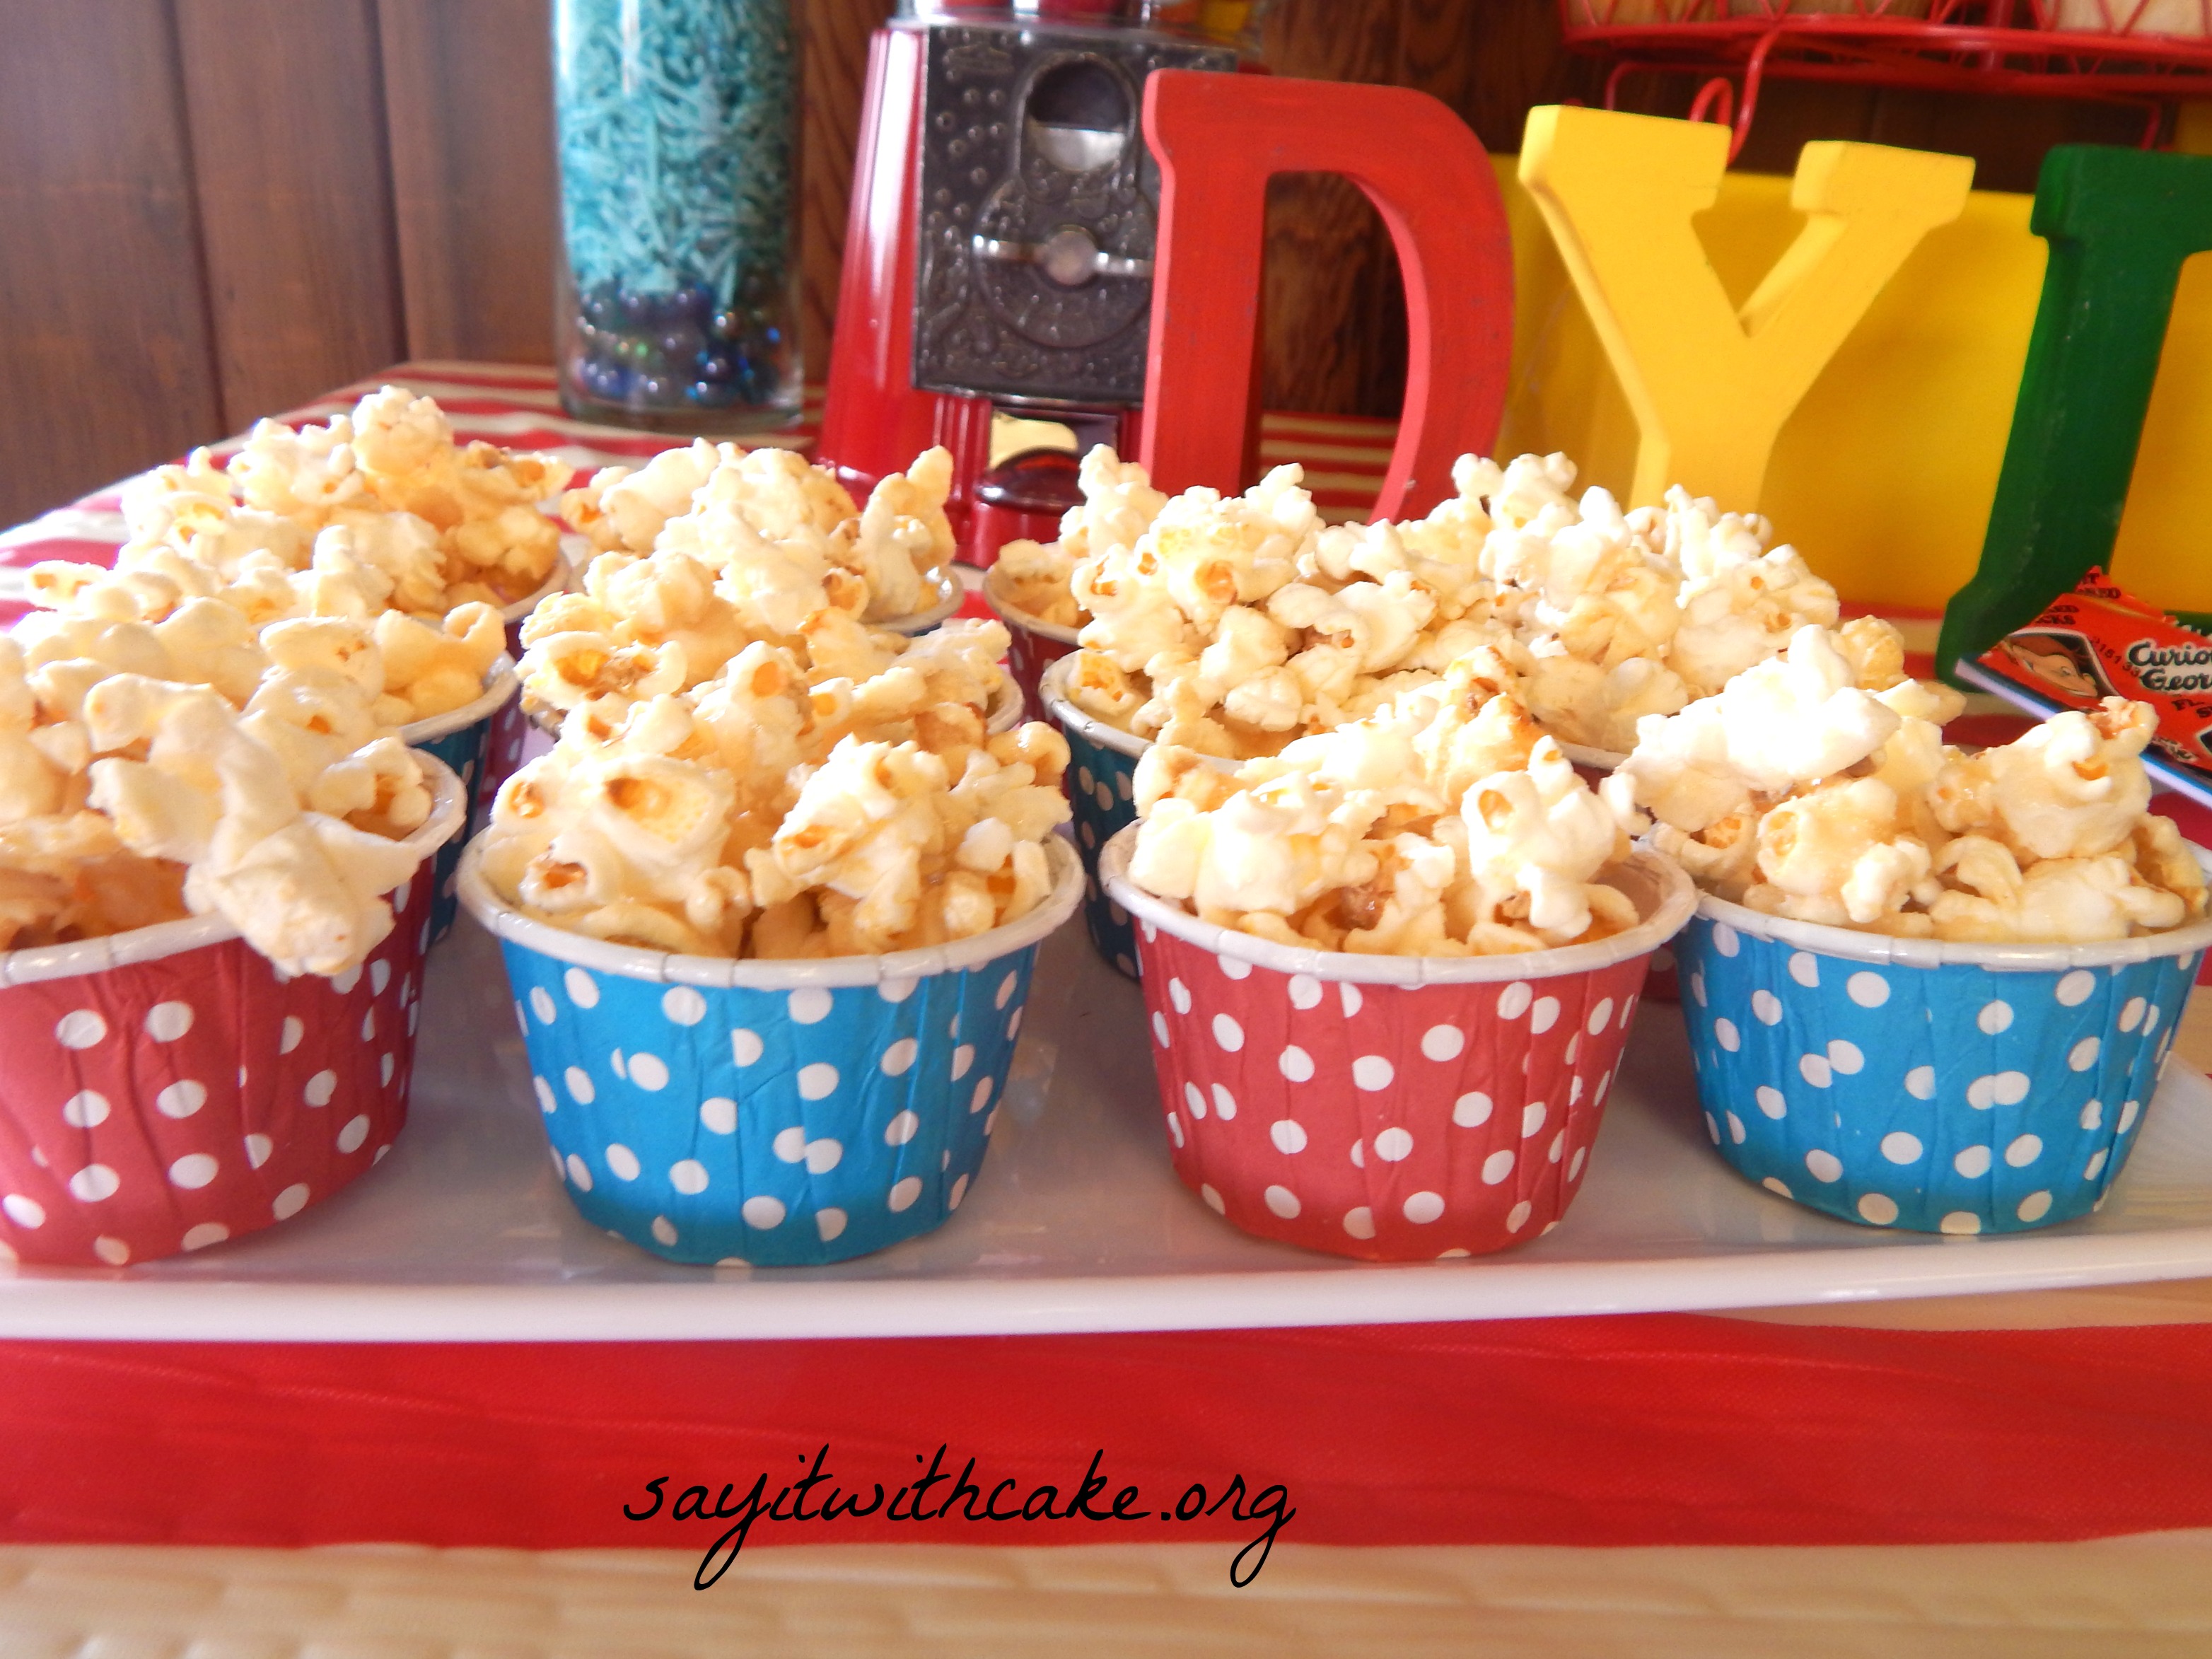
Kettle corn in these cute festive cups
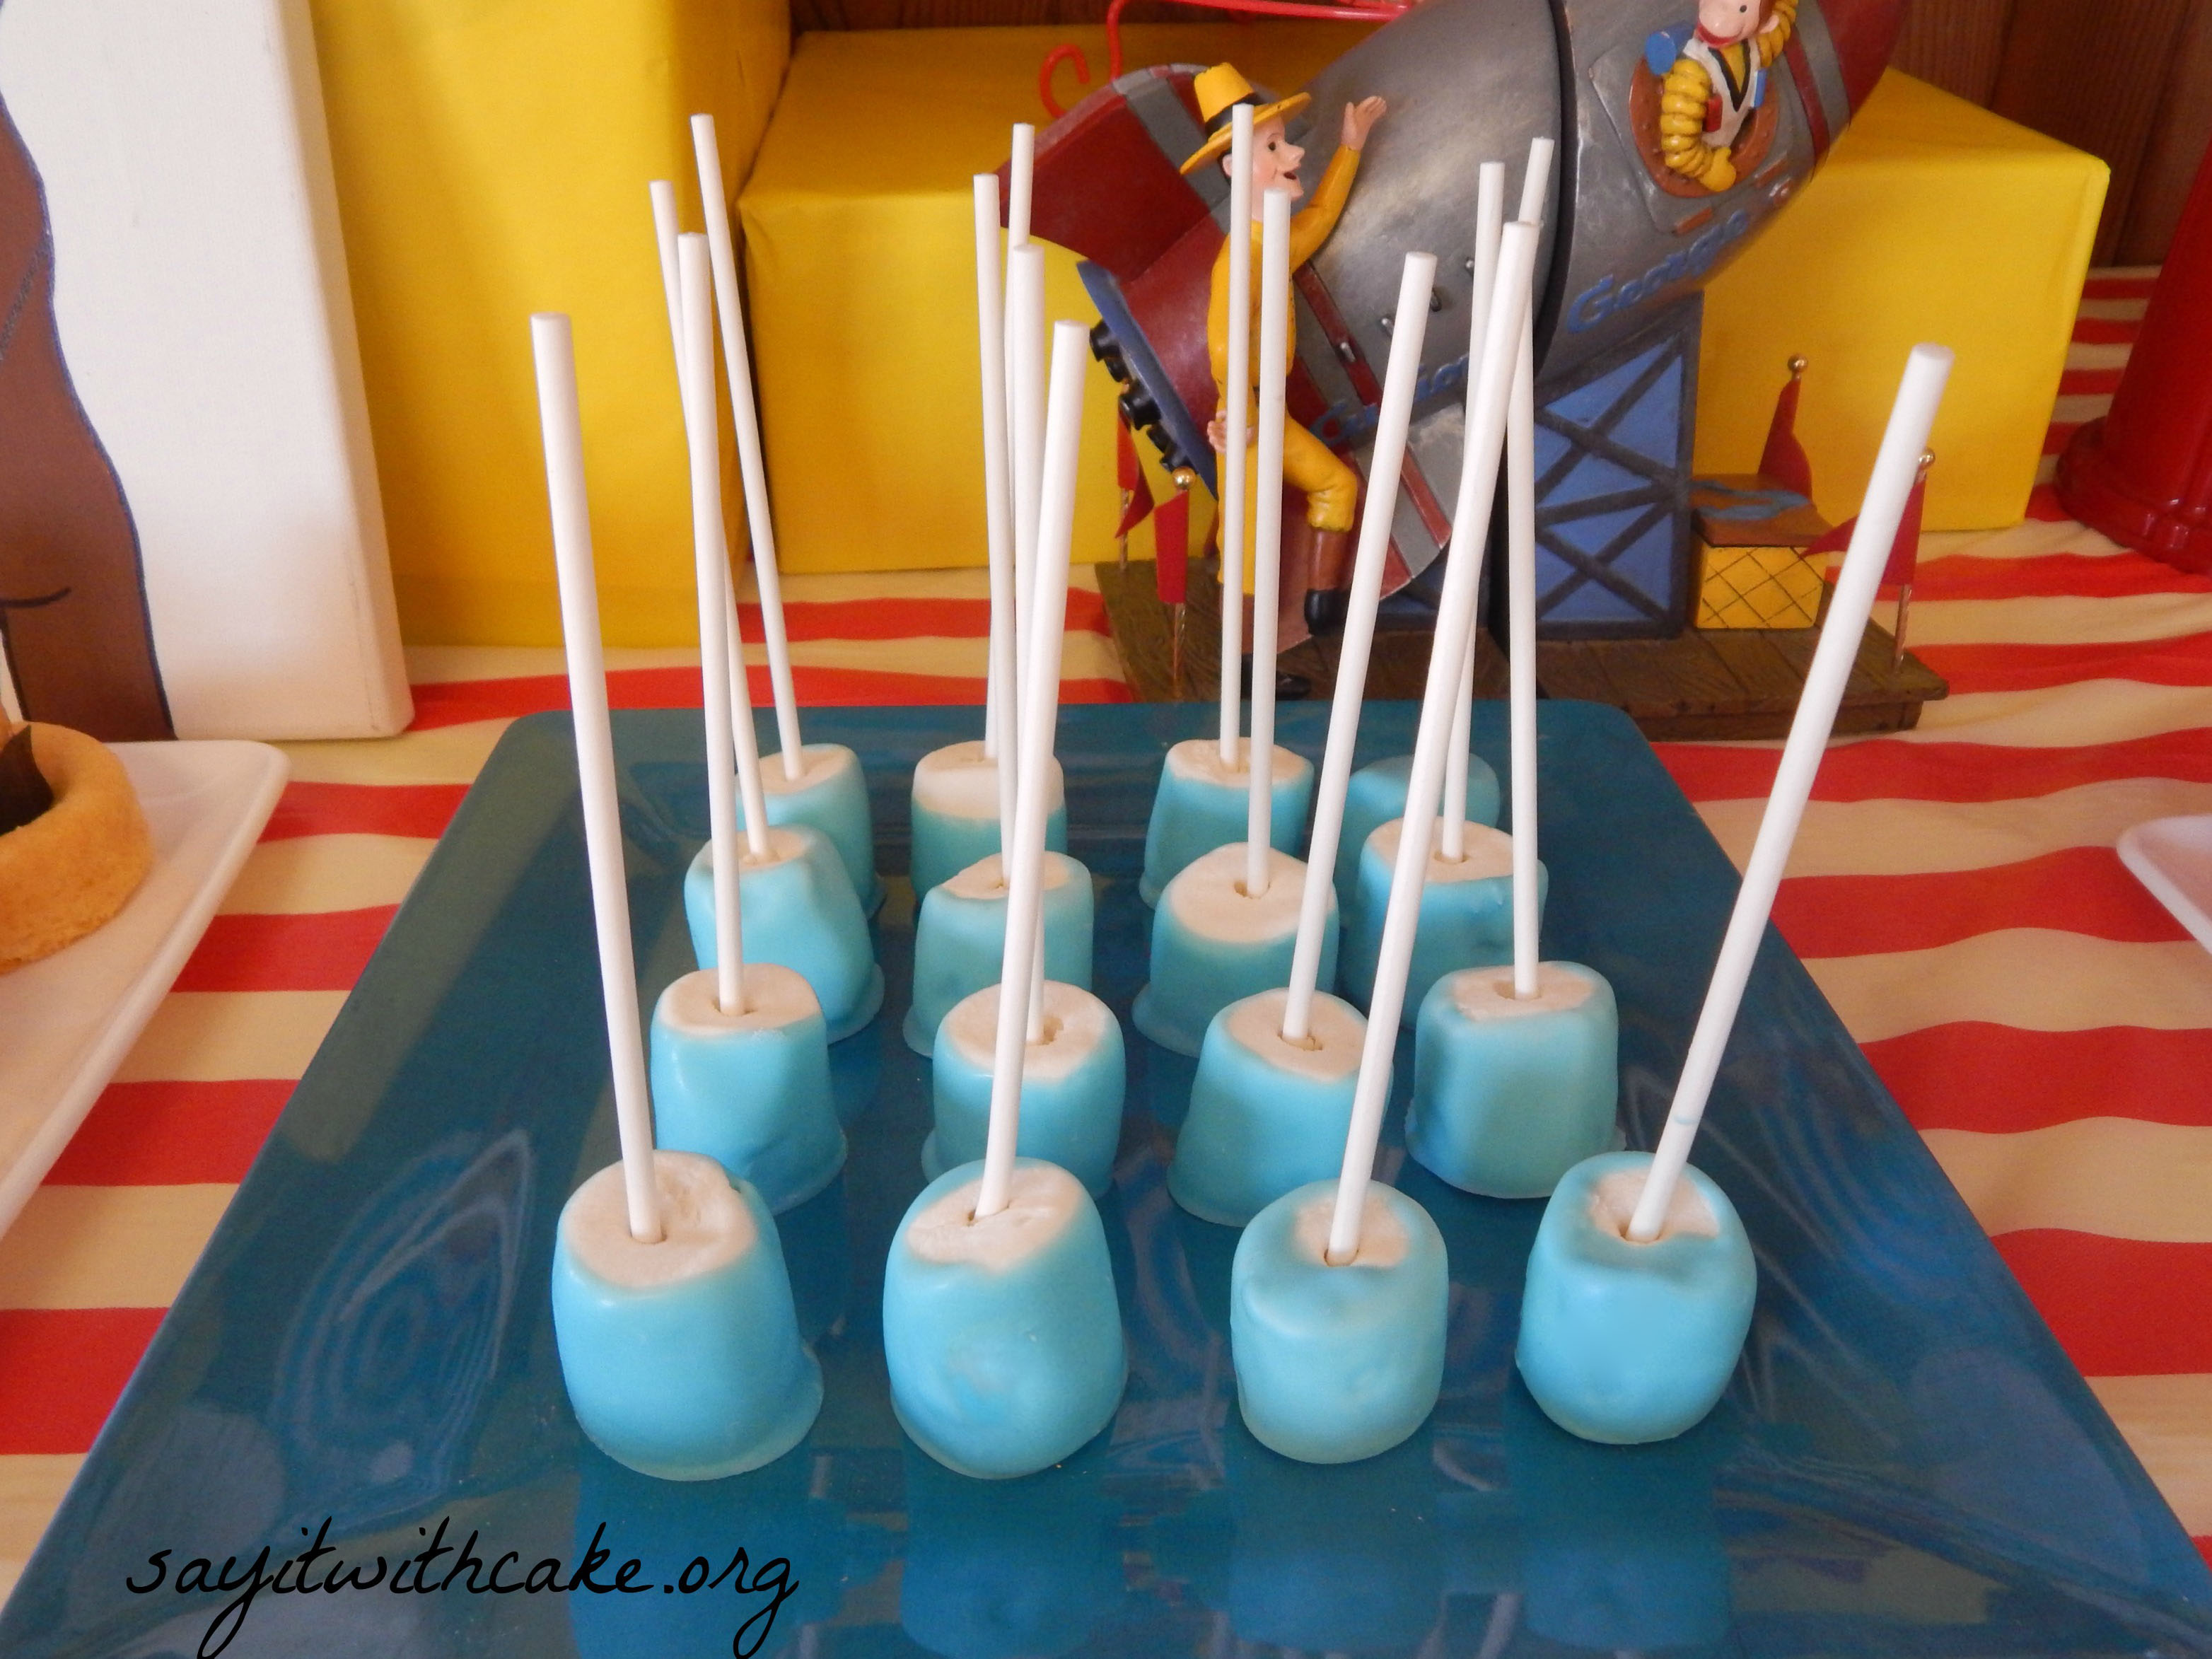
Blue chocolate covered marshmallows
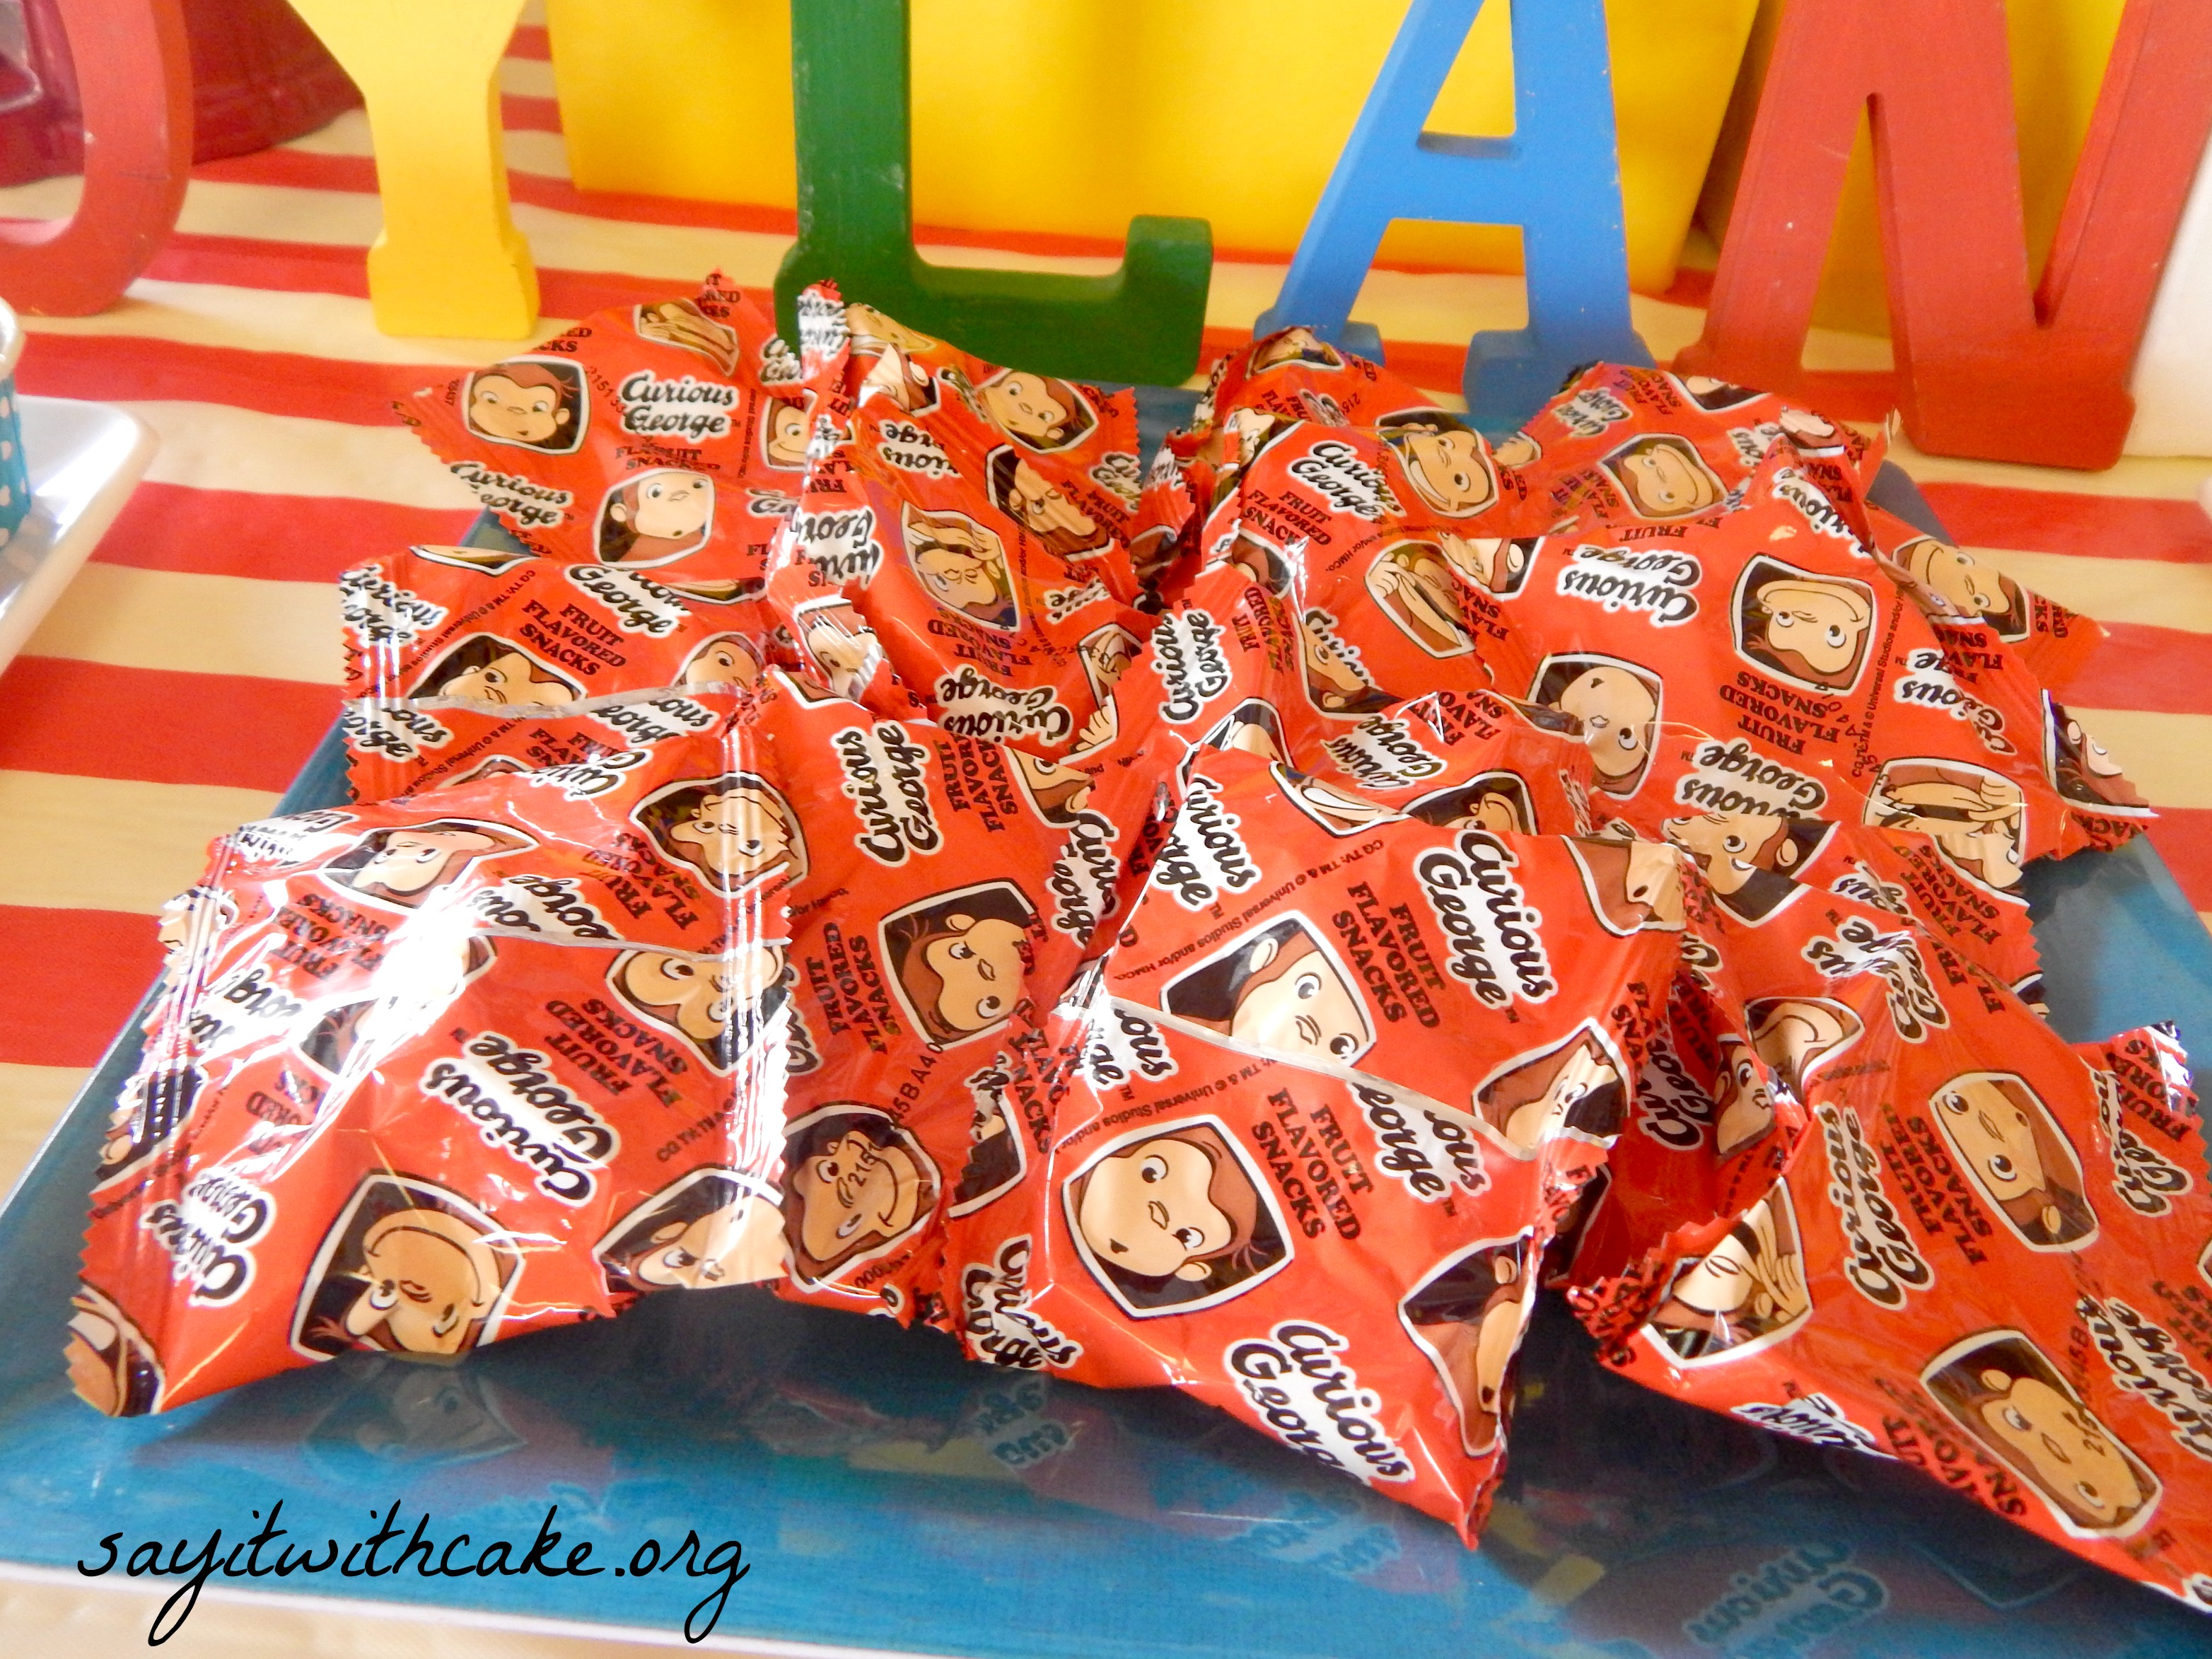
Curious George fruit snacks!
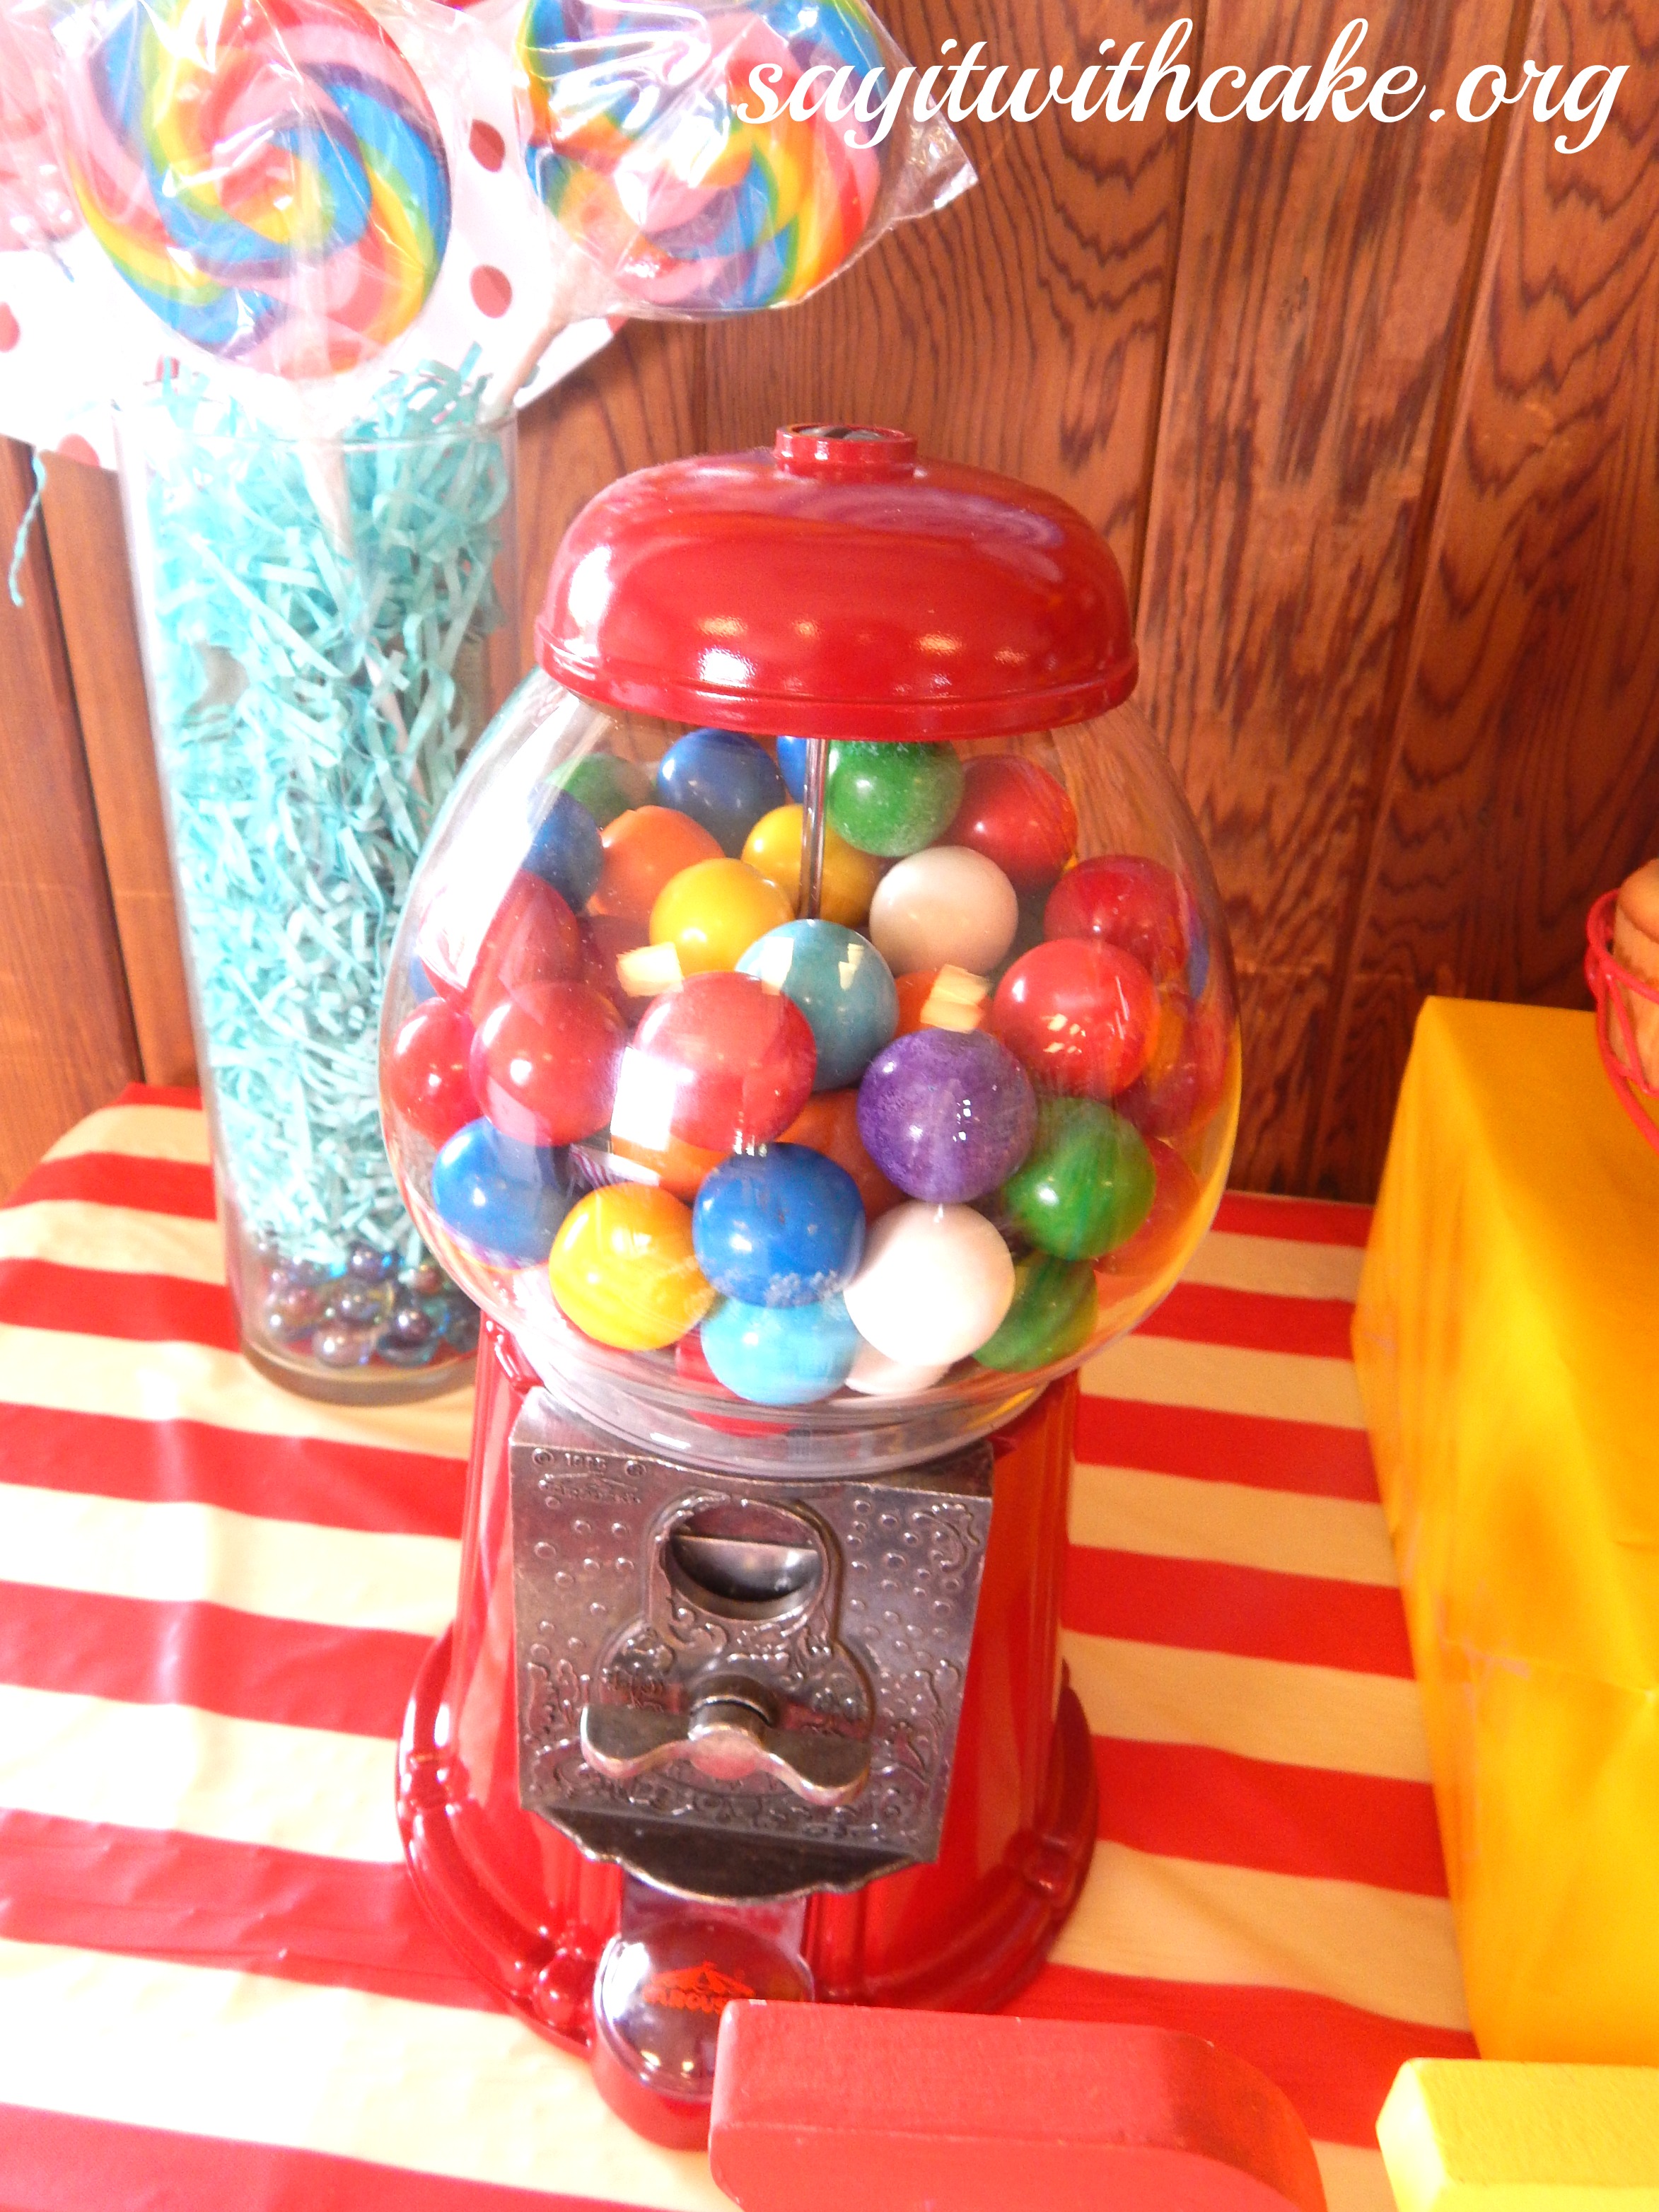
Gumball machines with multi colored large gumballs
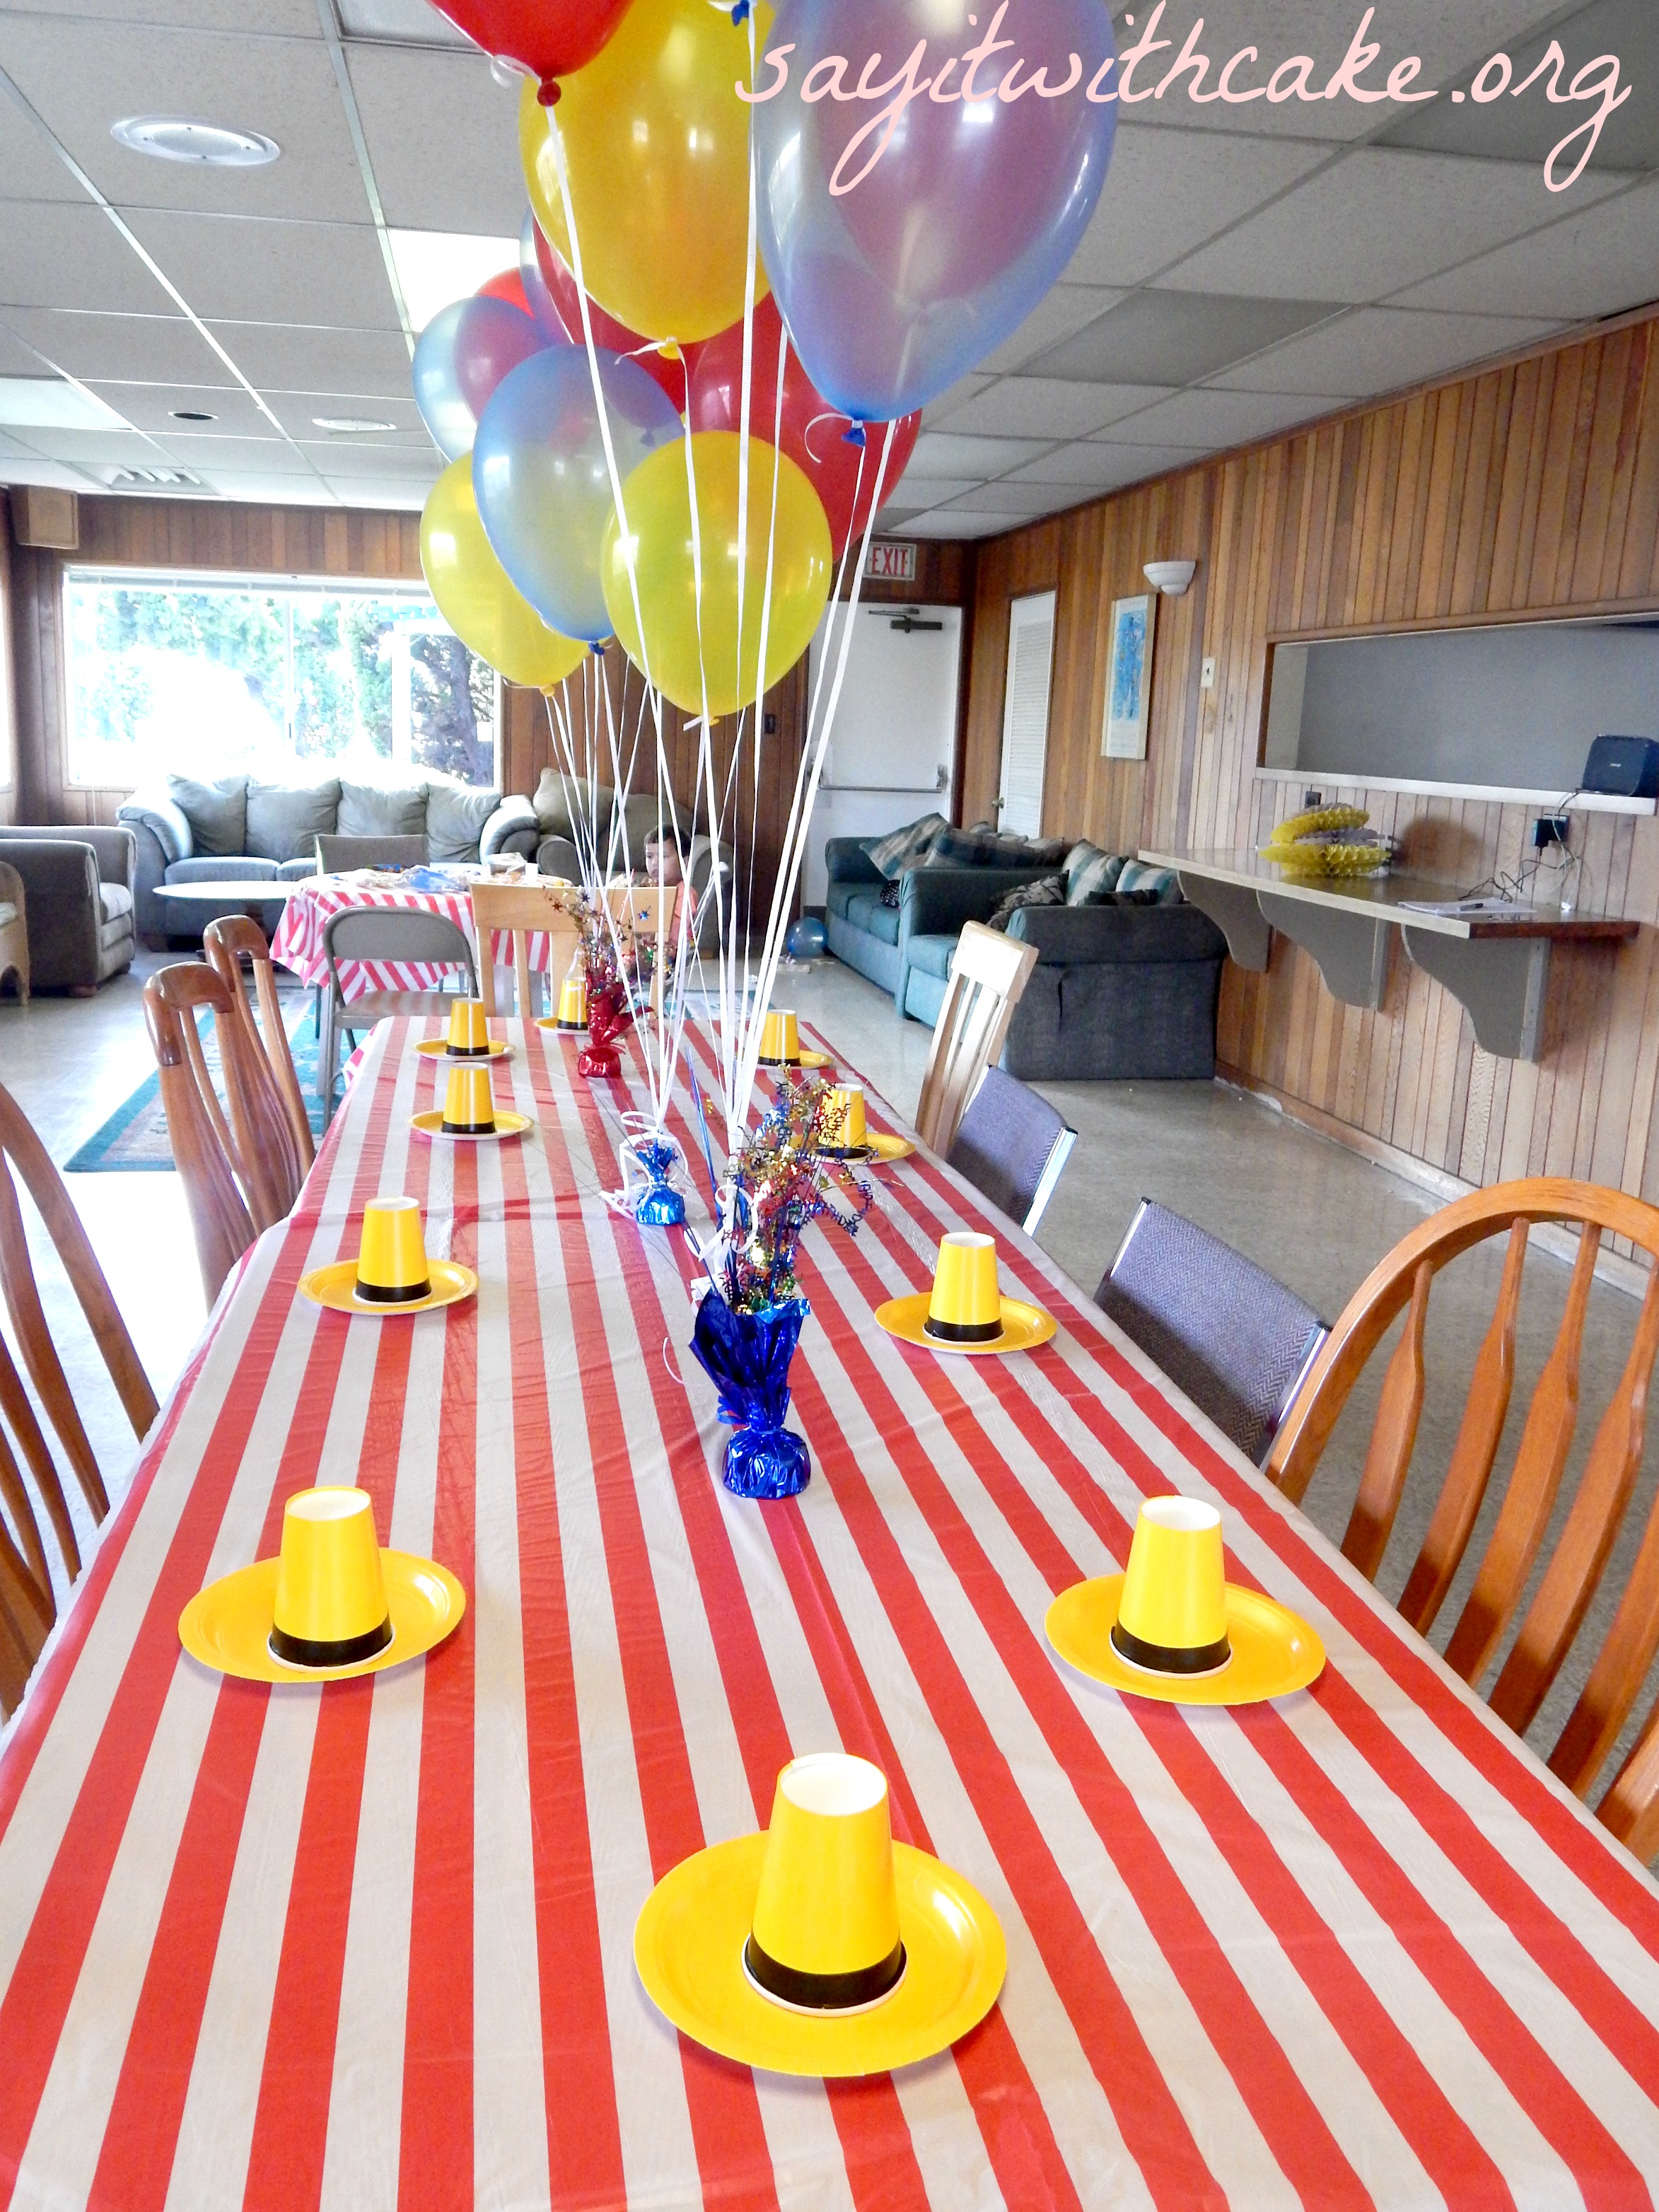
The kids table. I love how the plate and cup look like the man with the yellow hat! I added the black band using electrical tape.
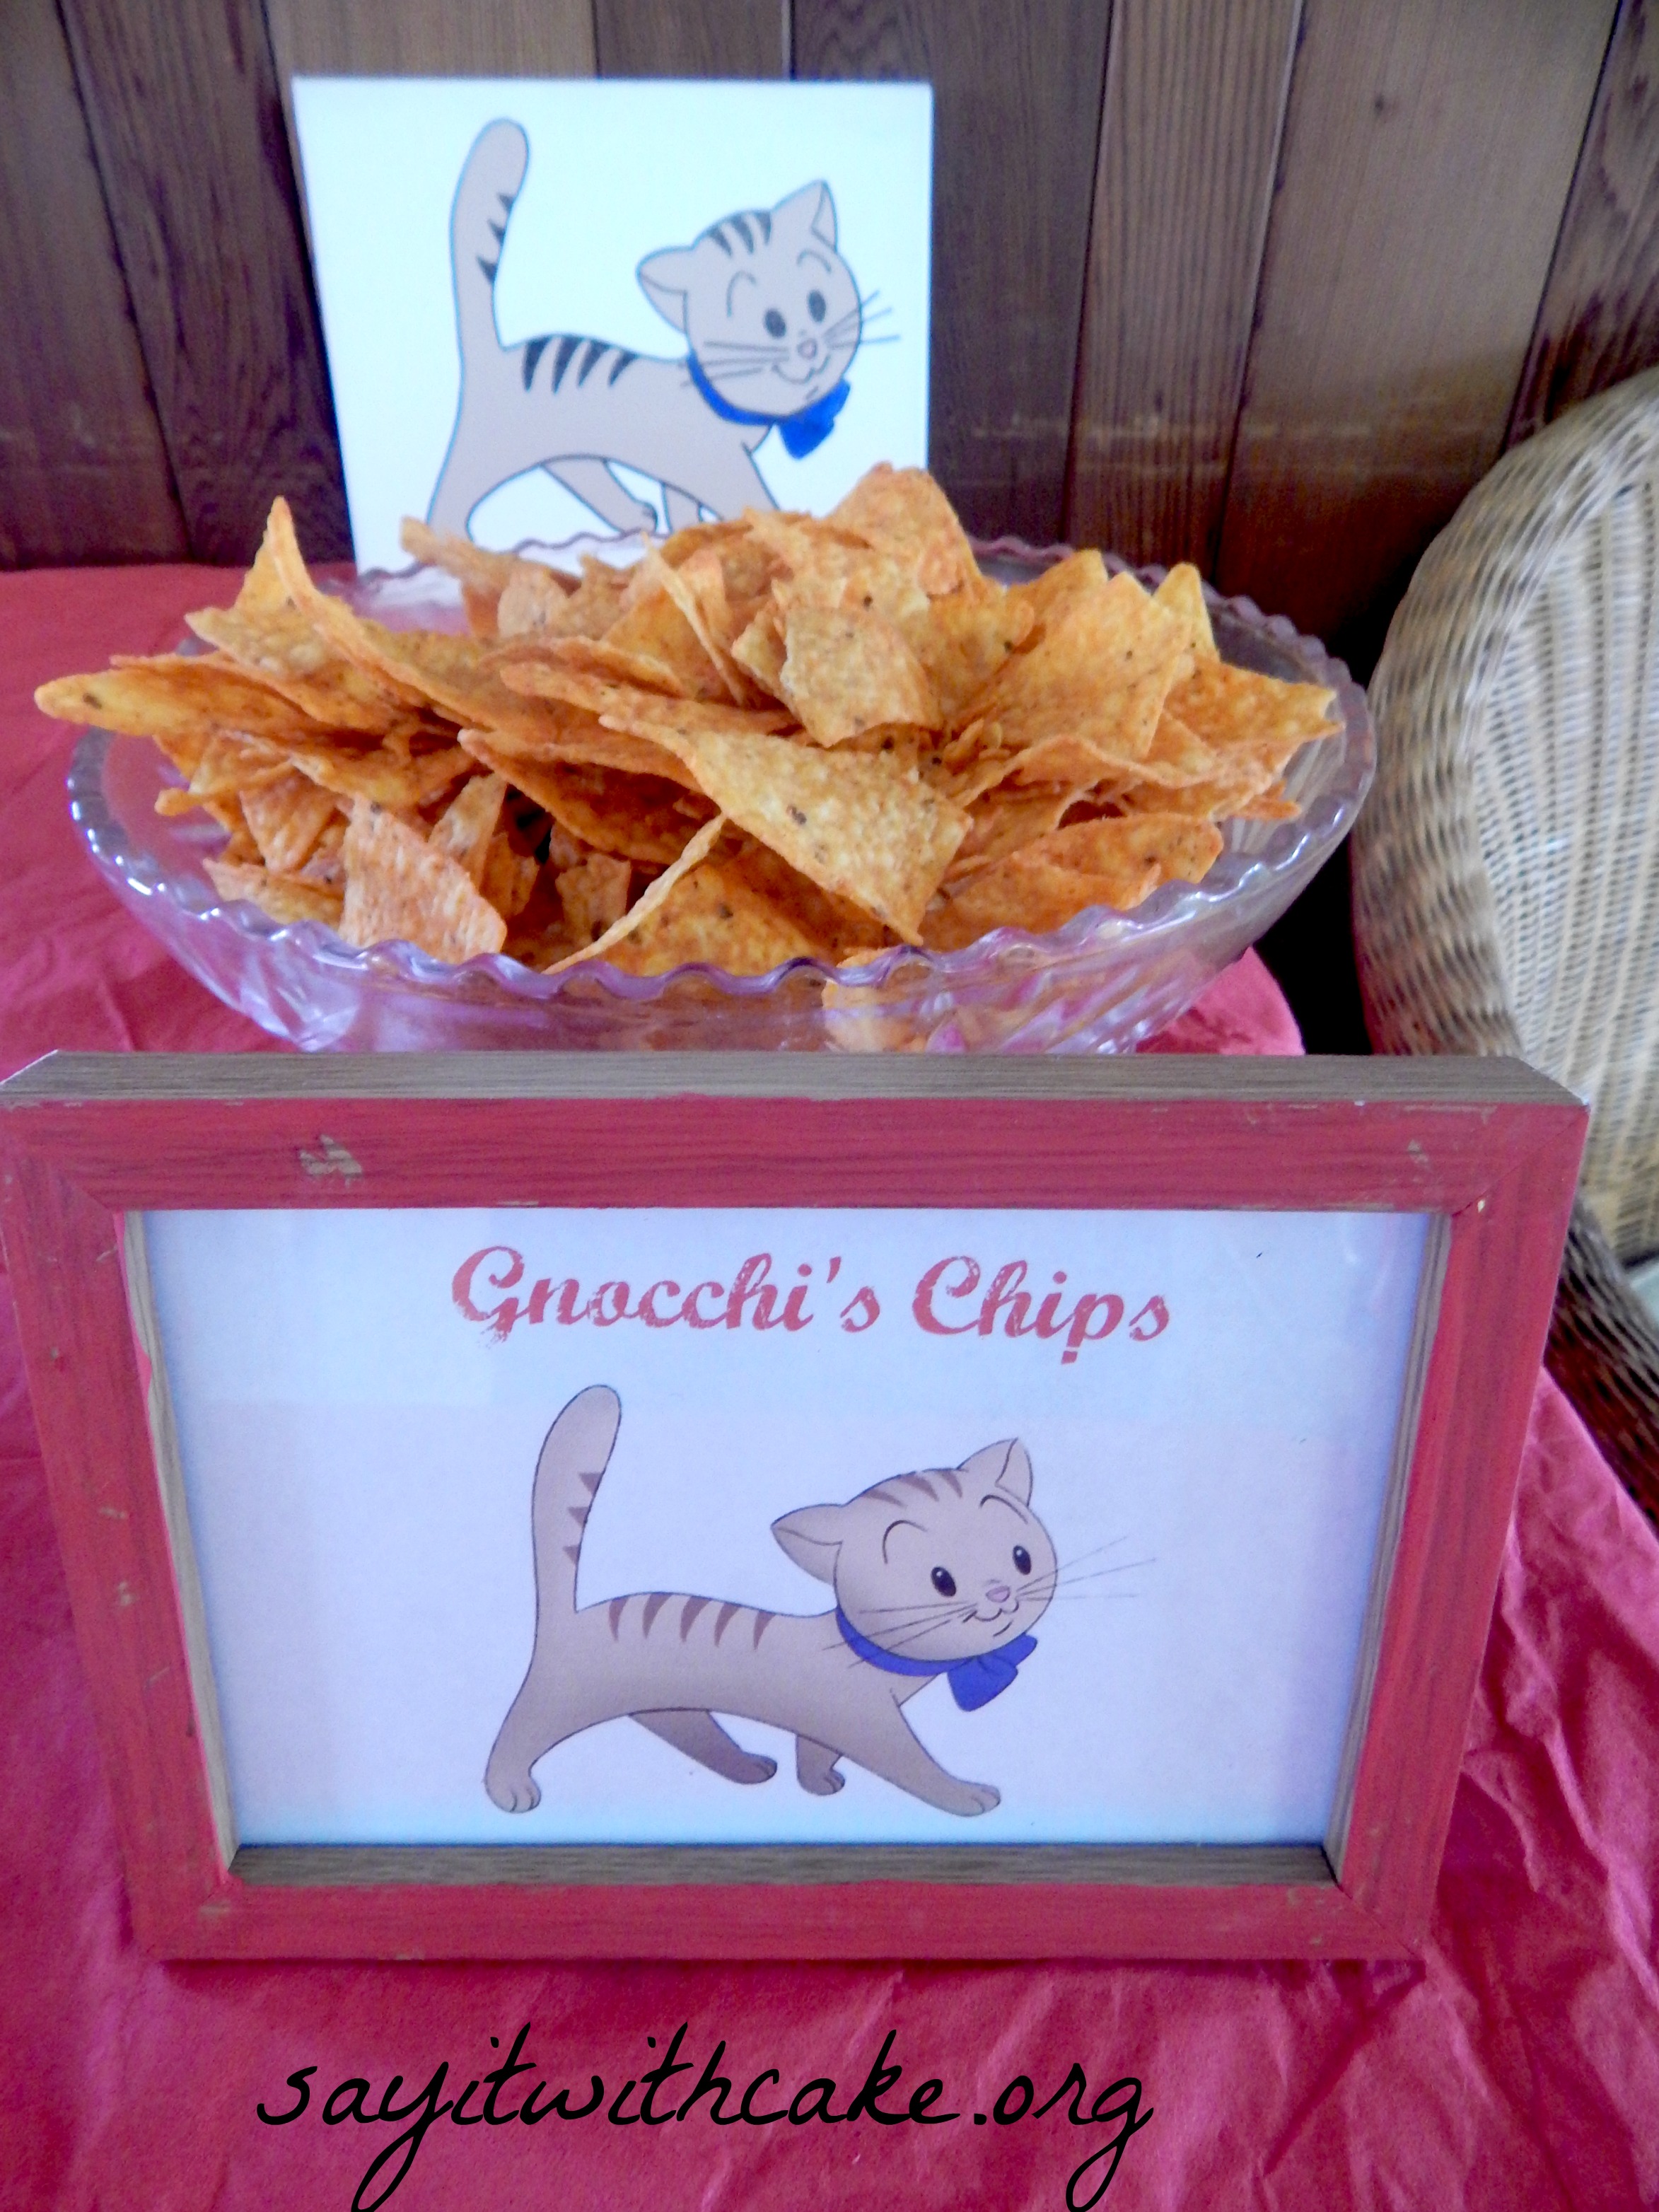
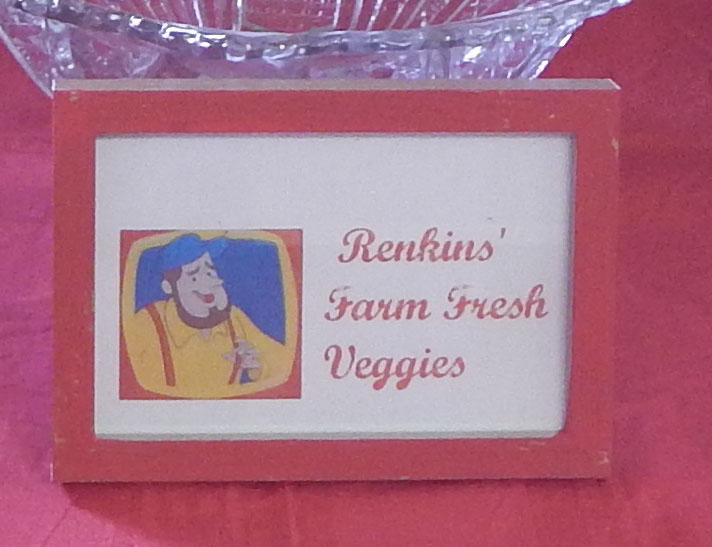
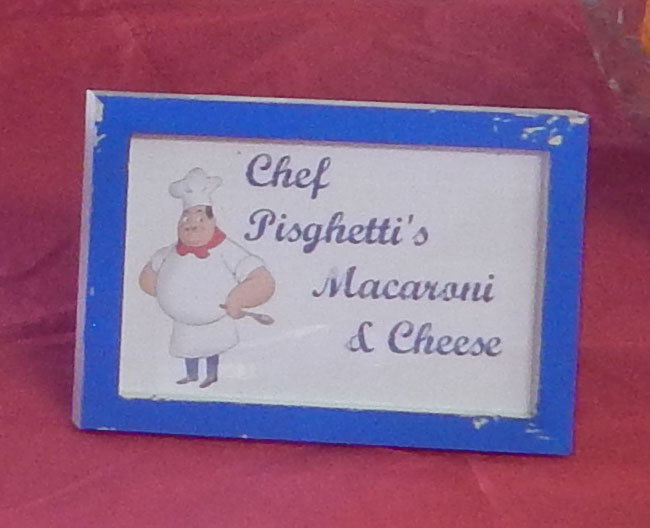
At the food table I made these cute signs for each of the dishes

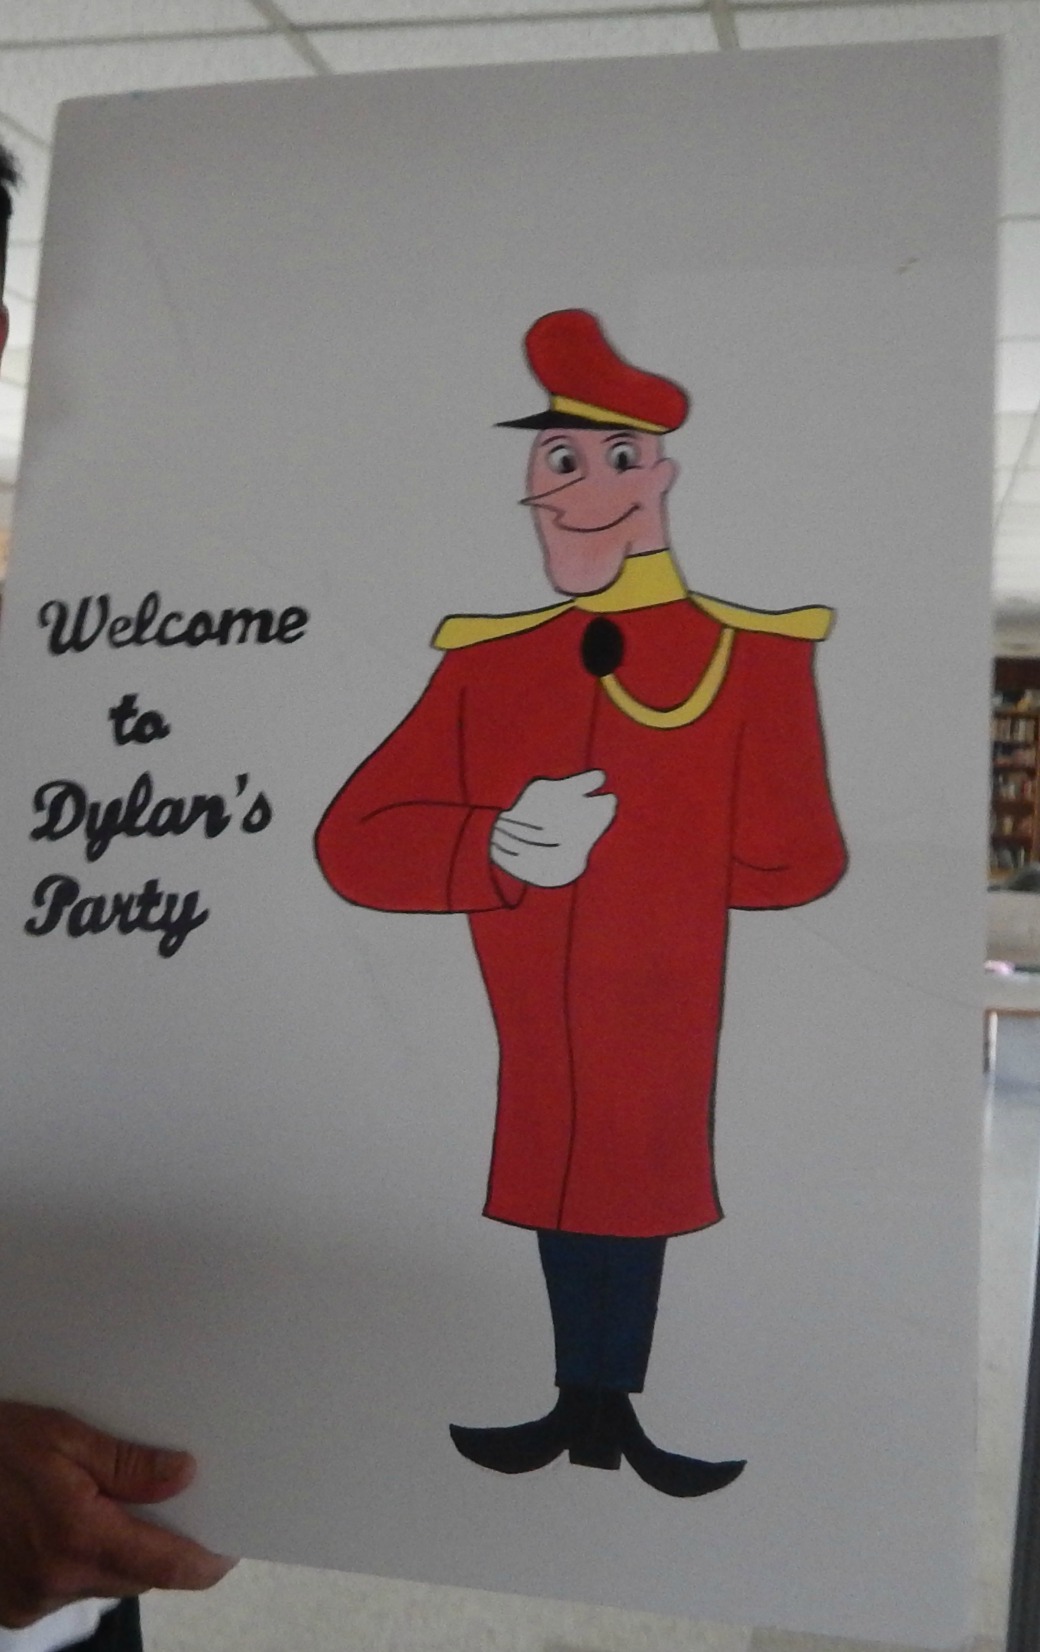
I painted this sign and had it in the entrance of the party
Happy Birthday my sweet Dylan! I love you so much!!! Hope you had fun at your party!!
ENJOY!
Shamene
More parties you might like!

![1151024_10201670739311157_660485339_n[1]](https://sayitwithcake.org/wp-content/uploads/2014/01/1151024_10201670739311157_660485339_n1.jpg)
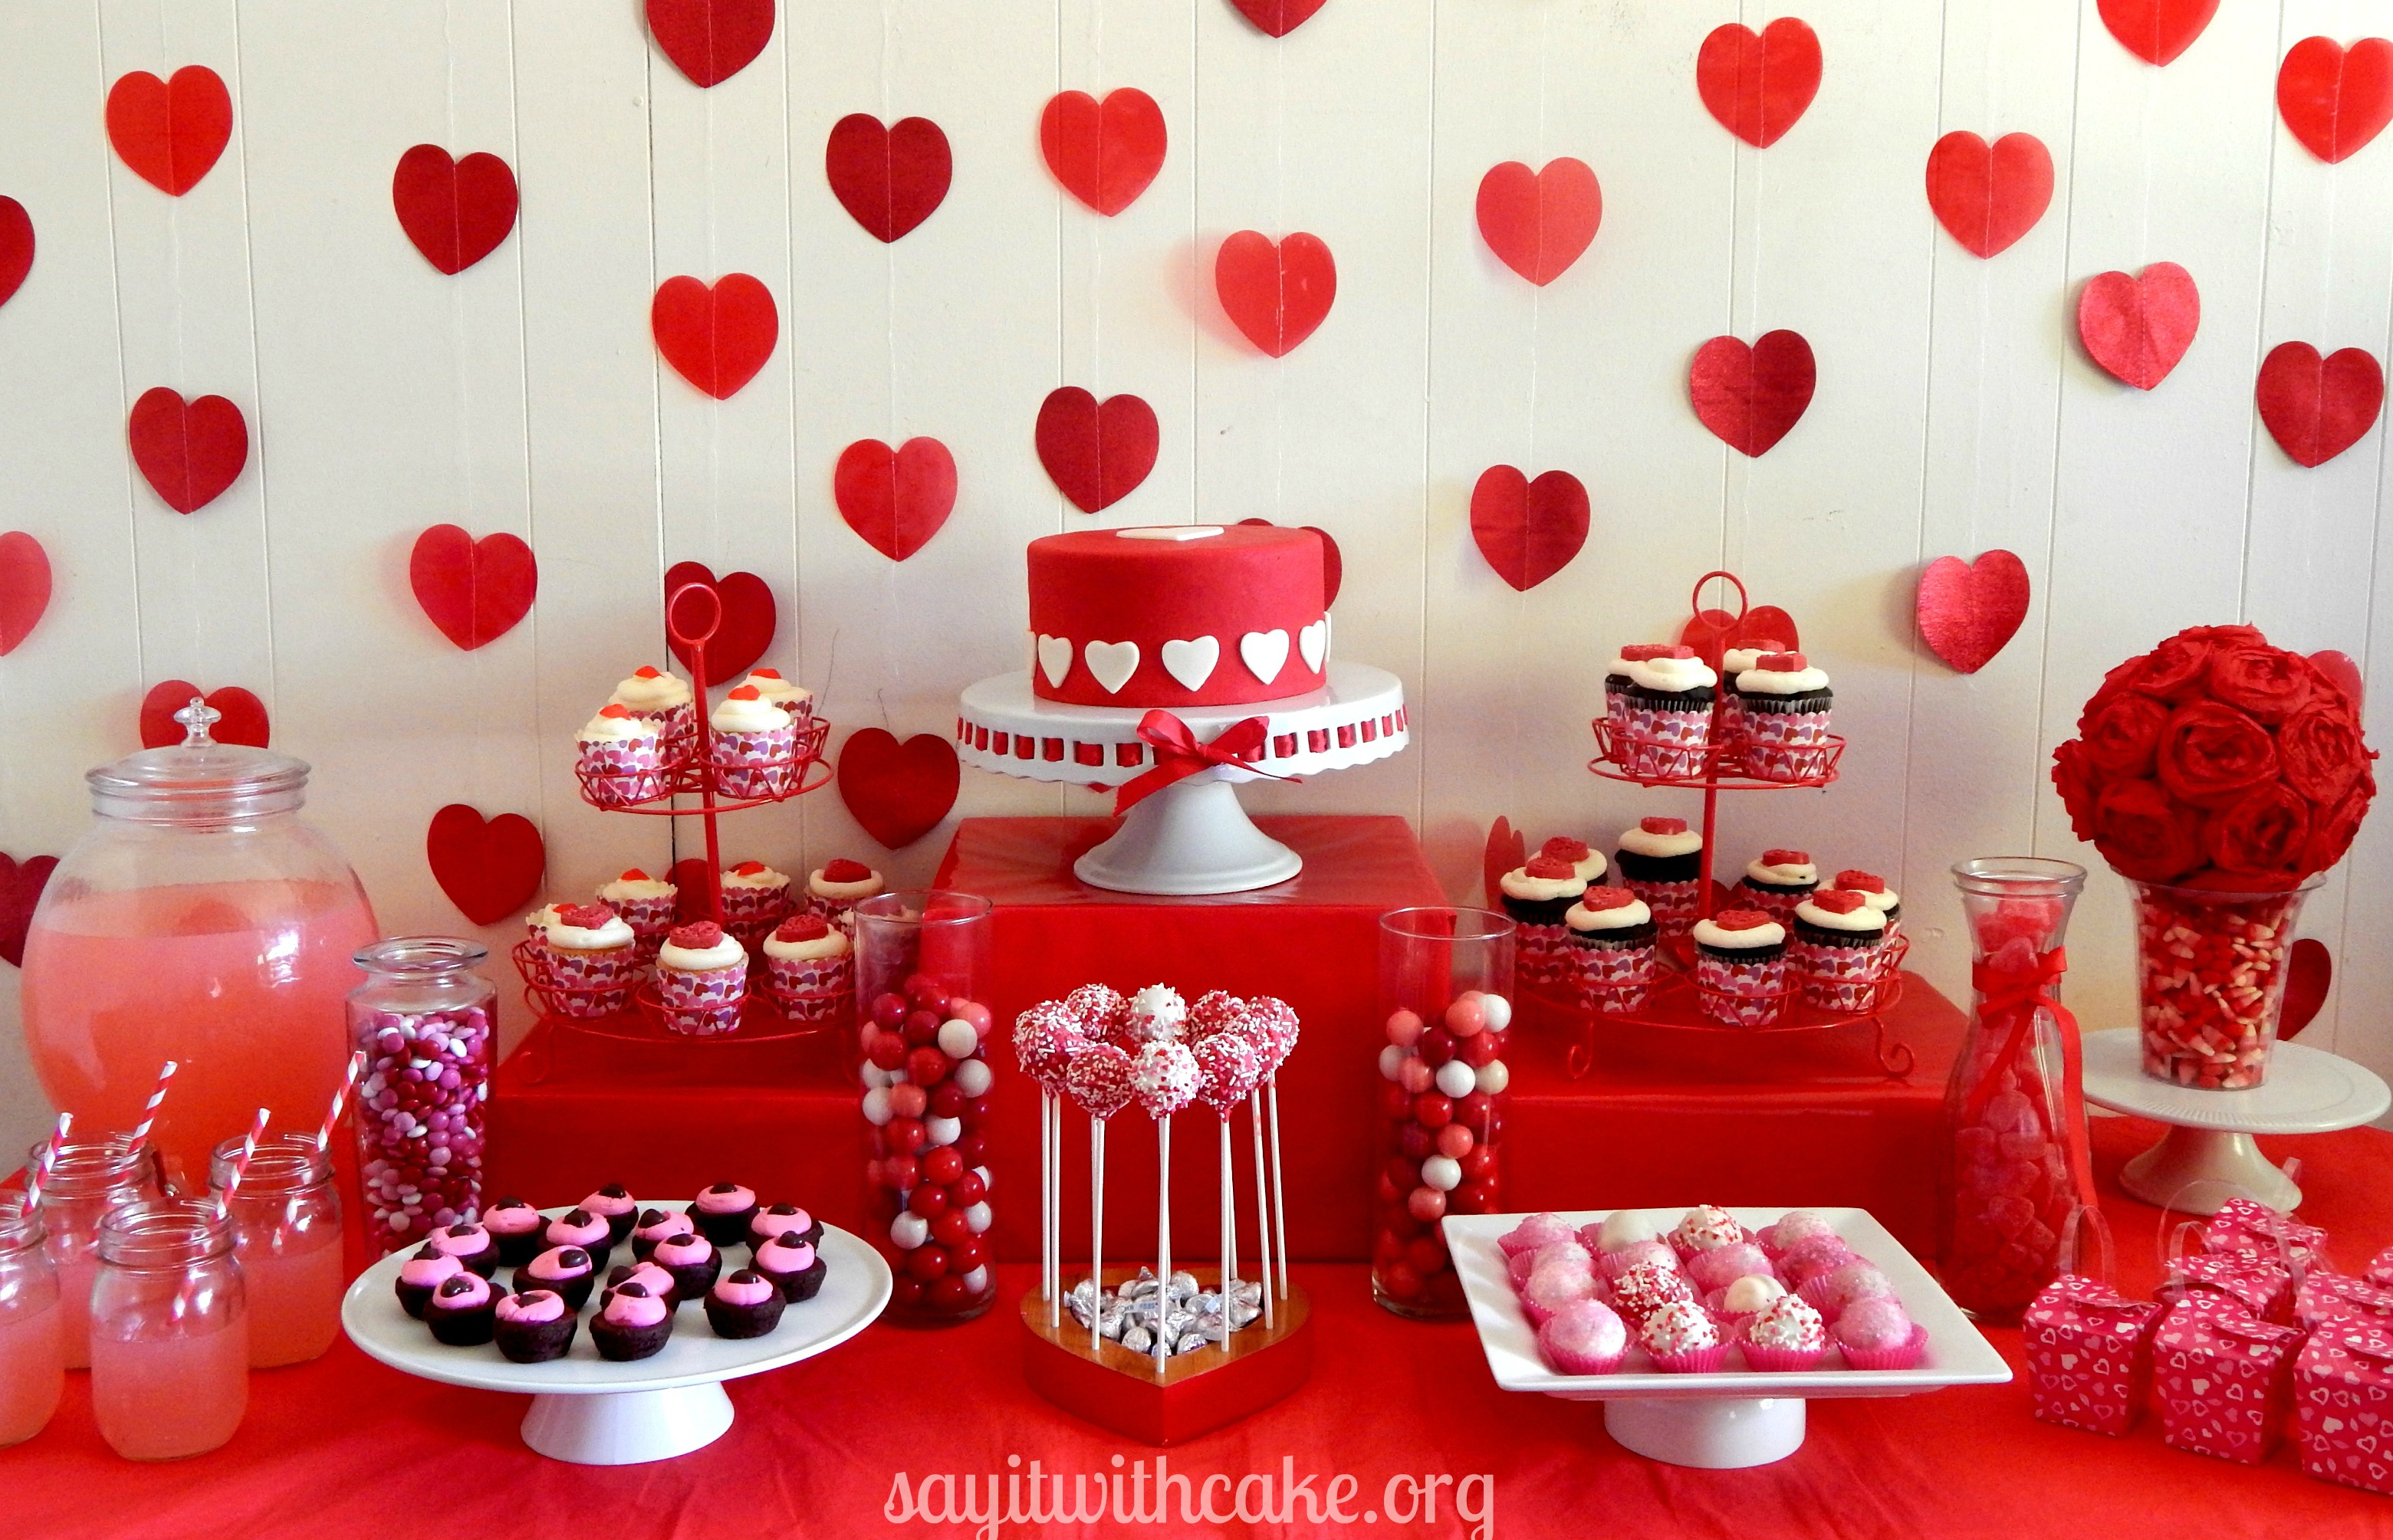
Valentine’s Day Dessert Table
This party was featured here!
]]>
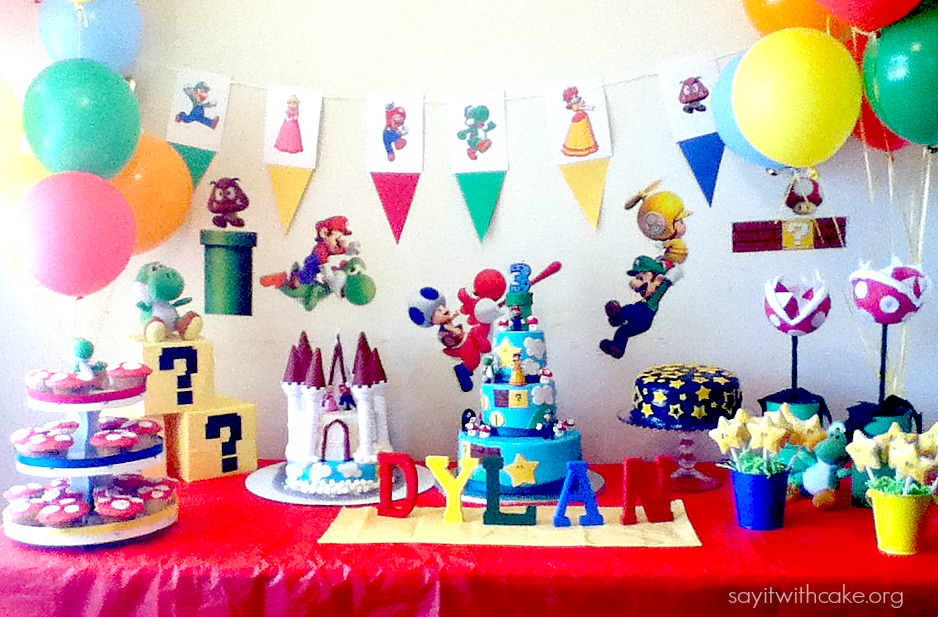
My Son’s Super Mario Bros party for his 3rd Birthday!
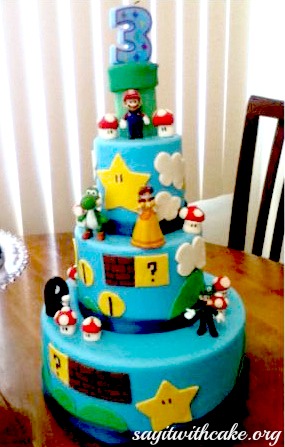
The cake! Three tier cake covered in fondant.
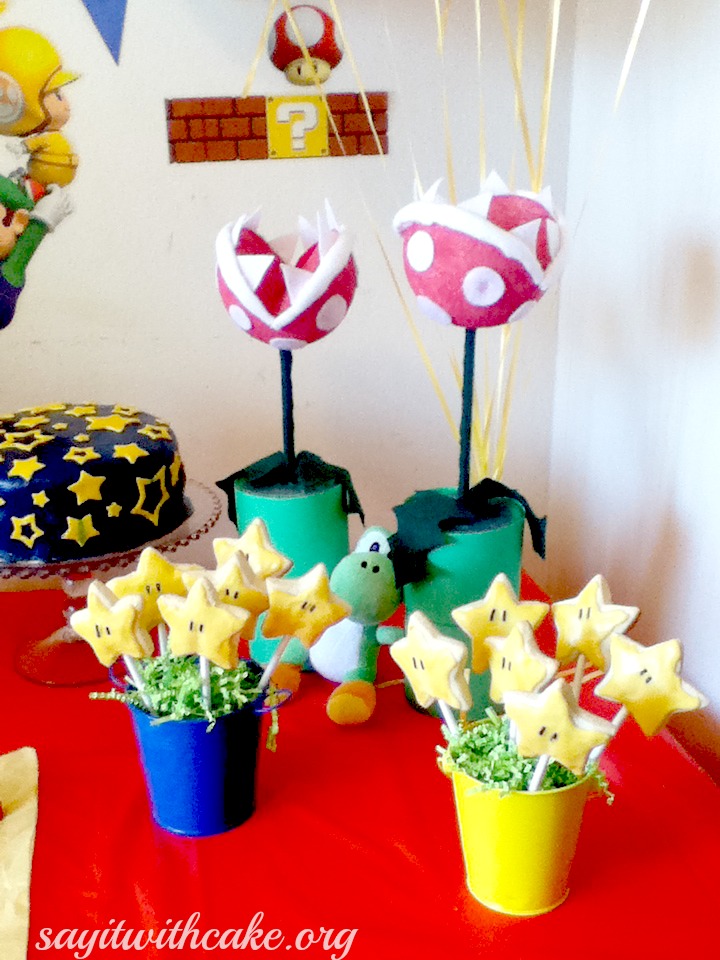
Handmade Pirannah plants and star cookies on a stick.
The Dessert Table
]]>