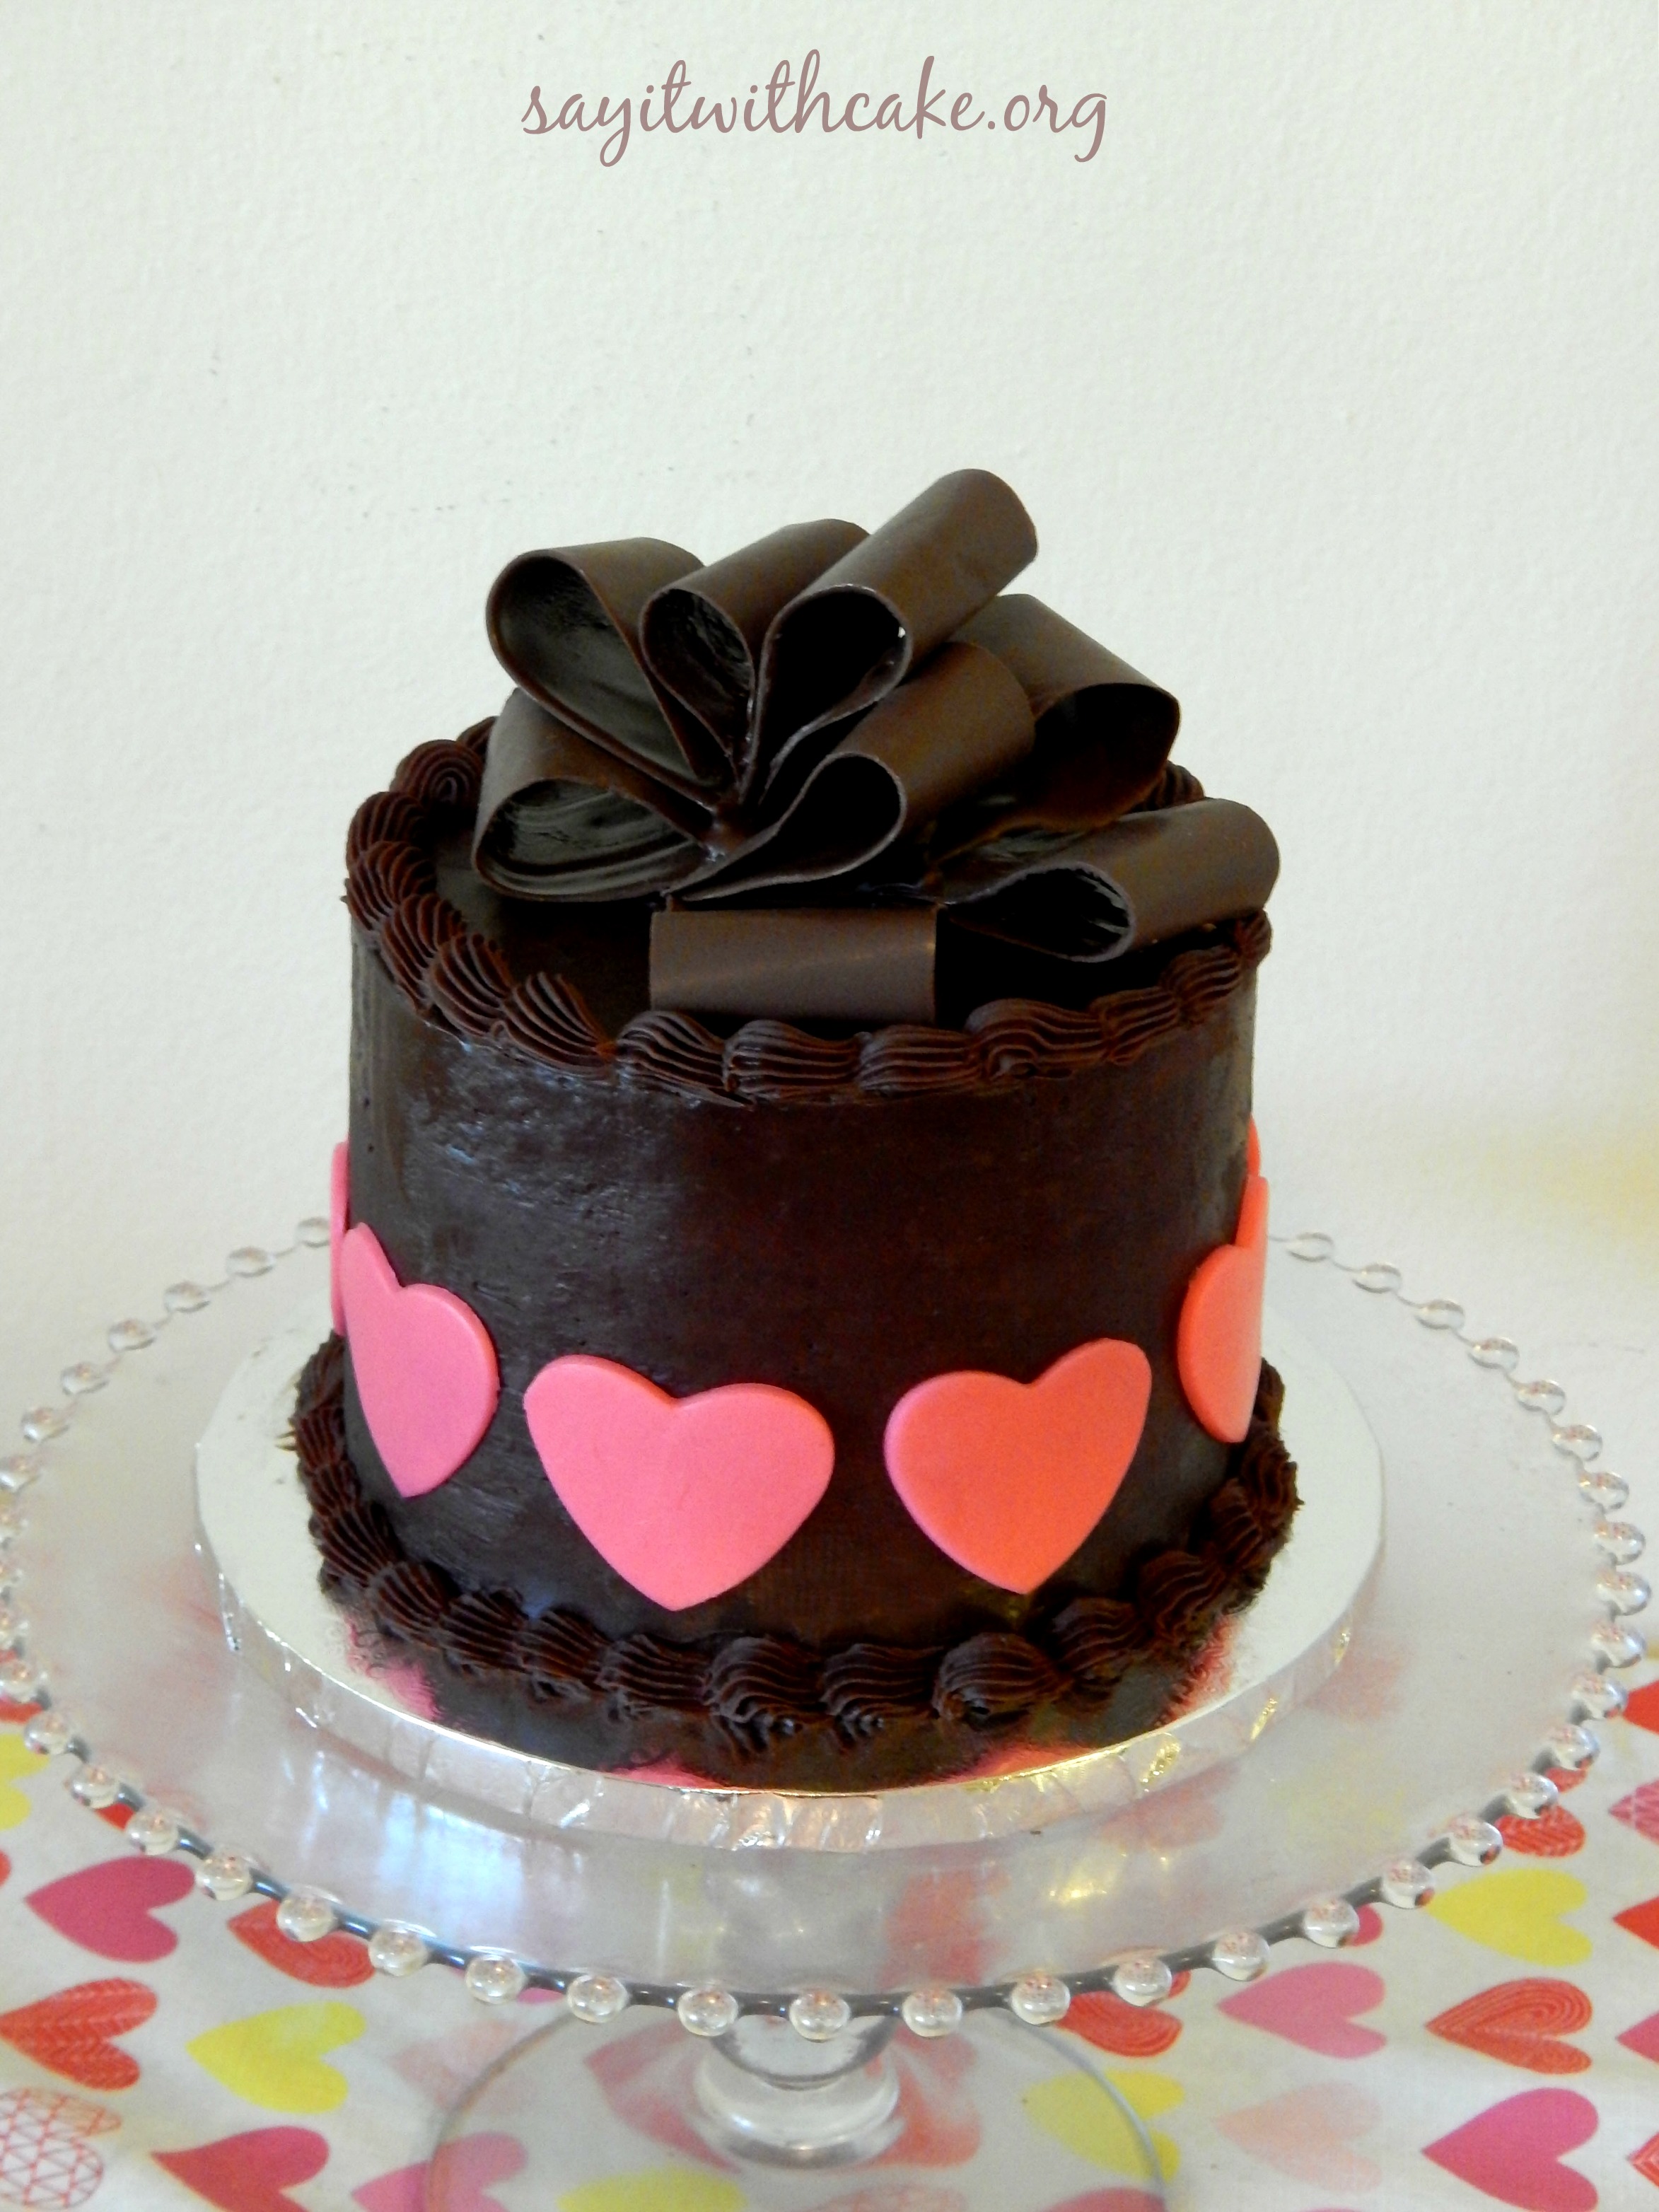
 For me, Valentines Day is all about chocolate! I love all kinds of chocolate, dark chocolate, milk chocolate, white chocolate….and I love getting chocolate for Valentines Day. The great thing about this cake is that it is pure chocolate, including the bow! This cake is a rich dark chocolate cake, with chocolate mousse filling, and a chocolate ganache frosting….a dream for a chocoholic like me!
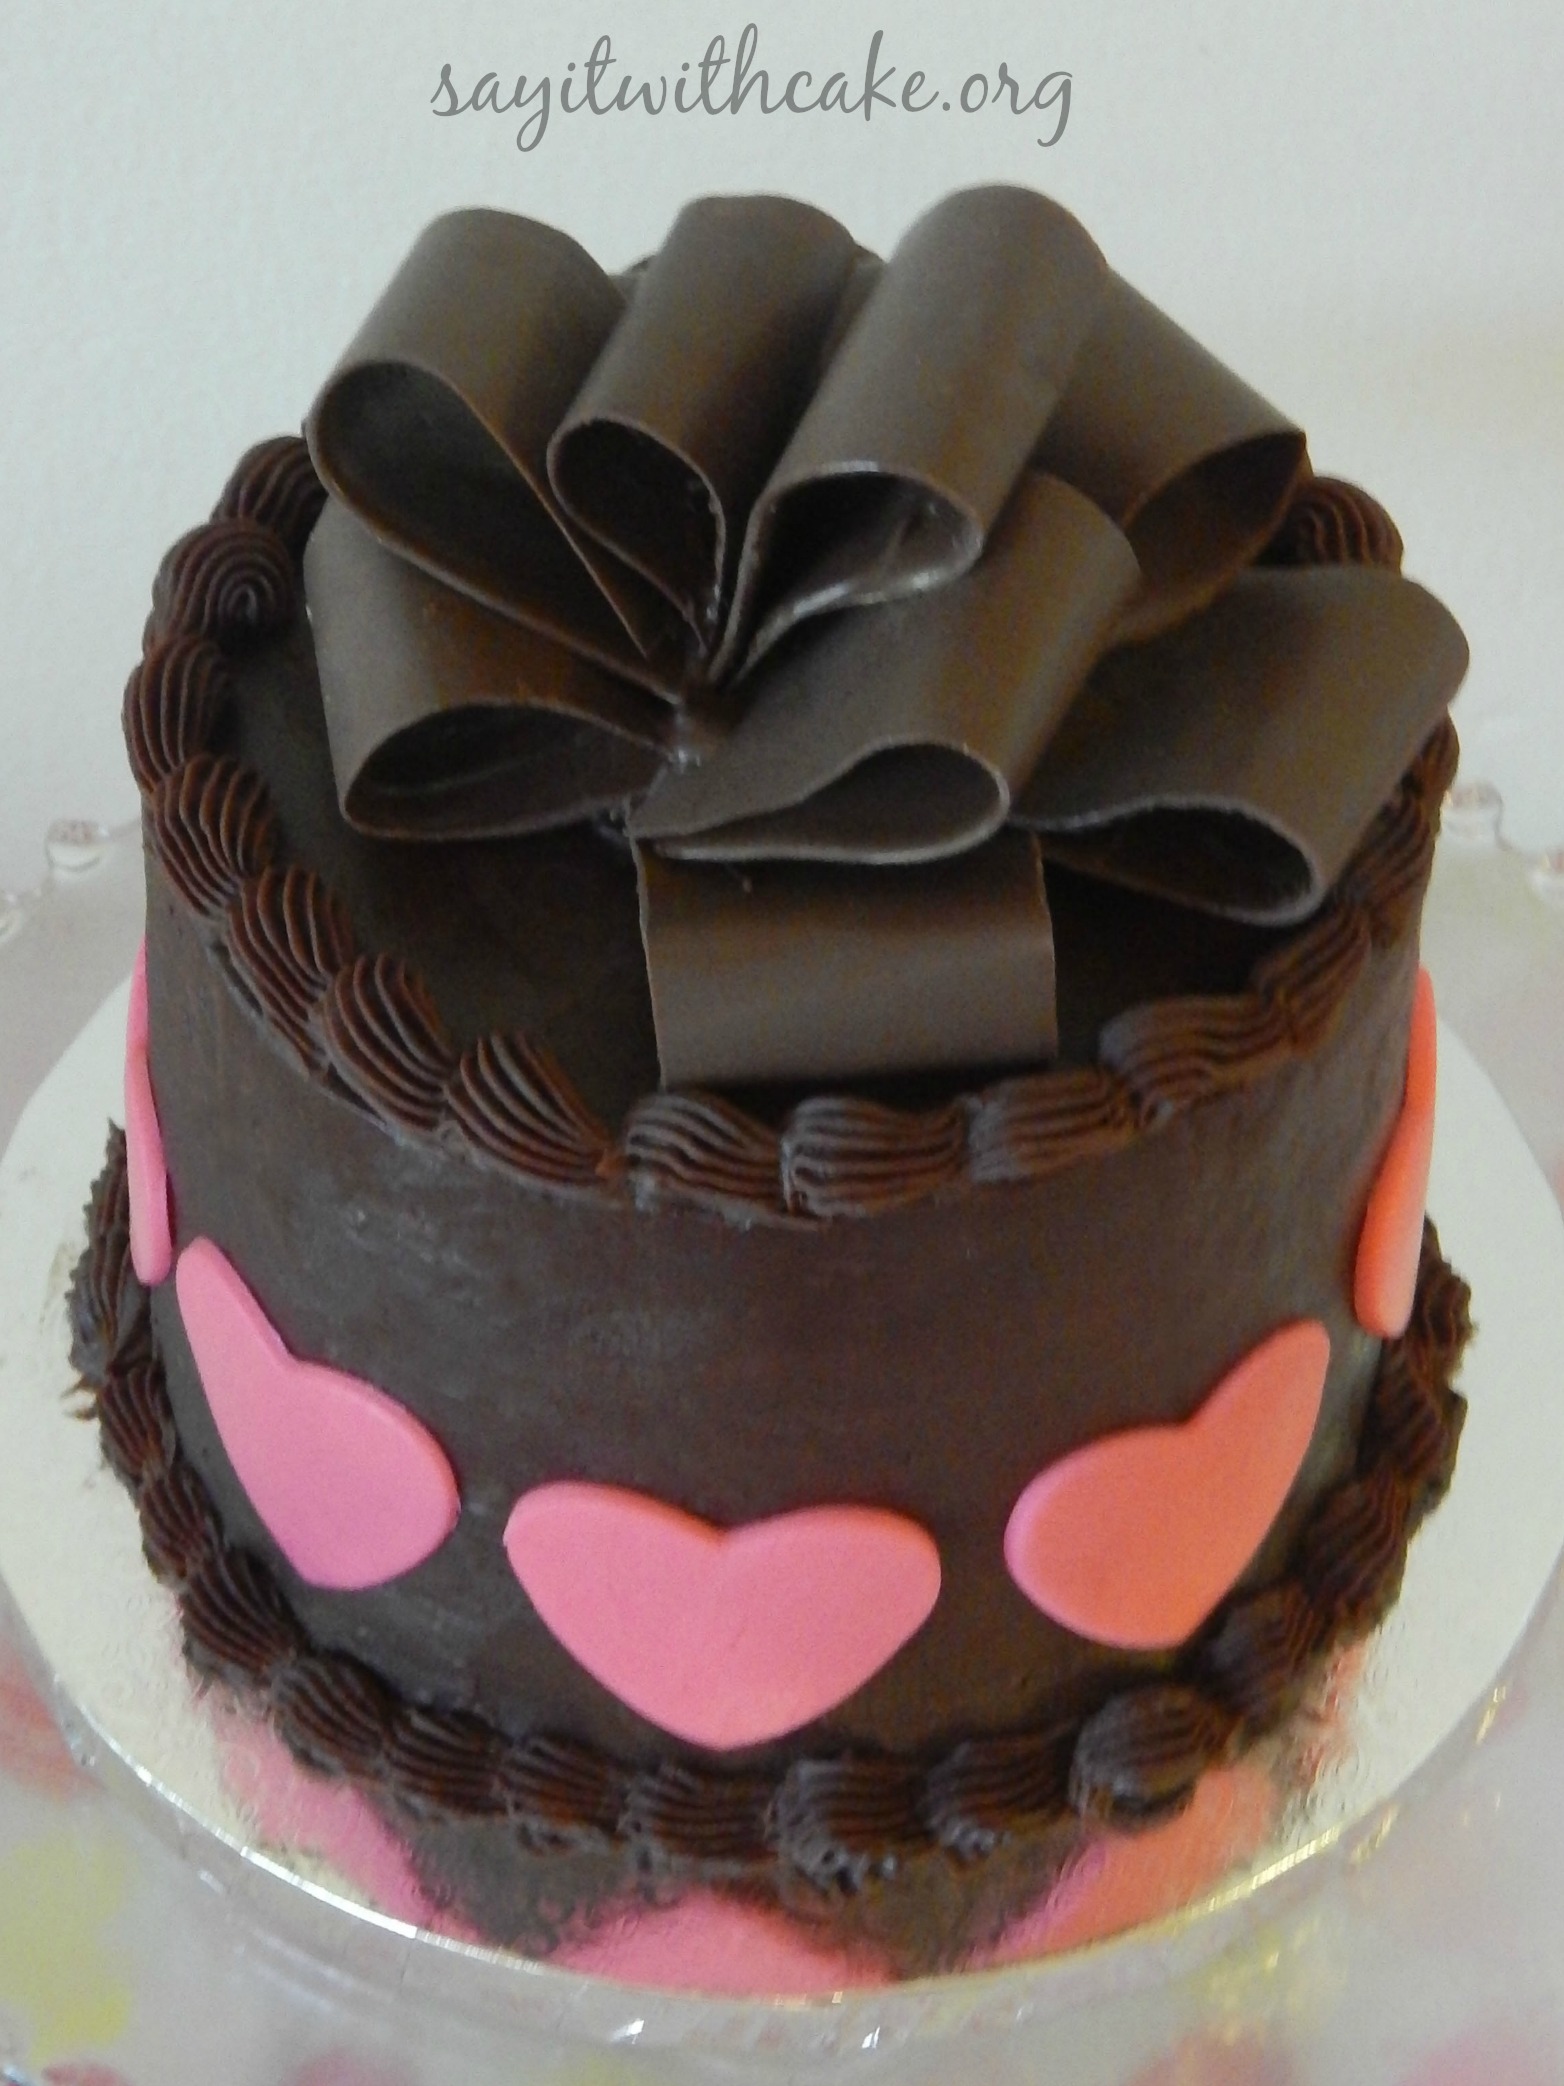
I tried to make a replica of a beautiful cake I found here at Sweet Dreams, and she has an awesome tutorial on how to make chocolate bows! I will definitely try this bow again and hope it turns out more like hers!
The bow can be made ahead of time and stored in a dry, cool place until you are ready to place it on your cake. Don’t store it in the refrigerator, though, or condensation could form on it and ruin it.
The only supplies you will really need for this project are freezer paper ( I actually used wax paper because I couldn’t find freezer paper and it worked fine), one and a half bags of candy melts
(I prefer to use Candyquick, it melts perfectly in the microwave), an offset spatula
and wax paper
.
Making the chocolate bow (From Sweetdreamscakeapp.com)
Step 1: Determine Size
You need to first figure out how big you want your bow. I wanted to place mine on an 8-inch cake and wanted it slightly smaller than the cake so I chose to go with a 7-inch bow.
Step 2: Cut Out Freezer Paper Strips
You will need around 10-12 strips that are 1 1/4” wide and the same length as your desired bow. In my case, these were 7” strips. You will also need around 5 or 6 strips that are also 1 1/4” wide but one inch shorter than your other strips. In my case these were 6” long. I always make a few extra strips of both sizes because I usually have some break.
Take a sheet of freezer paper and use a ruler to draw out the measured strips on the paper side. Don’t worry, the chocolate will be placed on the waxed side so it won’t touch any of your ink.
Cut out all of your strips.
Step 3: Melt Chocolate
There are several ways to melt chocolate. My favorite is in a melting pot. I like melting pots because they melt it slowly and evenly and then allow you to keep it warm while using. If you don’t have a melting pot then I would recommend melting it in a double boiler
or in a bowl placed over a pot of simmering water that has been removed from the heat. You can also melt it in a microwave but I don’t personally like this method because I always seem to overheat chocolate and ruin it when I do it that way. Whichever way you choose, be sure to stir it as it melts to keep it melting evenly.
While the chocolate is melting, prepare a baking sheet by placing a piece of wax paper on it and keeping it near your work area.
Step 4: Cover Strip in Chocolate
Cover your work area with wax paper then lay a freezer paper strip on it and pour some melted chocolate on the strip.
Use an offset spatula to spread the chocolate over the entire strip. Try to use one sweeping motion each way to keep from getting ripples in your chocolate. If your chocolate is too thin, just pour a little more on top and spread it again.
Use the spatula to lift the edge of the freezer paper and lift up the strip.
Step 5: Clean Edges
Hold the very top of the strip with your fingers and use the fingers of your opposite hand to slide down the edges of the strip and clean off any chocolate that has run over the edge. You wilLay the cleaned strip down on the wax paper covered baking sheet.l want to keep a damp rag next to you because you will be constantly cleaning chocolate off your hands.
While it sets up, use your spatula to scrape up the excess chocolate and add it back to your bowl of melted chocolate.Lay the cleaned strip down on the wax paper covered baking sheet.
Step 6: Make Loop
Now this is the part that may take a little practice. You need to allow the chocolate strip to set just long enough that it is no longer runny but not too long or it will be too stiff to bend and will break on you. This is also the point where it starts to lose its shine. For me, this was about a minute. You will have to experiment because your levels of humidity, room temperature, and the temperature of your chocolate can all affect the drying time. If you let it set too long and it breaks, don’t worry, you can just allow it to dry a few more minutes then peel it all off of the freezer paper and melt it back in your bowl of chocolate. The freezer paper can be wiped off with a paper towel and used again.
When the chocolate is at the setting point, carefully pick up the strip, bend it, and attach the two ends together. They will stick to each other without any needed adhesive.
If you want it flatter, attach more of the ends together and lay it flat on the wax paper. I like to make at least 6 of the larger strips flatter since they will be the bottom loops.
After all the strips are covered, place the baking sheet in the refrigerator for about 15 minutes to allow the chocolate to firm up completely.
Step 7: Remove Freezer Paper
Remove the loops from the refrigerator and then carefully peel the freezer paper off of each one. It helps to wear light cotton gloves while doing this, to keep from getting finger prints on your chocolate, but I forgot to do that.
Step 8: Assemble Bow
Now to assemble the loops and create the bow. Lay out a clean sheet of wax paper on a baking sheet and melt some more chocolate. I like to pour my chocolate into a squeeze bottle for this part but you can also put it in a decorating bag
with a #4 round tip
or just carefully use a spoon.
Squeeze out a mound of melted chocolate on the wax paper.
Place two of the flatter loops directly across from each other with their ends settled in the chocolate.
Squeeze some more melted chocolate on top of the ends and then attach two more loops.
You will notice that I have a slight crack in one of the loops but I wasn’t too concerned because I knew it would be covered by other loops.
Continue evenly spacing the loops so that you have six loops going around in a circle.
Now add melted chocolate to the end of another large loop and gently lay it on top of the bottom row of loops, trying to space in between loops. Add 3 or 4 more large loops the same way.
If needed, squeeze melted chocolate in the middle or on to ends to make sure it all adheres.
Now squeeze some more melted chocolate in the center of the bow and start attaching the smaller loops. You may have to carefully move them around or tilt them a bit to fit them in. You may not need all of your loops, just use as many as you need to make it as full as you want without cracking them to fit them all in.
The final loop will go straight up in the center of the bow.
Step 9: Refrigerate
When the bow is completely assembled, place the baking sheet in the refrigerator for about 15 minutes to allow the chocolate to harden completely. Remove and store in a cool, dry place.
Once your cake is made and you are ready for the bow, use a turner and slide it under the bow, releasing the chocolate from the waxed paper, and carefully lift. You can either just lay it directly on top of the cake or you can add a small mound of icing on top of the cake and adhere it to the icing.
My cake is a six inch cake so my bow was only 5 inches. Next time I want to try a 7 inch bow, it looks fuller. I hope you have a chance to make this bow it is so pretty! Here is the recipes I use for my chocolate cake.
Ingredients
- •12 ounces chocolate, chopped into small pieces
- •1 cup heavy cream
- •optional 3 tablespoons flavored liqueor
Instructions
- 1.Place chocolate pieces in a large bowl. Heat heavy cream on medium high until it comes to a boil. Remove from heat and immediately pour cream over chocolate and stir until completely mixed and glossy. Allow ganache to cool before pouring over cakes as a glaze. The longer you allow the ganache to cool, the thicker it will set. Typically I stick mine in the refrigerator so it is slightly cold before whipping. For piping or frosting, allow the ganache to completely cool and set up. When you are able to spoon the ganache and it can hold its texture, it is ready for piping.
Chocolate Cake recipe Here
Chocolate Mousse Recipe Here
Other Valentines Day Recipe’s you might like


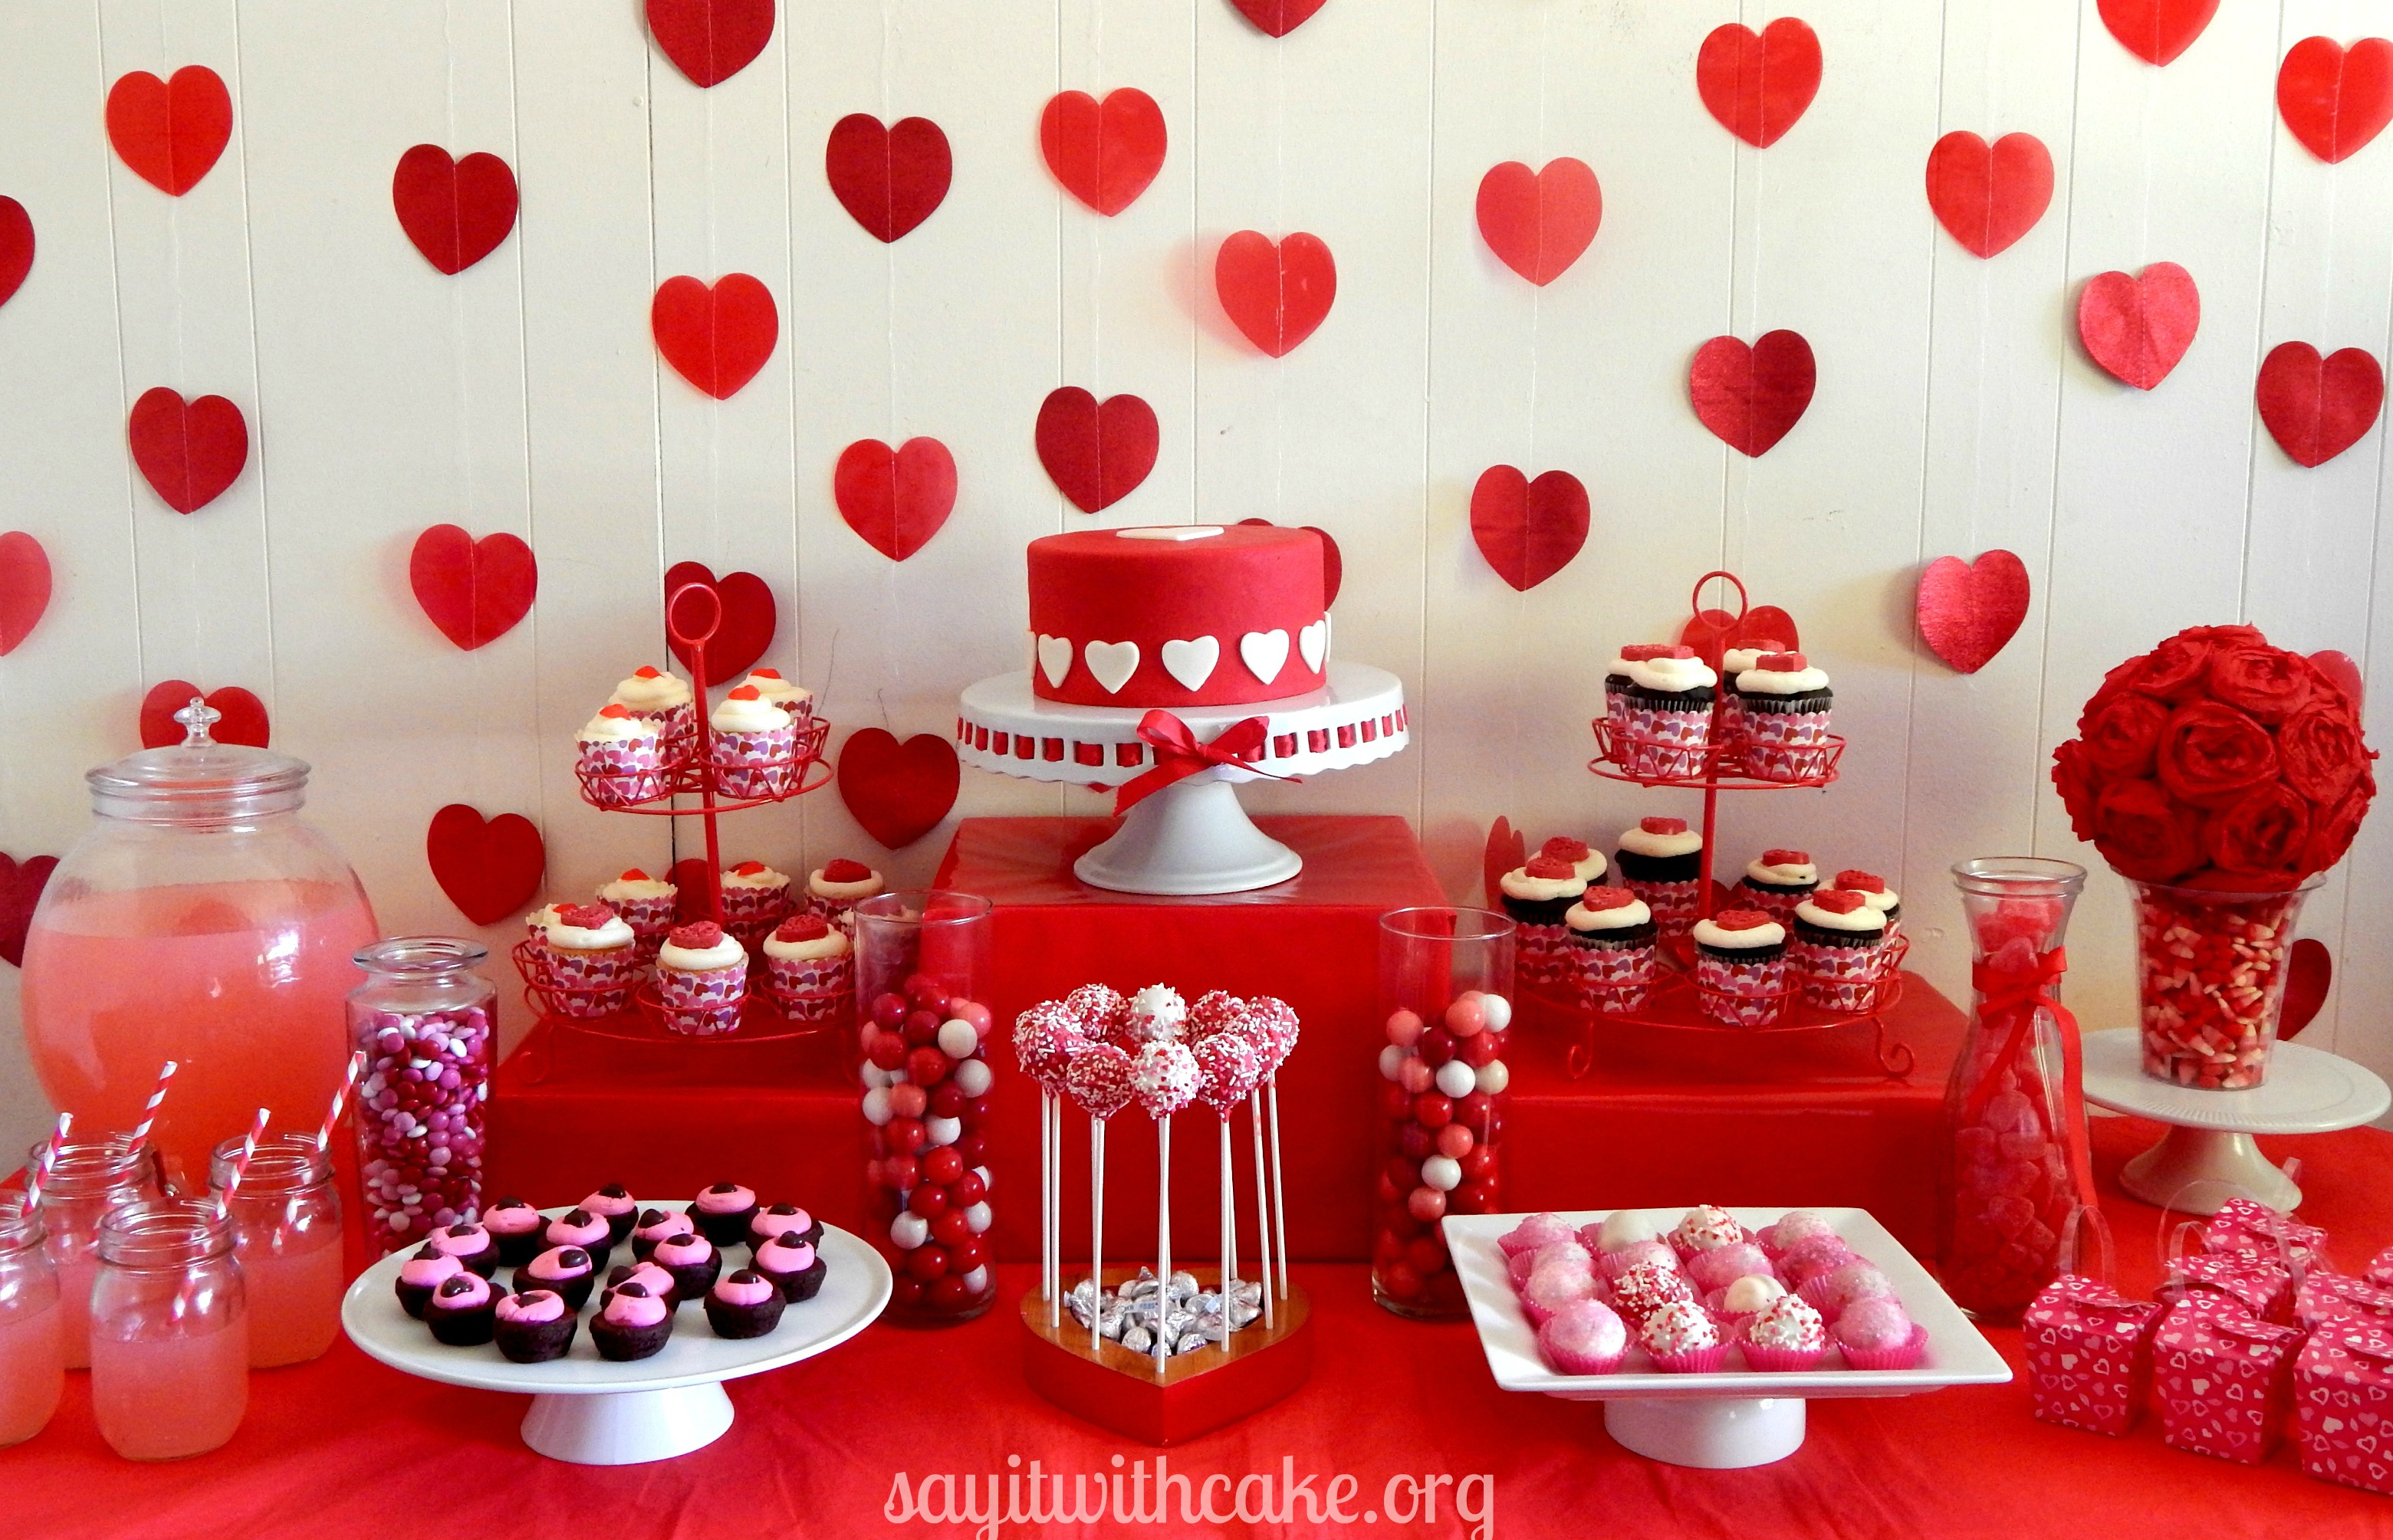
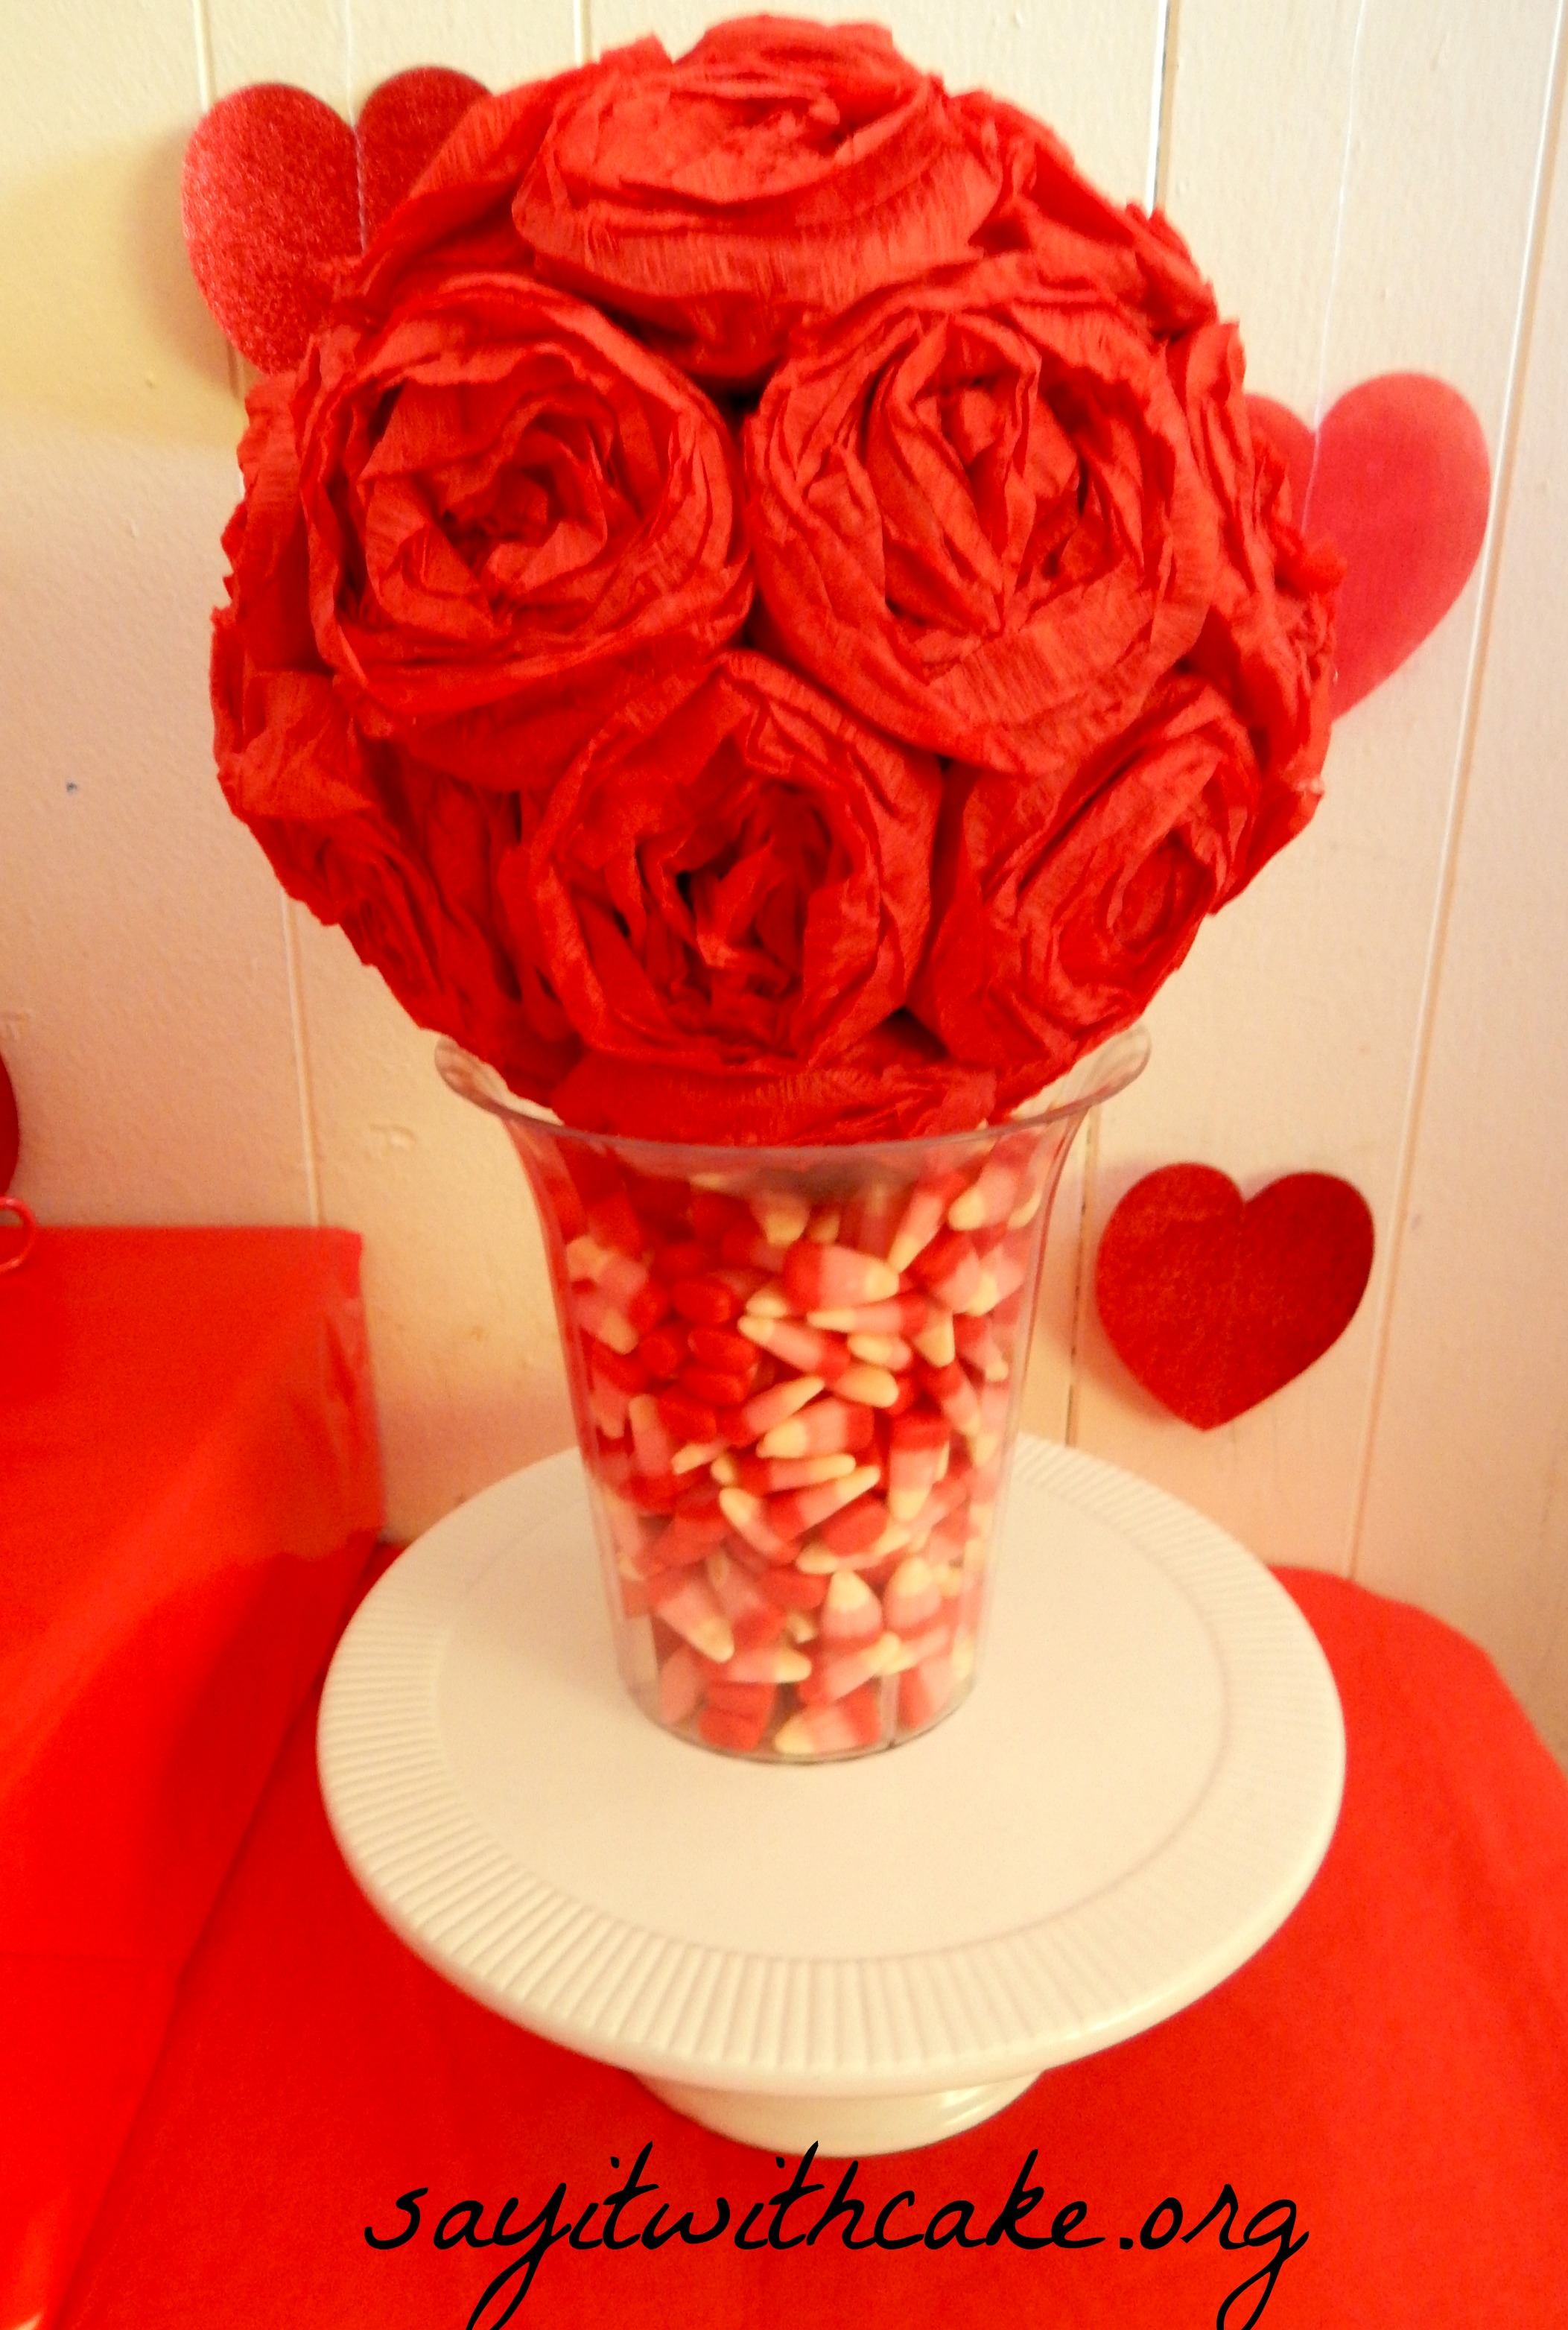
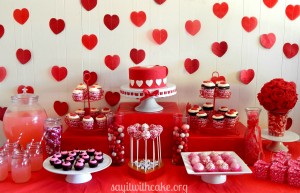
I made this dessert table for my son’s Valentine’s Day Party. I have one boy and a husband, so I never have any excuse to make a party with hearts, flowers, and pink….until now! I had so much fun making this party table!
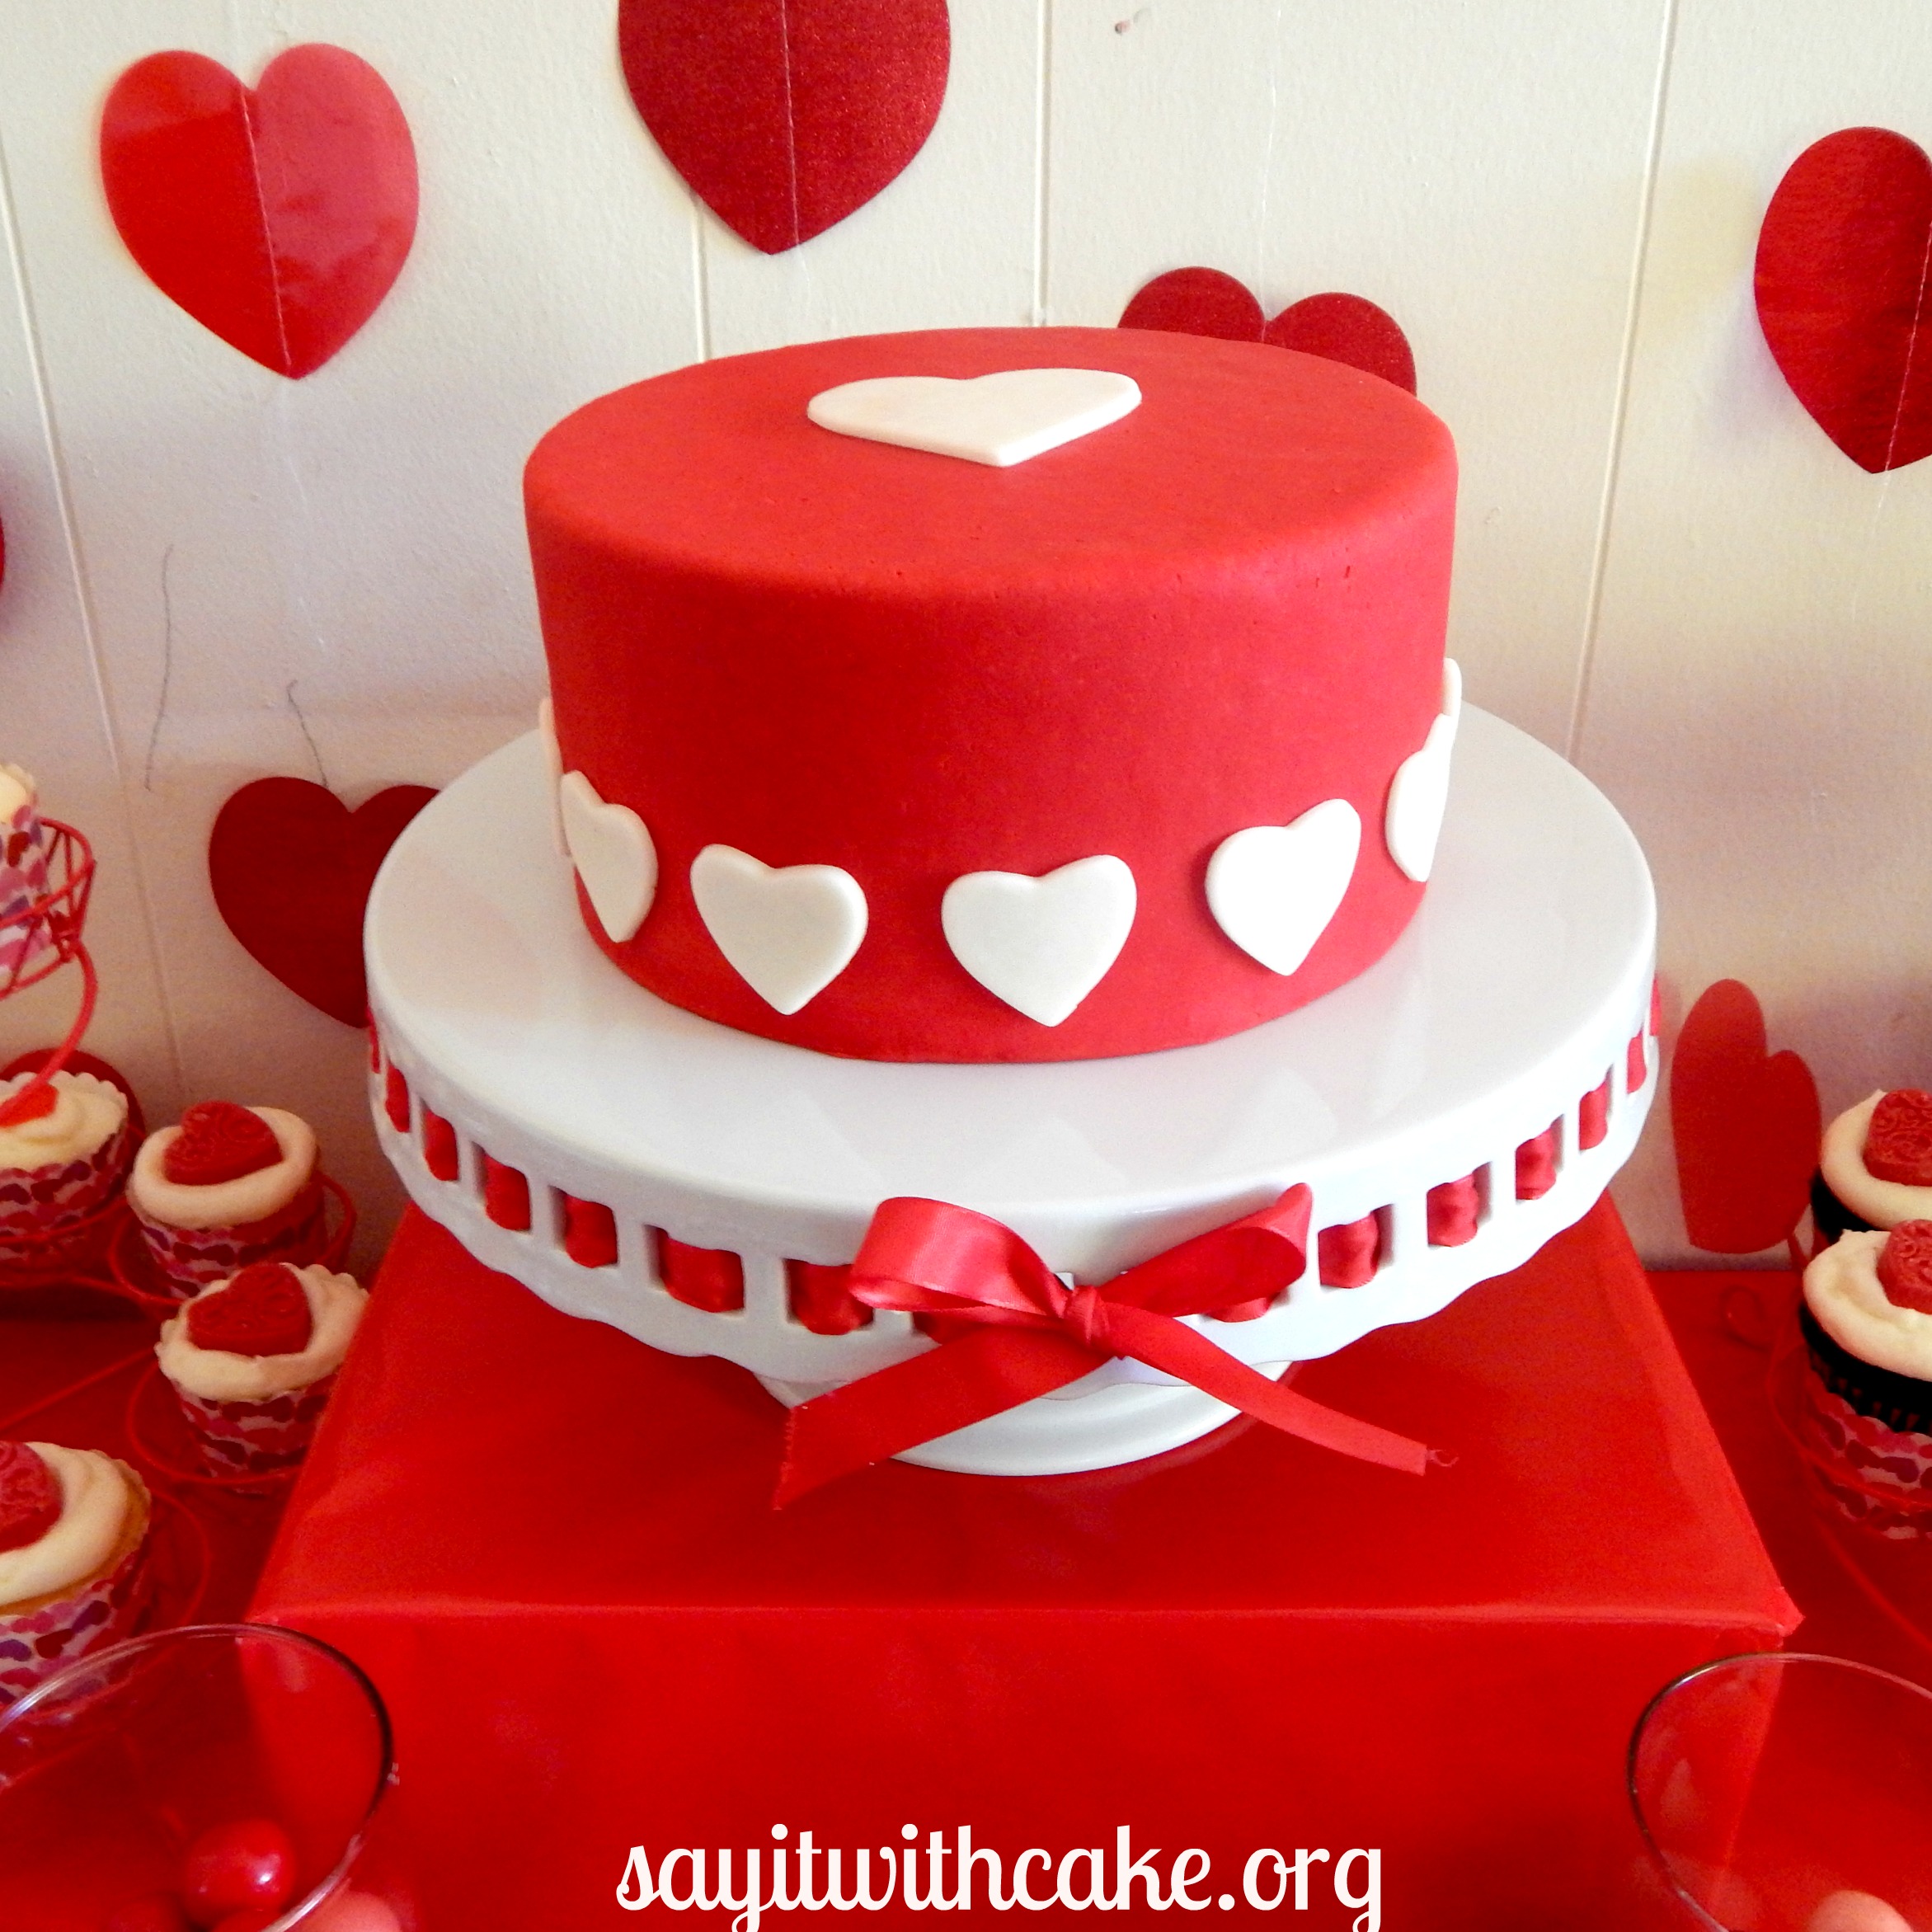
This cake was very simple to make. I covered an 8 inch cake with red fondant. Then I rolled out some white fondant and cut out enough small hearts to go around the edges of the cake. I used a small cookie cutter to do this. Then I used a larger cookie cutter to cut out a white heart and stuck it on top of the cake using water. Very simple!
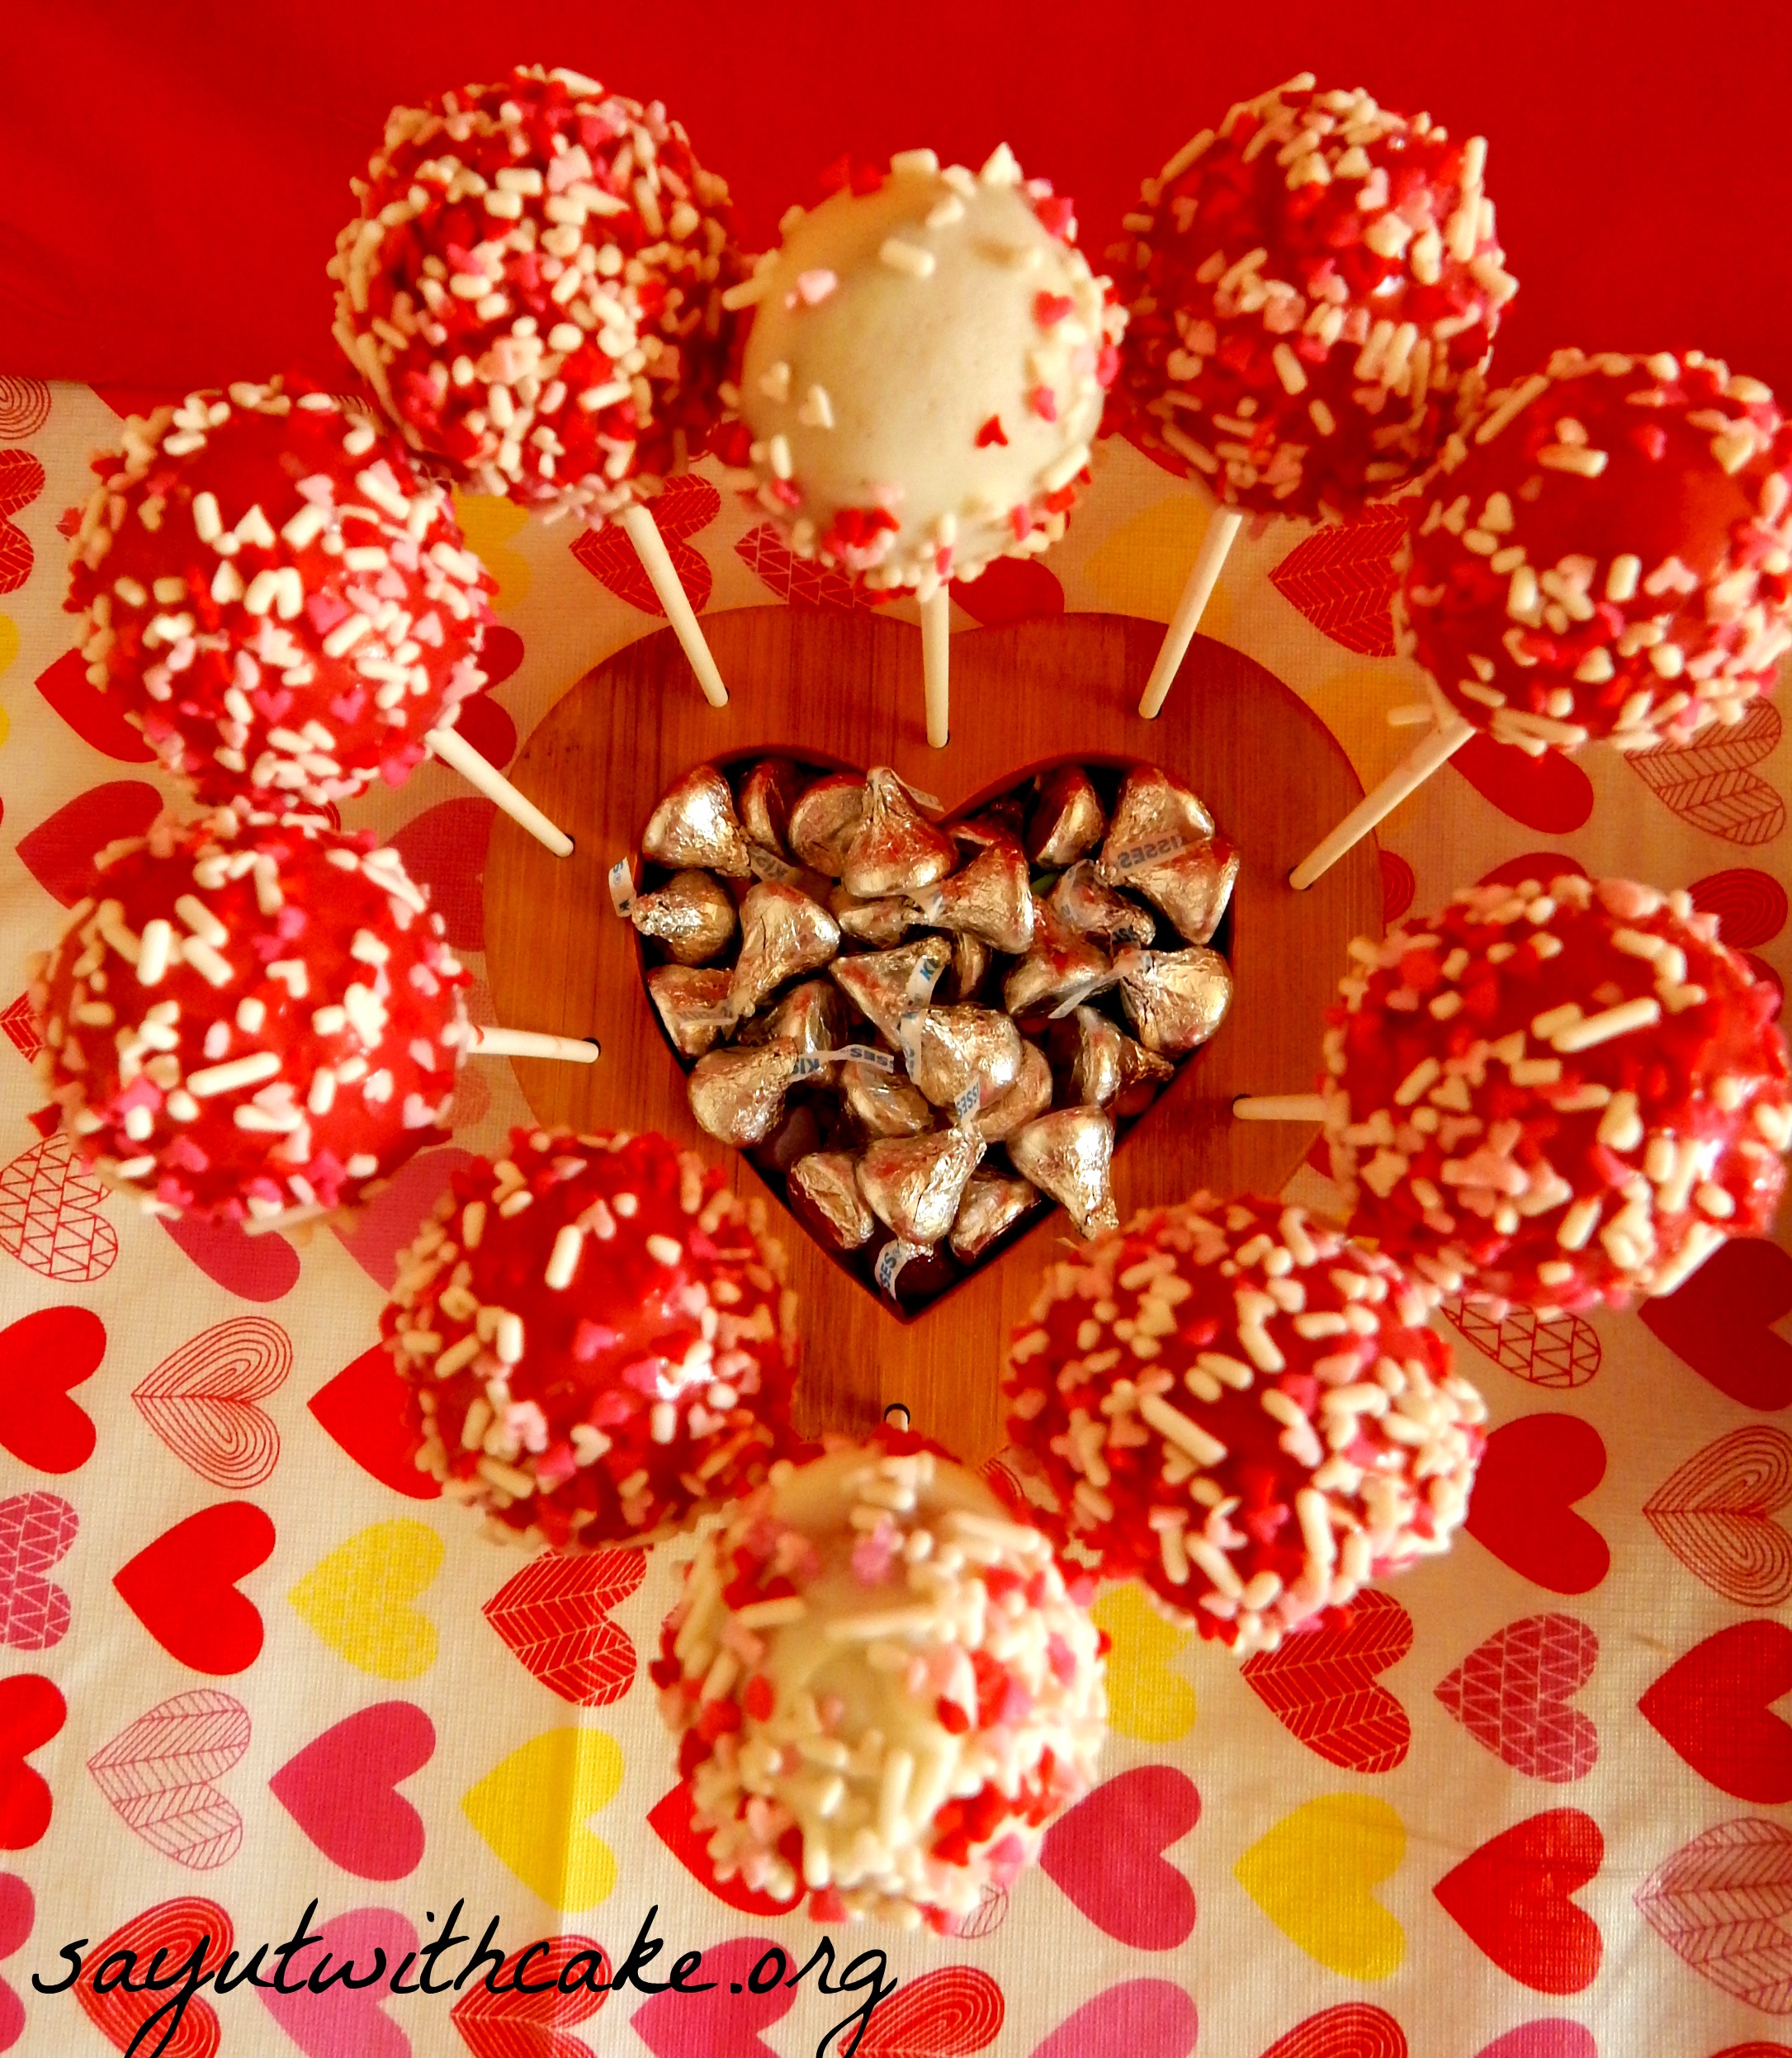
To make these cake pops, I used my baby cakes cake pop maker. After they cooked, I cooled them and put them in the refrigerator for 15 minutes. Then I melted some white candy melts and dipped the cake pop sticks into the candy melts. I stuck them in the cake pops and put them in the refrigerator for another 15 minutes. Then, I dipped the cake balls in candy melts and put on sprinkles right away. They were really fun to make!
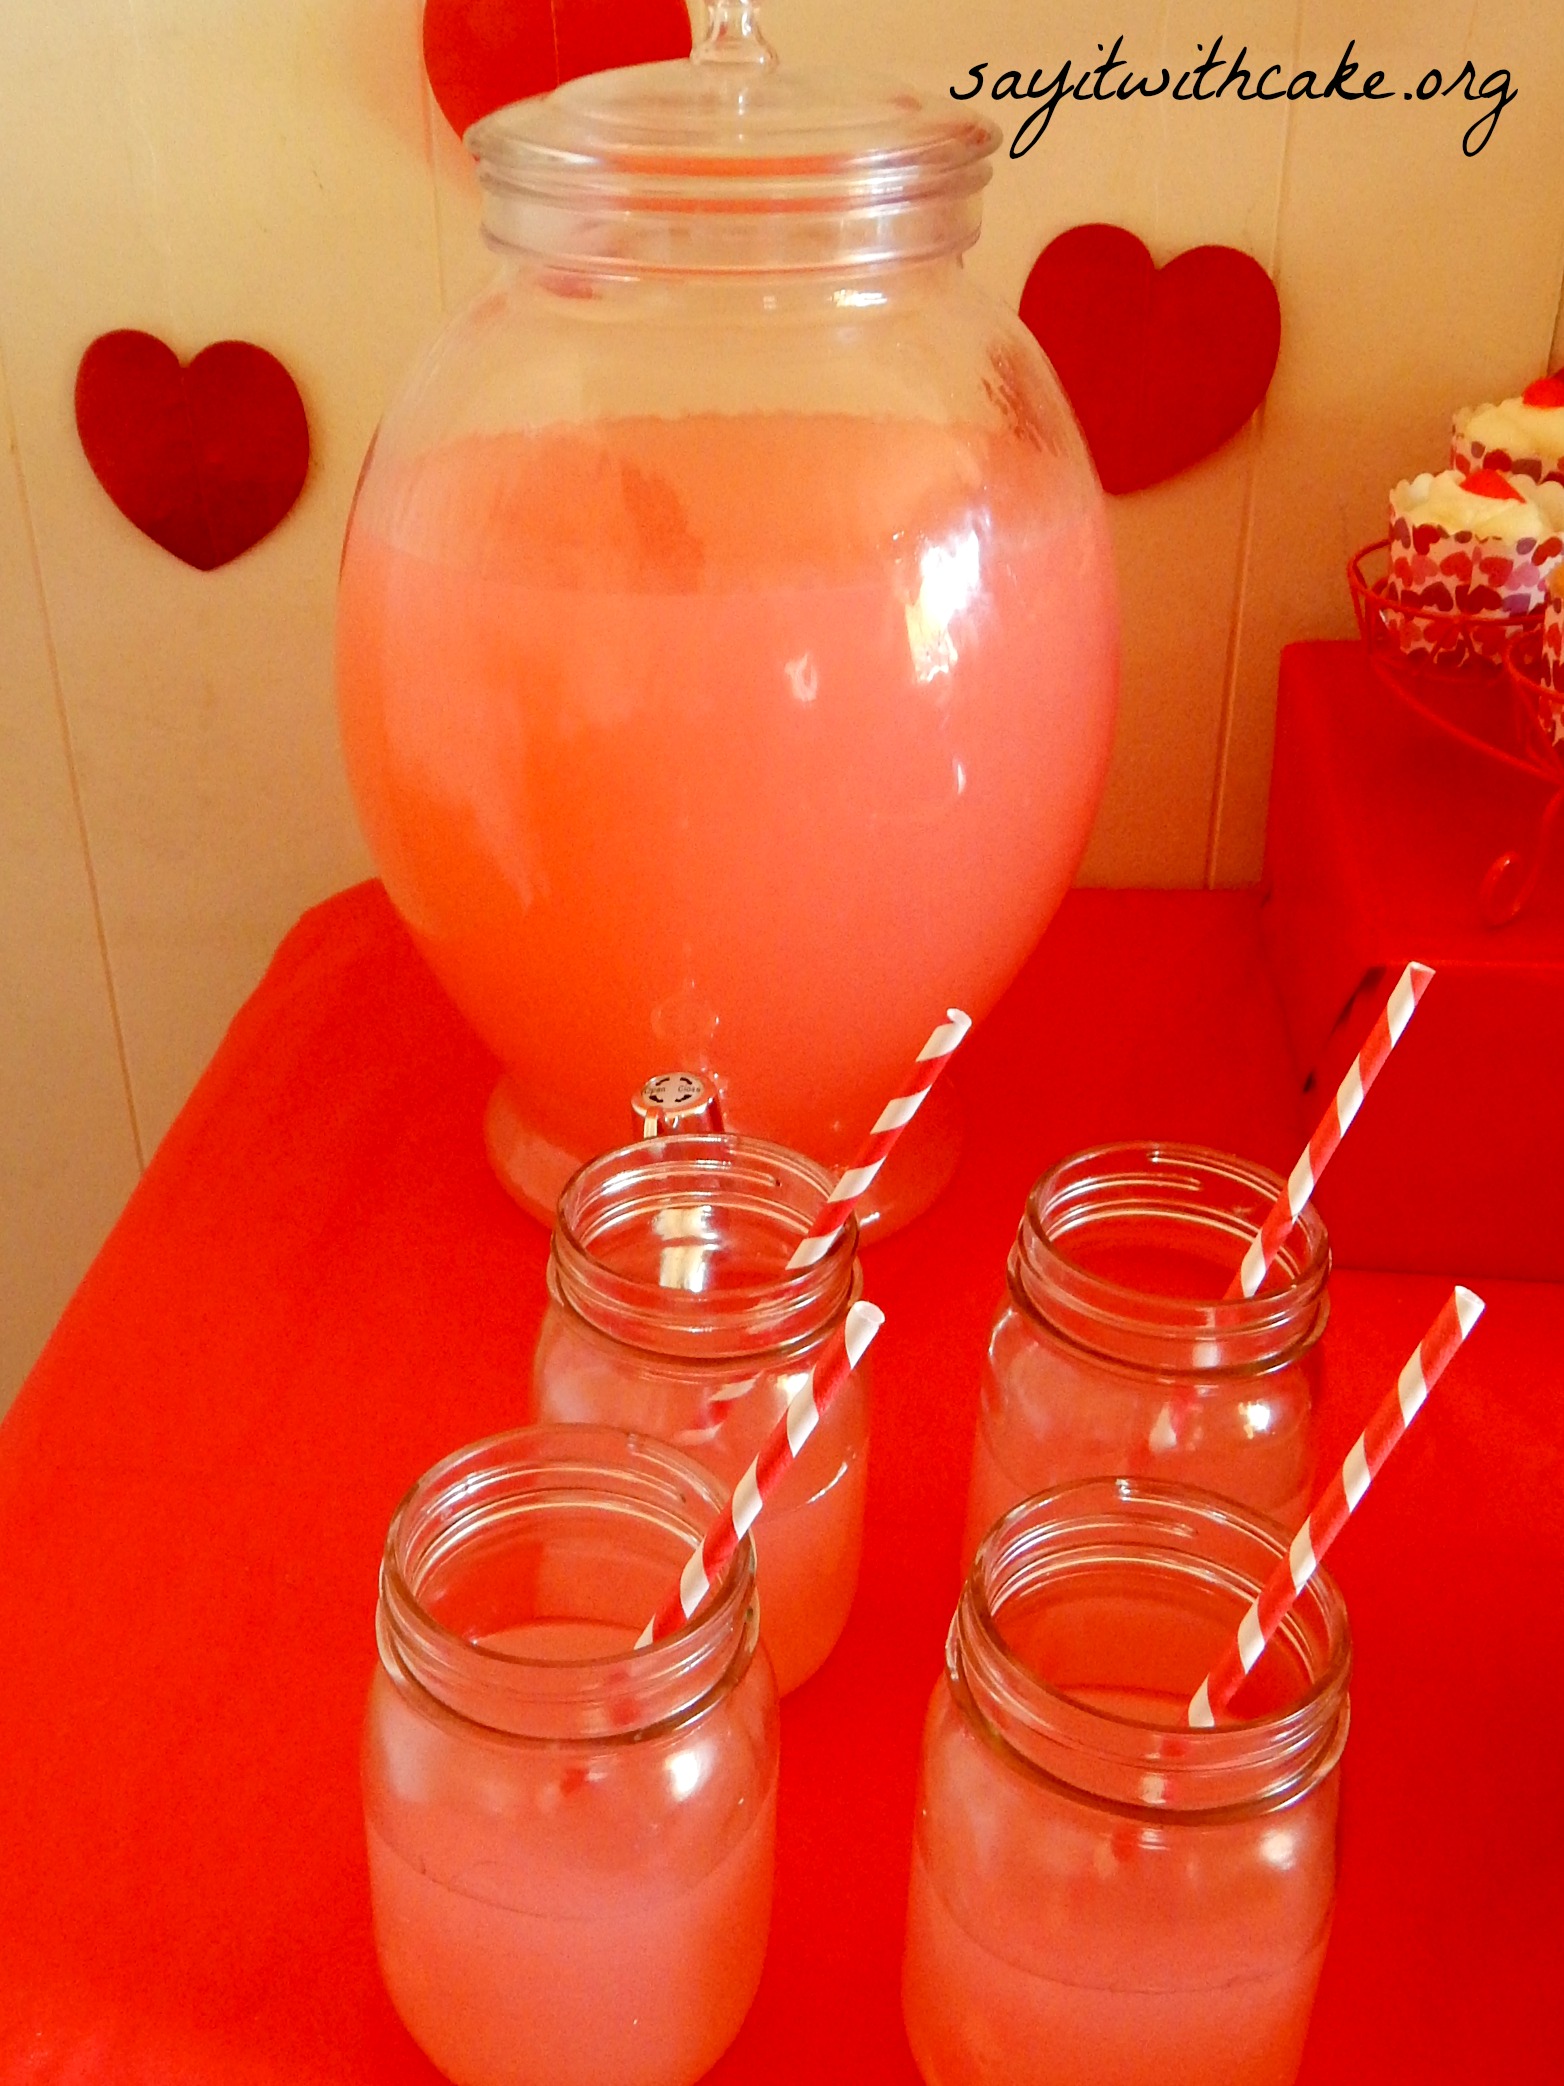
Pink lemonade in mason jars with red and white striped paper straws, so cute!
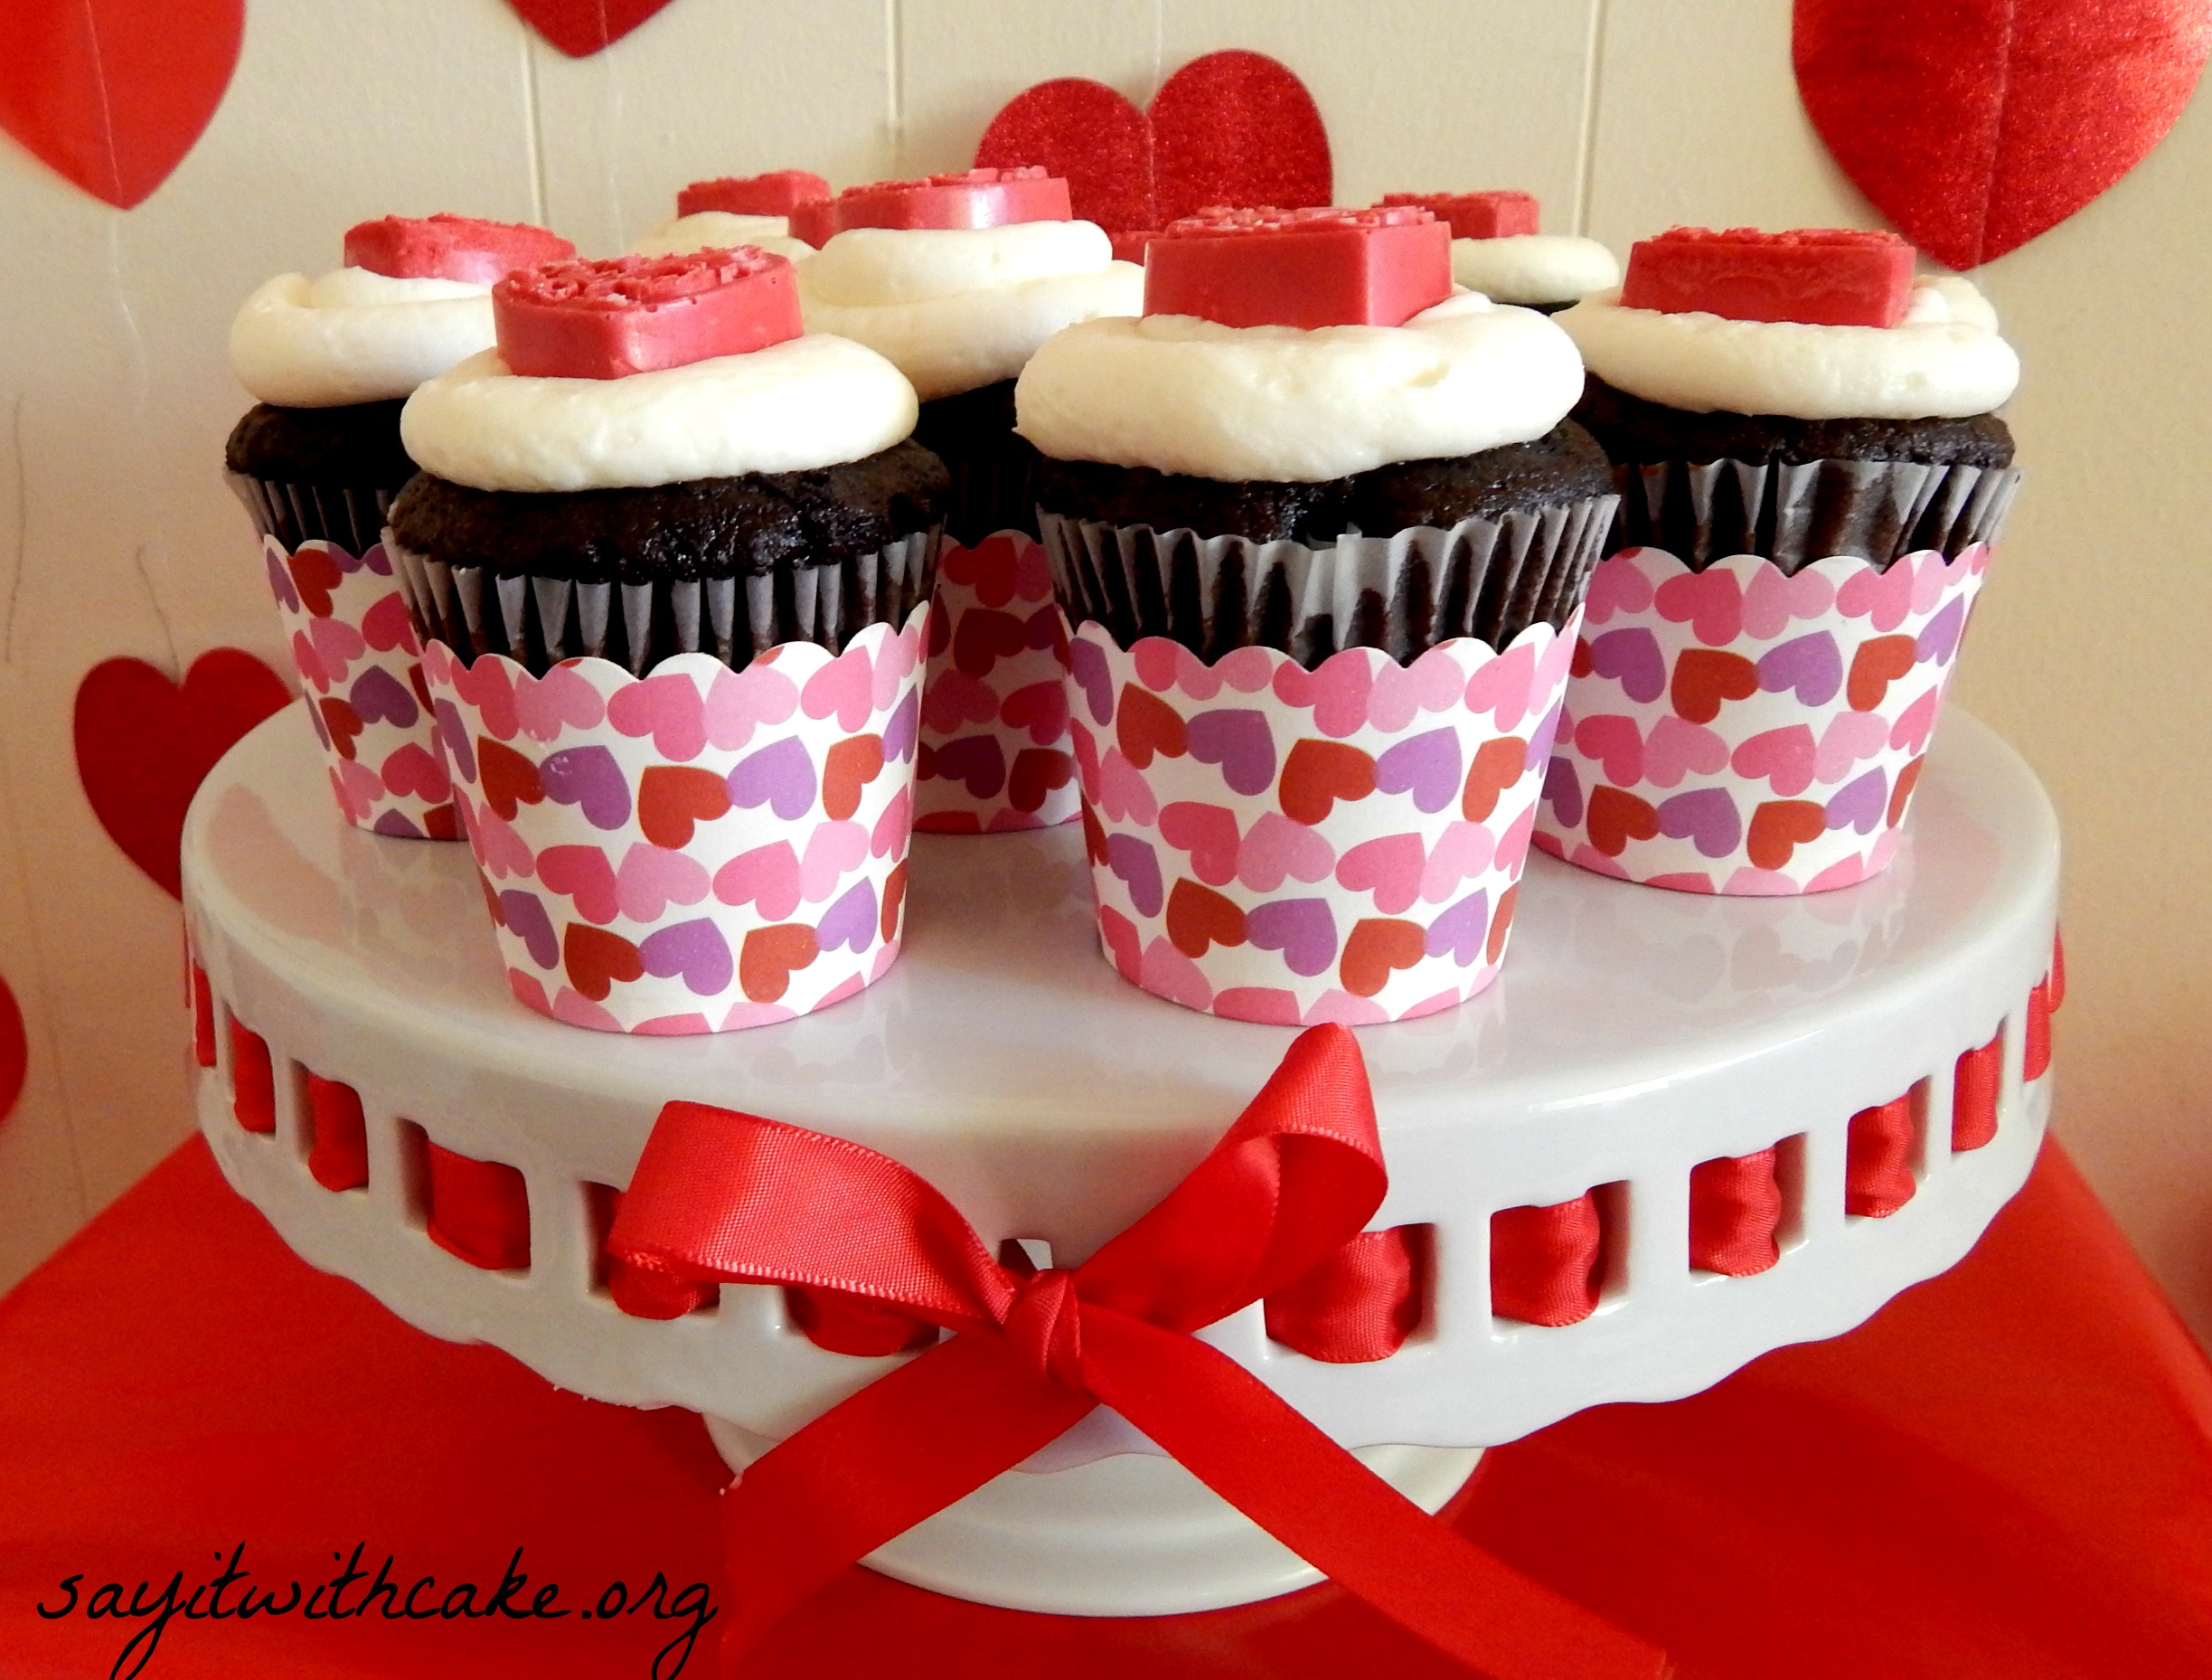
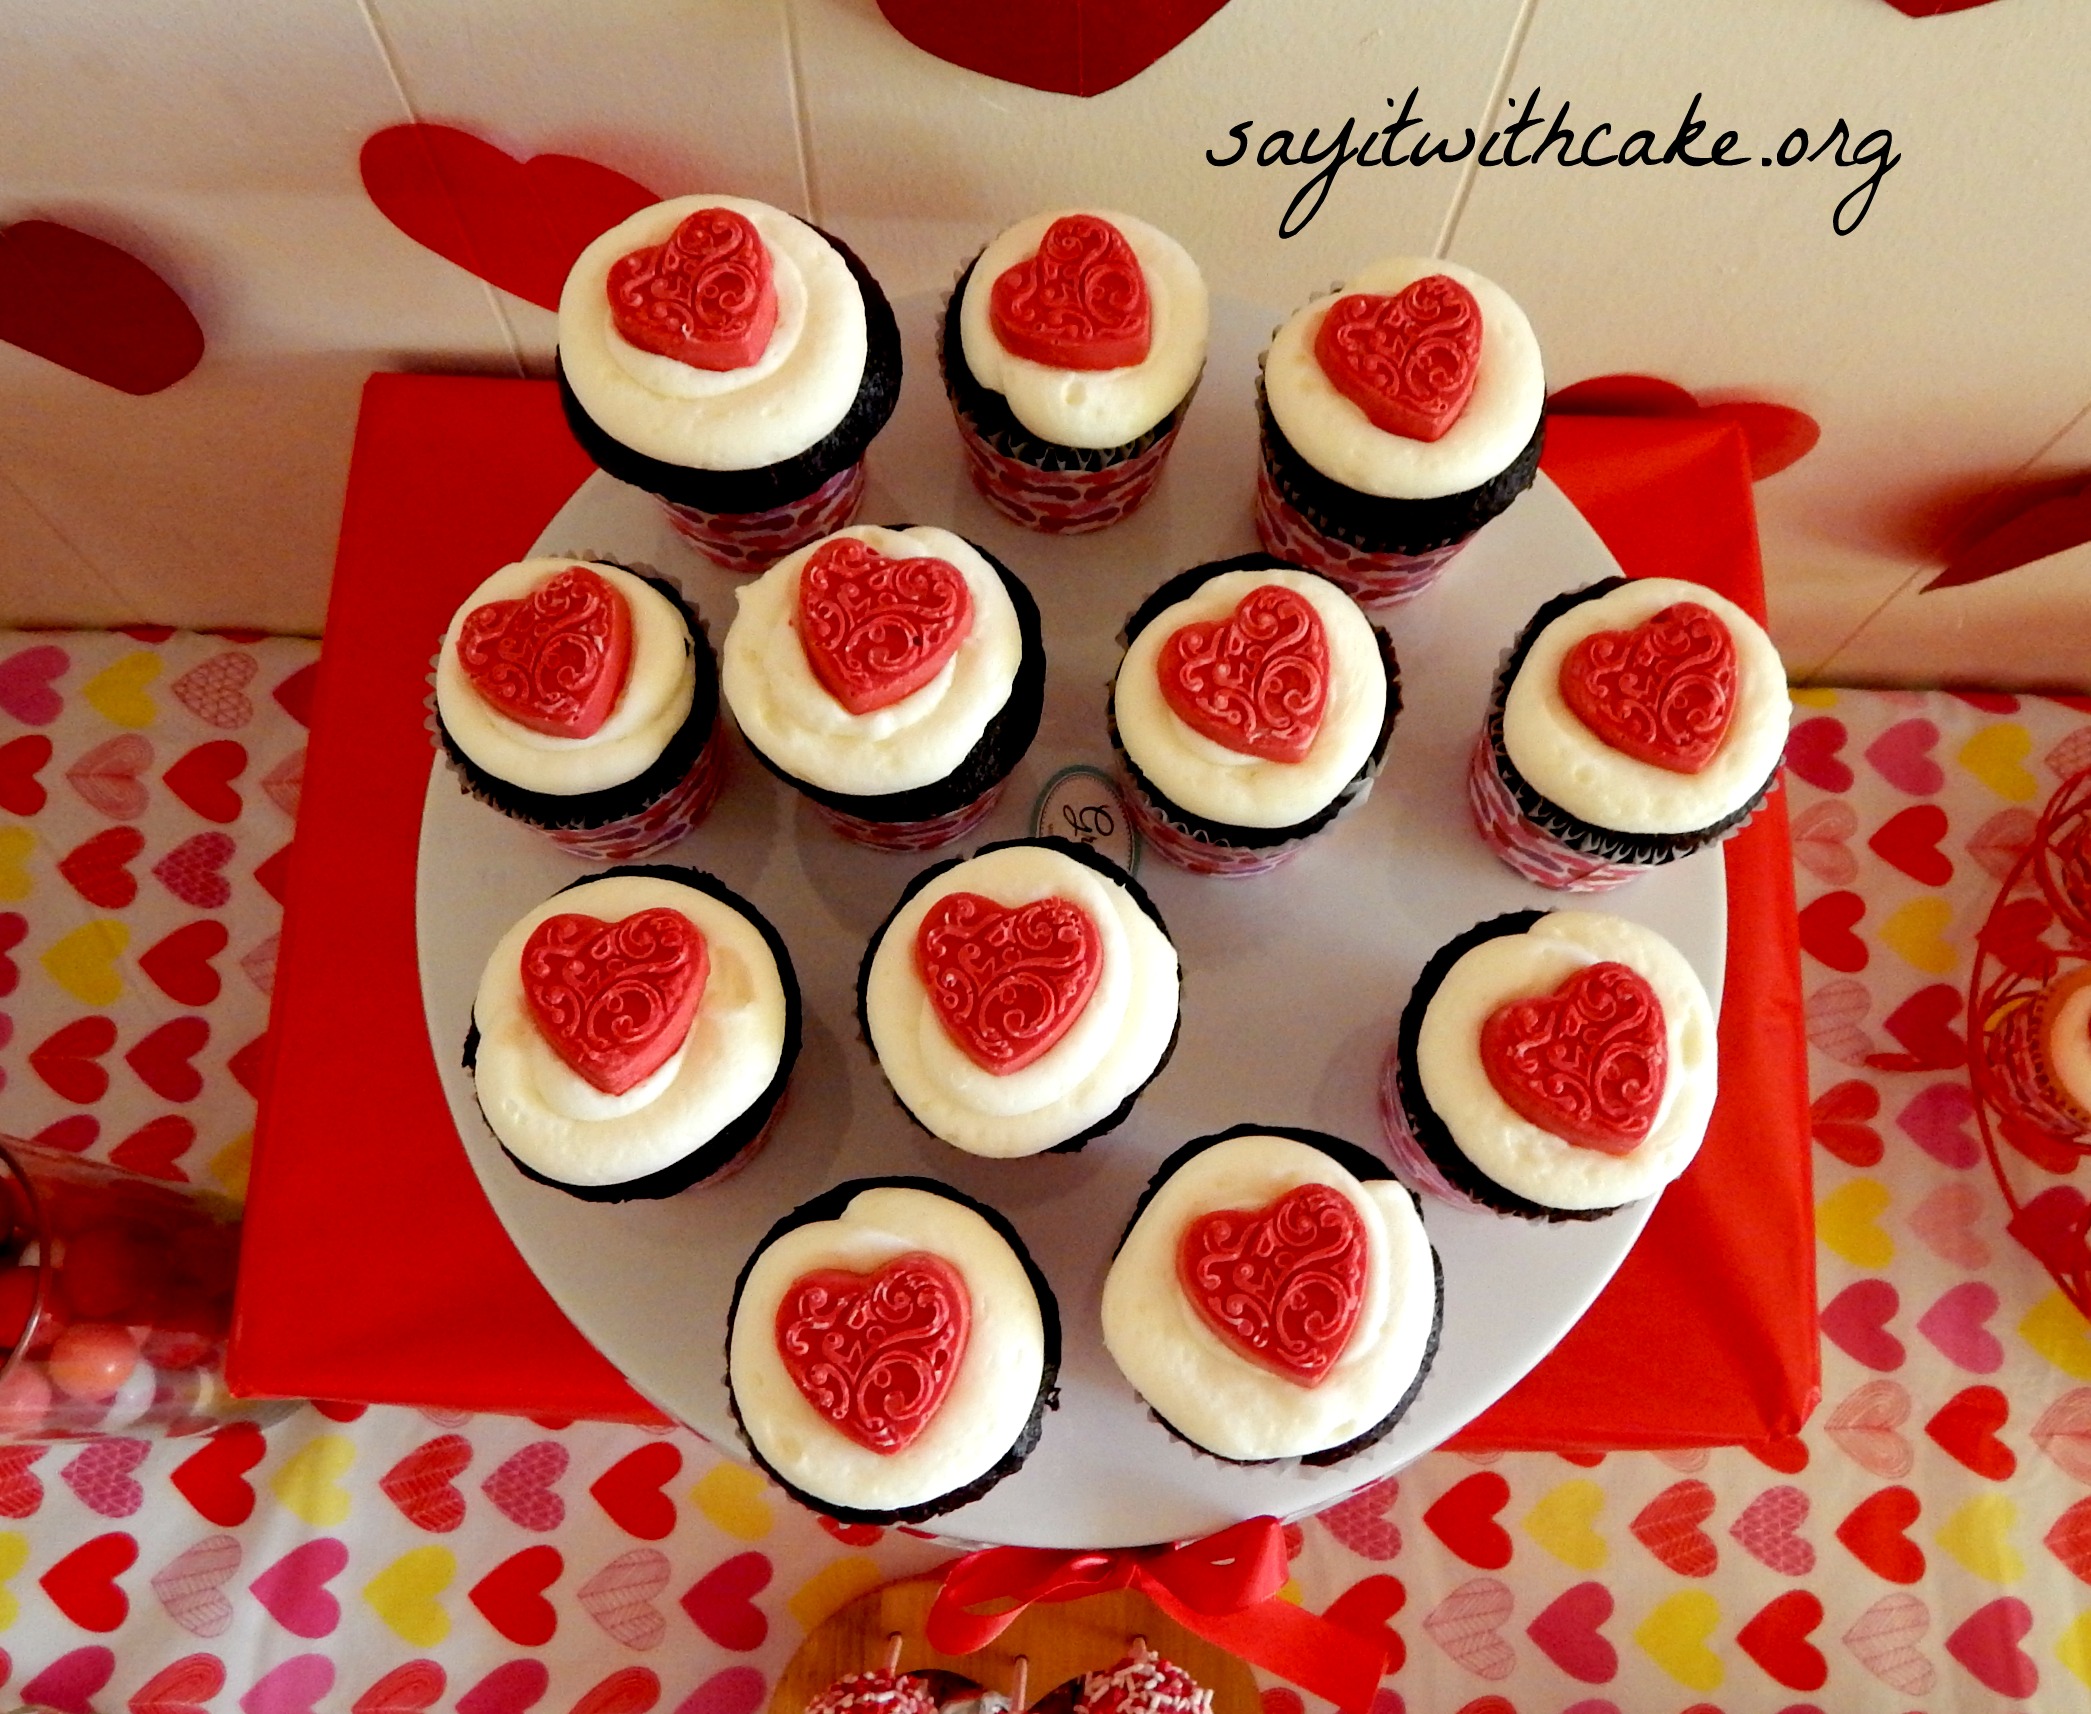
These are chocolate cupcakes with vanilla buttercream frosting. I made the hearts with a candy mold and red candy melts.
Enjoy!’
Shamene
linked up here http://www.thebetterbaker.blogspot.com/2014/02/ooey-gooey-german-chocolate-bars.html
]]>
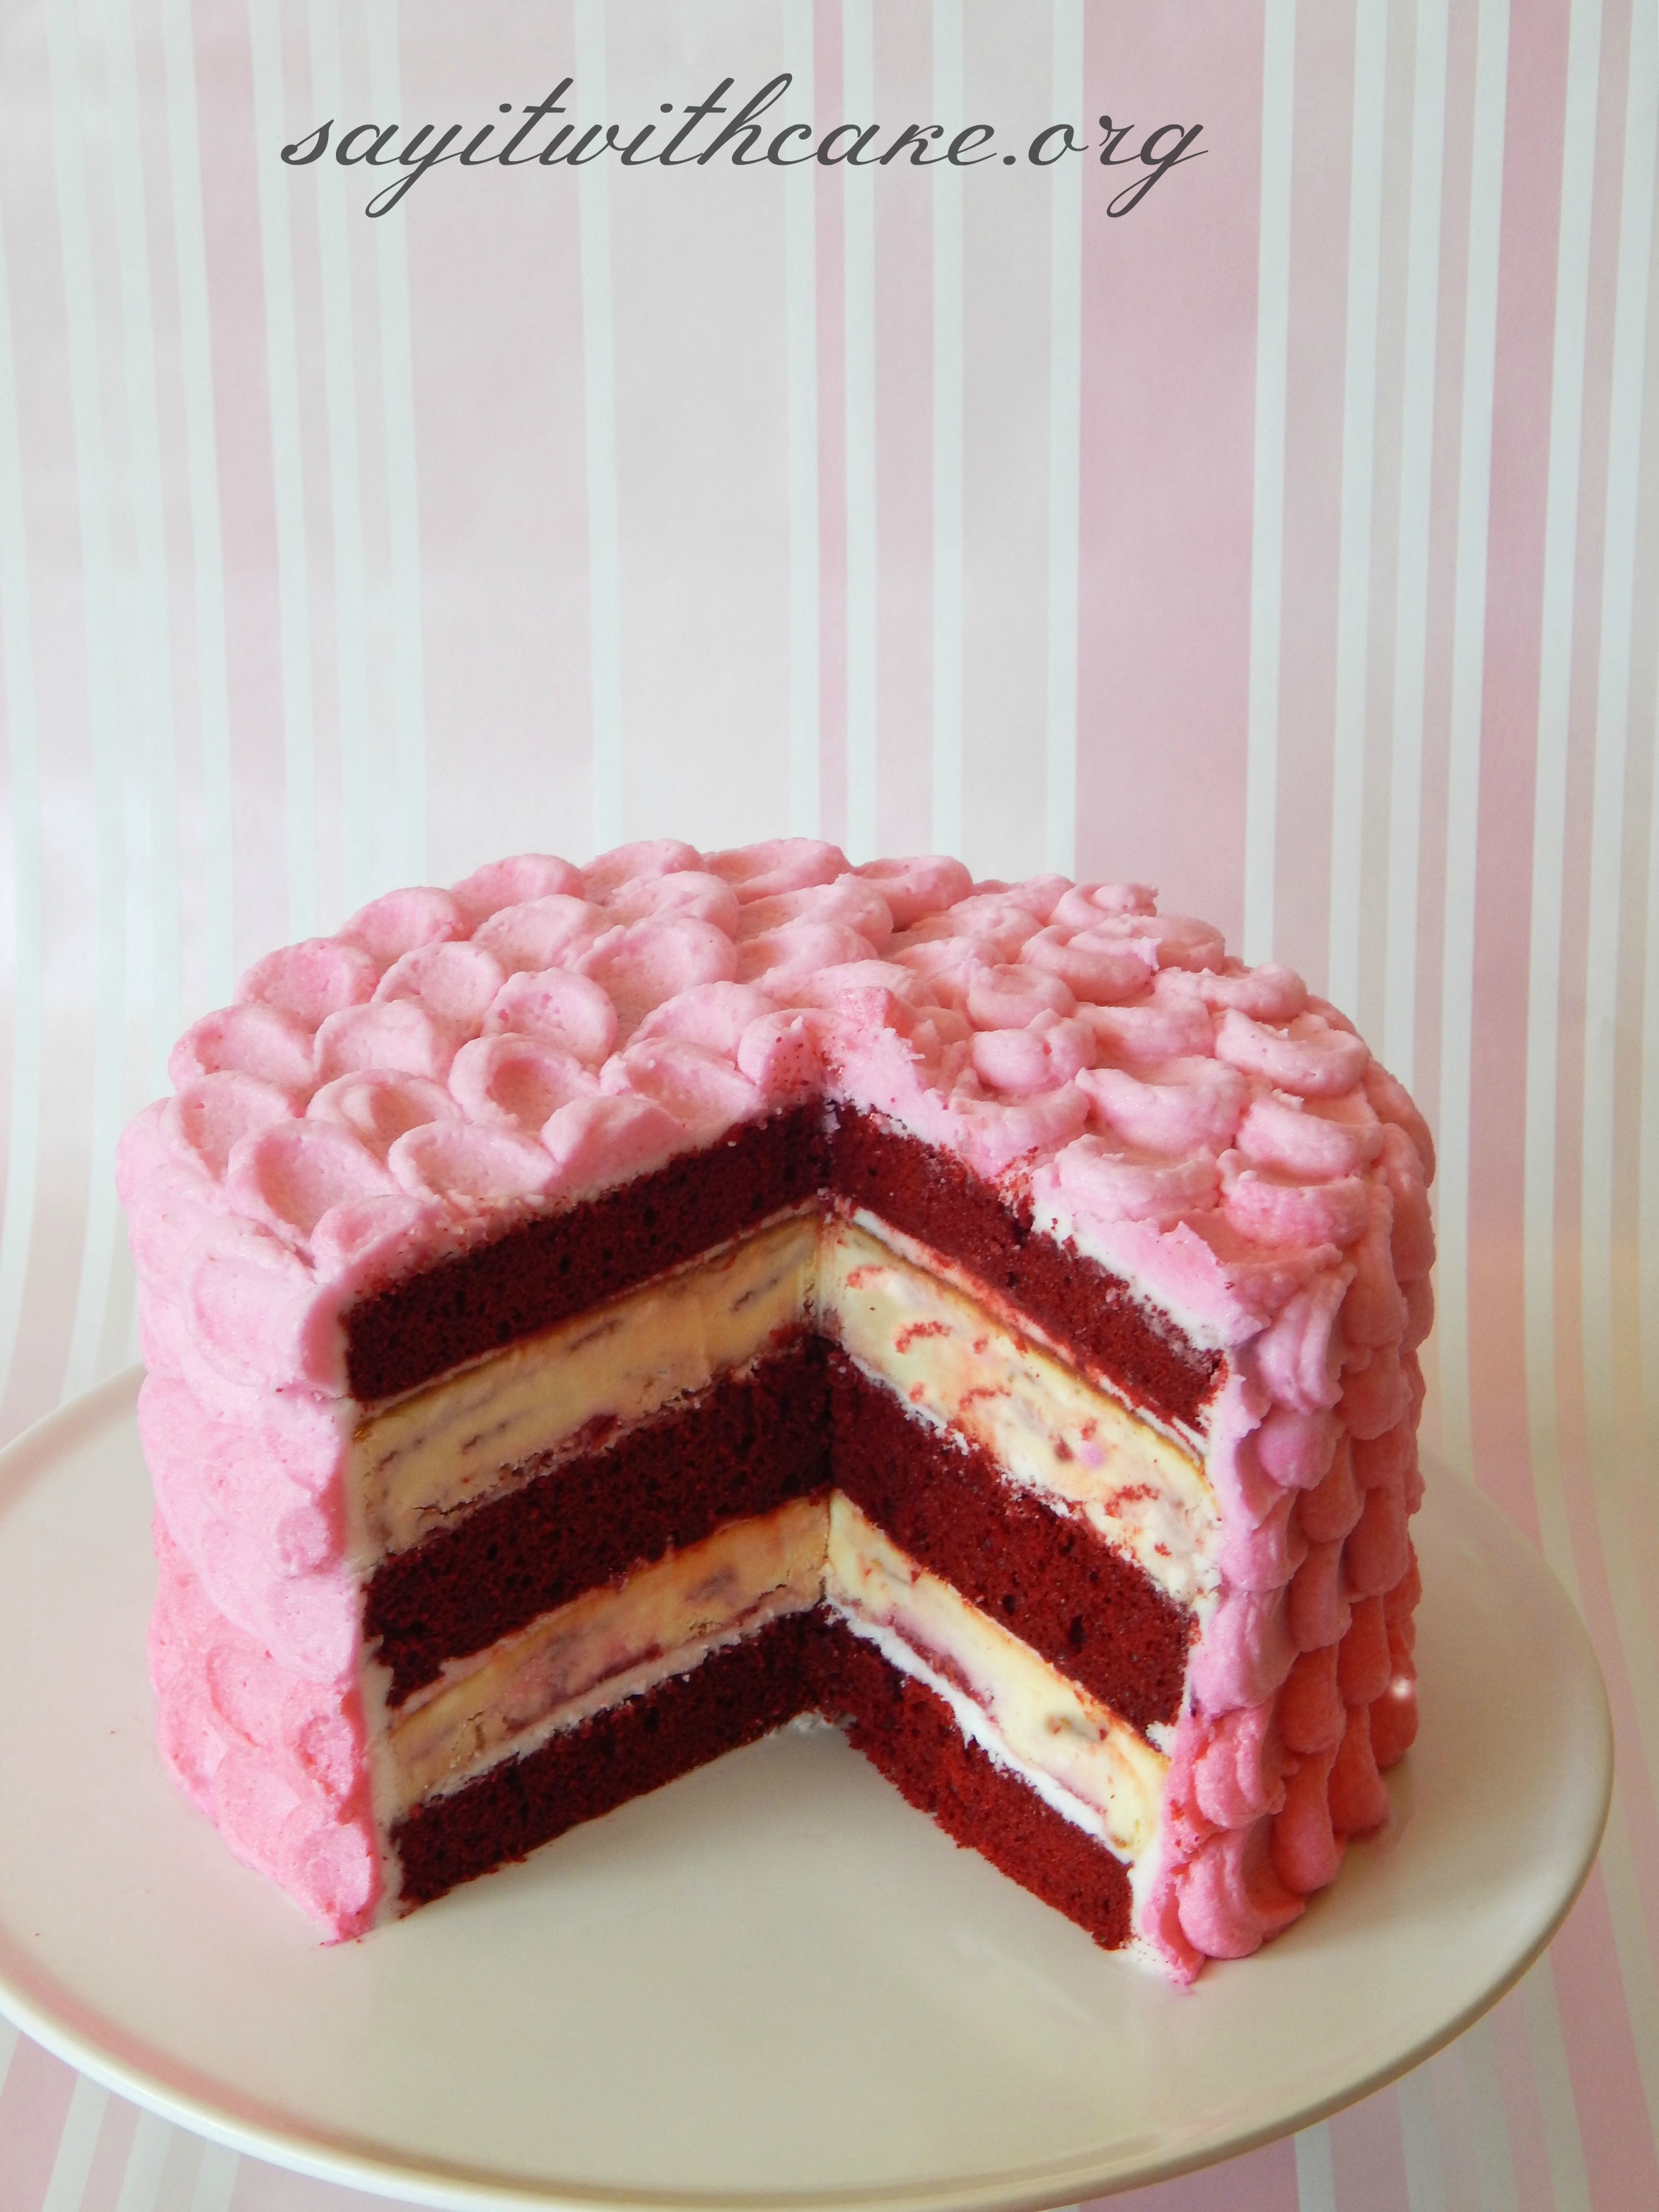
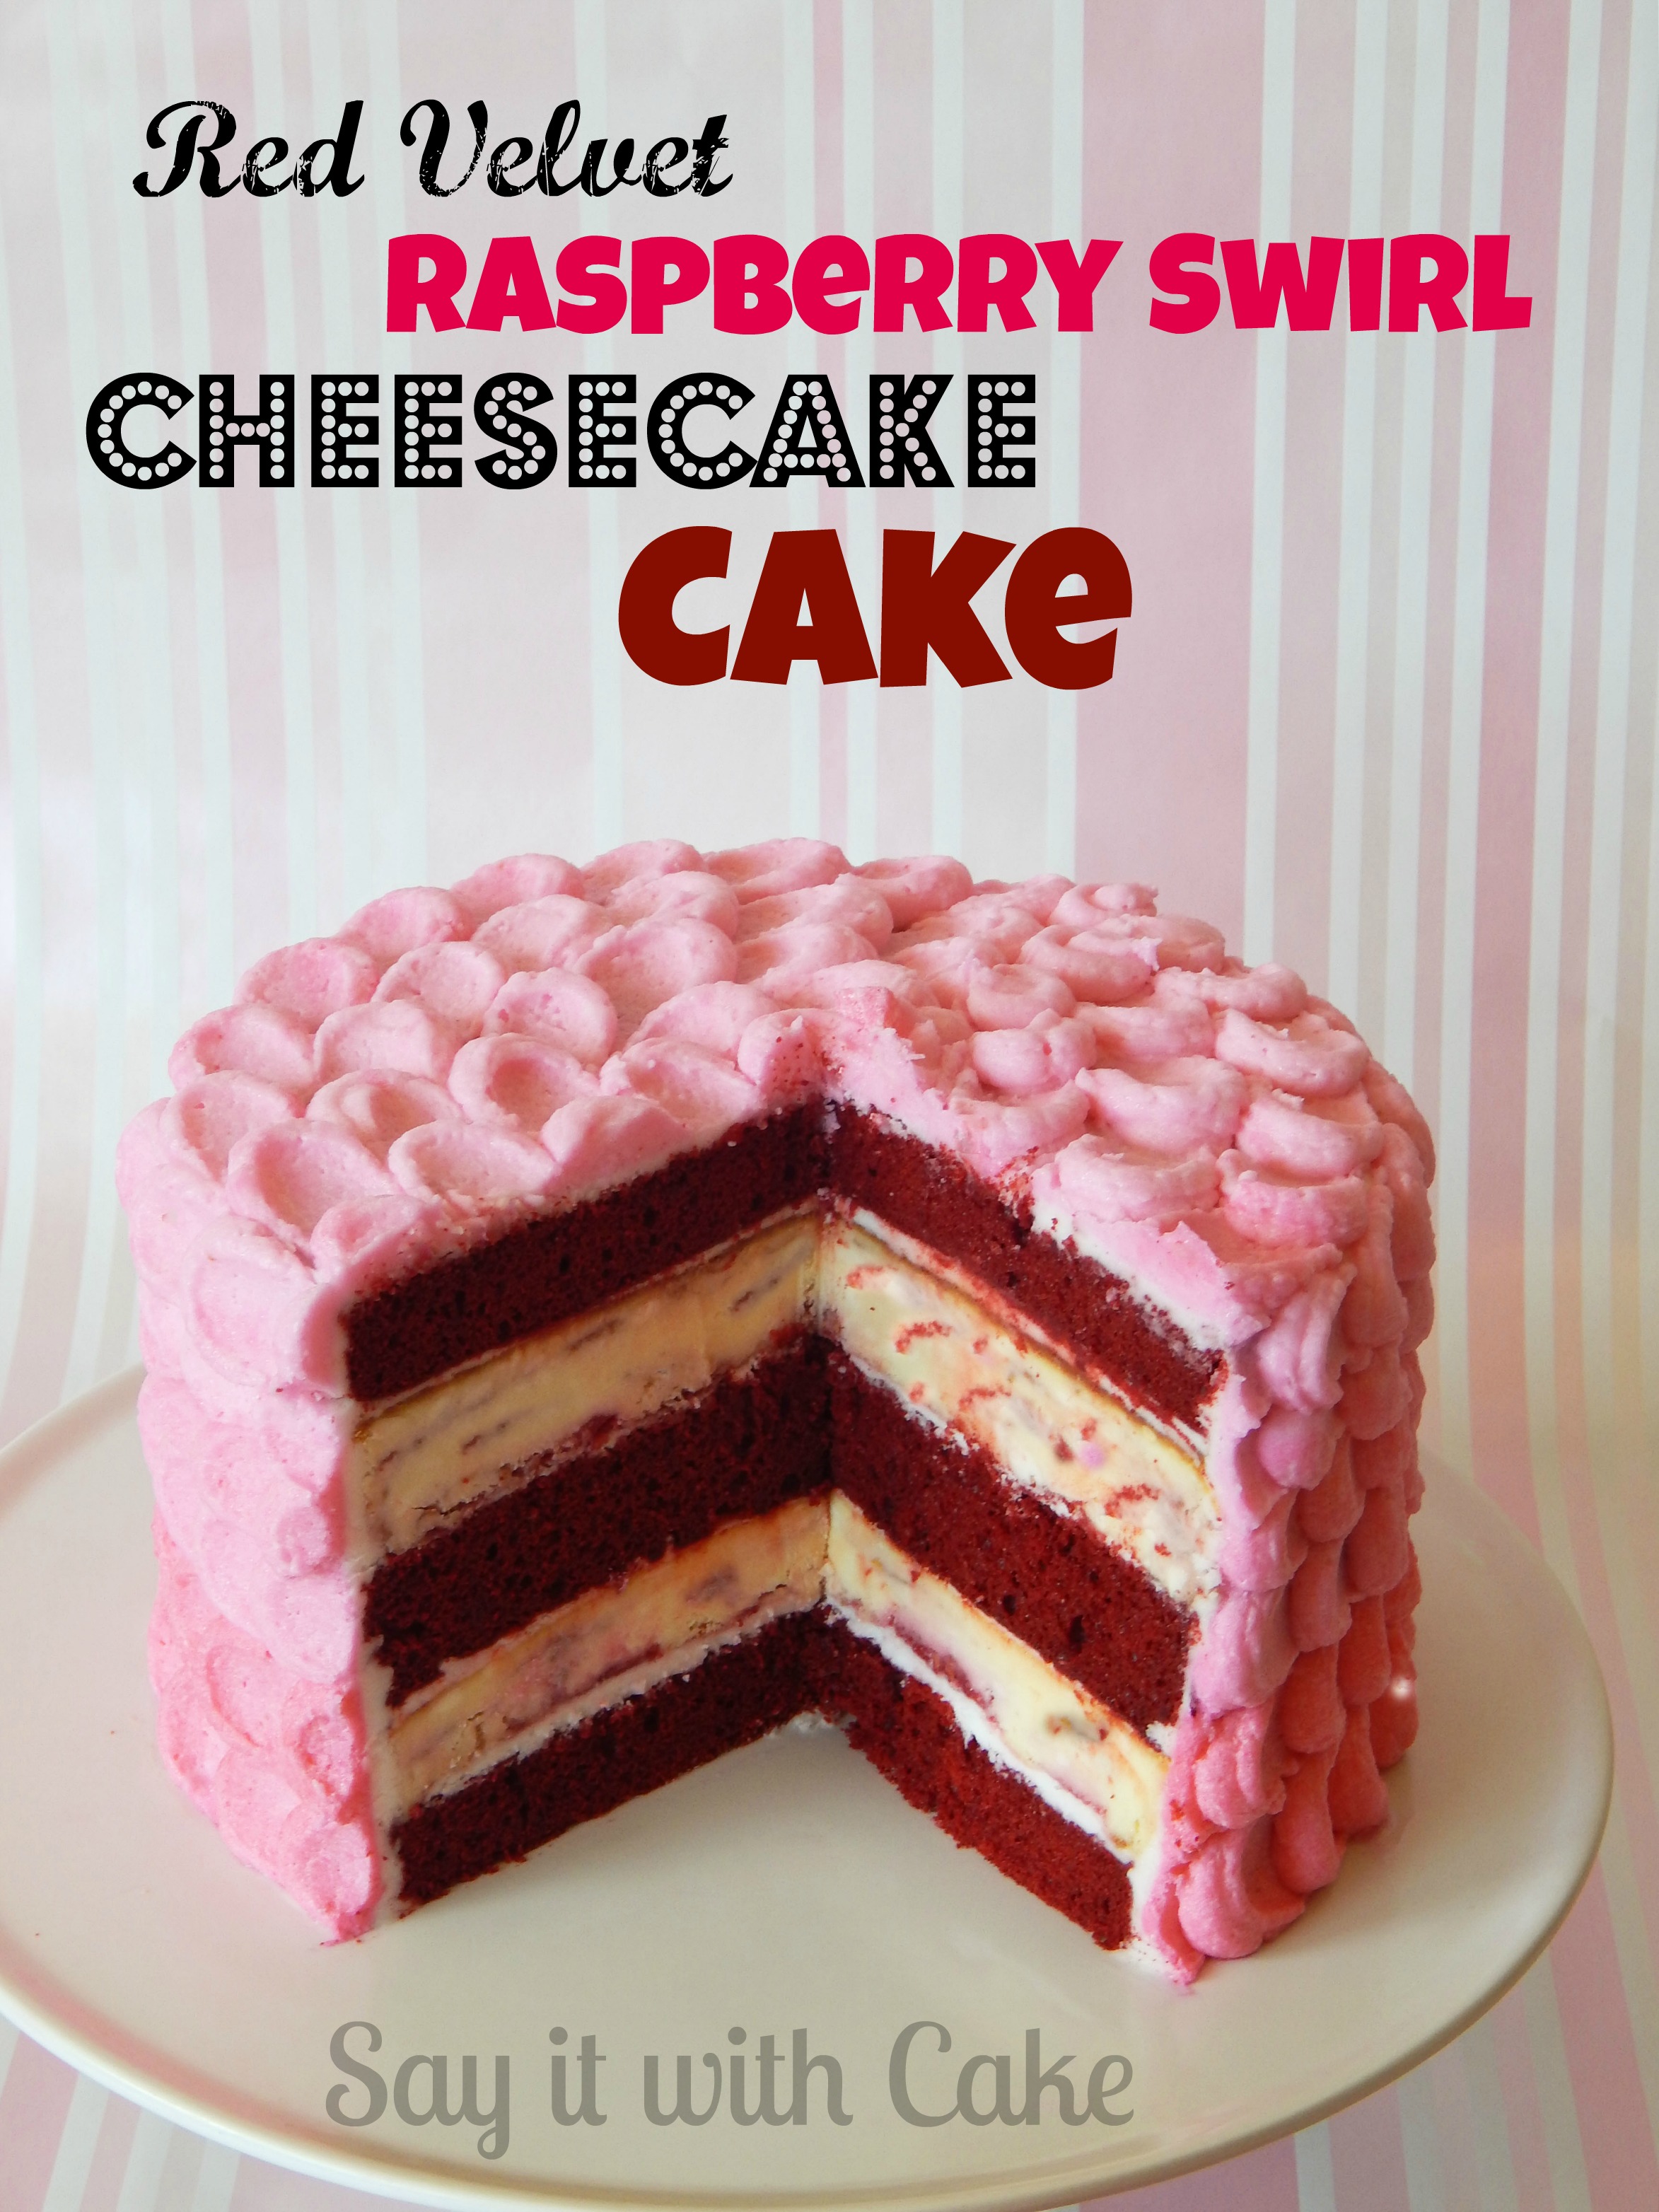
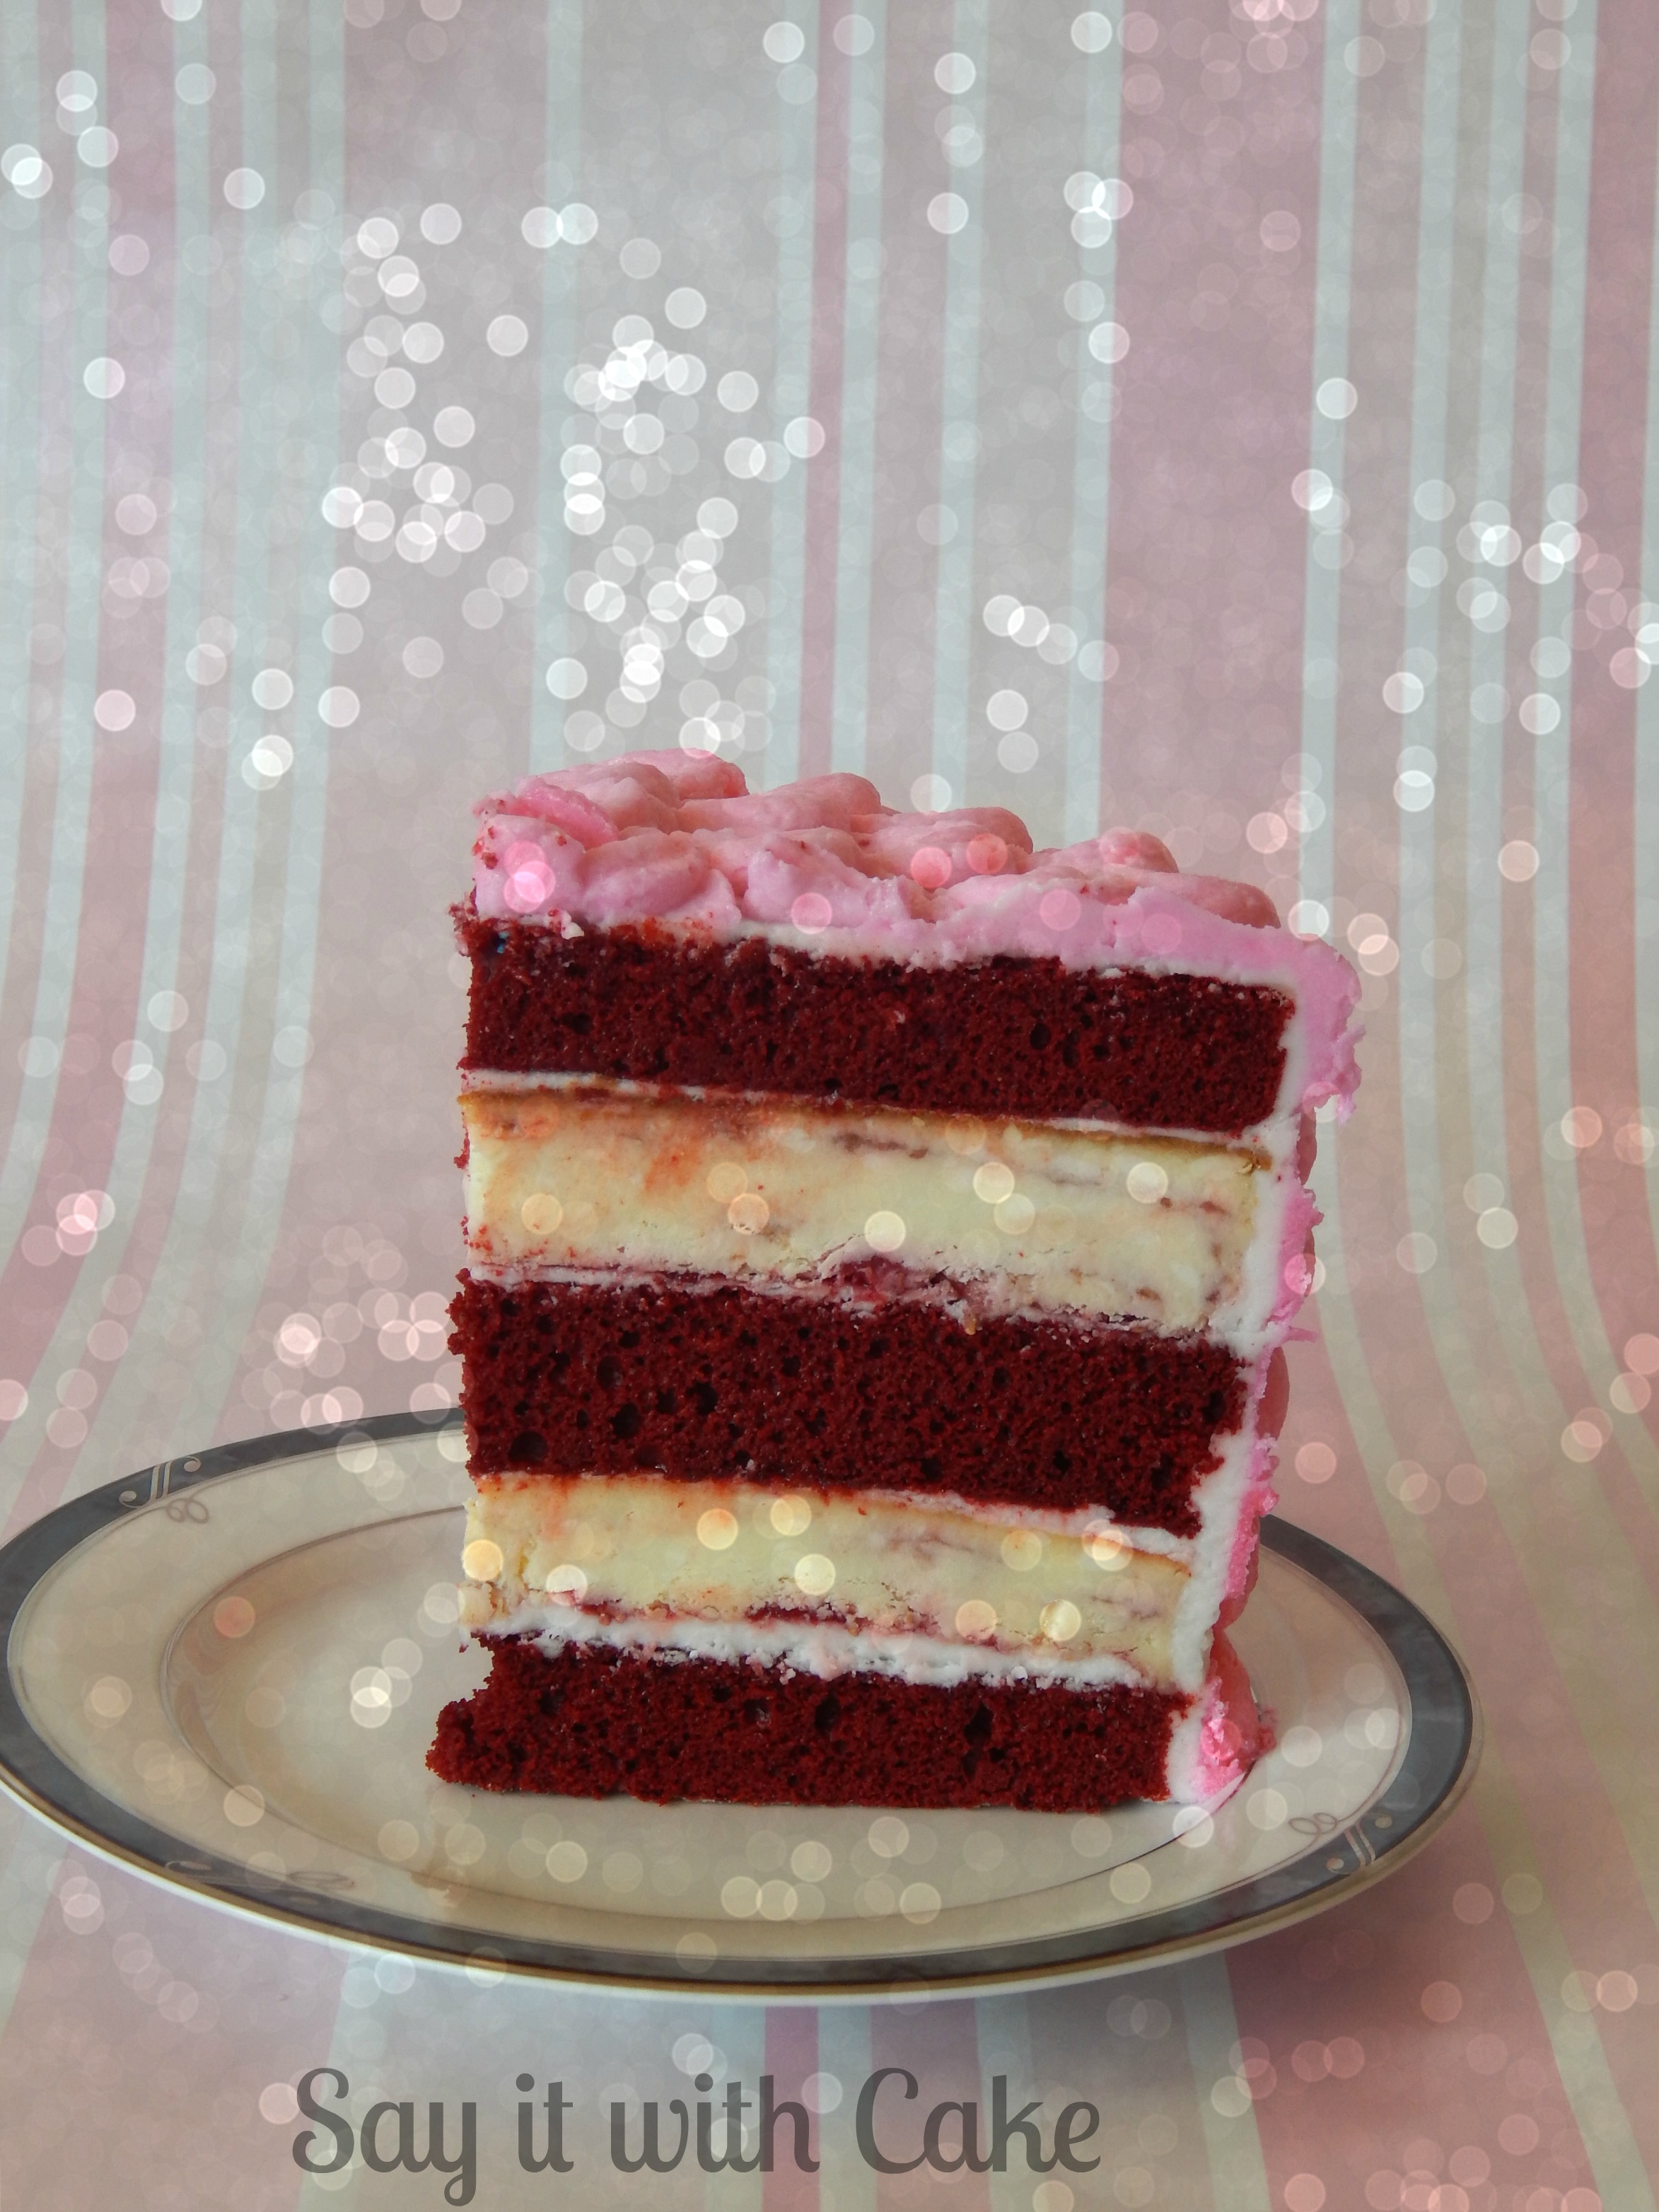
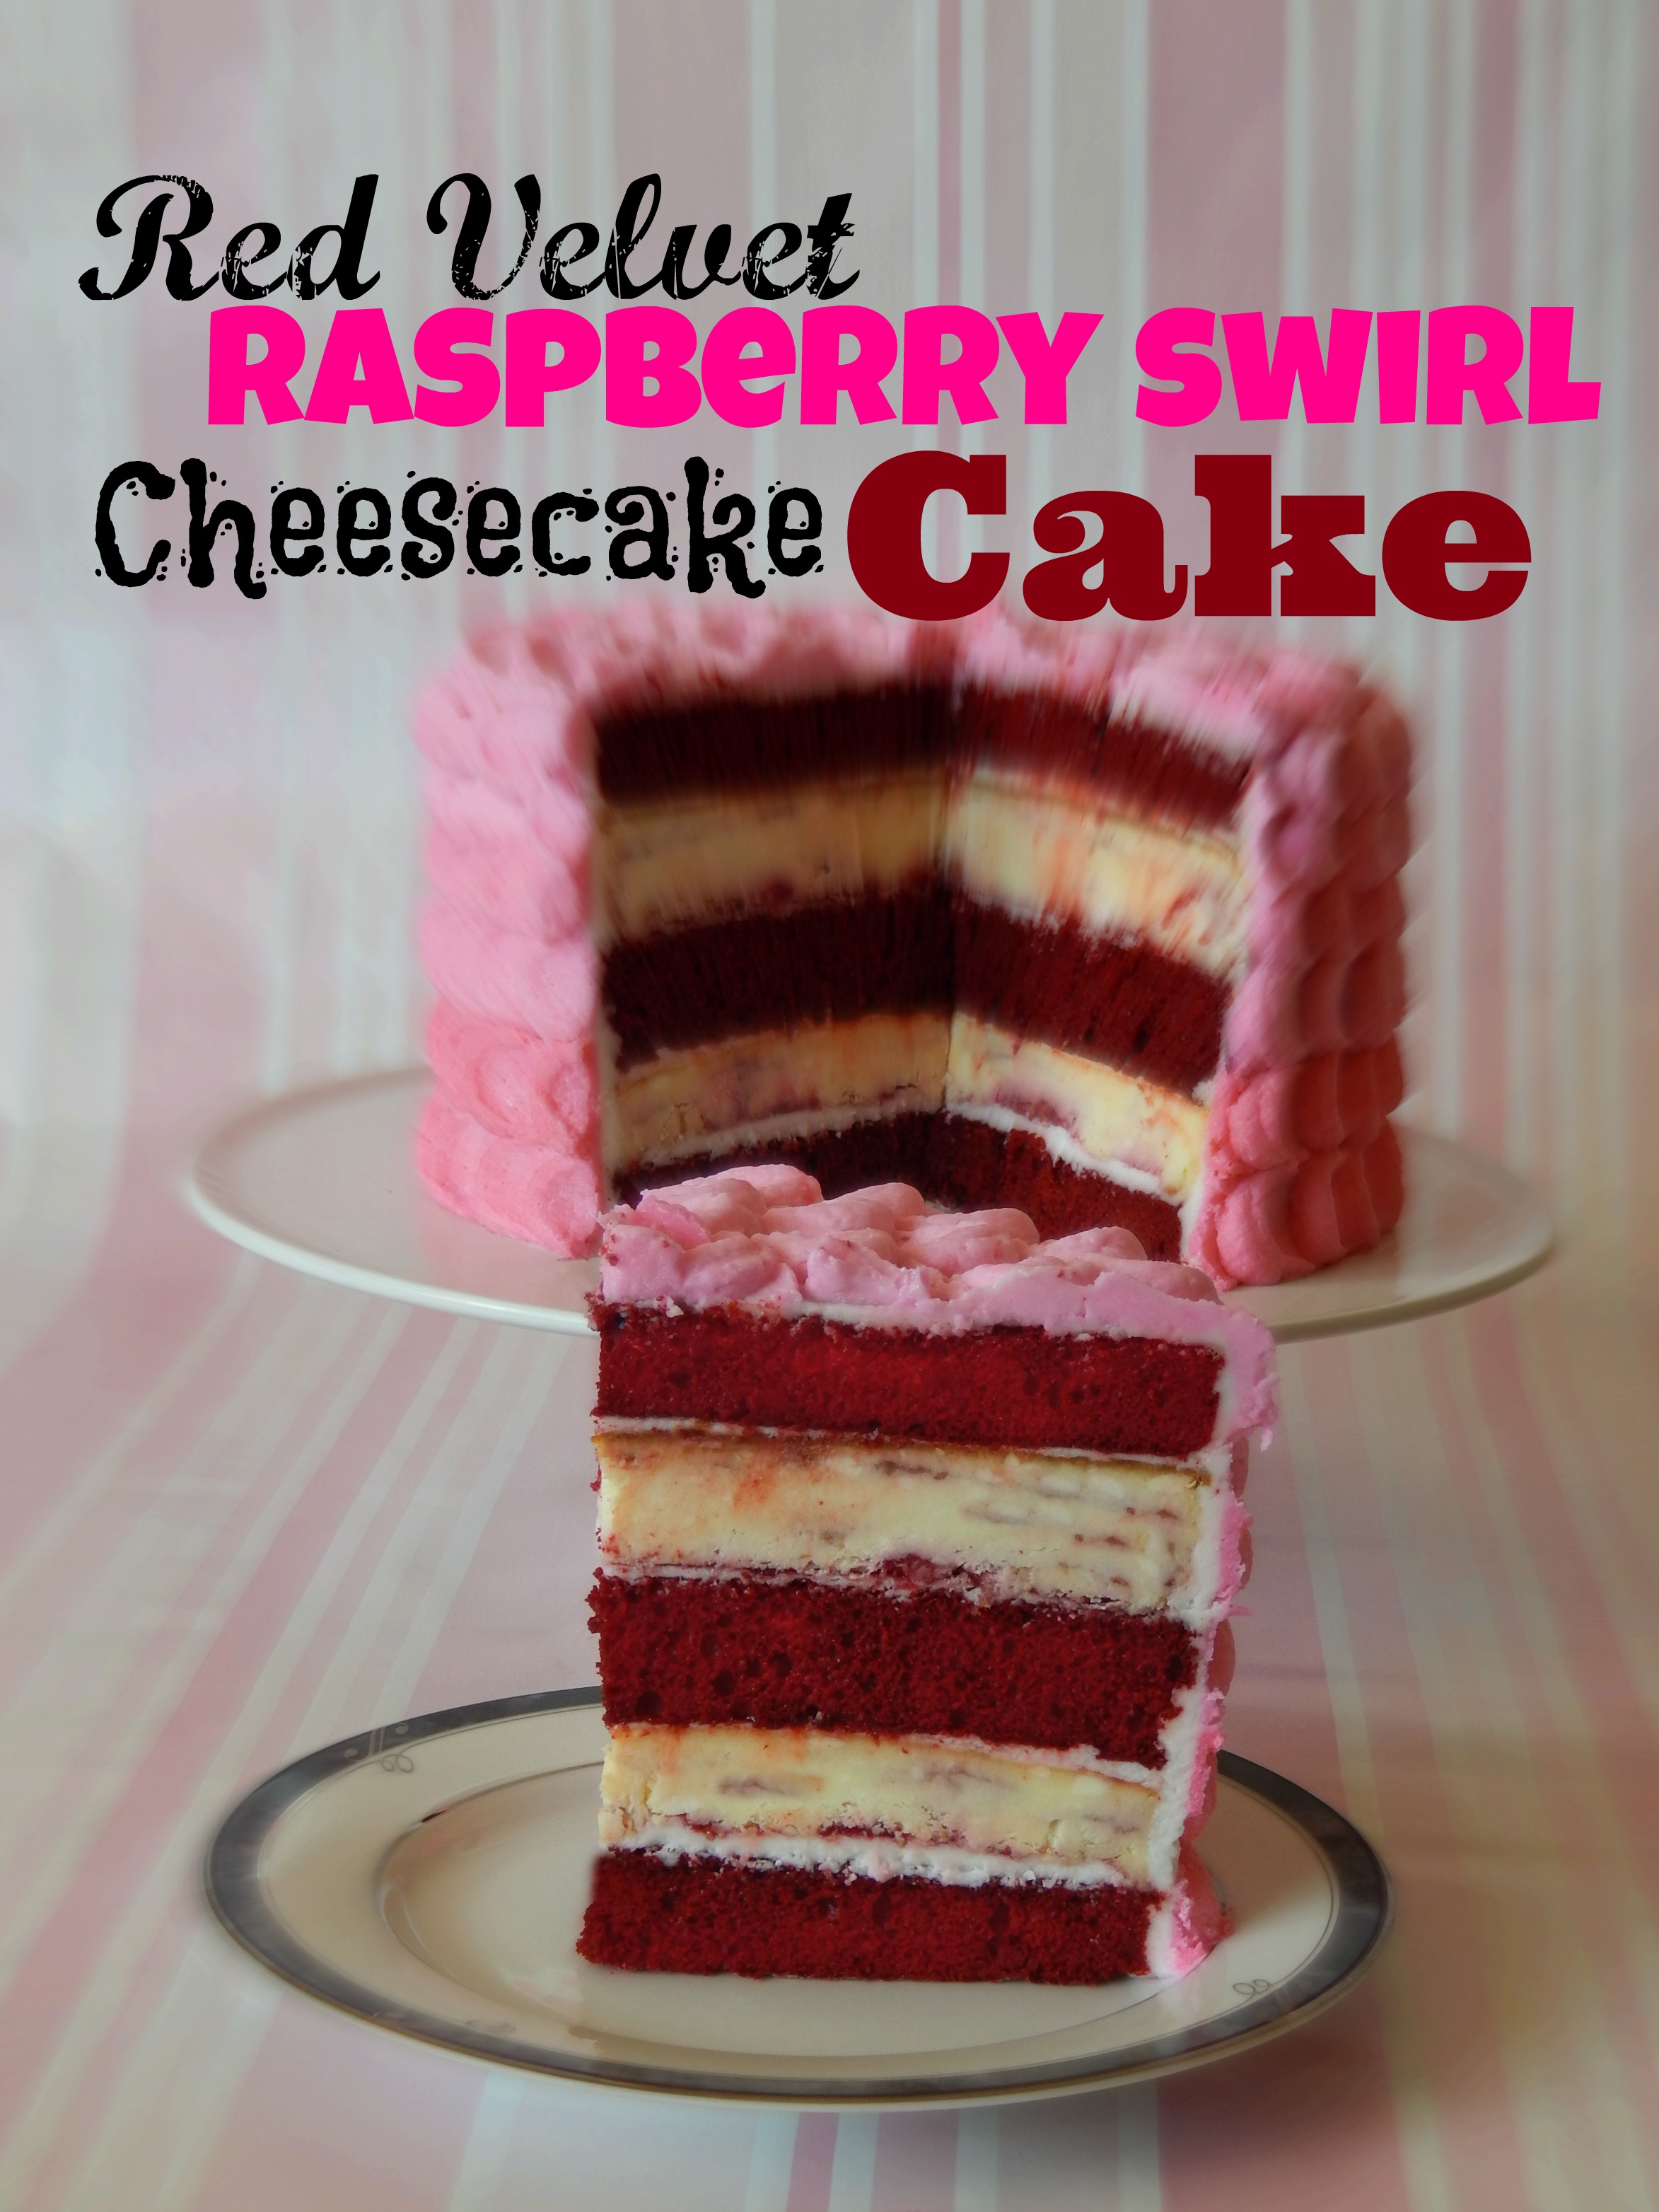
This 5 layer cake is based on a cheesecake I saw at the Cheesecake Factory. They have two layers of red velvet cake and one layer of cheesecake. I decided to try it with 3 layers of red velvet cake and 2 layers of cheesecake. Instead of using plain cheesecake, I made raspberry swirl cheesecake. It gives the cake a lot of yummy flavor and looks so pretty with the red and pink frosting. This cake is perfect to make for your Valentine this year!
Ingredients
- 2 sticks (16 tbsp) softened butter
- 1 cup granulated sugar
- 4- 8 oz packages cream cheese, softened
- 1- 3 oz. package cook and serve vanilla pudding
- 4 eggs
- 2 tsp baking powder
- 1 tbsp lemon juice
- 2 TB sugar
- 3/4 cup raspberries
- 18.25 ounce) package yellow cake mix
- 1 (3.5 ounce) package instant vanilla pudding mix
- 4 eggs
- 1 ounce red food coloring
- 1/2 cup vegetable oil
- 1 cup water
- 1 tablespoon distilled white vinegar
- 1 tablespoon unsweetened cocoa powder
- 1 cup cold milk
- Ingredients (to cover one 8 inch cake)
- 1 1/2 cup sweetex or crisco
- 1/4 teaspoon salt
- 1 teaspoon meringue powder
- 2 pounds powdered sugar
- 1/2 cup milk or water
- 1 tsp vanilla
Instructions
- Preheat oven to 325 degrees.
- Grease two 8" pans with shortening, line the pans with parchment and then grease the parchment. Lightly flour the pans and tap out excess over the sink. Set aside.
- Cream butter and sugar in a stand mixer fitted with paddle attachment.
- Add cream cheese a little at a time until smooth.
- Scrape bowl down and beat again on medium speed, adding eggs one at a time.
- Add remaining ingredients.
- Mix again until smooth.
- Divide batter evenly between pans. You should have 8 cups of batter, so 4 cups in each pan. Blend Raspberries with sugar to make puree. Pour big drops over half the batter in the pan and swirl with a fork.
- Add the rest of the batter and do the same with the rest of the puree. Do this with both pans of batter.
- Smooth batter with offset spatula and bake for 55 minutes to 1 hour.
- Cheesecake will puff up during baking, then deflate when taken out.
- Do not turn out cheesecakes when they are finished baking. Put them directly in the freezer, and leave until frozen solid.
- Turn out frozen cheesecake layers and peel parchment from the bottoms.
- Tip: if your cheesecake does not come out right away, just set it on a burner on the stove for a few seconds. Then cover the pan with saran wrap and flip it over onto a cutting board
- Preheat oven to 350 degrees F (175 degrees C).
- Grease and flour three 8 inch pans.
- Mix together cake mix, 1 box pudding mix, eggs, oil, food coloring, water, vinegar, and cocoa. Pour into prepared pans.
- Bake at 350 degrees F (175 degrees C) for 35 to 40 minutes.
- Cool.
- mix the sweetex, salt, and meringue powder with electric mixer to blend aobut 30 seconds
- Add the milk in the bowl, then add the sugar and blend by hand with a spatula until the sugar is absorbed into the liquid
- put bowl back on the mixer and beat on medium speed for 2-5 minutes until smooth and a little fluffy.
- if mixture is too stiff, you can add more liquid. if it is too runny add more powdered sugar
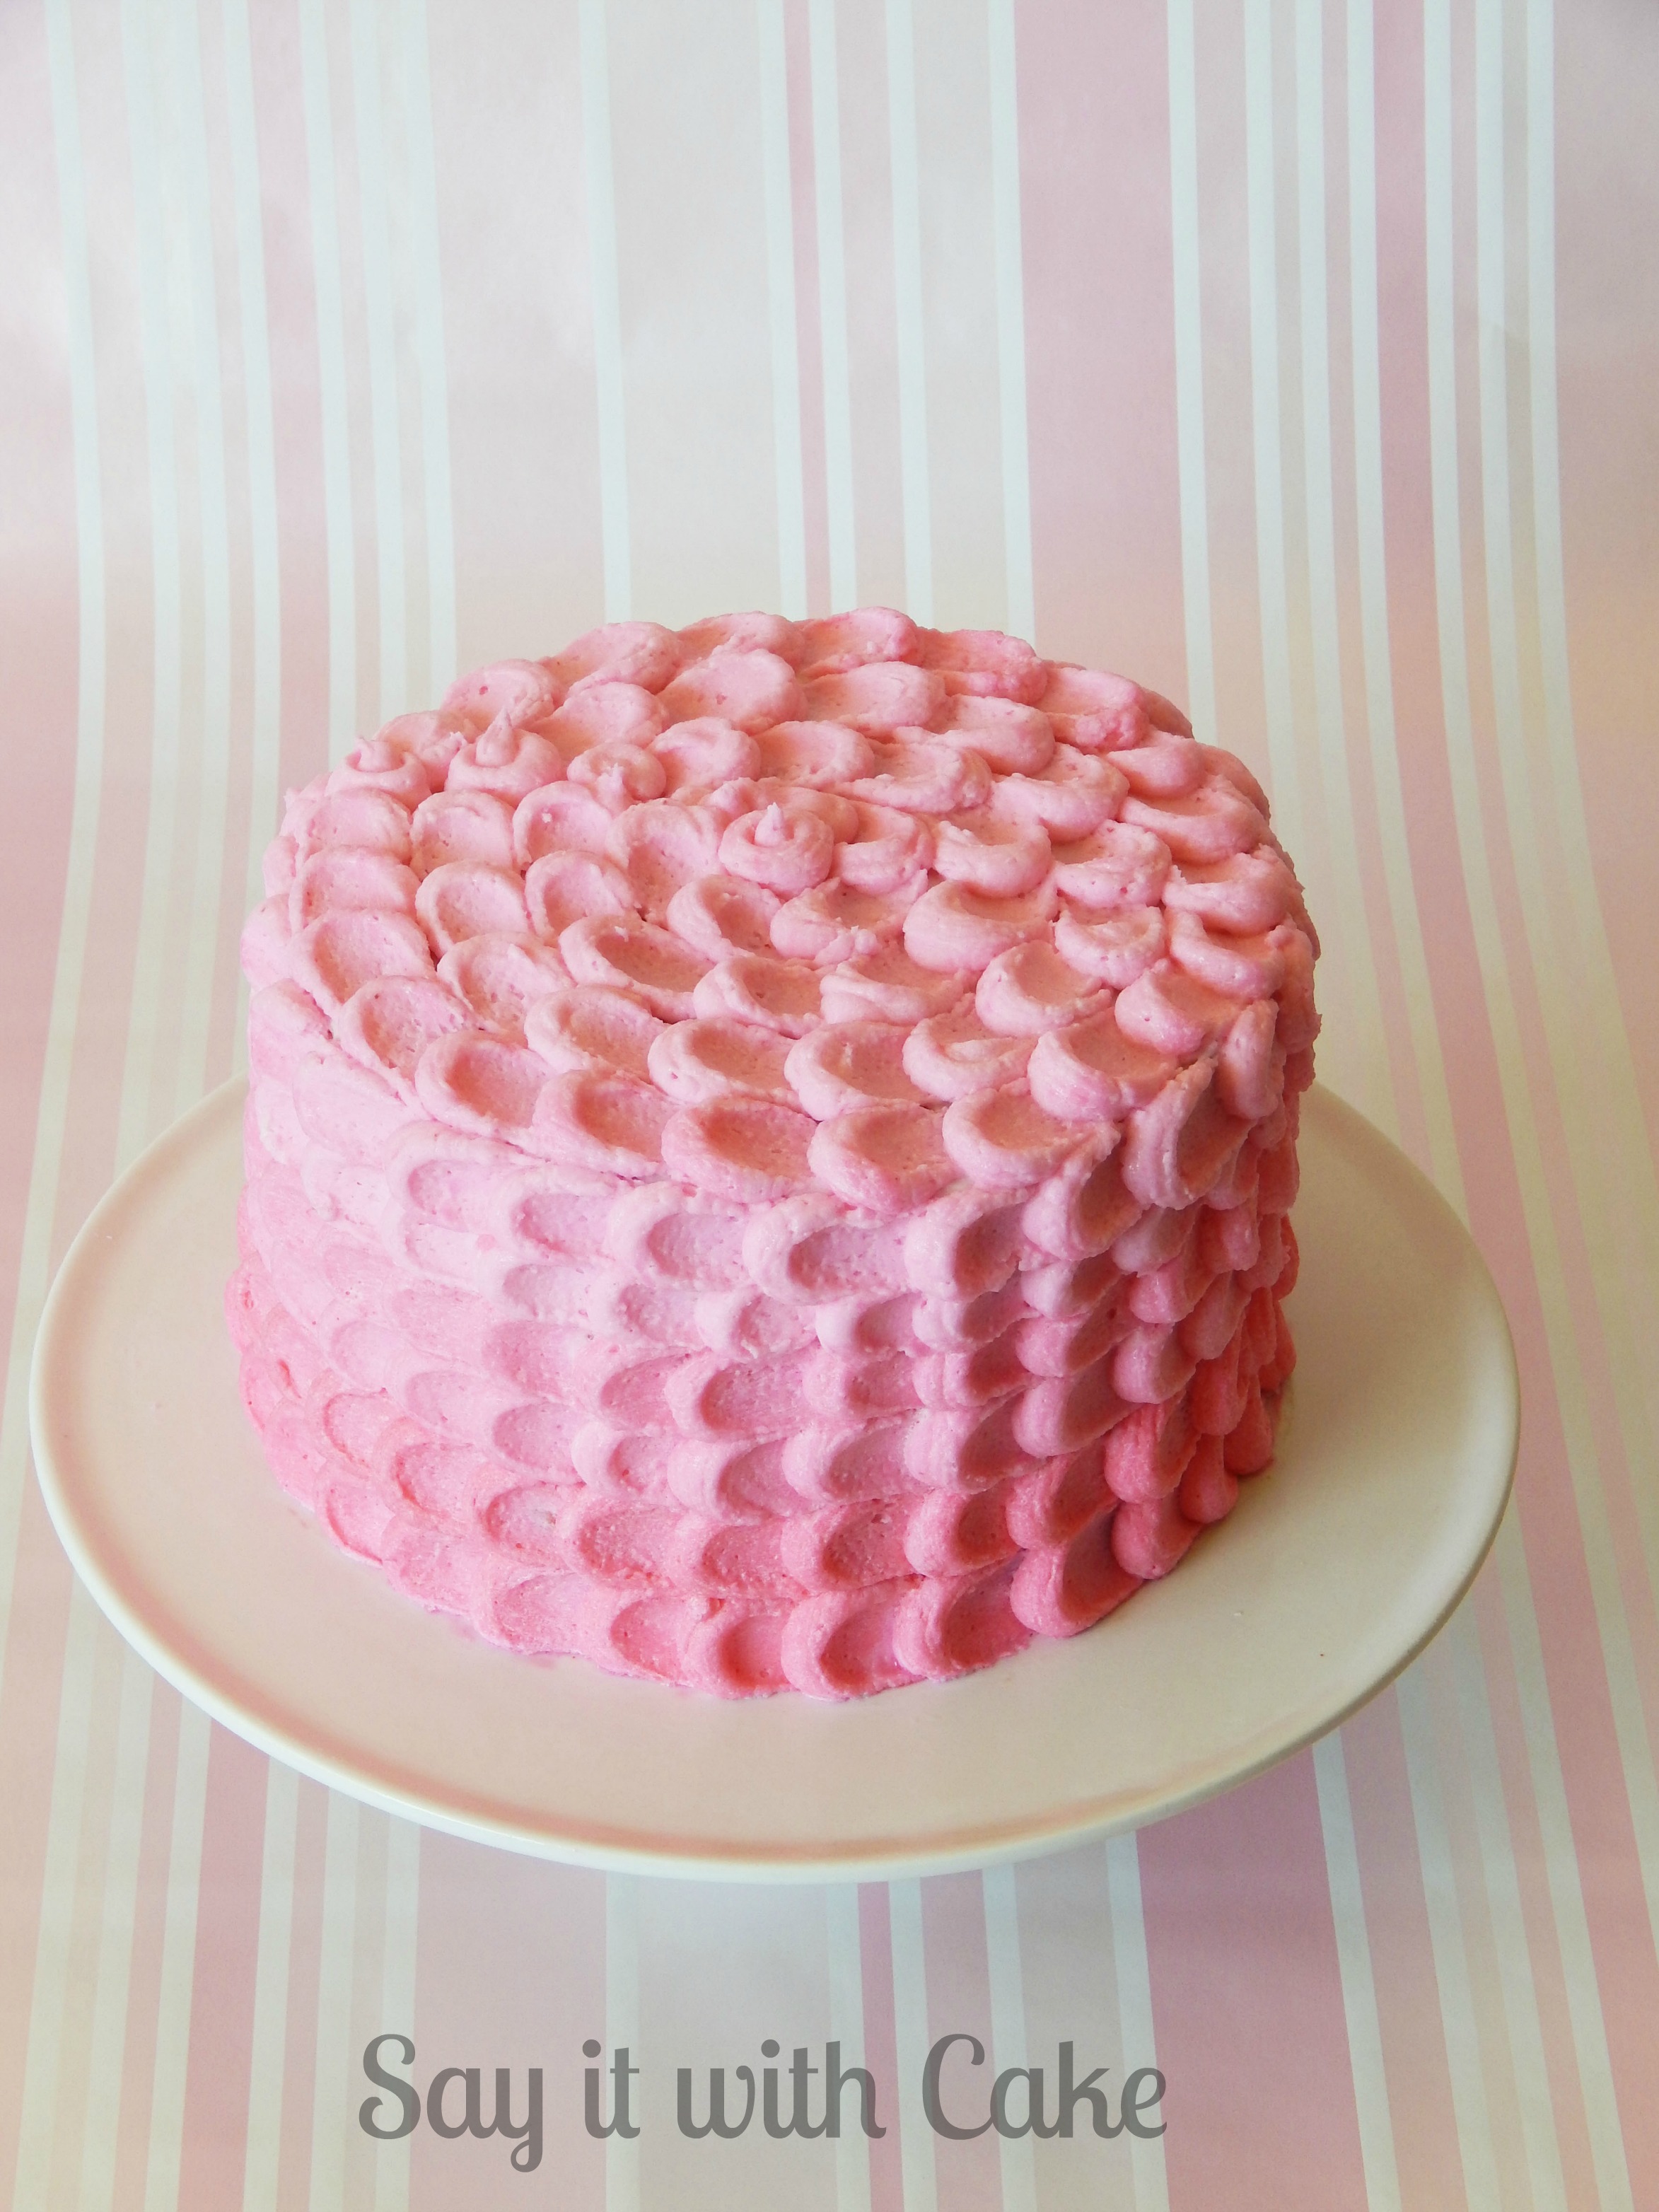
- OK so after you make both cakes, a total of 5 cakes, stack them with a thin layer of buttercream between each layer with raspberry filling on top of the buttercream. I used a store bought filling. Freeze untill completely frozen. Then you can take it out and frost it any way you like. I used a crumb coat of buttercream and piped on pink petals.
ENJOY!
Shamene
Try these other Valentine’s Day Treats
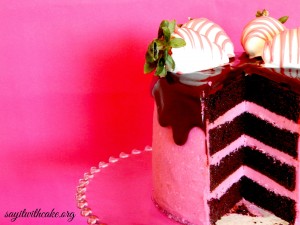
Dark Chocolate & Strawberry Buttercream Cake with Chocolate Covered Strawberries

My cake was featured here!
http://www.kleinworthco.com/2014/02/30-valentine-desserts.html
http://www.nibblesbynic.com/
http://www.madefrompinterest.net/2014/02/share-thursday-link-party-29/
]]>
 A petit four is a small confectionery or savoury appetizer. The name is French, petit four (French pronunciation: [pø.ti.fur]), meaning “small oven” Petits fours were traditionally made in a smaller oven next to the main oven. In the 18th century some bakers made them during the cooling process of coal-fired brick ovens to take advantage of their stored heat, thus exploiting coal’s high burning temperature and economizing on its expense relative to wood
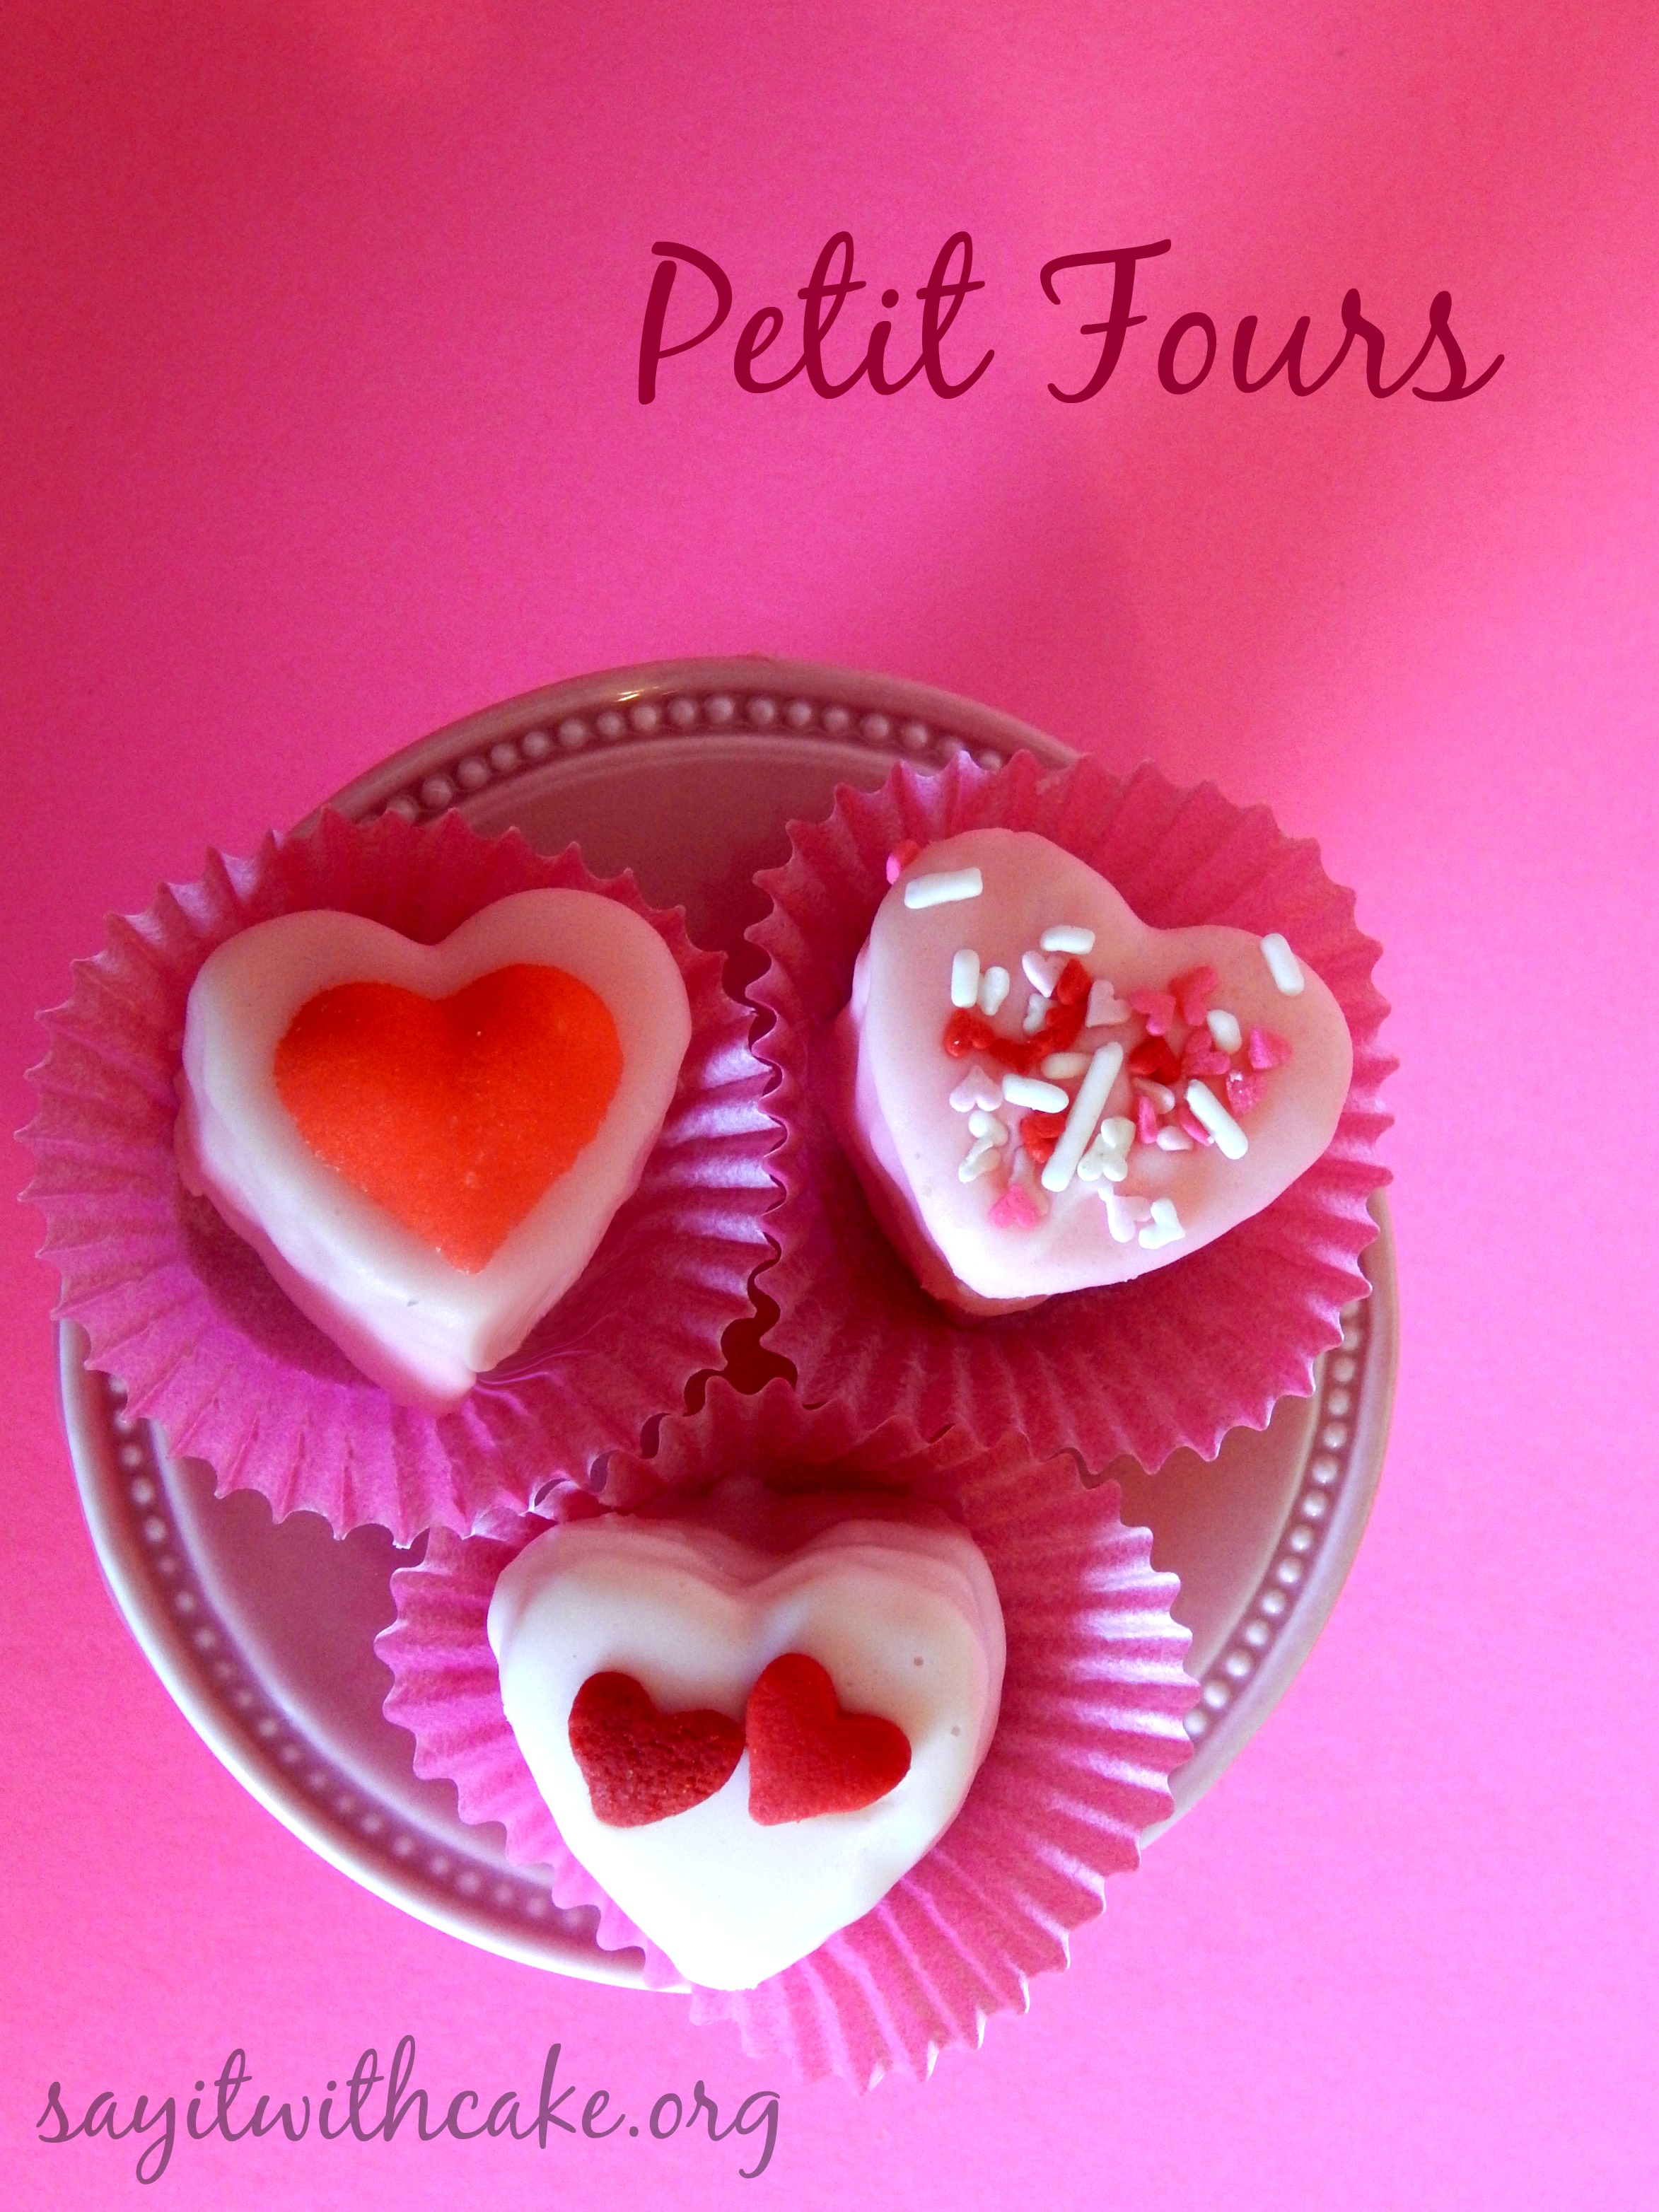
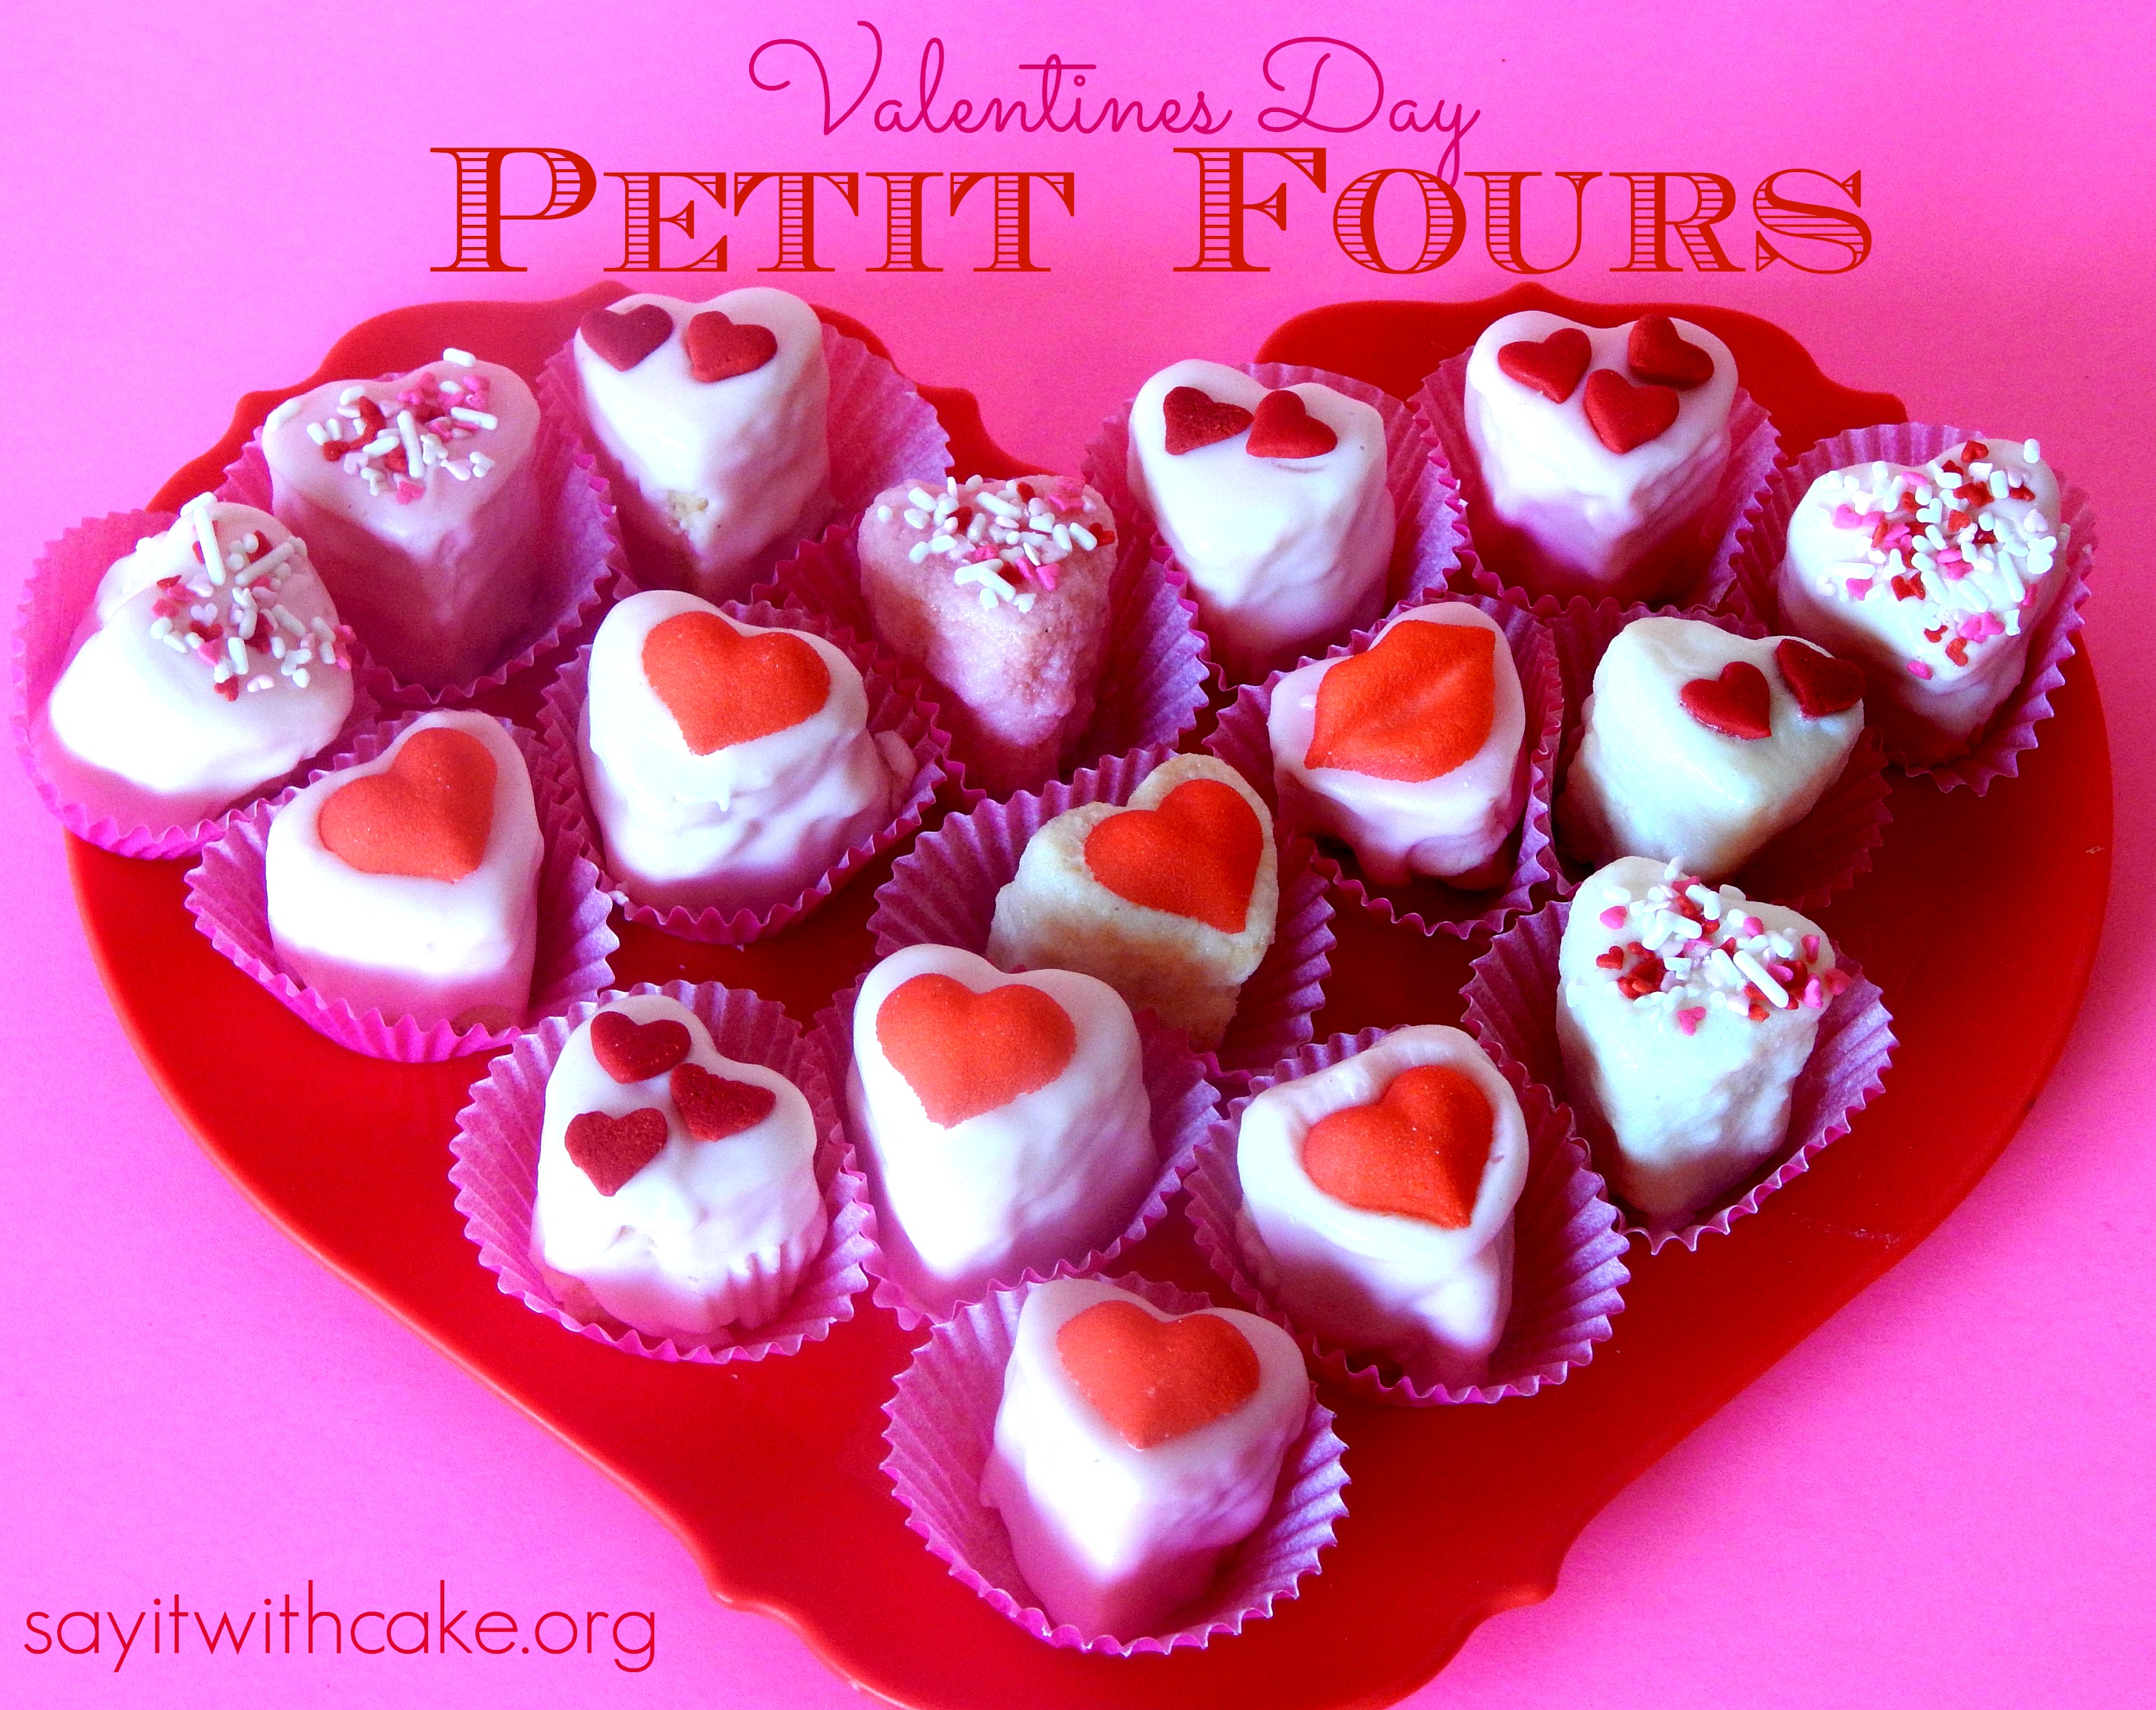
Petit fours are just so adorable! Making them can be very time consuming, and this time I was looking for a simpler recipe for busy mom’s like me. I found a recipe that only required TWO ingredients!! It was so easy and I was so excited because this way I could make them in one night after I got my son to sleep. Compare this to other attempts at making Petit fours that took me 3 days! Here are the two simple ingredients………
Sara Lee Pound Cake
Ready made frosting
Can you believe this is all you need? The cool thing I learned is that when you melt the frosting and pour it over the petit fours, when it cools, it hardens!! Wow so easy compared to making pouring fondant that so many recipes call for. Pouring fondant is great, but it takes a lot of practice to get the right consistency in my opinion. I found this great recipe from Purple chocolate home
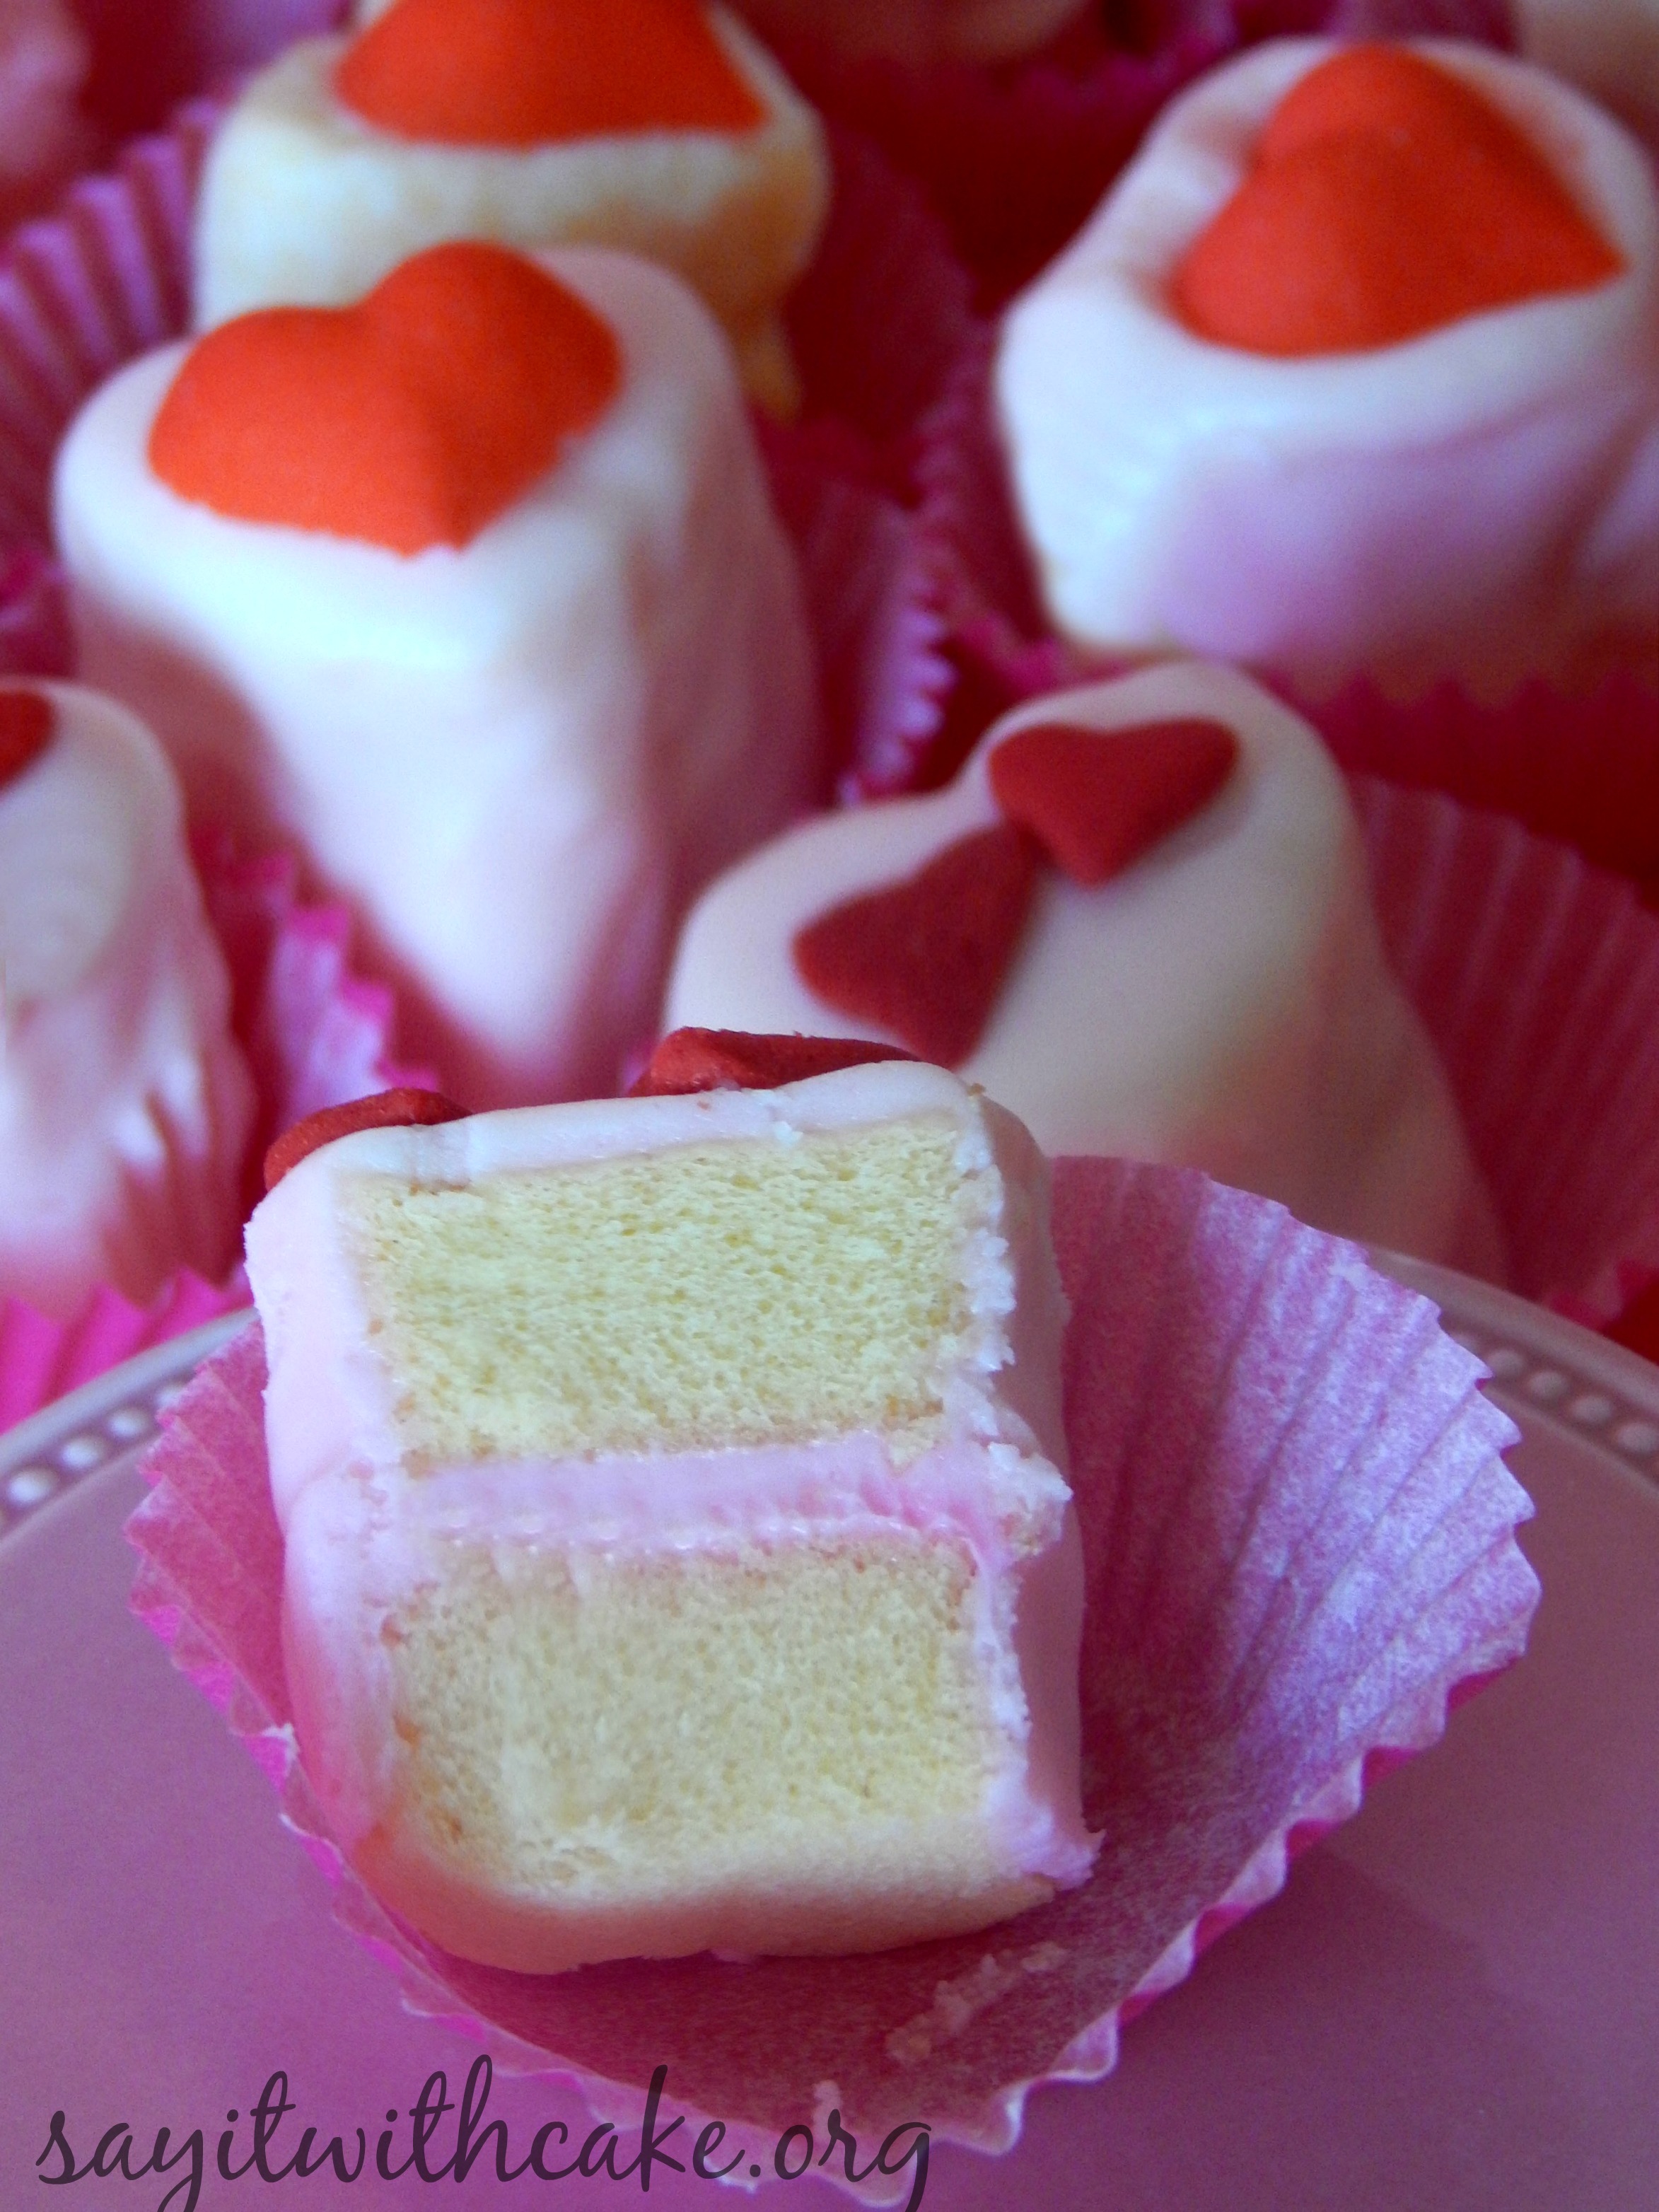
- To make these babies, first take the pound cake and slice it in thin layers. For mine, I used my Wilton small cake leveler This made it easier to get the slices level. You can also use a knife but make sure the slices are even.
- Next, frost one slice with frosting
- After that, stick the slices together to make a sandwich
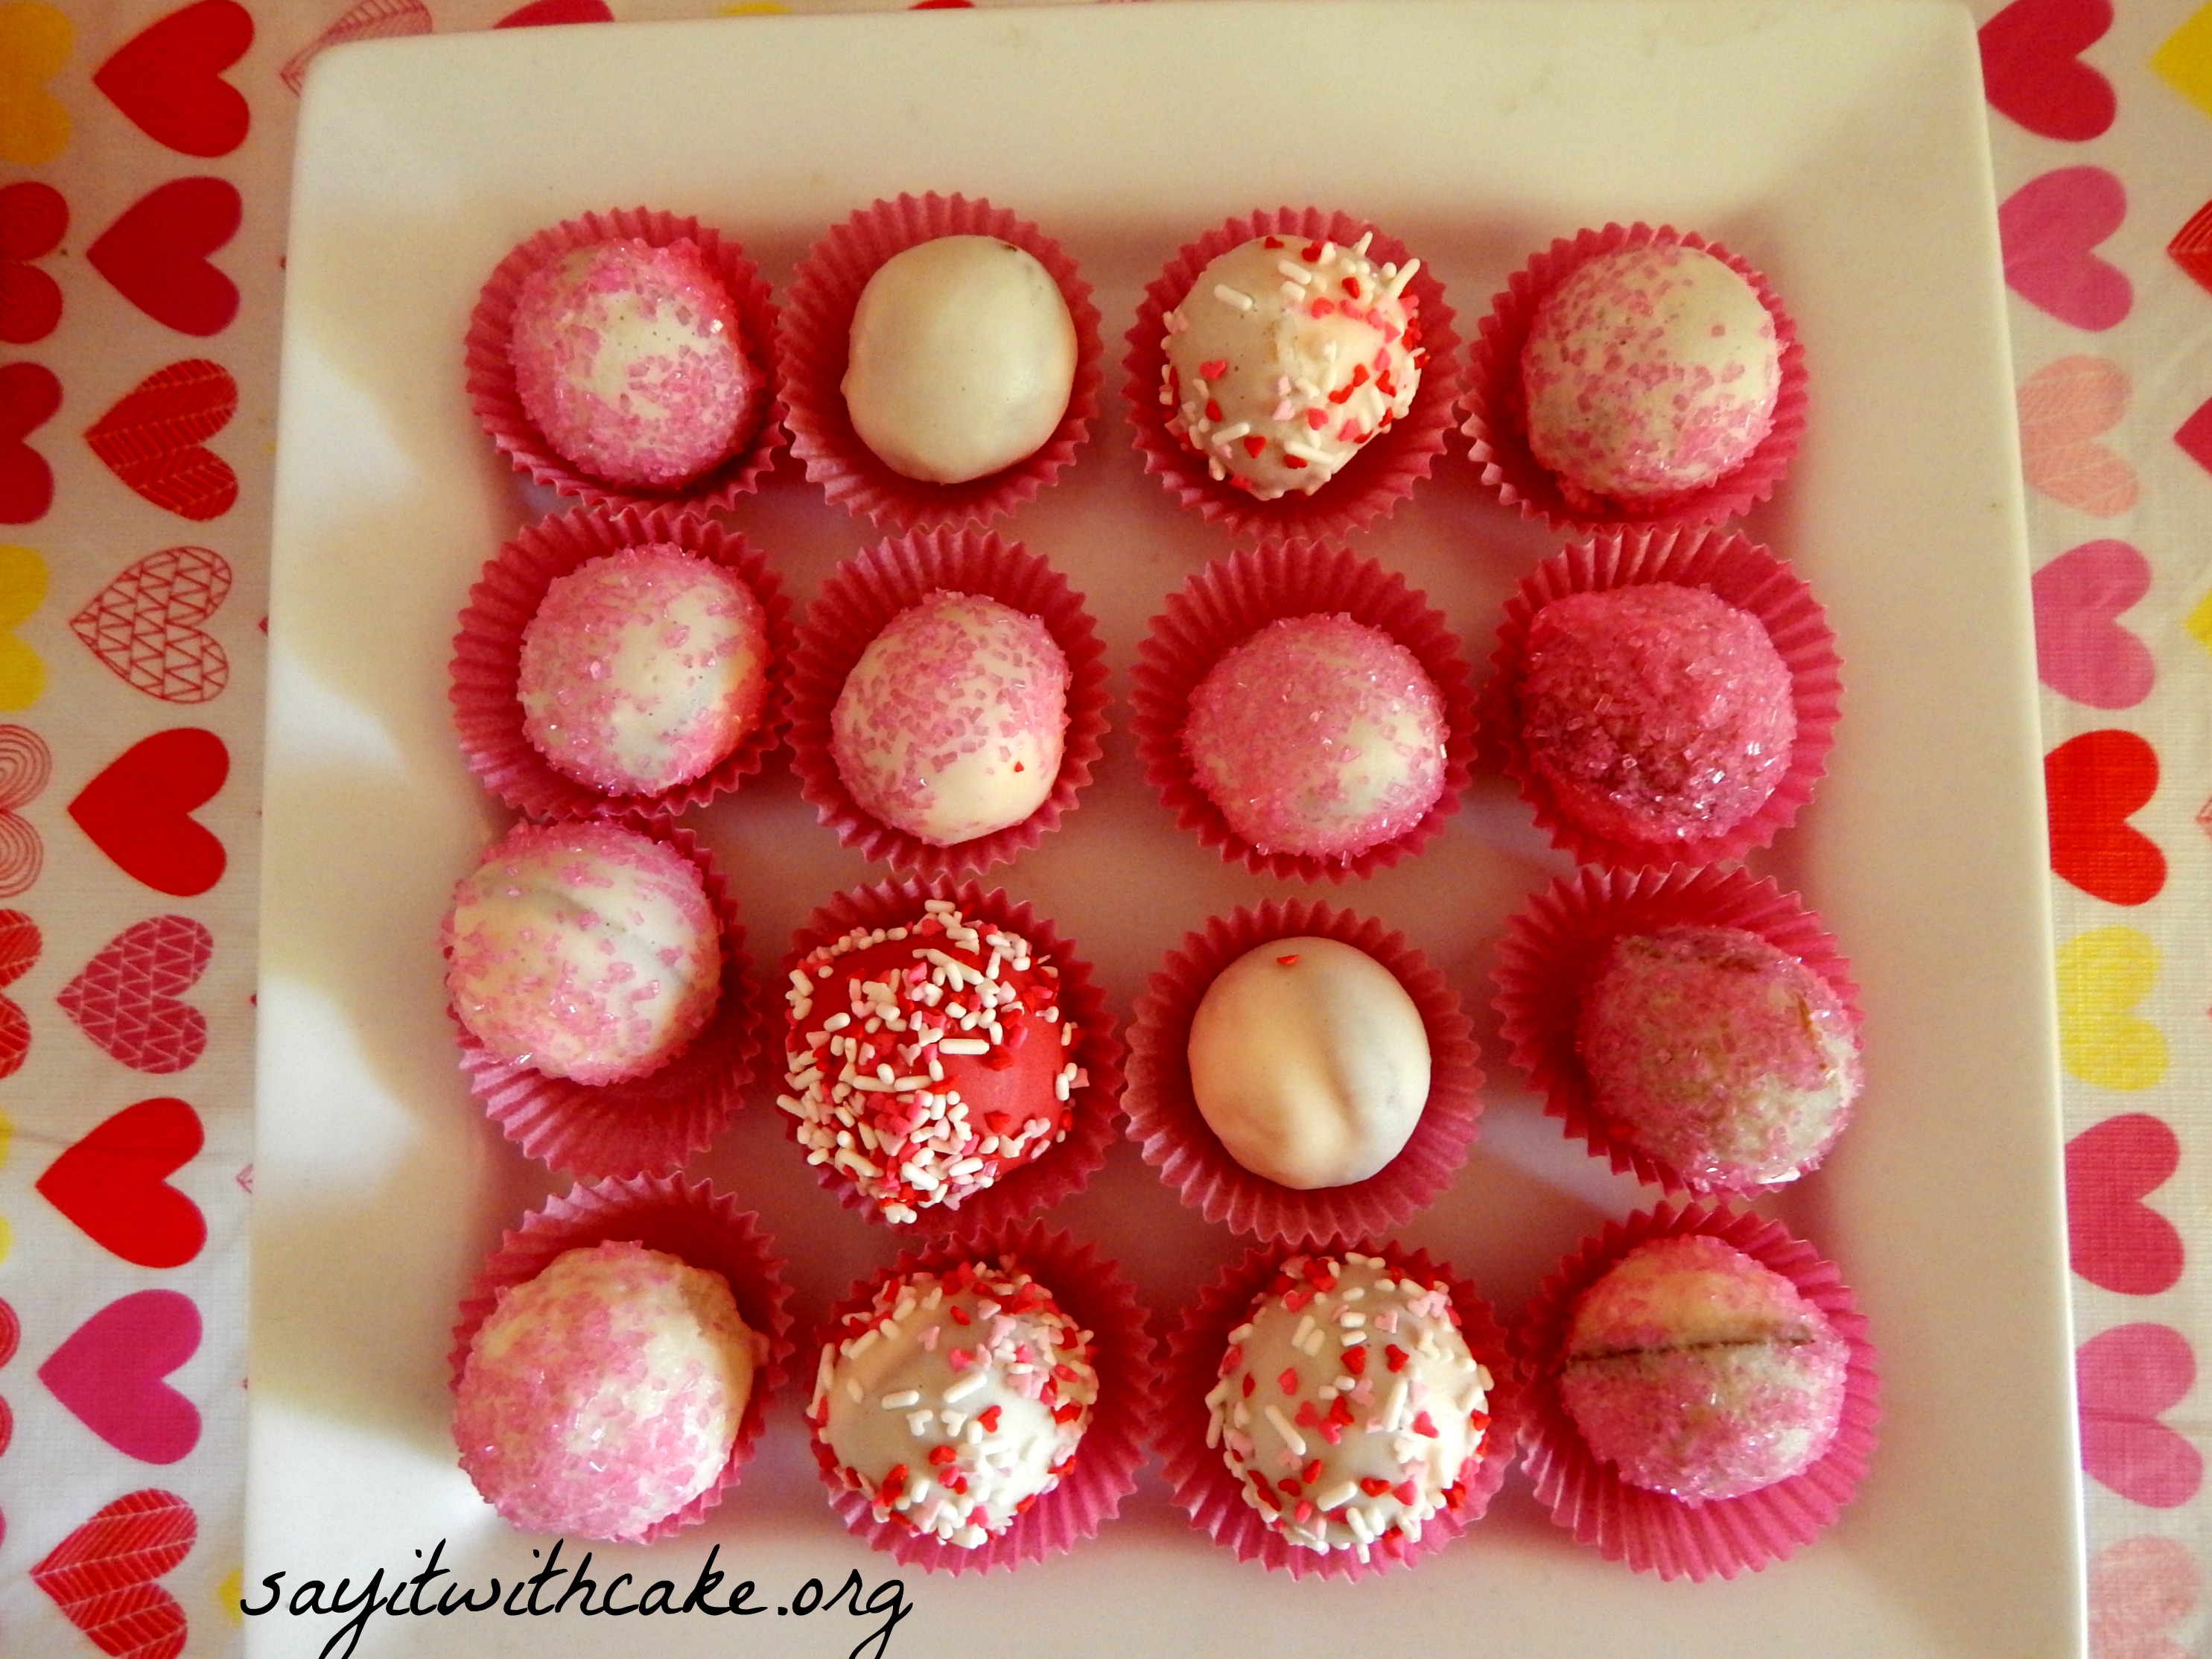
- Use a small heart cookie cutter to cut out little hearts from the slices. I made 10 hearts. You can make more or less depending on how small your heart cookie cutter is.
- Take half of the frosting from the can and put it in a microwave safe bowl. Microwave for about 20 seconds. Stir till smooth.
- Place the hearts on a cooling rack with wax paper underneath.
- Take a spoon and pour the melted frosting to completely cover the cake hearts.
- Add decorations if desired while frosting is still tacky
- Let cool
See how easy! I hope you enjoy making these Valentines Day Petit fours!
Happy Valentines Day!
Shamene
You might like these other Valentines Day recipes!
Dark Chocolate & Strawberry Buttercream Cake with Chocolate Covered Strawberries
Valentine’s Day Conversation heart cheesecakes
My Petit fours were featured here!
]]>
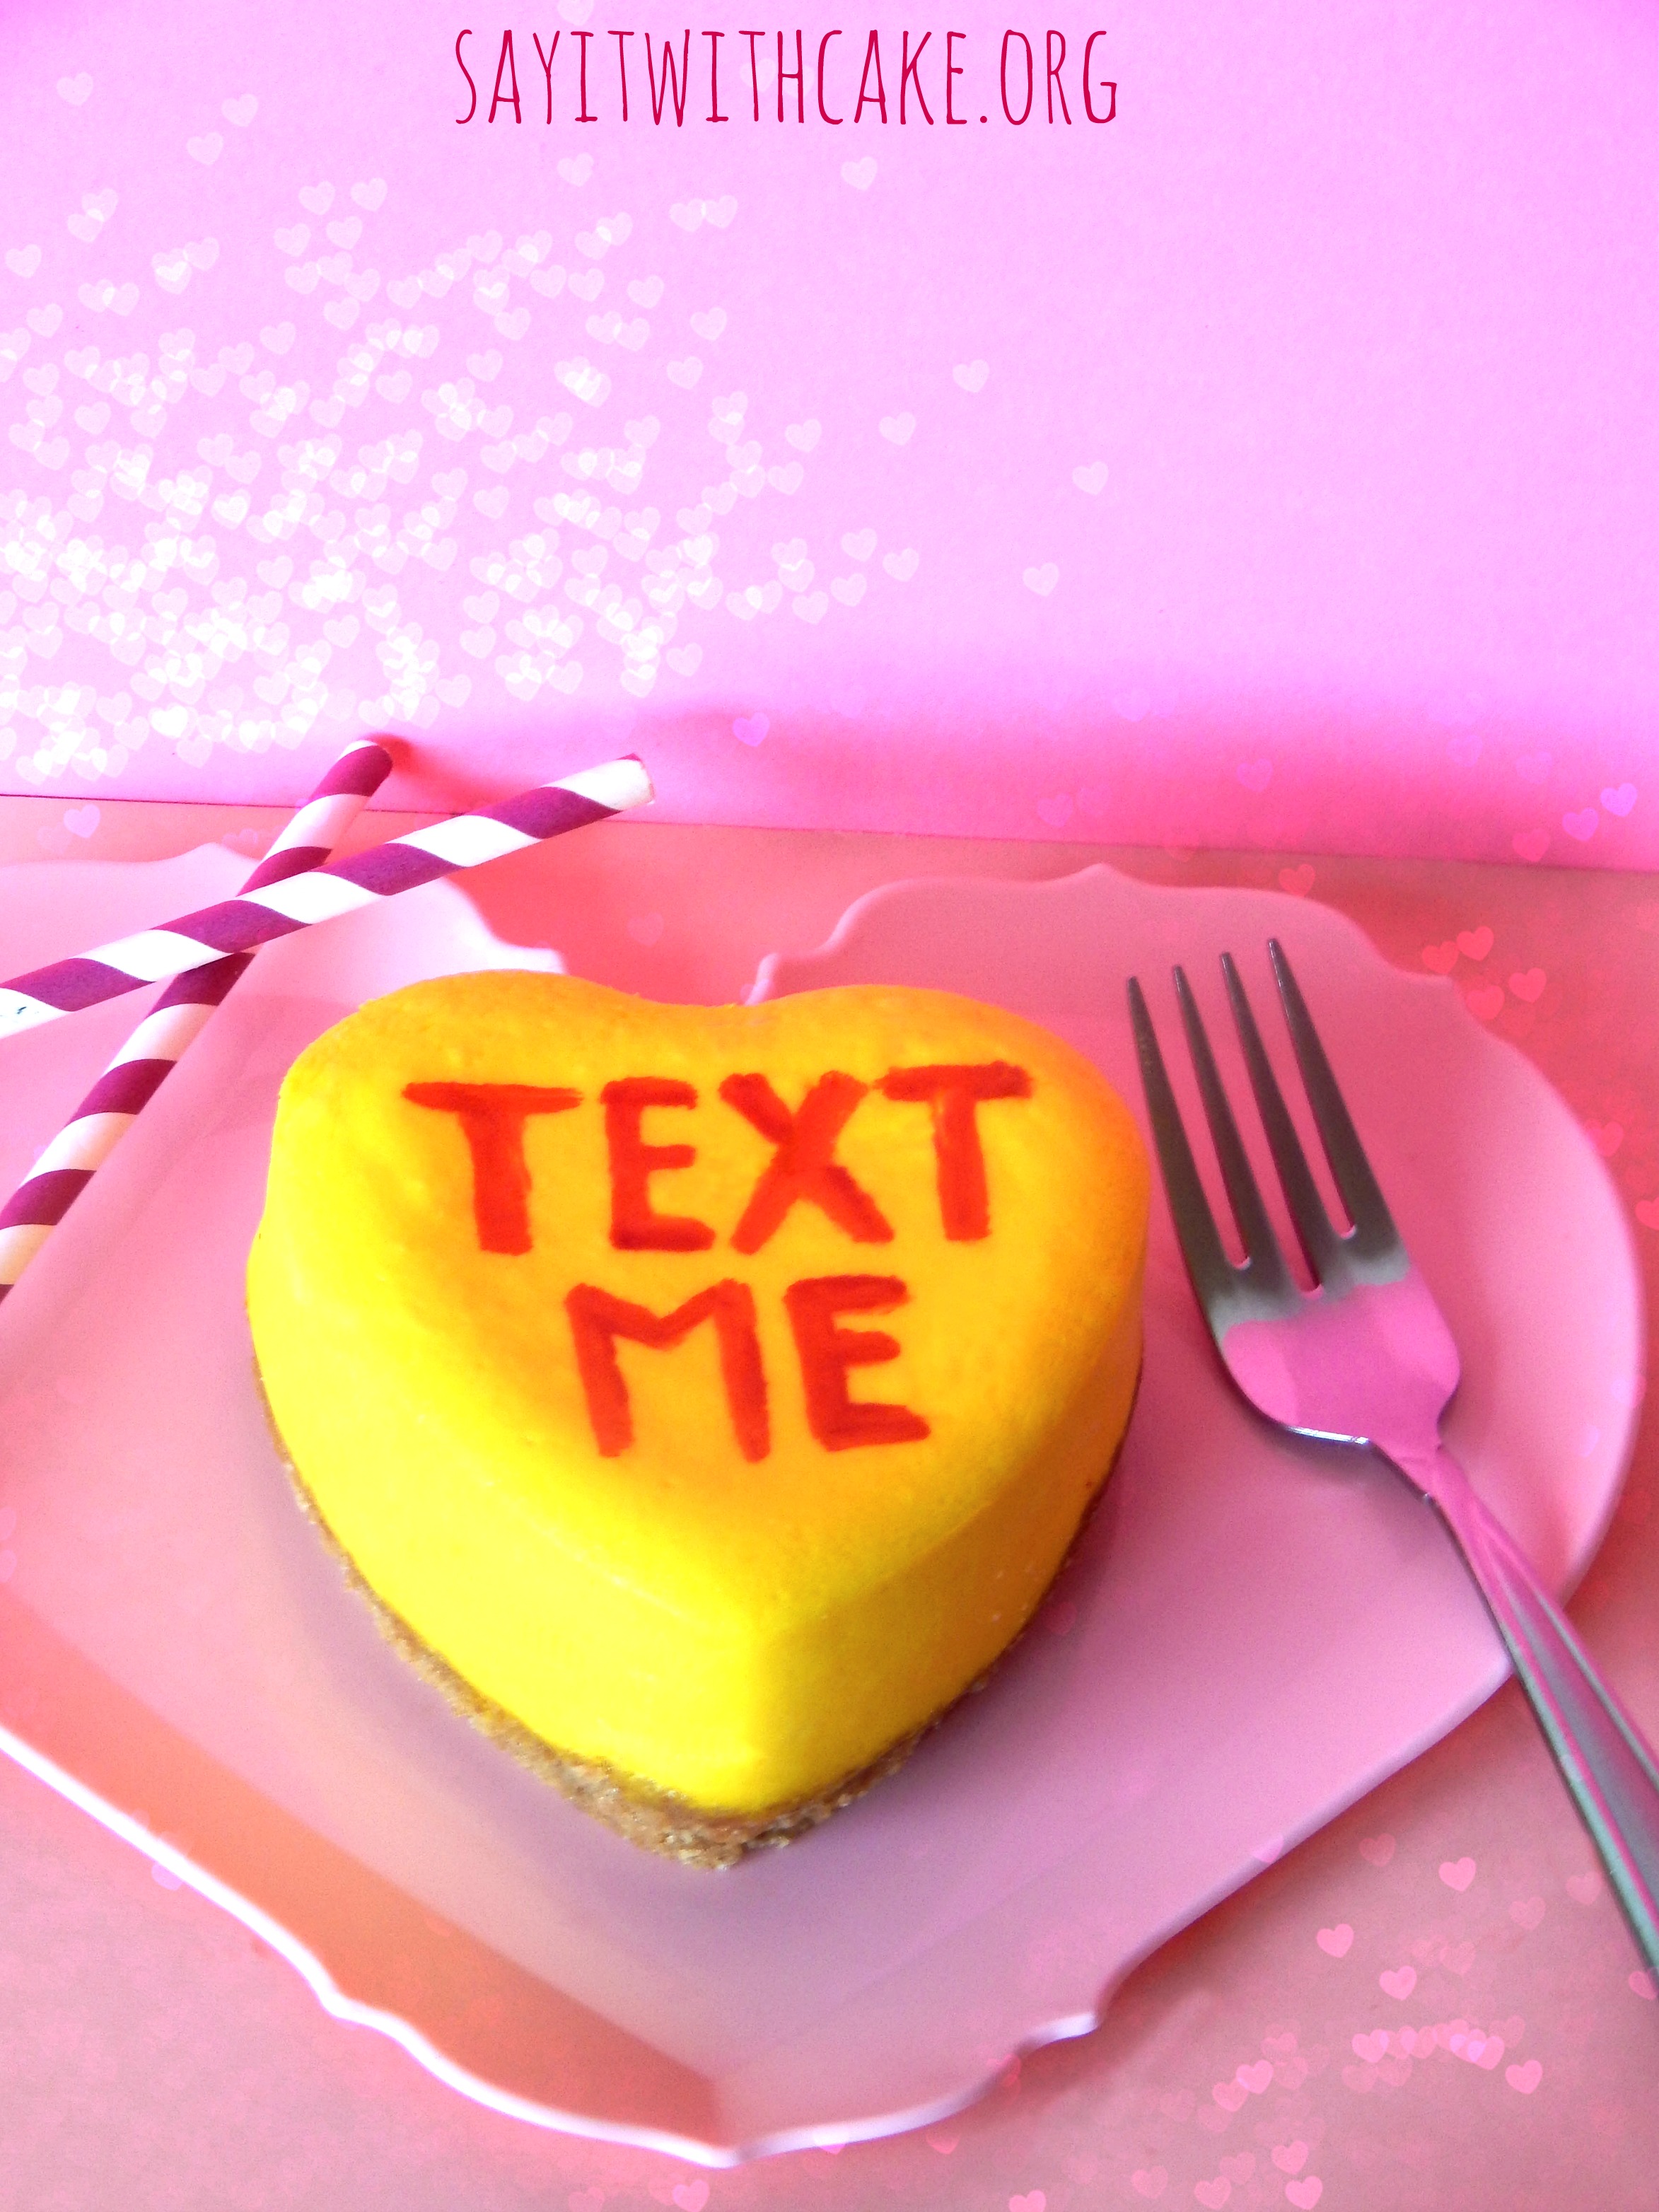
Love is in the air! Say Happy Valentines Day to someone you love with these Valentine’s Conversation Heart Cheesecakes! Valentines Day is coming soon and I am having so much fun baking all kinds of Valentines day cakes. These Valentines heart cheesecakes look just like the conversation hearts I passed out to my friends when I was little. The fun part is deciding what to write on the heart. I just love Valentines day!
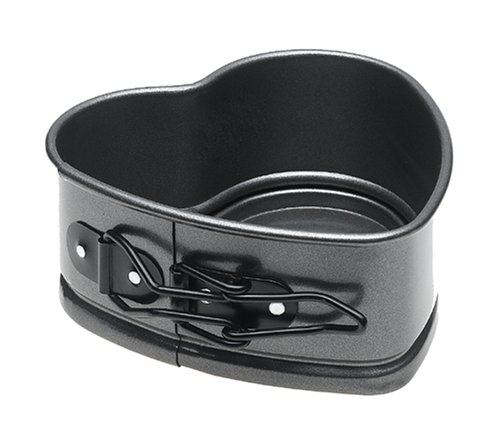
I found these cute heart shaped springform pans from Wilton while I was out shopping this week. They are so perfect for making these mini heart cheesecakes.
Ingredients
- 1 cup graham cracker crumbs
- 3 TB sugar
- 4 1/2 TB melted butter
- 12 ounces cream cheese softened
- 6 TB sugar
- 3 eggs slightly beaten
- 1 1/2 teaspoons vanilla
- 4 1/2 teaspoons cornstarch
- 3//4 cup sour cream
- food coloring (optional)
Instructions
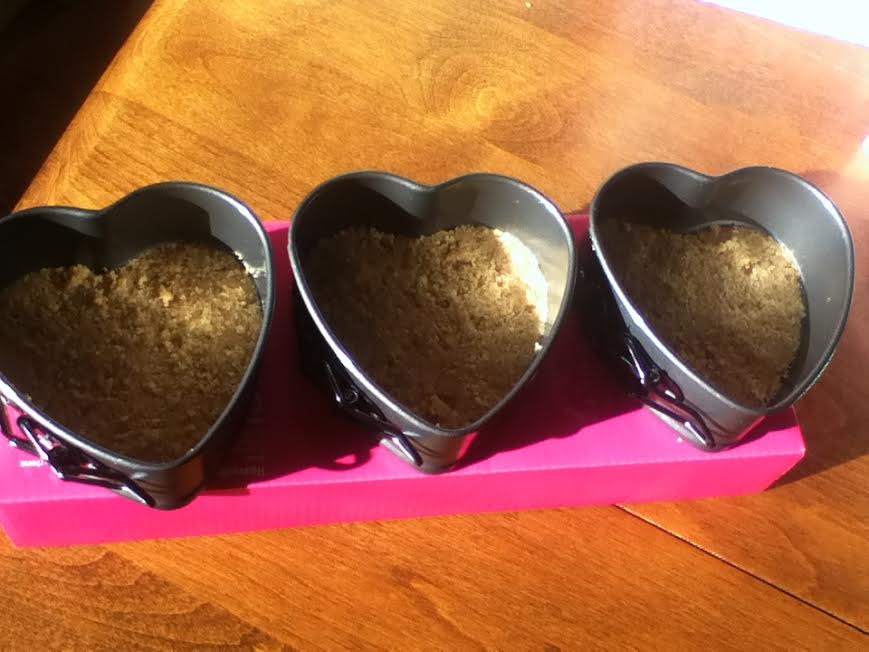
- combine crumbs, sugar and butter, press evenly into bottom and sides of pans.
- bake for 6-7 minutes or until golden brown at 350
- Preheat oven to 350.
- in large bowl, beat cream cheese and sugar with mixer until light and fluffy. beat in eggs, vanilla and cornstarch until thoroughly mixed. Add sour cream and beat well blended. Keep beating 3 minutes longer after all the lumps are out. If using, add food color to batter and mix thoroughly
- pour mixture into crusts
- bake on cookie sheet 20-25 minutes.
- allow cheesecake to cool in the oven with the door slightly ajar for 45 minutes. transfer to cooling grid to cool completely.
- refrigerate at least 2 hours
- makes three heart cheesecakes
- To prevent cracks, you can bake the cheesecakes in a water bath, but will need to cook a lot longer. you will know they are done when they still jiggle but look set.
ENJOY!
Shamene
You might also like these Valentines Treats
Dark Chocolate & Strawberry Buttercream Cake with Chocolate Covered Strawberries
These cheesecakes were featured here!
]]>