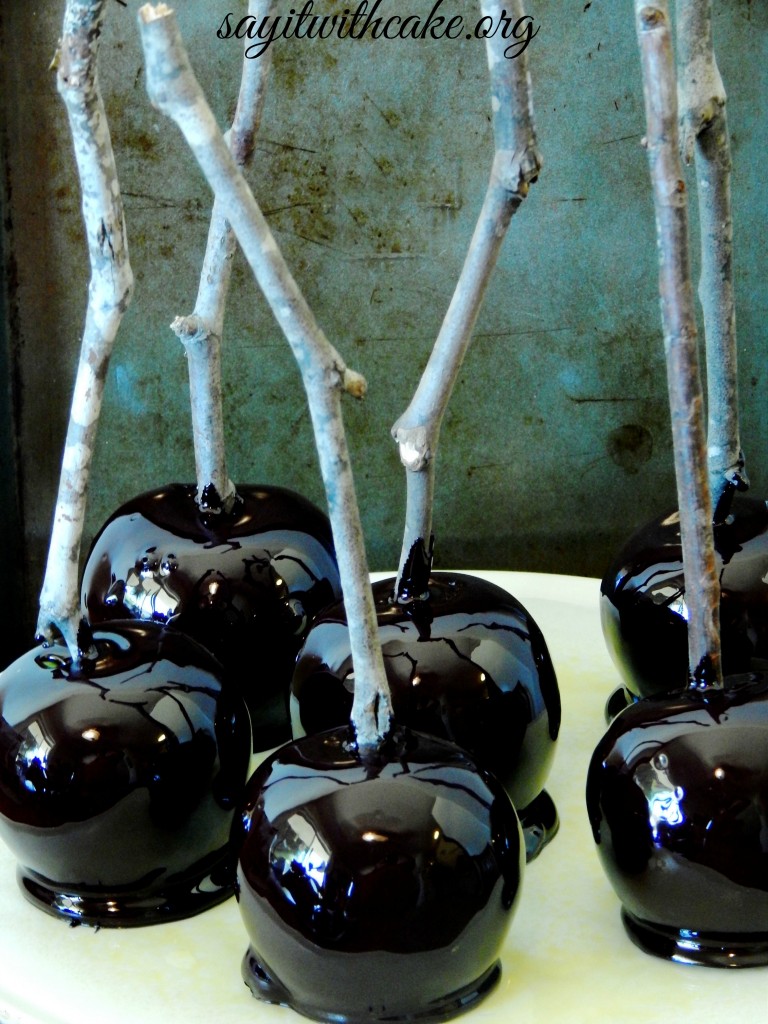
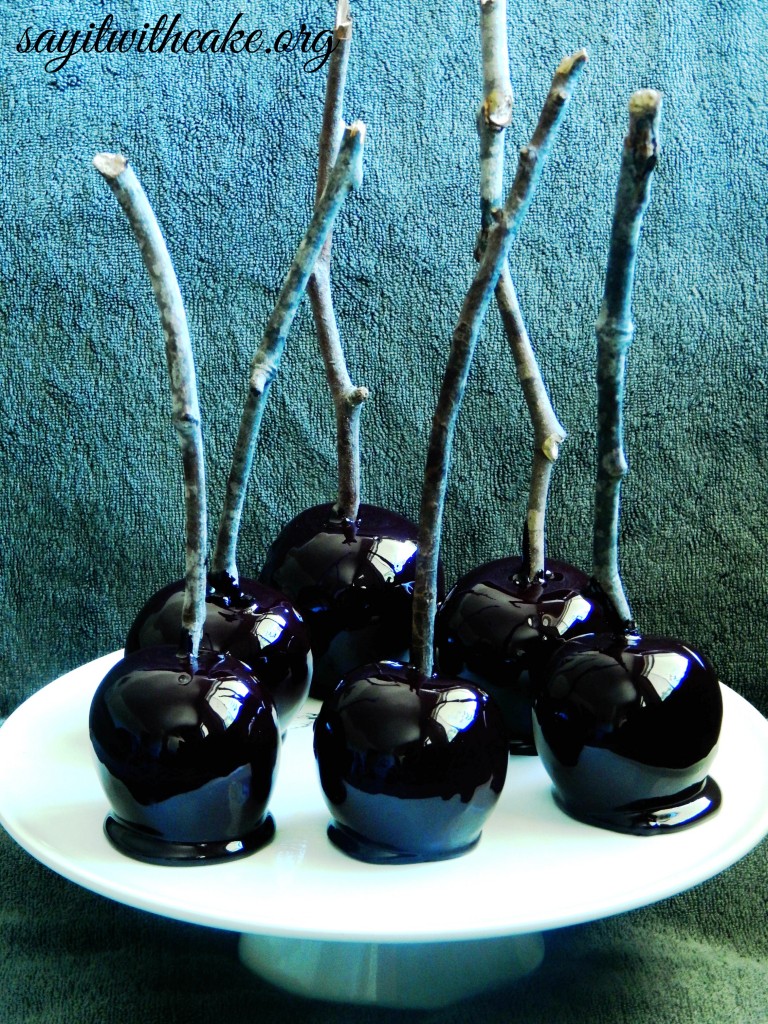
 Happy Halloween! The first treat I couldn’t wait to start baking was candy apples! I wanted to make black candy apples to look something like the poison candy apples the witch gives Snow White. I love that movie! I think the sticks give them a spooky Halloween look, but you can also use skewers, popsicle sticks, or dowels. I love how these candy apples are so shiny! I can even see my reflection in them!
HOW TO TELL IF YOUR CANDY HAS REACHED THE HARD CRACK STAGE WITHOUT A CANDY THERMOMETER:
This recipe calls for a candy thermometer because it is important that your candy reaches the hard crack stage which is 310 degrees F. What to do if you don’t own a candy thermometer? Don’t fret: you don’t need a candy thermometer to get accurate temperatures, just a little know-how and a bowl of ice water.
On a candy thermometer, and in most recipes, you will get measurements in 2 forms: a numeric temperature and a stage (e.g. “soft ball”, “hard crack”, etc.) Obviously, if you don’t have a thermometer you should just forget about the number and focus on the stage, because the names of the stages correspond to a physical matter state. In other words, if it’s called “soft ball” stage, that means the mixture should get to a point where it forms a soft ball at room temperature. (While this may sound intuitive, to many people it’s not.) So to get your candy recipe just right, you have to figure out what stage you’re in. All it takes is a spoon, some ice water, and a few tries.
Heat the mixture as directed. While it’s coming to a boil, set a medium-sized bowl of ice water and a small metal spoon (like a normal spoon you would eat ice cream with) next to the stove. When the mixture has been bubbling for a few minutes, do your first test. Dip the spoon into the mixture and get a little bit on the spoon (1/4 tsp to 1/2 tsp.) Dip the mixture-coated spoon immediately into the ice water and plunge your hand in to grab the now-cooling sugar mixture. Roll it around between your fingers and thumb and see what it feels like. If you’re looking for…
- Thread: It should form fine threads that disintegrate in the water within seconds
- Soft ball: It should form a ball that holds together but still feels a little squishy and can be flattened when you press on it
- Firm ball: It should form a ball that holds its shape, is a little sticky, and about as firm as a store bought caramel
- Hard ball: It should form a ball that’s hard to the touch yet pliable (if you threw it on the floor it wouldn’t shatter)
- Soft crack: You should be able to separate it into threads that are hard but not brittle
- Hard crack: You should be able to separate it into threads that will crack cleanly with a snap
This process will take a few tries at least, but you can see (well, feel) it moving through the stages to give you an indicator of how close you are. It’s kind of like a science experiment.
It bears mentioning that when I learned this process from a French chef, he insisted that only wusses used spoons – real pastry chefs used their FINGERS to dip the sugar instead of a spoon. The thought is that if you dip your fingers in the ice water and then the syrup and back into the water really really quickly you won’t get burned, but my experience tells me that’s not entirely true. If you do it enough, you will build up some nasty burn calluses and wear them as a badge of honor. So unless you have, like, a prosthetic hook hand or are reasonably masochistic and/or made of asbestos, I would not recommend that technique.
TIPS That I learned the hard way!
*Before you start making the candy apples, prepare two baking sheets covered with wax paper and sprayed with cooking spray. You will place your finished candy apples on this.
*After your candy apple syrup has reached the hard crack stage, take it off the stove and WAIT until all the bubbles have disappeared. If you dip the apples in the mixture while there are still bubbles, the candy apples will have bubbles on them, and they will turn into holes in the candy, and will get bigger and bigger until all the candy slides off of your apple! This happened to me the first time lol.
*Tip the pan a little to the side so all the syrup pools and you have more syrup to dip the apple in
*After you are done, you can fill your dirty pan with water and boil the water for easy clean up. It will come right off this way!
*Store apples in the refrigerator
Ingredients
- 8-10 medium sized apples
- 8-10 wooden twigs, trimmed
- 3 cups granulated sugar
- 1/2 cup light corn syrup
- 1 cup of water
- several drops of cinnamon flavored oil OPTIONAL
- 1/4 teaspoon of red food coloring OR
- 1/4 teaspoon of black food coloring
Instructions
- Clean and dry the apples. Try to remove as much of the wax as possible. If you purchase them from your local farmer’s market then chances are they have not been treated with the food grade wax that makes then shine. Remove any stems or leaves and insert a twig into the end of each apple. To facilitate easier twig entry you can carefully sharpen the end of the twig or use a candy stick to create a guide hole. Set apples aside.
- Heat and stir sugar, corn syrup and water in a saucepan until sugar has dissolved.
- Boil until the syrup reaches 300 degrees on a candy thermometer. Don’t go over 310 degrees or your candy burns and then you’ll be sad.
- Remove from heat and stir in flavored oil and food coloring.
- Dip one apple completely in the syrup and swirl it so that it becomes coated with the melted sugar candy. Hold the apple above the saucepan to drain off excess. Place apple, with the stick facing up, onto a baking sheet that’s greased
- Repeat the process with the remaining apples. If your syrup thickens or cools too much, simply reheat briefly before proceeding.
- Let the apples cool completely before serving.
Shamene
Other Halloween treats you might like

