 This post is for my sister Katy! She loves cake pops and recently told me she was looking through my blog for directions on how to make cake pops, but I only had the recipe not the steps! So Katy, this is for you and all other cake pop lovers who want simple step by step directions on how to make cake pops! I will also include tips for the most common cake pop making troubles!
To make cake pops, you will need:
– A box cake mix and ingredients to make the cake
– A can of frosting
-Candy melts or Candiquik
–lollipop sticks
-sprinkles if desired
– Cake pop stand
To create cake pops, you need to start by making cake balls that you will later stick a lollipop stick on. The easiest way to make cake balls is to follow the directions on a box of cake mix. I have also heard that if you use half the amount of oil, this helps create the right consistency for your cake balls. I have not tried that yet, but I plan on it. If you are not a fan of boxed cake mix, you can also bake a homemade cake.
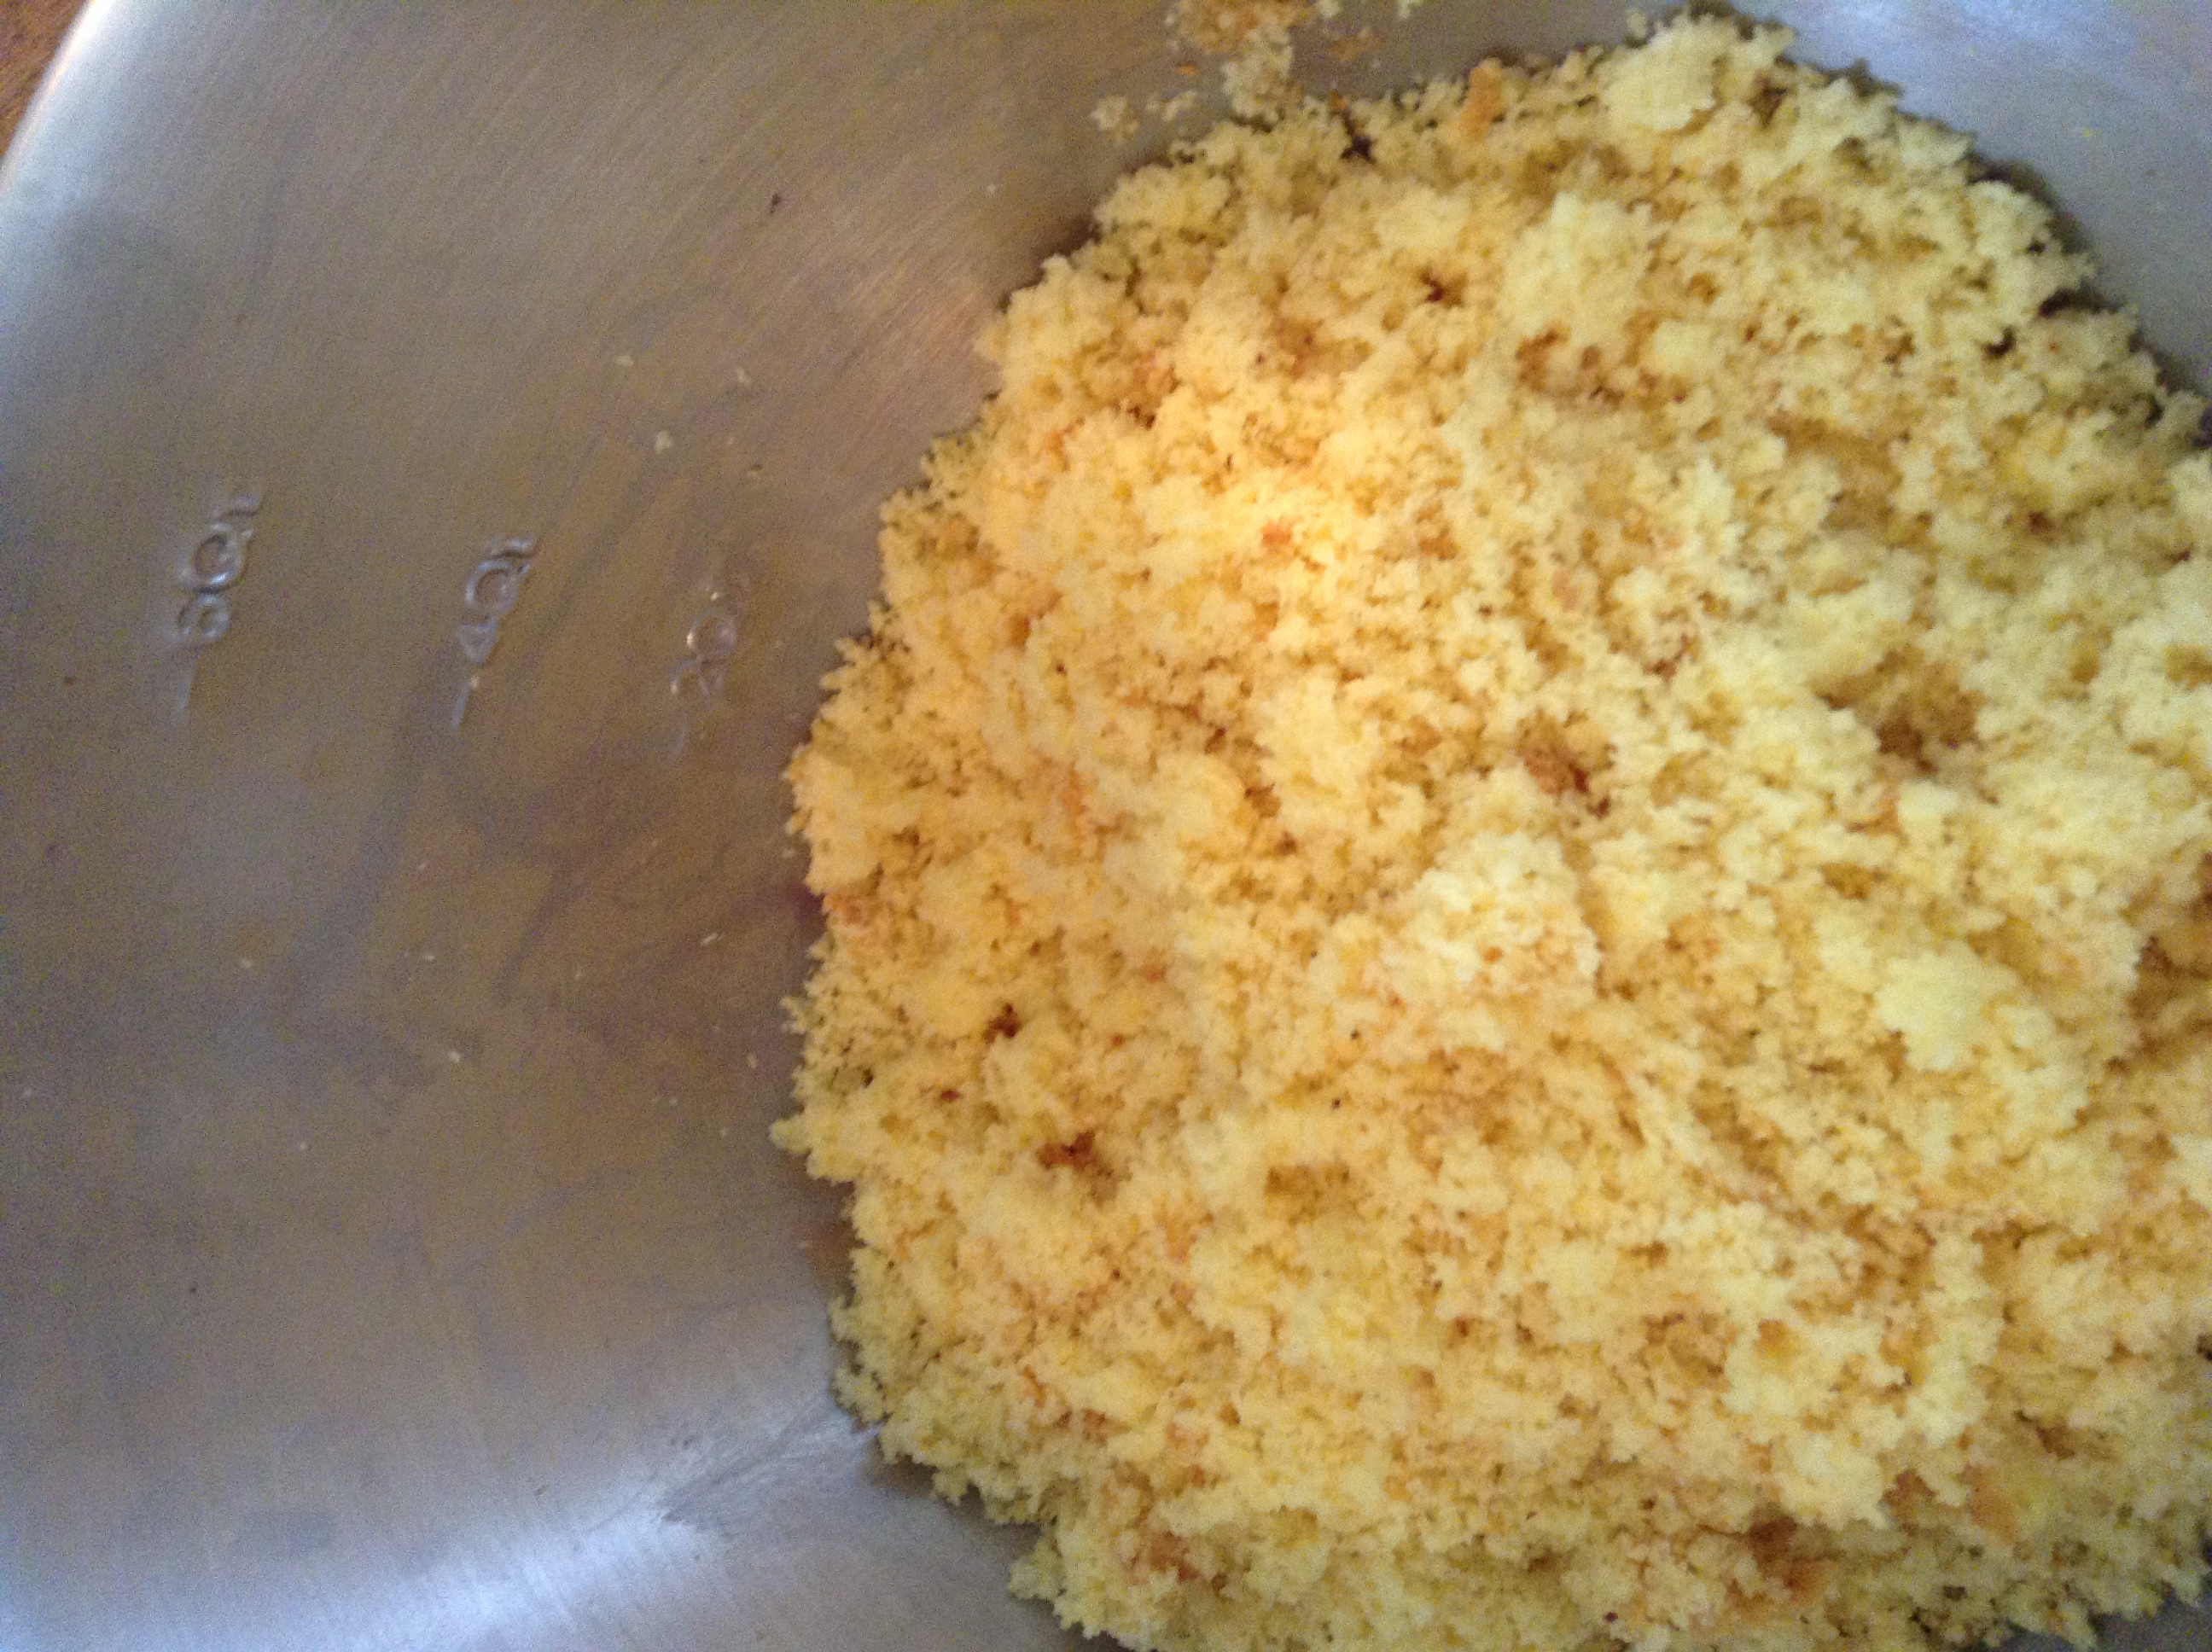
After you bake your cake, let it cool completely. Sometimes if I am in a hurry, I dump the whole cake right out of the oven into a large bowl, cover it and put it in the freezer to speed up the cooling process! Next is the fun part, you get to destroy the cake. Your goal is to crumble your cake into fine crumbs. You can do this one of two ways:
1) Use your hands. Put chunks of your cake into a large mixing bowl and use your hands to crumble it into a pile of fine crumbs. If you use this method, I suggest cutting off the hard edges of your baked cake. This is the method that I use.
2) Use a food processor. Put chunks of your cake into a food processor and pulse it into fine crumbs. Move the crumbs into a large mixing bowl.
Add a small amount of frosting to your cake crumbs and thoroughly combine using your hands. Continue to add small amounts of frosting until your crumb mixture becomes the consistency of clay.
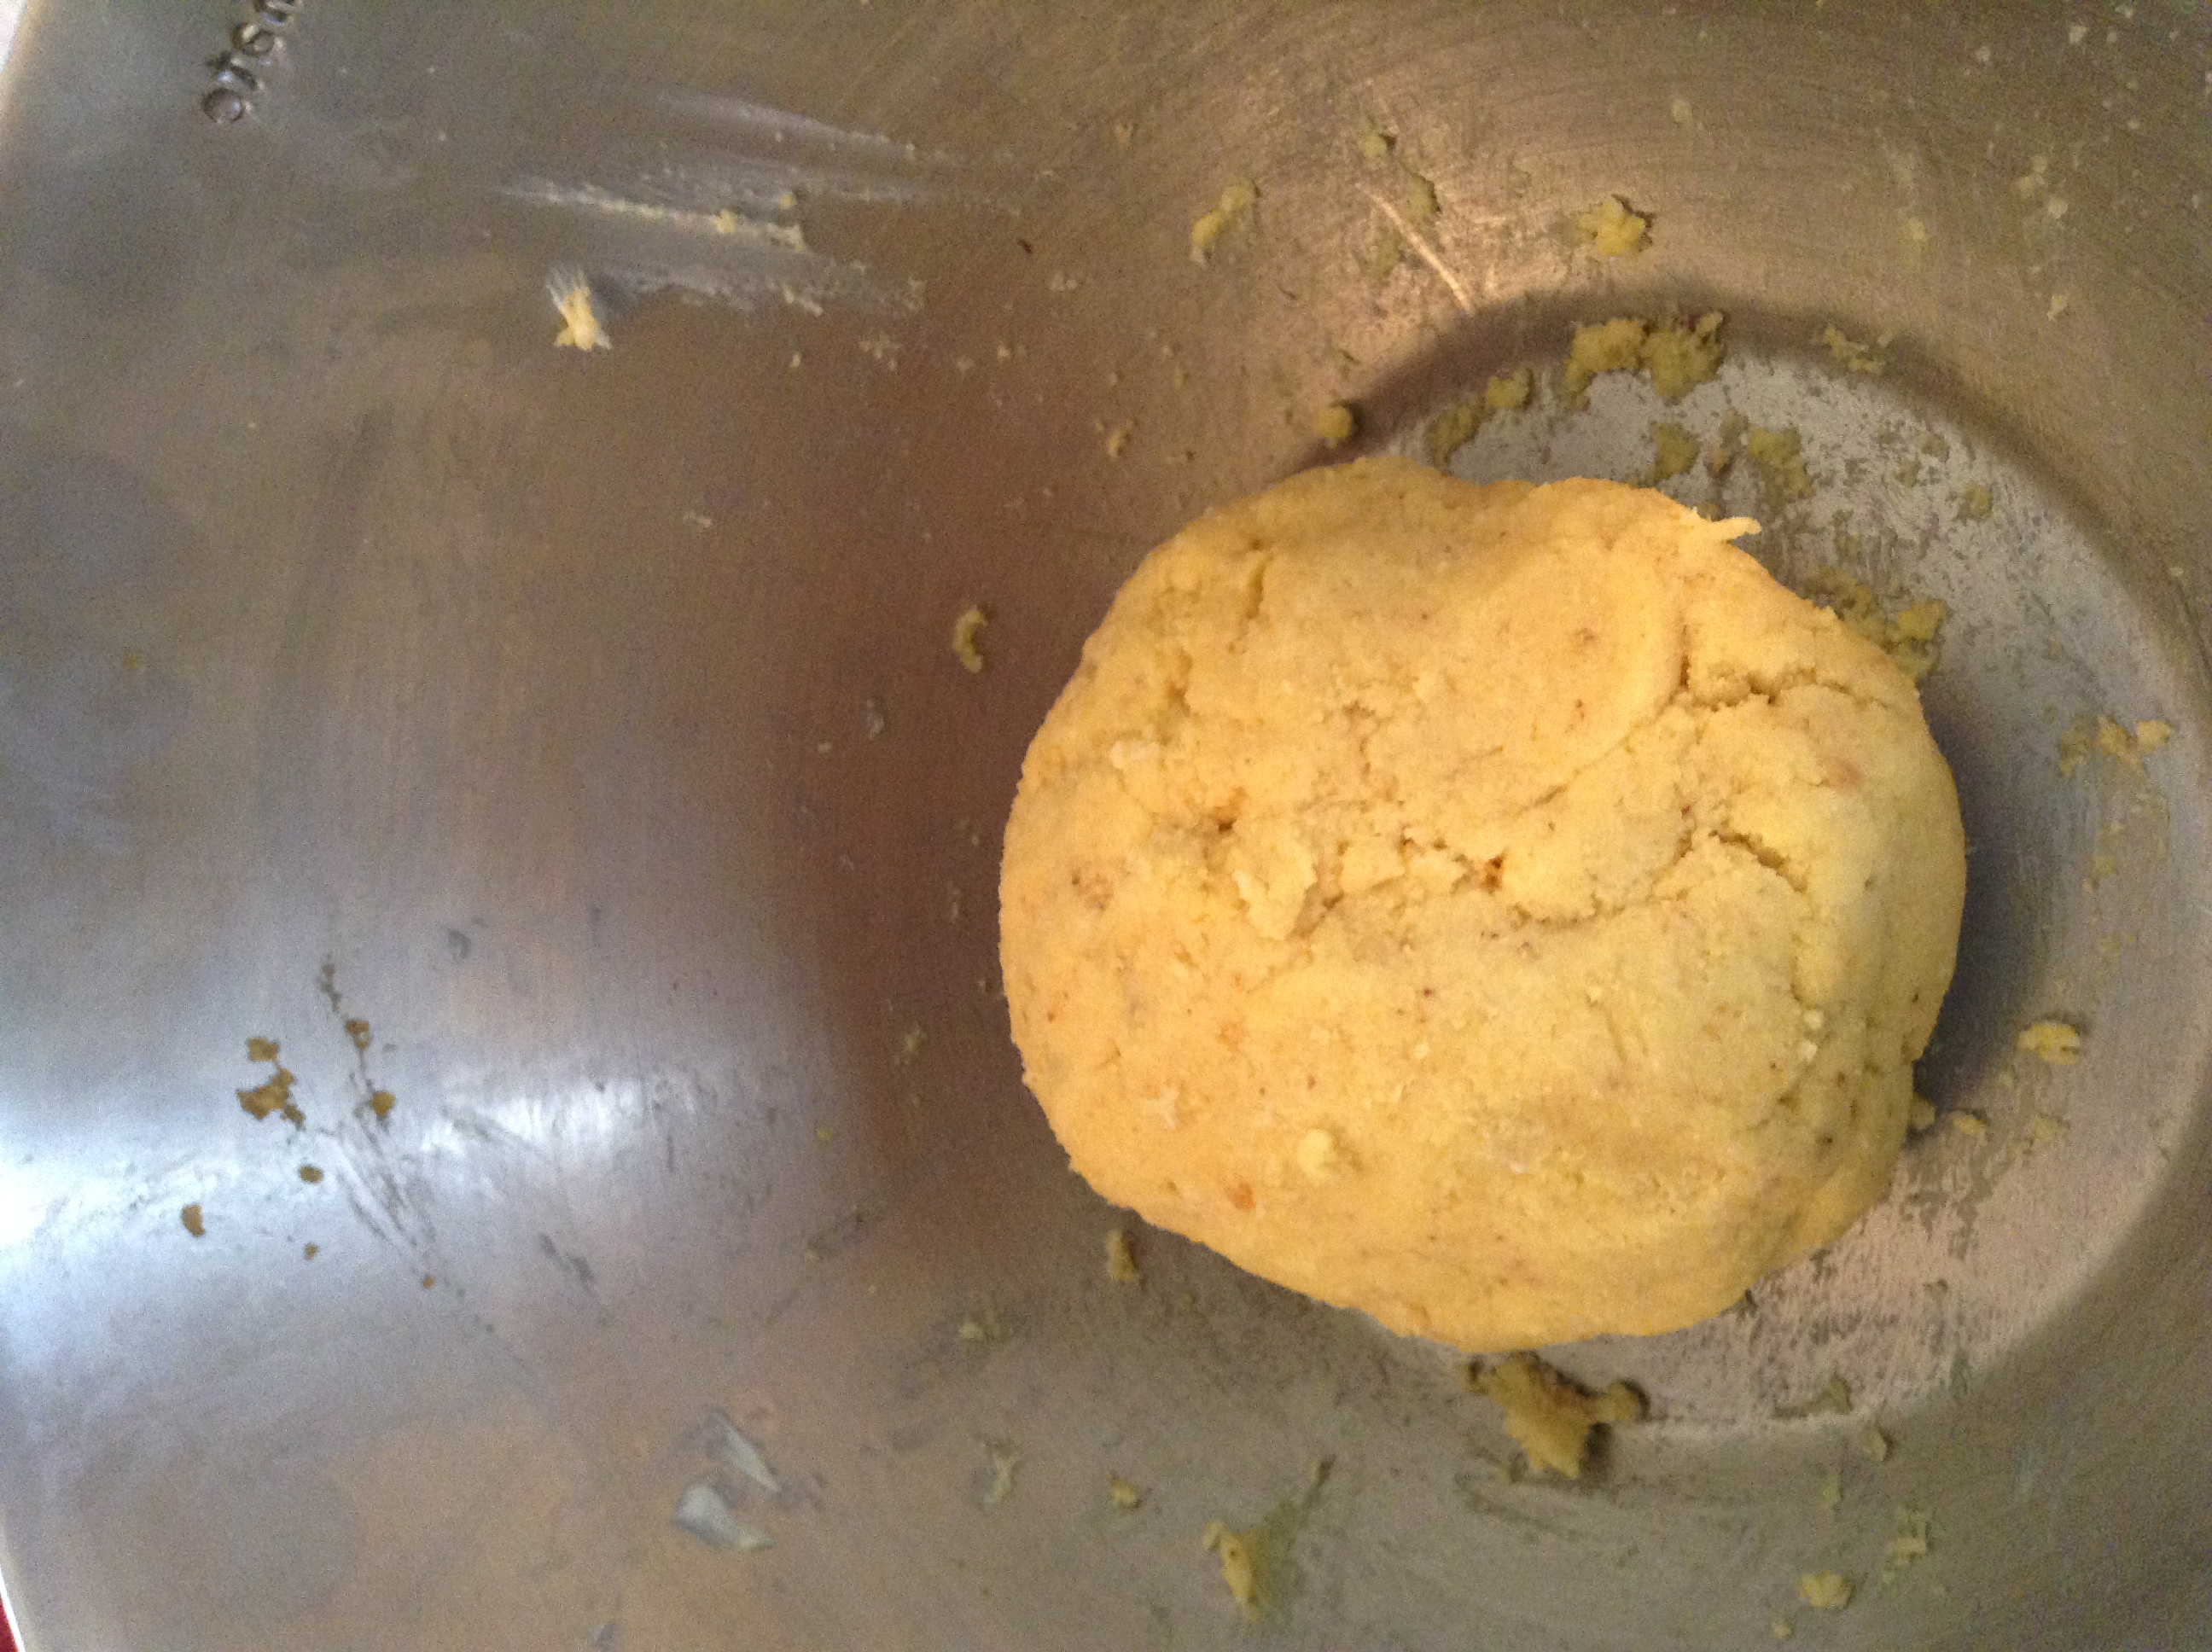
Helpful hint: Some recipes tell you to add an entire container of frosting. Don’t do it! This is way too much. 1/3 to 1/2 half cup of frosting works good. I usually just put in two big spoonful’s.
Once you have created your “dough”, you can begin rolling your cake balls. Some people use a stainless steel coffee scoop to portion out the cake mixture so that all the cake balls are the same size, about 1.25″. I usually just eyeball it. Roll the mixture in the palm of your hand to create round cake balls.
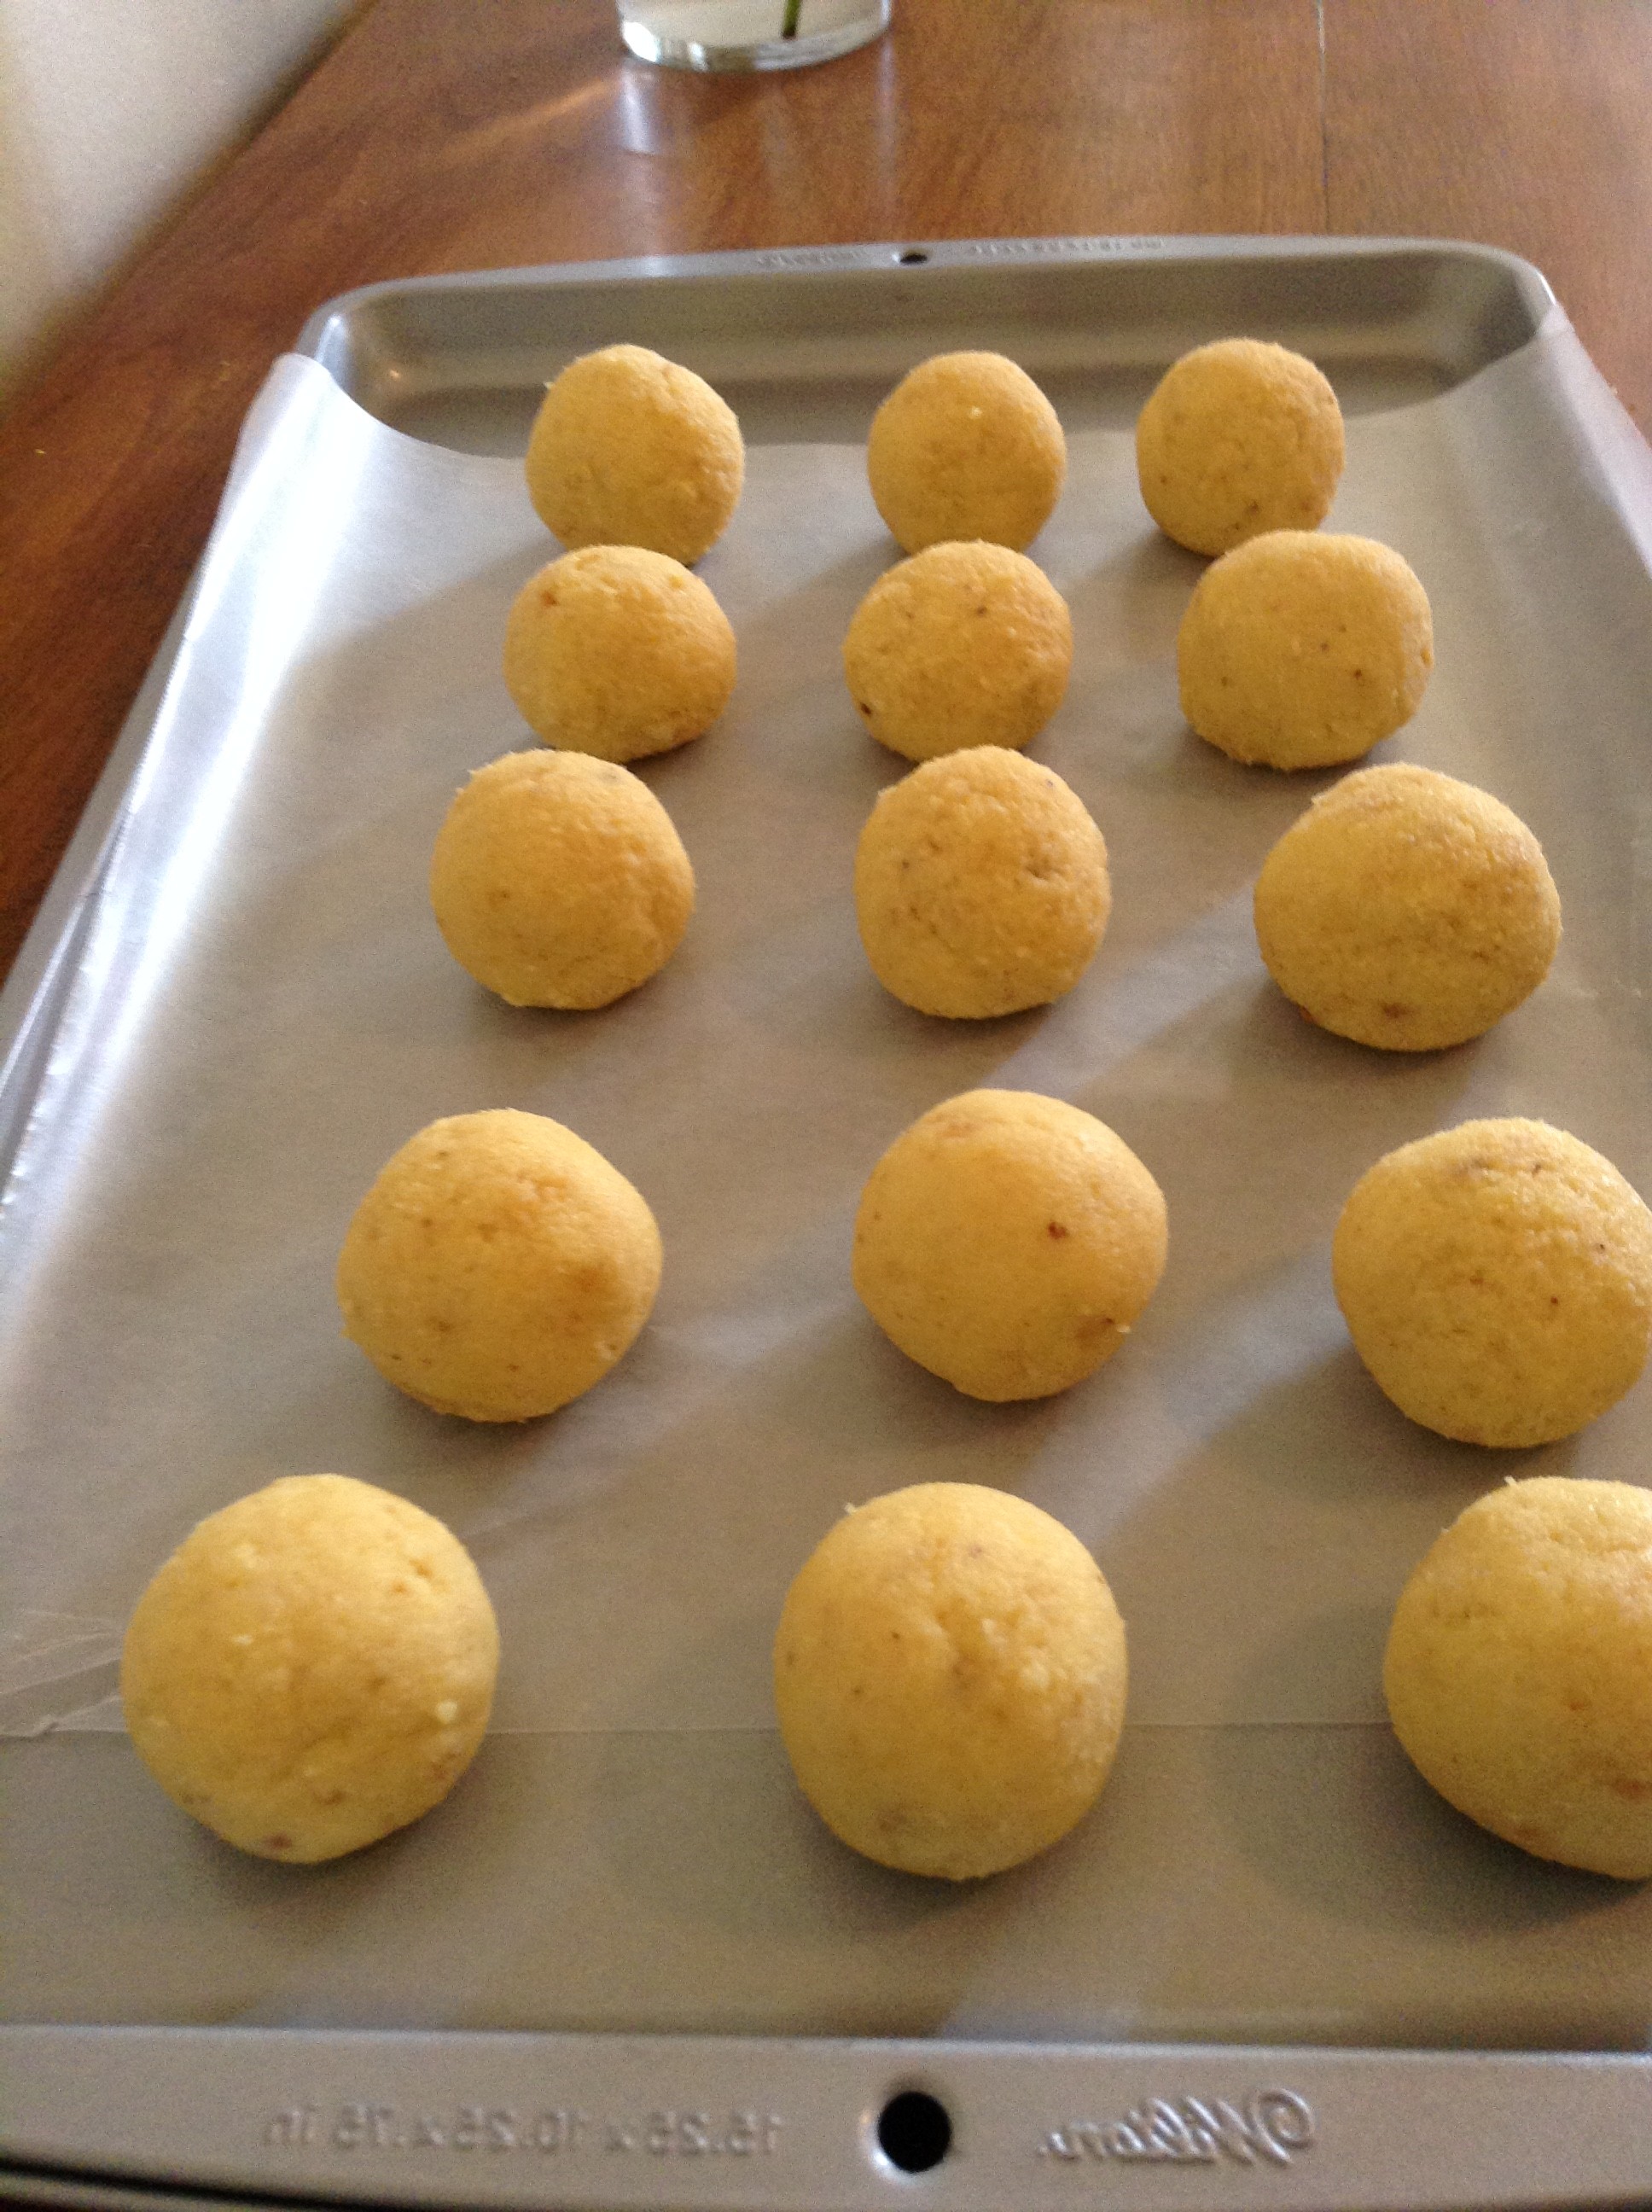
Set your cake balls onto a parchment lined baking sheet or plate and put them in the freezer or refrigerator. If you have time, keep the cake balls in the fridge for a few hours until chilled. If this just doesn’t fit into your busy schedule, about 15 to 20 minutes in the freezer will do the trick. Do keep in mind that making cake pops is a temperature sensitive process. Putting cake balls in the freezer may make them too cold for dipping, so you will need to let them sit for a few minutes after removing them.
Helpful Hint: For the next few steps, work with just a handful of cake balls at a time, rotating them in and out of the fridge. This will ensure that you always have chilled cake balls ready to go. This is where it comes in handy to have a few cake pop stands to rotate around!
Microwave your candy melts in a bowl on low power for 30-seconds at a time. Stop and stir after each 30-second interval then repeat until the coating is completely melted. Do not overheat the candy melts or your coating will become lumpy. If the coating is too thick, add a small amount of vegetable oil to thin it out.
I ALWAYS USE CANDIQUIK CHOCOLATE WHEN MAKING MY CAKE POPS. I HAVE FOUND THAT IT MELTS THE BEST AND IS THE SMOOTHEST! YOU DON’E EVEN NEED TO USE VEGETABLE OIL TO THIN IT OUT.
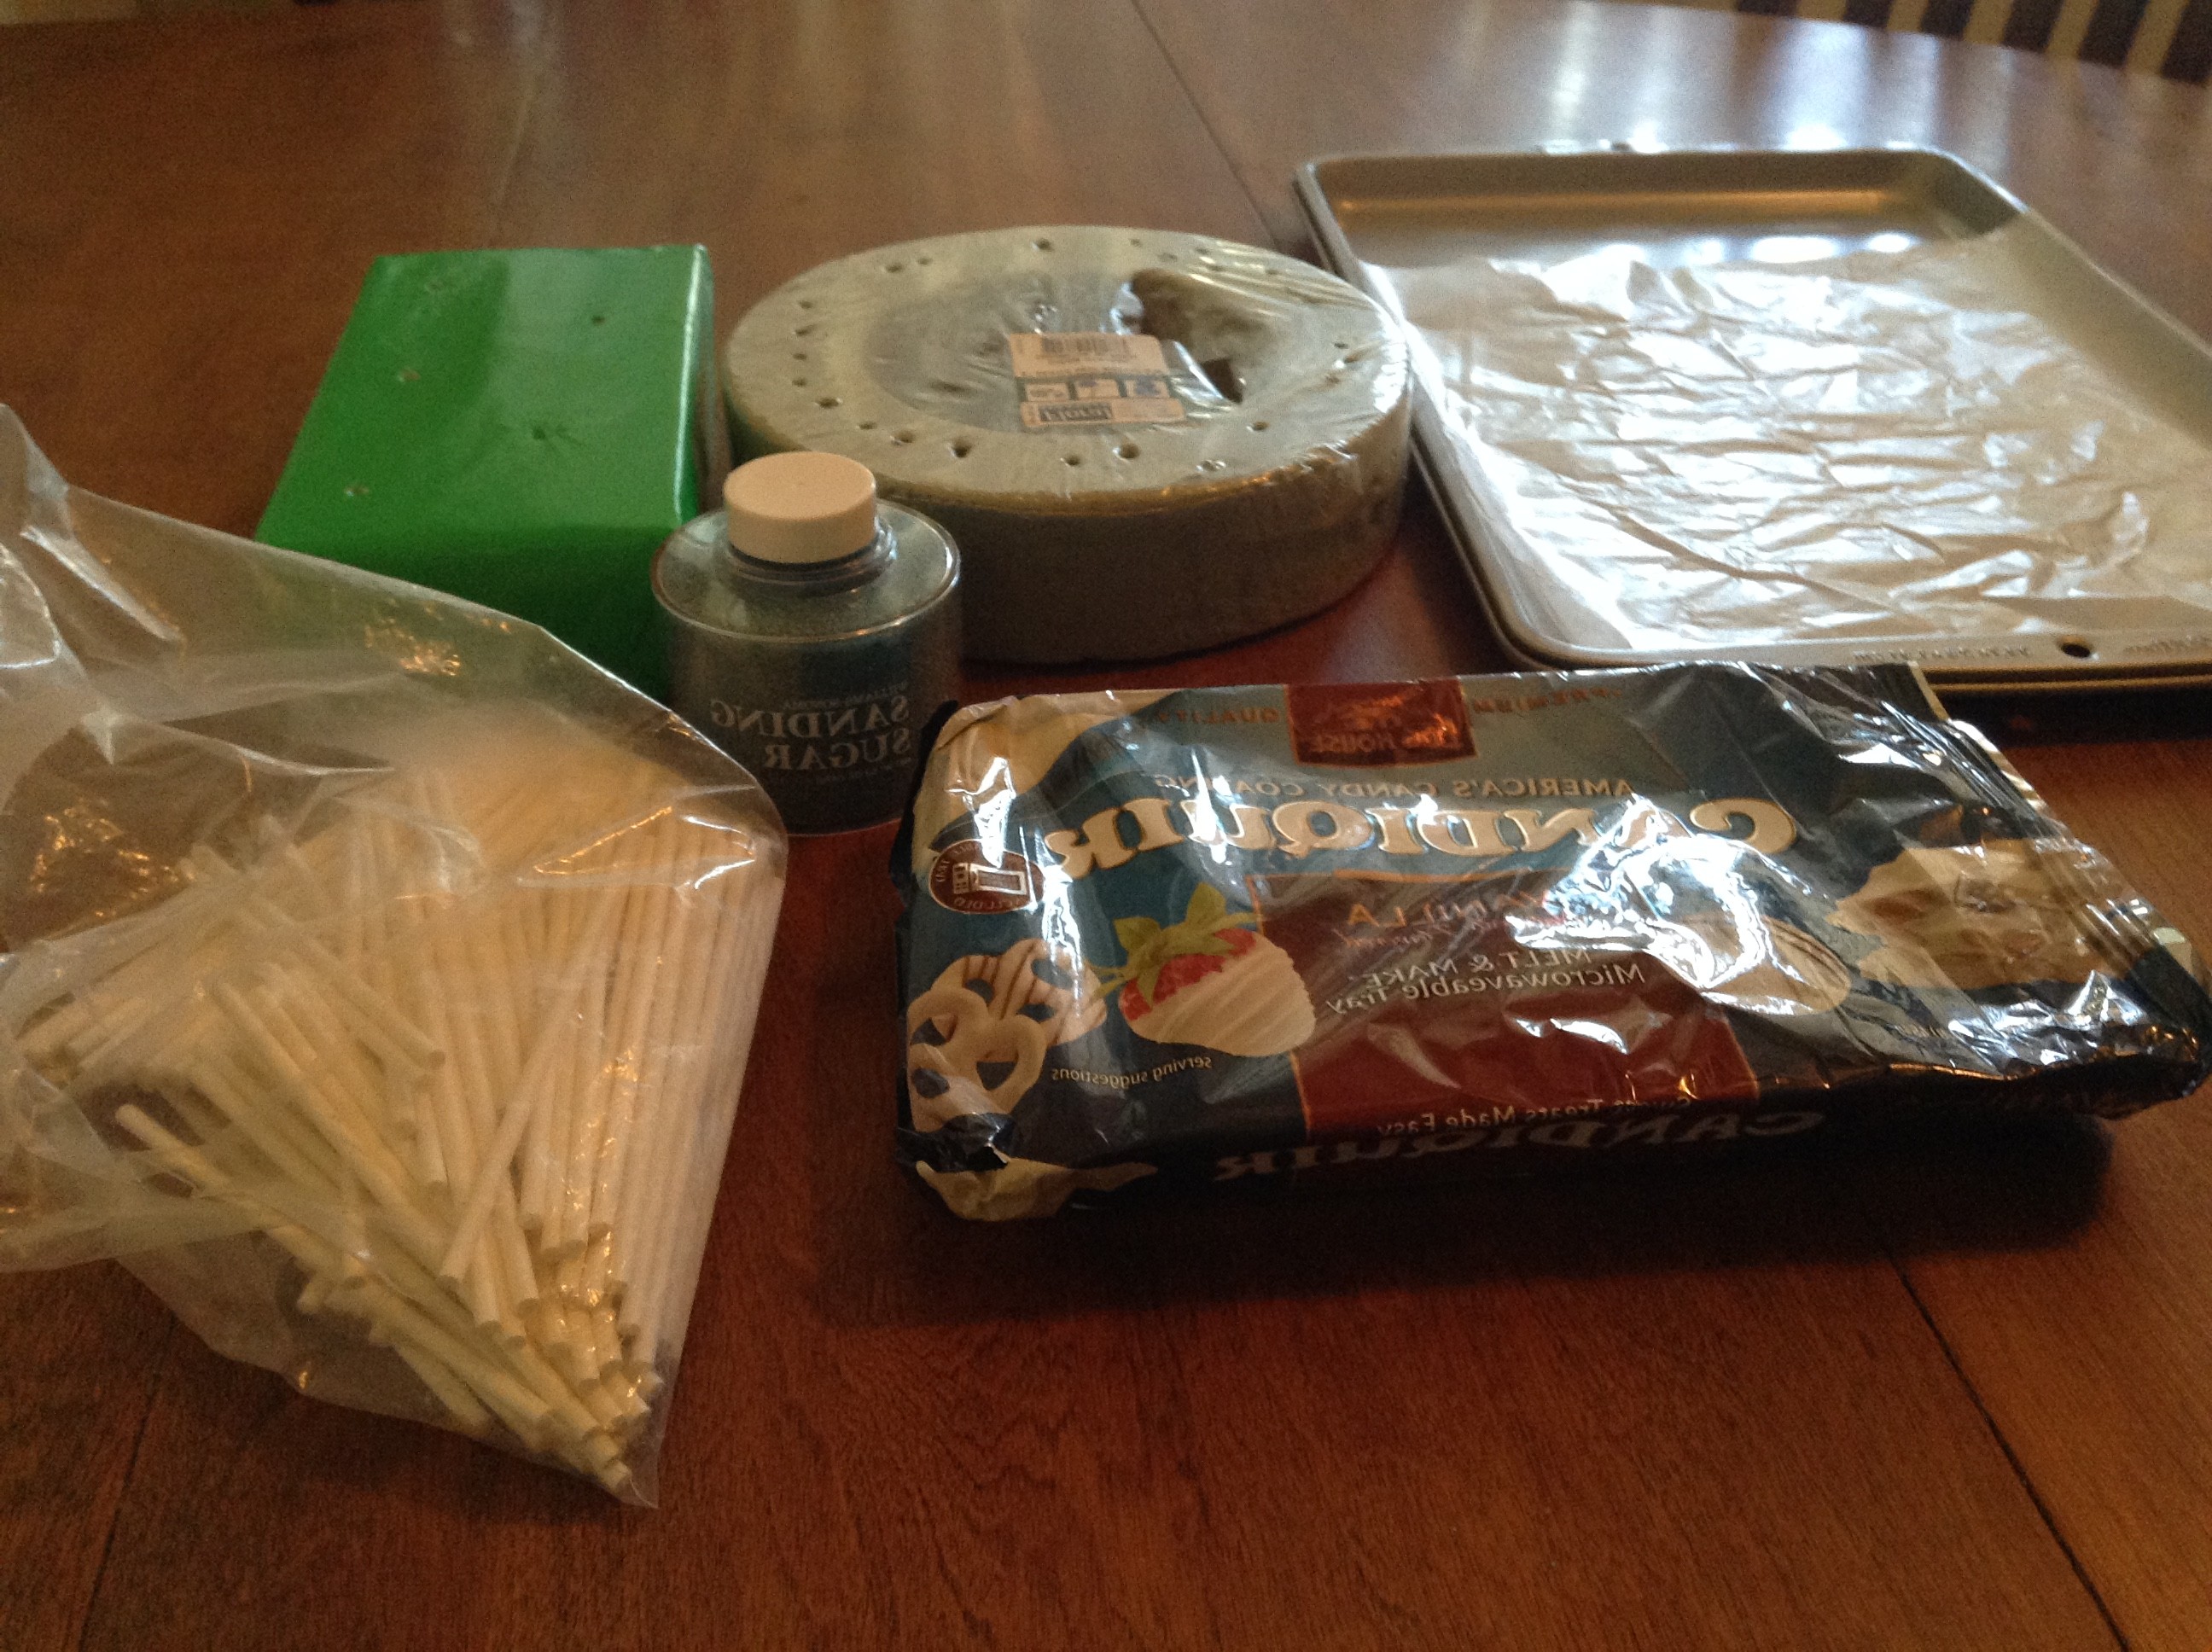
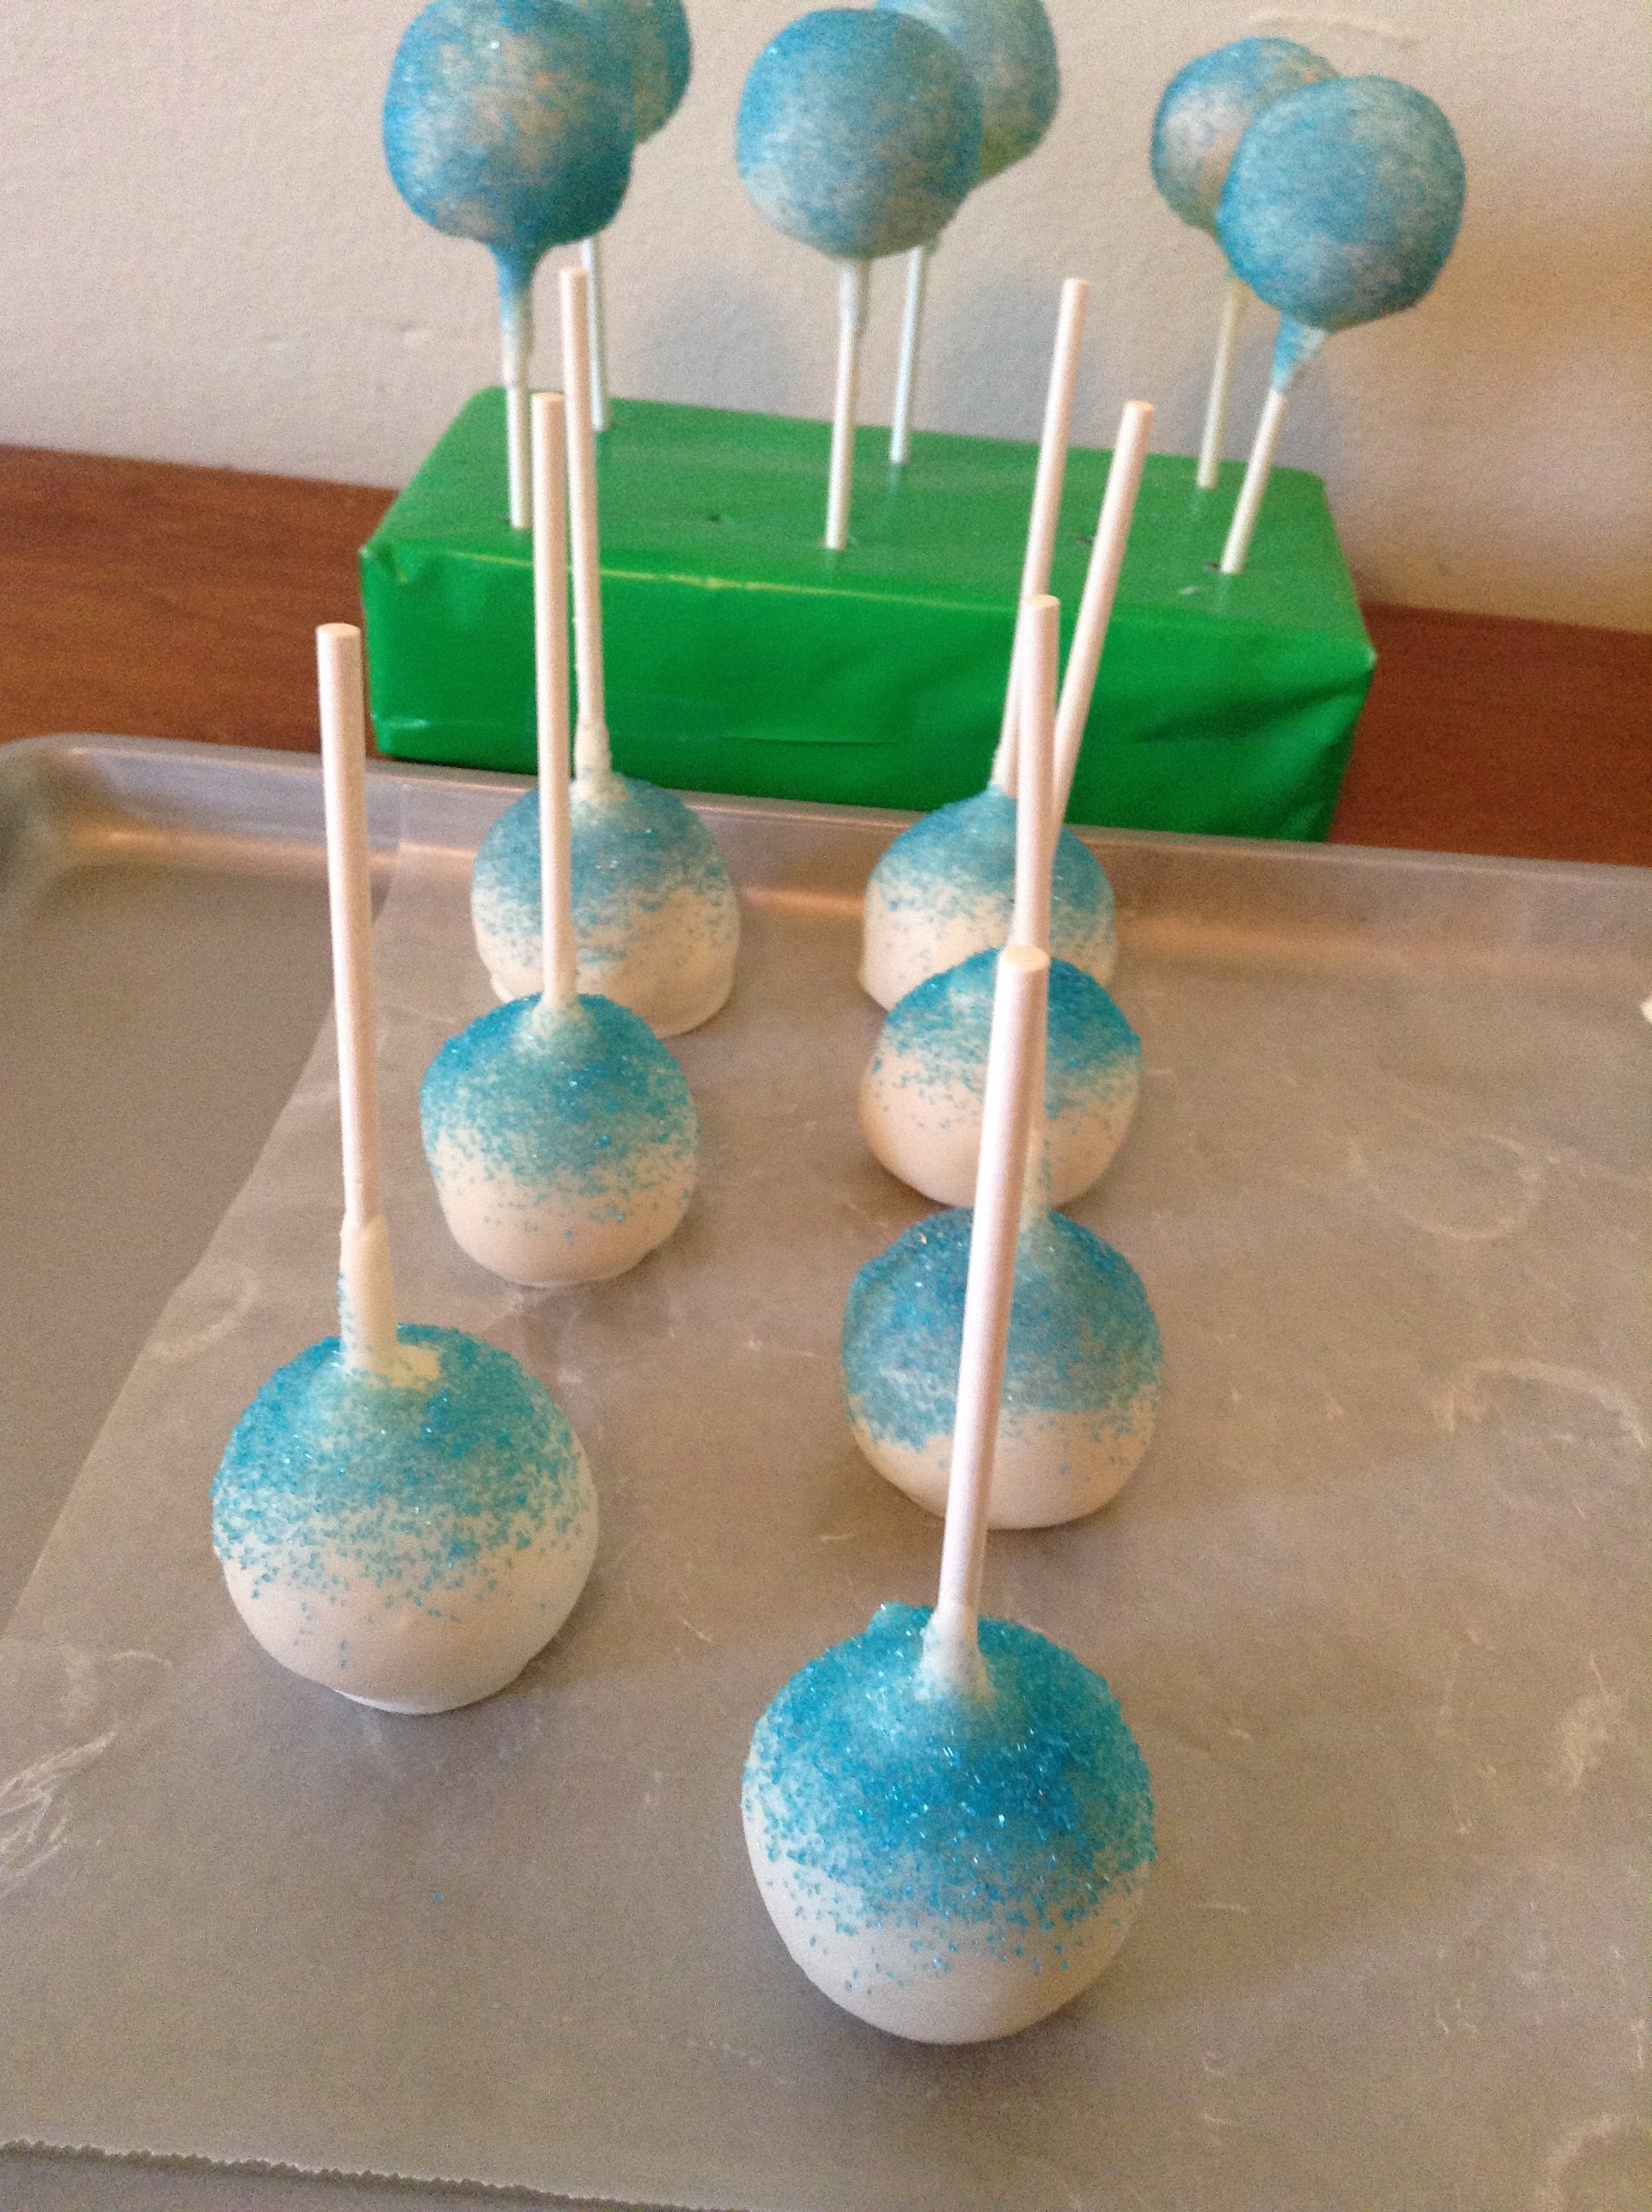
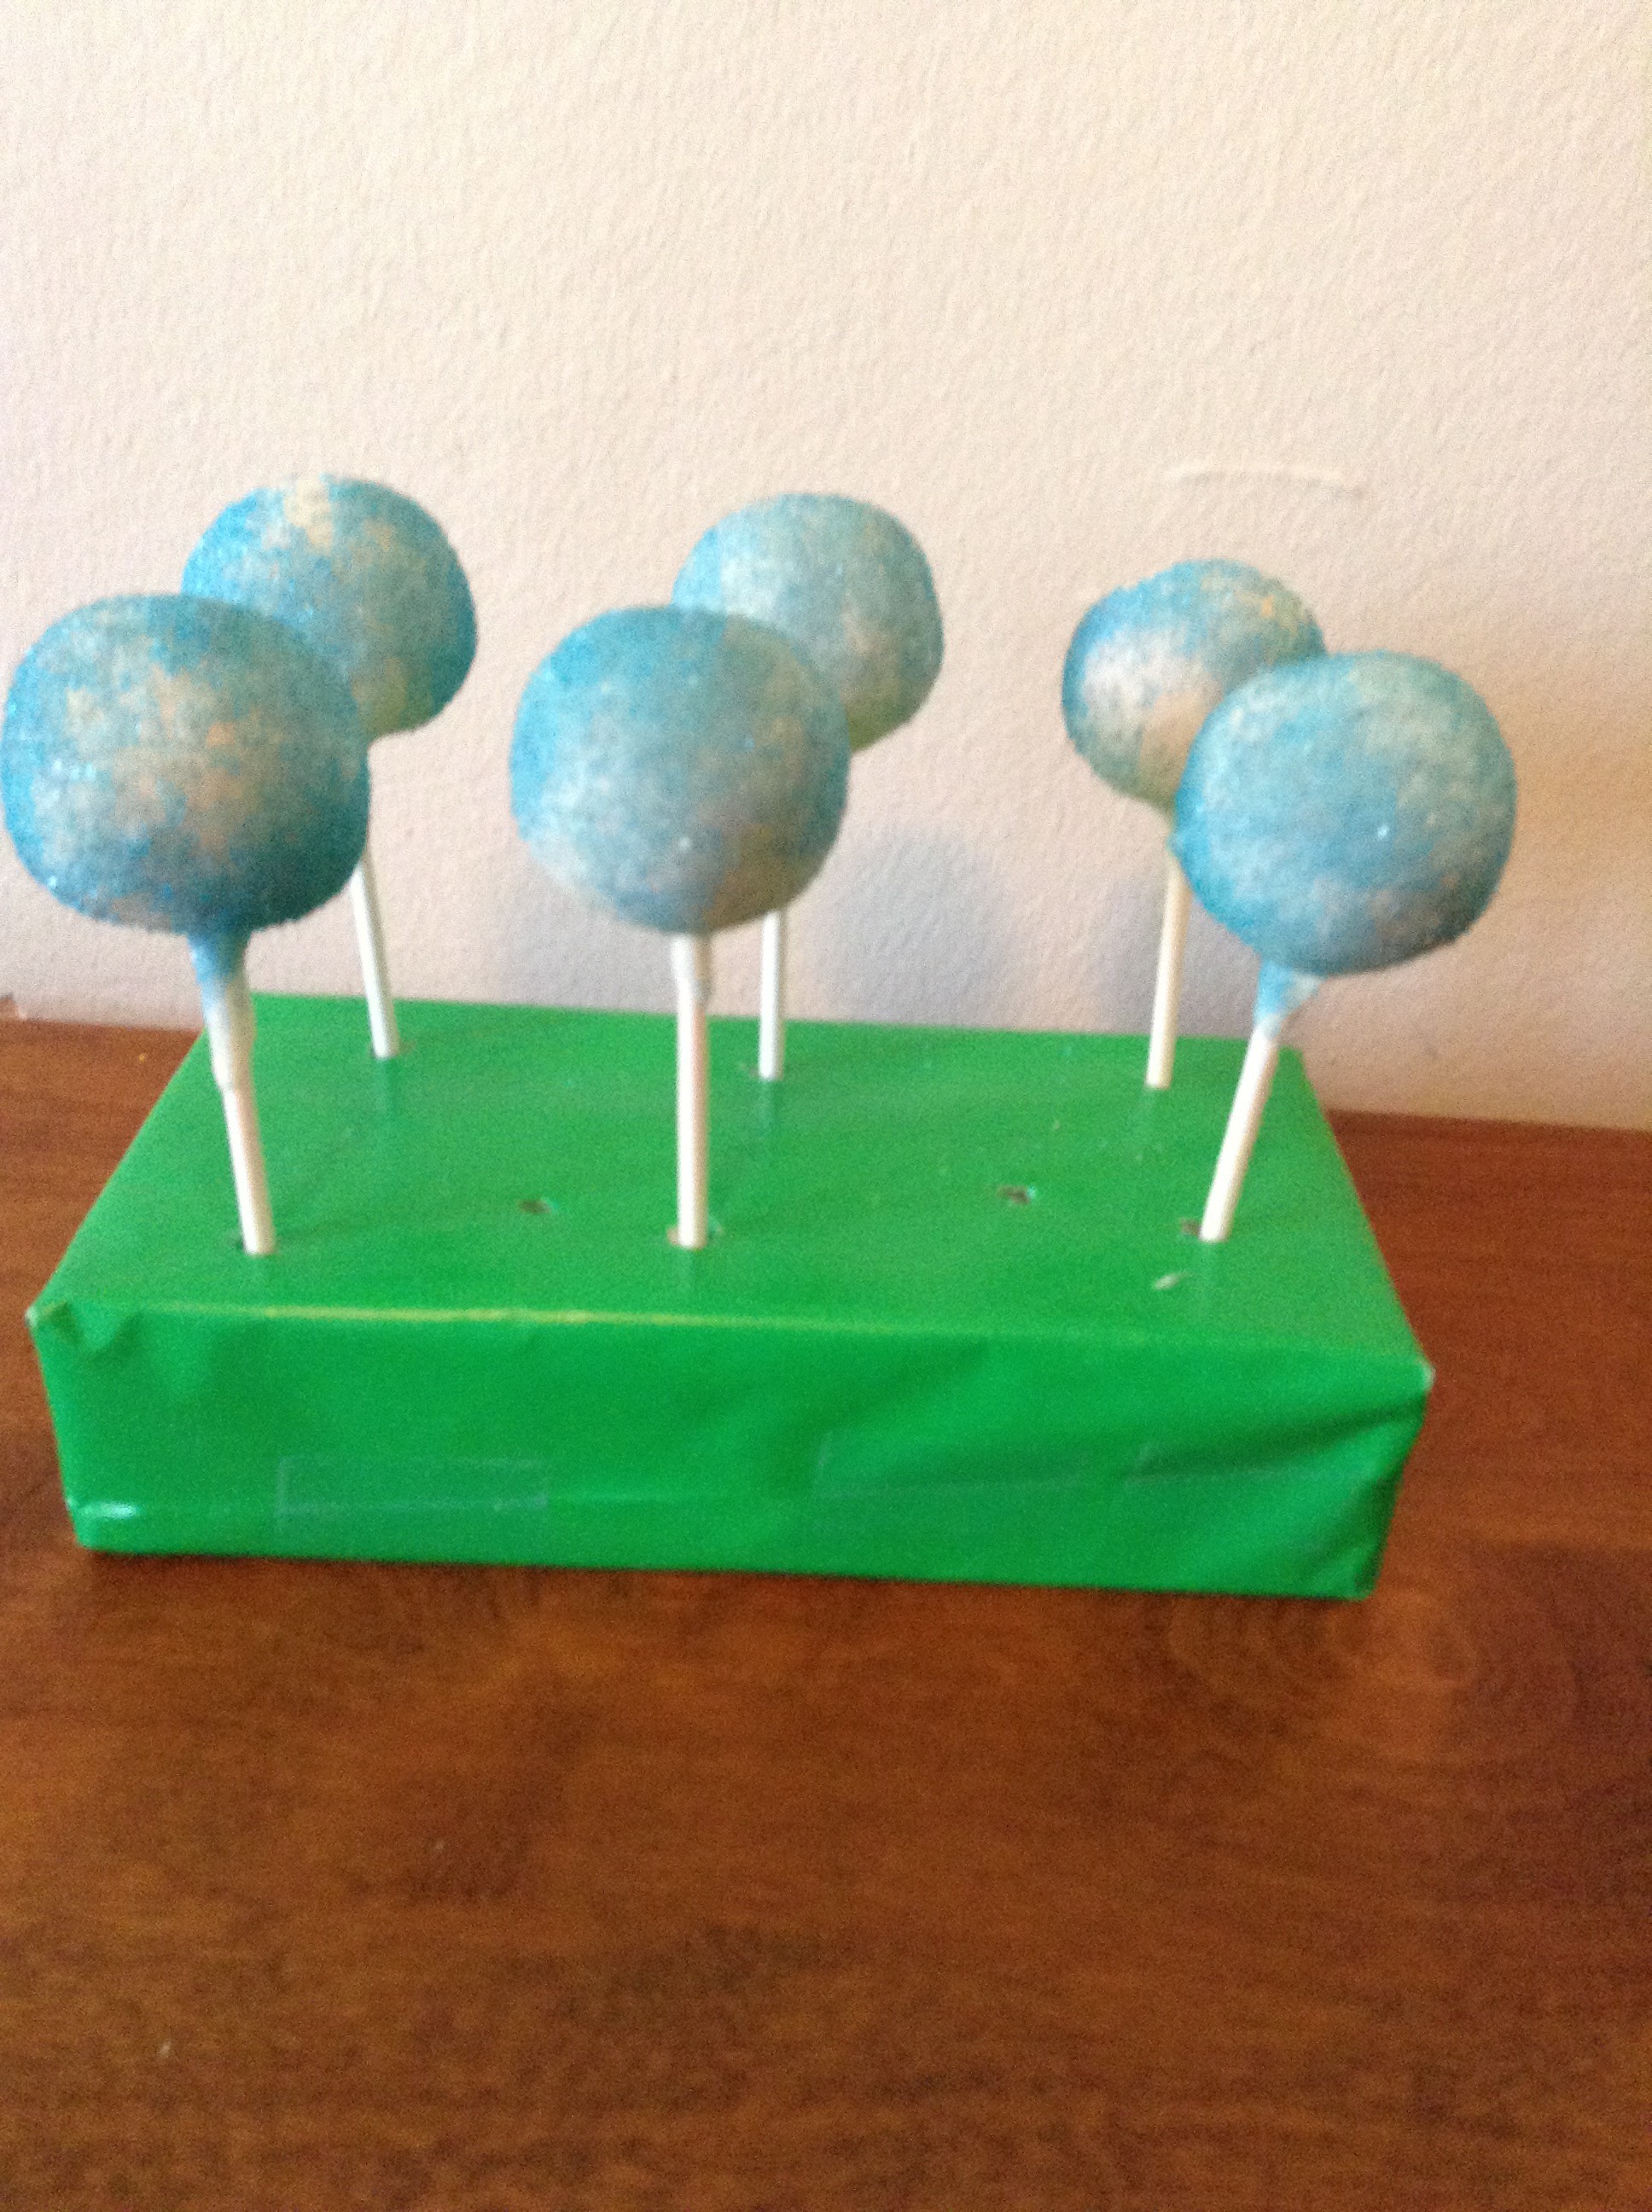
These are the supplies I use when dipping my cake pops. I have a make shift cake pop stand that I use when I want the cake pops to stand up. I got it at the dollar store, it is to use for flowers, but it works great for cake pops. I also have a Styrofoam rectangle covered in wrapping paper that I use as well. When I want the cake pops to be face down, I use a cookie sheet lined with wax paper.
Dip the end of a lollipop stick into the melted coating and then into a cake ball, gently pushing until the stick is about half way through the cake ball. Set your cake pops in the fridge to chill for dipping. (You can also turn your cake pop upright and set it in your Styrofoam block or cake pop stand.)
Dip each chilled cake pop straight down into the melted coating until the cake ball is completely covered and sealed. If you need to angle the cake pop, gently tilt it in one direction and then another. Resist the temptation to stir the coating with the cake pop. If you do, your cake pop may fall off of the stick into a candy coating abyss.
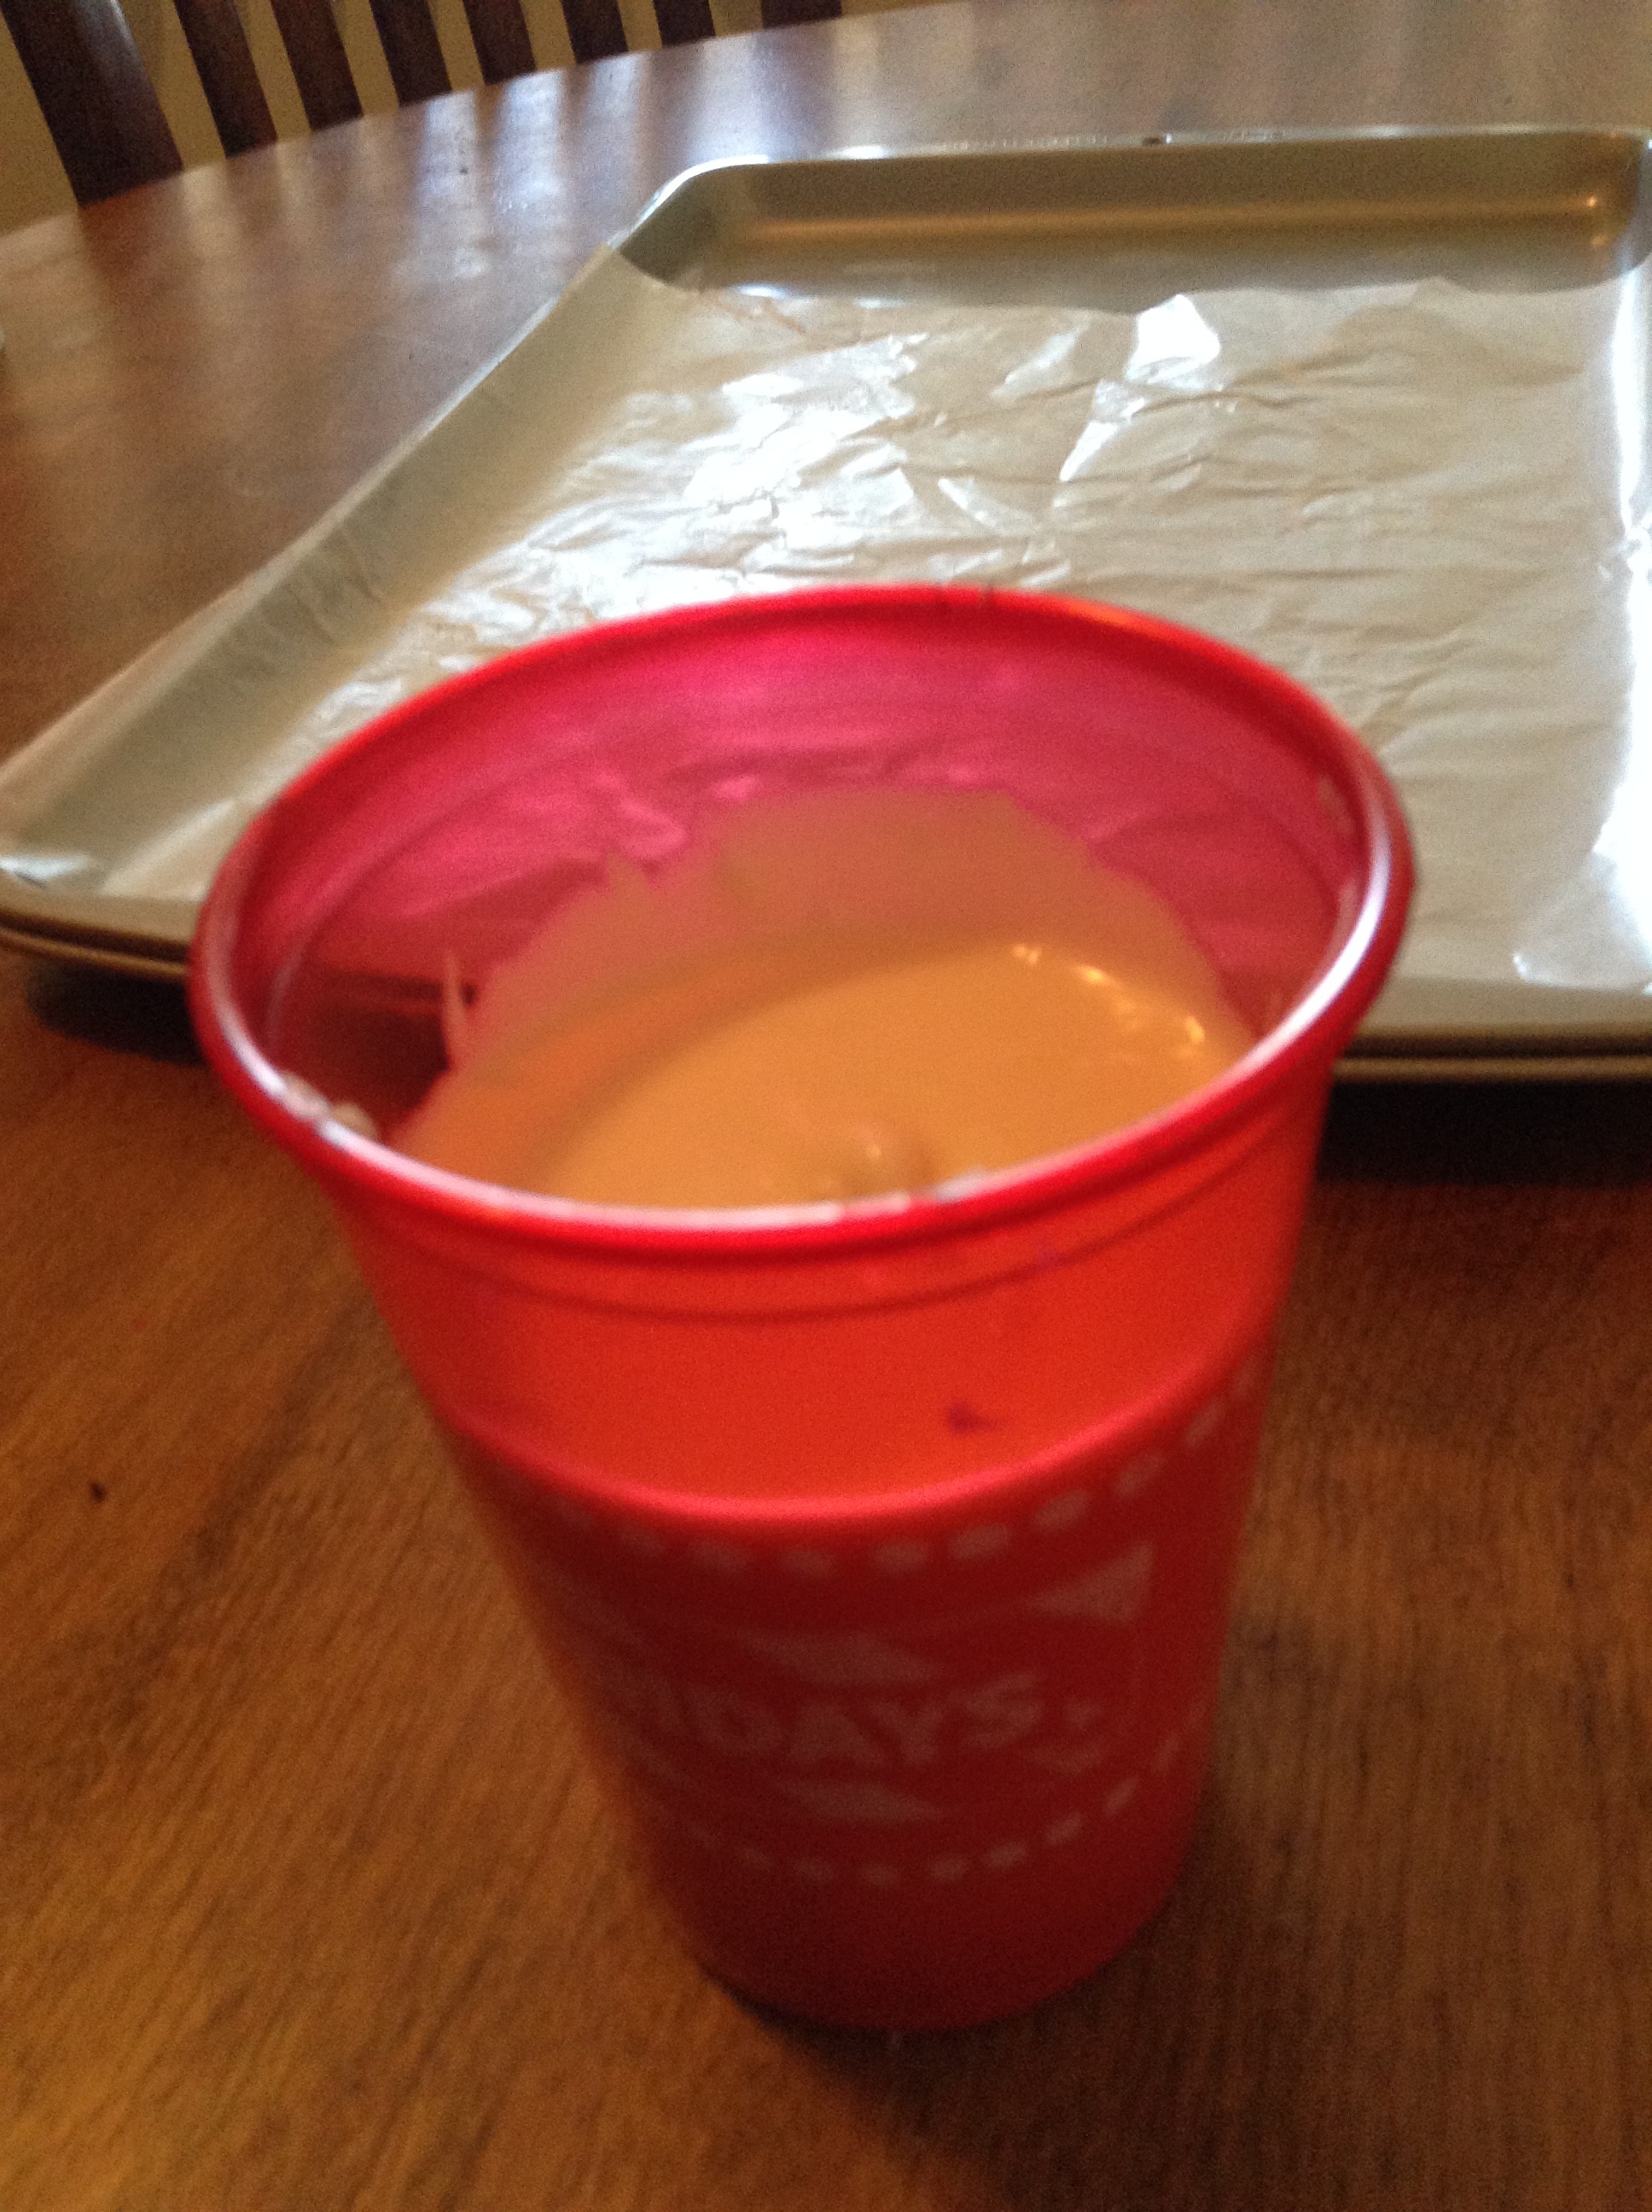
I always use a short cup to dip my cake pops in the chocolate. This works perfect for me.
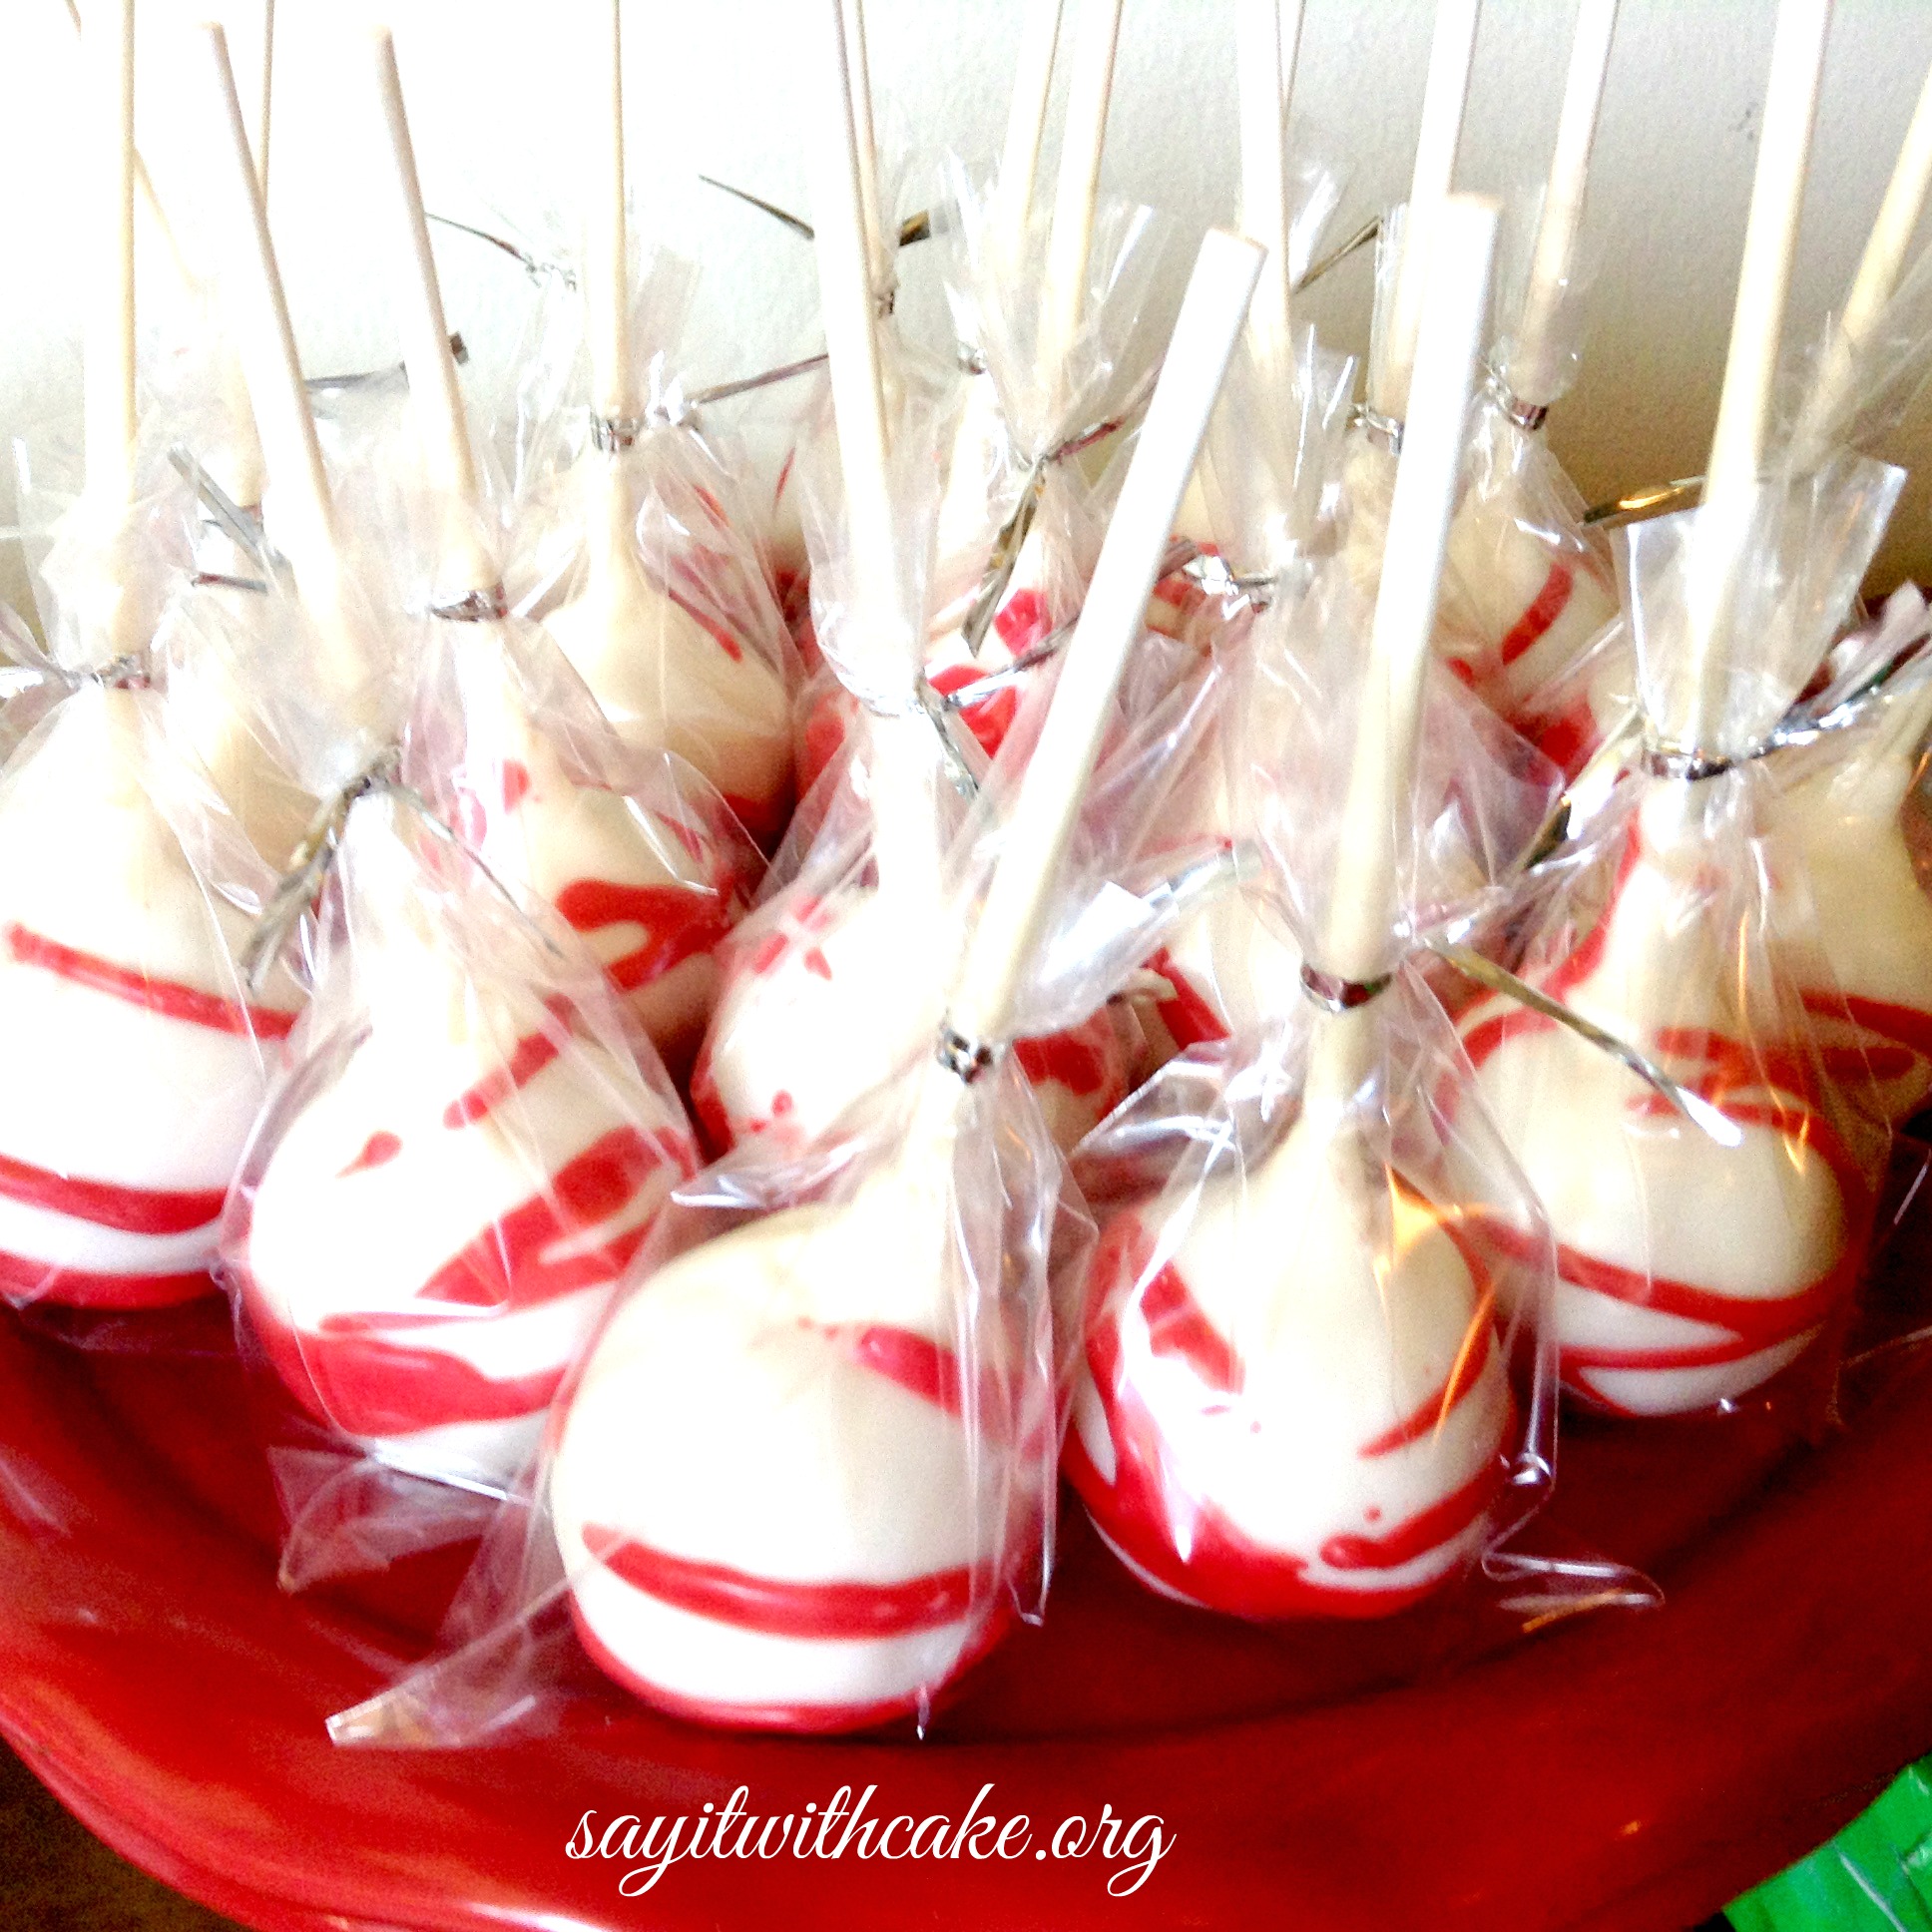
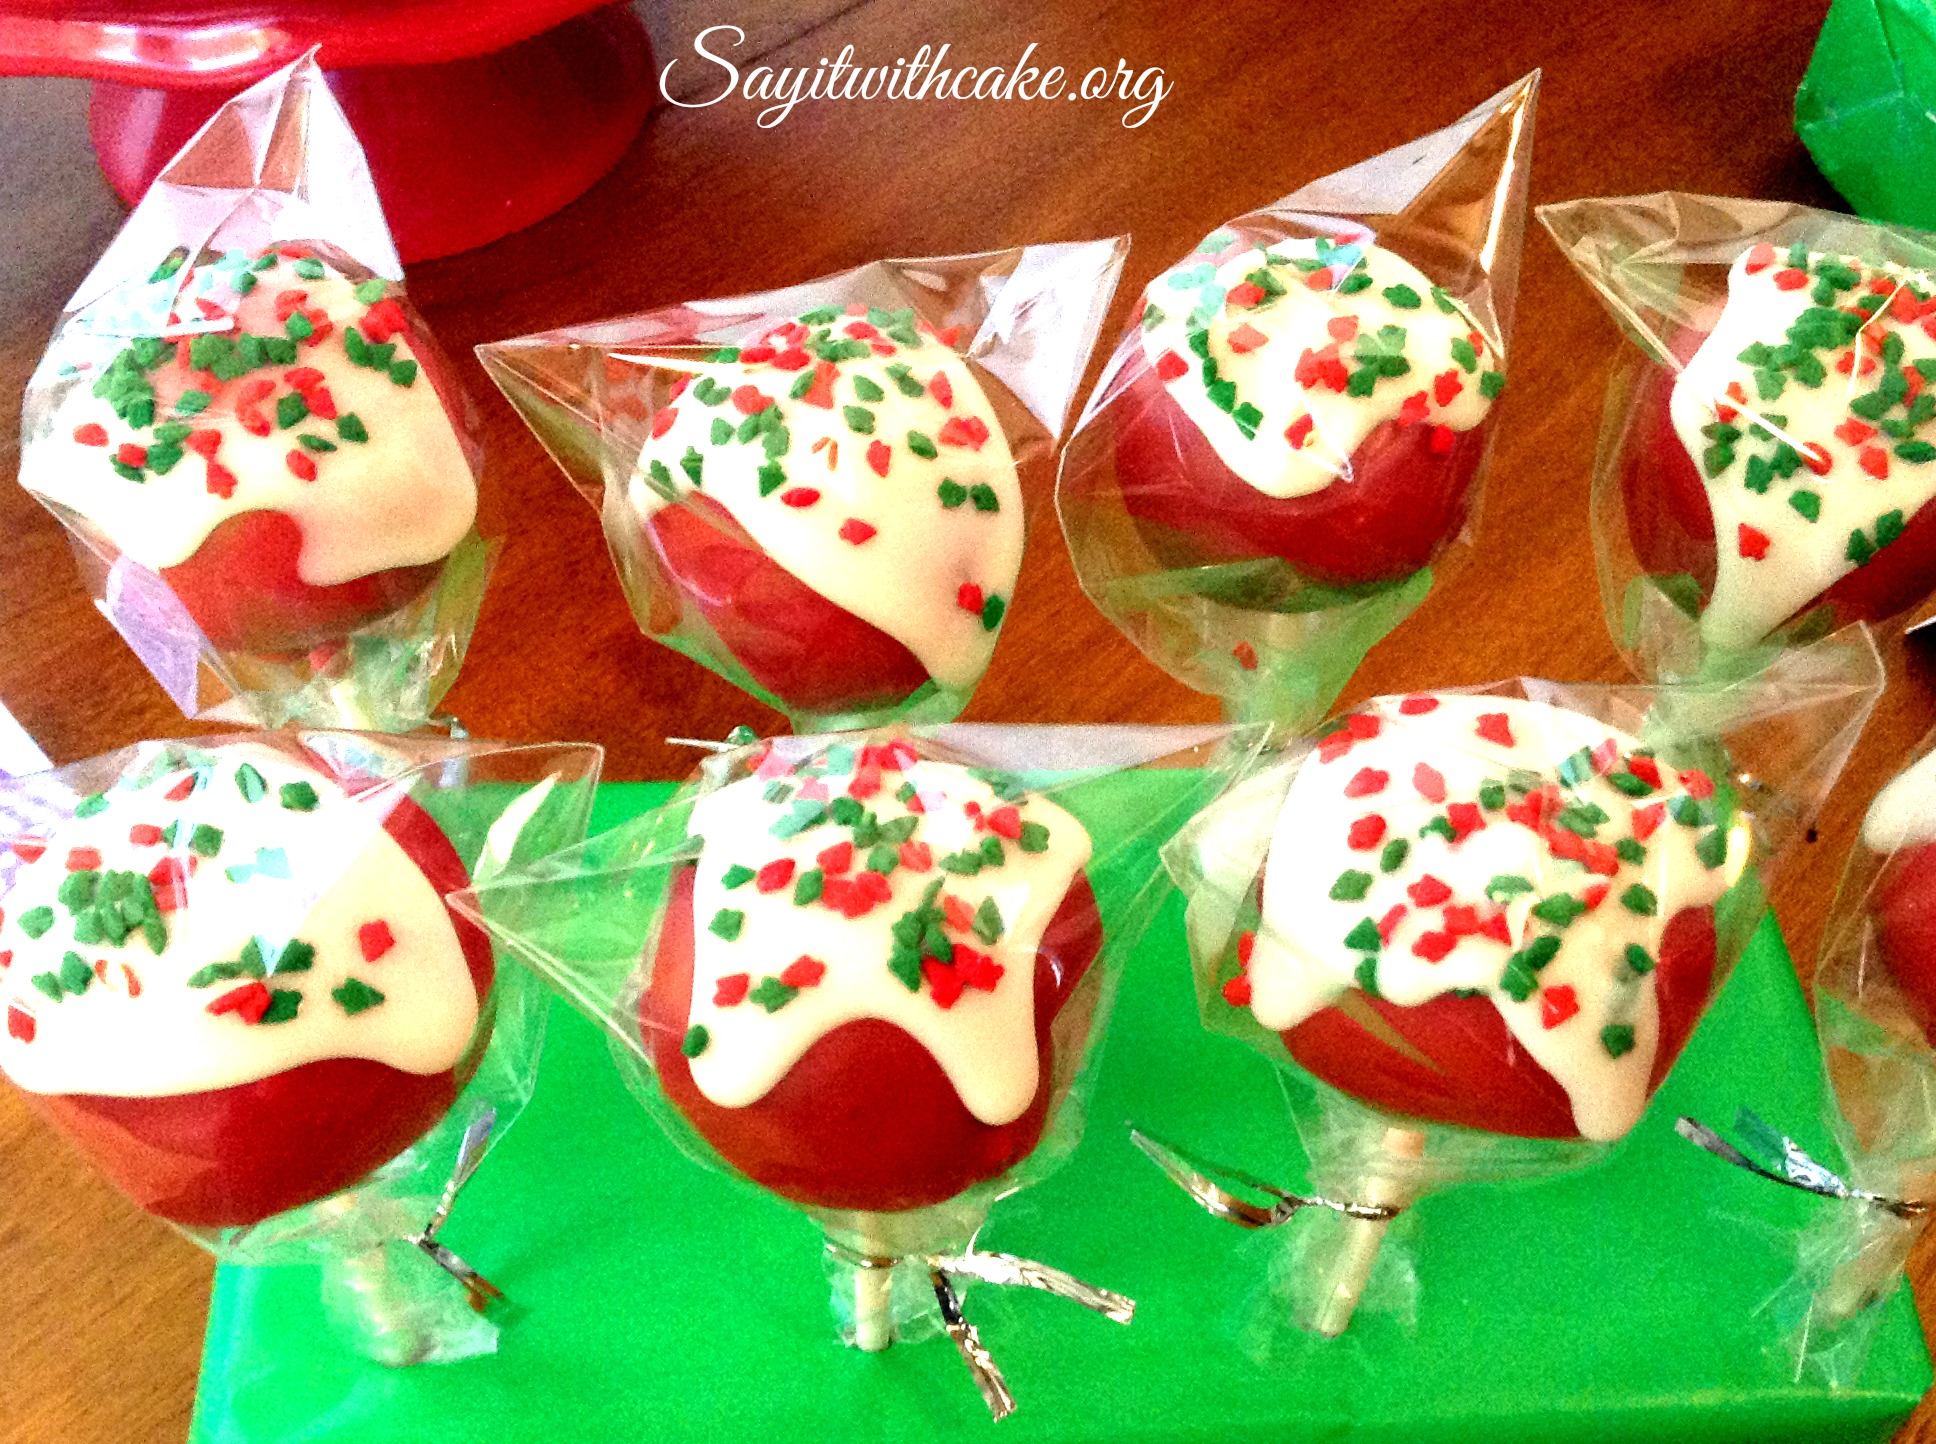
Reset your cake pops in your cake pop stand until the coating has hardened. Or while the coating is still wet use sprinkles, candies, or sugars to decorate your cake pops. Move the cake pop from the melted coating by pulling it straight up. Then, turn the cake pop at an angle and gently tap off any excess coating.
COMMON CAKE POP ISSUES AND PROBLEMS
This next section is advice I got from the greatest website Miss Candiquik
FALLS OFF THE STICK!
This can happen because of a few problems. I think the most common is thick coating and it is dragging your cake pop down. Again, smooth coating is one of the most (if not THE most) important parts of successful cake pops! Also, huge cake balls are heavy cake balls. So try to make them moderate size (1″ tall), use a spoon (small cookie dough scoop, coffee scoop, melon baller) or something to measure an even amount for each ball. Also, when I first started making cake balls I would use the whole container (16 oz) of frosting. Now, I start with adding 1/3 of the can and typically use up to 1/2 cup (8 oz) of frosting. You could probably get away with even less than that, but I found this amount is good for me and rolls out smooth.
Also, when dipping your cake pops: dip the stick in the coating first, then insert into the cake ball. Then, when dipping the cake pop make sure that you don’t bump the bottom of the cake ball on the bowl/cup. Finally, don’t swirl the cake pop around in the coating, just dip and get out!
MY CAKE BALLS/POPS ARE NOT SMOOTH!
This is probably the easiest problem to fix. It begins with baking your cake. Do not overbake – simple. Second, trim off the edges and (if your obsessed like I am) leave the bottom of the cake out too. Mix thoroughly with frosting. Thoroughly, as in: dig in(!) using your clean hands to mush the mixture of the cake and frosting together. Finally, roll, roll, roll. The smoother they look as uncoated cake balls, the better they will look when dipped. Voila.
Tip: use something to measure the amount of cake ‘dough’ you are rolling. I bought this coffee scoop at Target for $5 and it works awesome. Perfectly sized consistent cake balls, every time.
DANG CRACKS!
They look perfectly fine, then magically they look like they experienced an earthquake. Super frustrating! Typically, this is caused by the drastic difference in temperature of the coating and the cake ball itself – the coating is super hot and the cake balls are too cold; the cake ball expands and now you have cracks. While I do like to chill my cake pops in the fridge (sometimes freezer for a few minutes, but be careful – there is a fine line between keeping them firm to ensure they stay on the stick and too cold where they crack), make sure you pull them out before dipping and that your candy coating isn’t TOO hot (let it sit for a couple minutes after immediately heating). Think of it this way, you want to dip your cake pop in the warmest (while still being cool) condition you can, before it begins to soften and fall off the stick. This is the biggest challenge I have found with other cake poppers, sometimes – even with the perfect conditions – cracks happen.
My Cake Pops are LEAKING CAKE/OIL!
Some call it cake pop *poop*, which I think is a good word for it. After all, this was my initial reaction for it when I began making cake pops a couple years ago. This happens when the cake is pushing it’s way out of the coating through a weak spot, a tiny hole, or a bubble that resulted in a hole. Make sure you coat the entire cake ball in coating. This issue can also be caused by the cake ball and coating temperature difference – see the “cracks” problem. But in my opinion, leakage is better than cracks, so if you have a leak – pull the excess cake off and use a toothpick to seal up the hole with additional coating (luckily they usually occur near the stick/bottom so it shouldn’t be too obvious).
The cake can also be very oily, causing oils to seep out the coating and even down the lollipop stick. If this happens, remember, you can always substitute apple sauce or greek yogurt for oil in your cake recipe!
Also, using less frosting = less oil. And again, you can seal any holes up with a little candy coating. Despite all of that, I still have some cake pops that are oily and the stick literally absorbs the oil (could be the cake flavor/mix) and I’m fine with it, as long as they don’t crack/leak! Colored lollipop sticks would help hide any oil absorbed (these can be purchased online or at specialty cake supply stores).
AIR BUBBLES?!
Air bubbles happen. You can prevent this a lot of the time. Usually caused by stirring your chocolate too fast/vigorously. Create a smooth “spot” with the back of your spoon before dipping your cake pop, it helps drastically! Just run your spoon (in a back and forth motion) over the coating between dipping each cake pop. If you notice the air bubble immediately upon pulling your cake pop out of the coating, just give it a second dip immediately.
My coating is THICK & CLUMPY!
You may have scorched your coating. This is a very common issue and happens when the sugar particles become too hot, causing them to carmelize or scorch. When using the microwave, be sure to follow the instructions and heat the entire block of CandiQuik for an initial 60 seconds, then stir very well and heat in 15 second intervals. If using less, adjust the microwave times accordingly. And remember, you can’t go backwards if you scorch your coating, so it’s better to start off slow. Of course, microwaves can heat unevenly and cause hot spots, so stirring constantly in between heating and using short intervals will help this. If melting on the stovetop, make sure you have the burner on low heat and stir constantly.
And of course, I suggest using CandiQuik Candy Coatings. I don’t have to add anything to thin it out and I get a nice, smooth, palatable, thin shell of coating (versus a thick, gloppy mouth full of thick sugar particles).
*If you experience the coating is thicker than normal (commonly caused by humidity/climate), add a teaspoon-tablespoon of solid vegetable shortening (ex: Crisco) to the melted (16 oz) coating. Begin by adding a little and add more if needed.
*Also, if you see just a tiny section that has burned/scorched/became too hot, I have been able to save the rest of the coating by carefully scooping out all of the coating that was burned! Simply spoon it out and allow the rest of the coating to cool slightly, then continue heating in short time intervals. This is usually a microwave heating the coating unevenly.
My Coating is DRYING TOO FAST!
This is usually caused by overheating. See the tip above on thick/clumpy coating. However, whenever I have added oil or powder based food colorings (the only kind to use with candy coatings), it simply dries faster. I cannot explain this, but it just means you have to work faster! It can be good in the case that you don’t have to wait so long when tapping the excess coating off, but it can be hard when making character pops. Also, whenever adding a lot of coloring to your CandiQuik, I add a little Crisco to the coating as well; some brands of the oil based food colors cause it to become slightly thicker than normal. And the more coloring you are adding (for deeper colors), I would recommend adding Crisco as well.
*I recommend oil versus powdered food colors if you have the option. I have had issues with the powders leaving little specks in the coating.
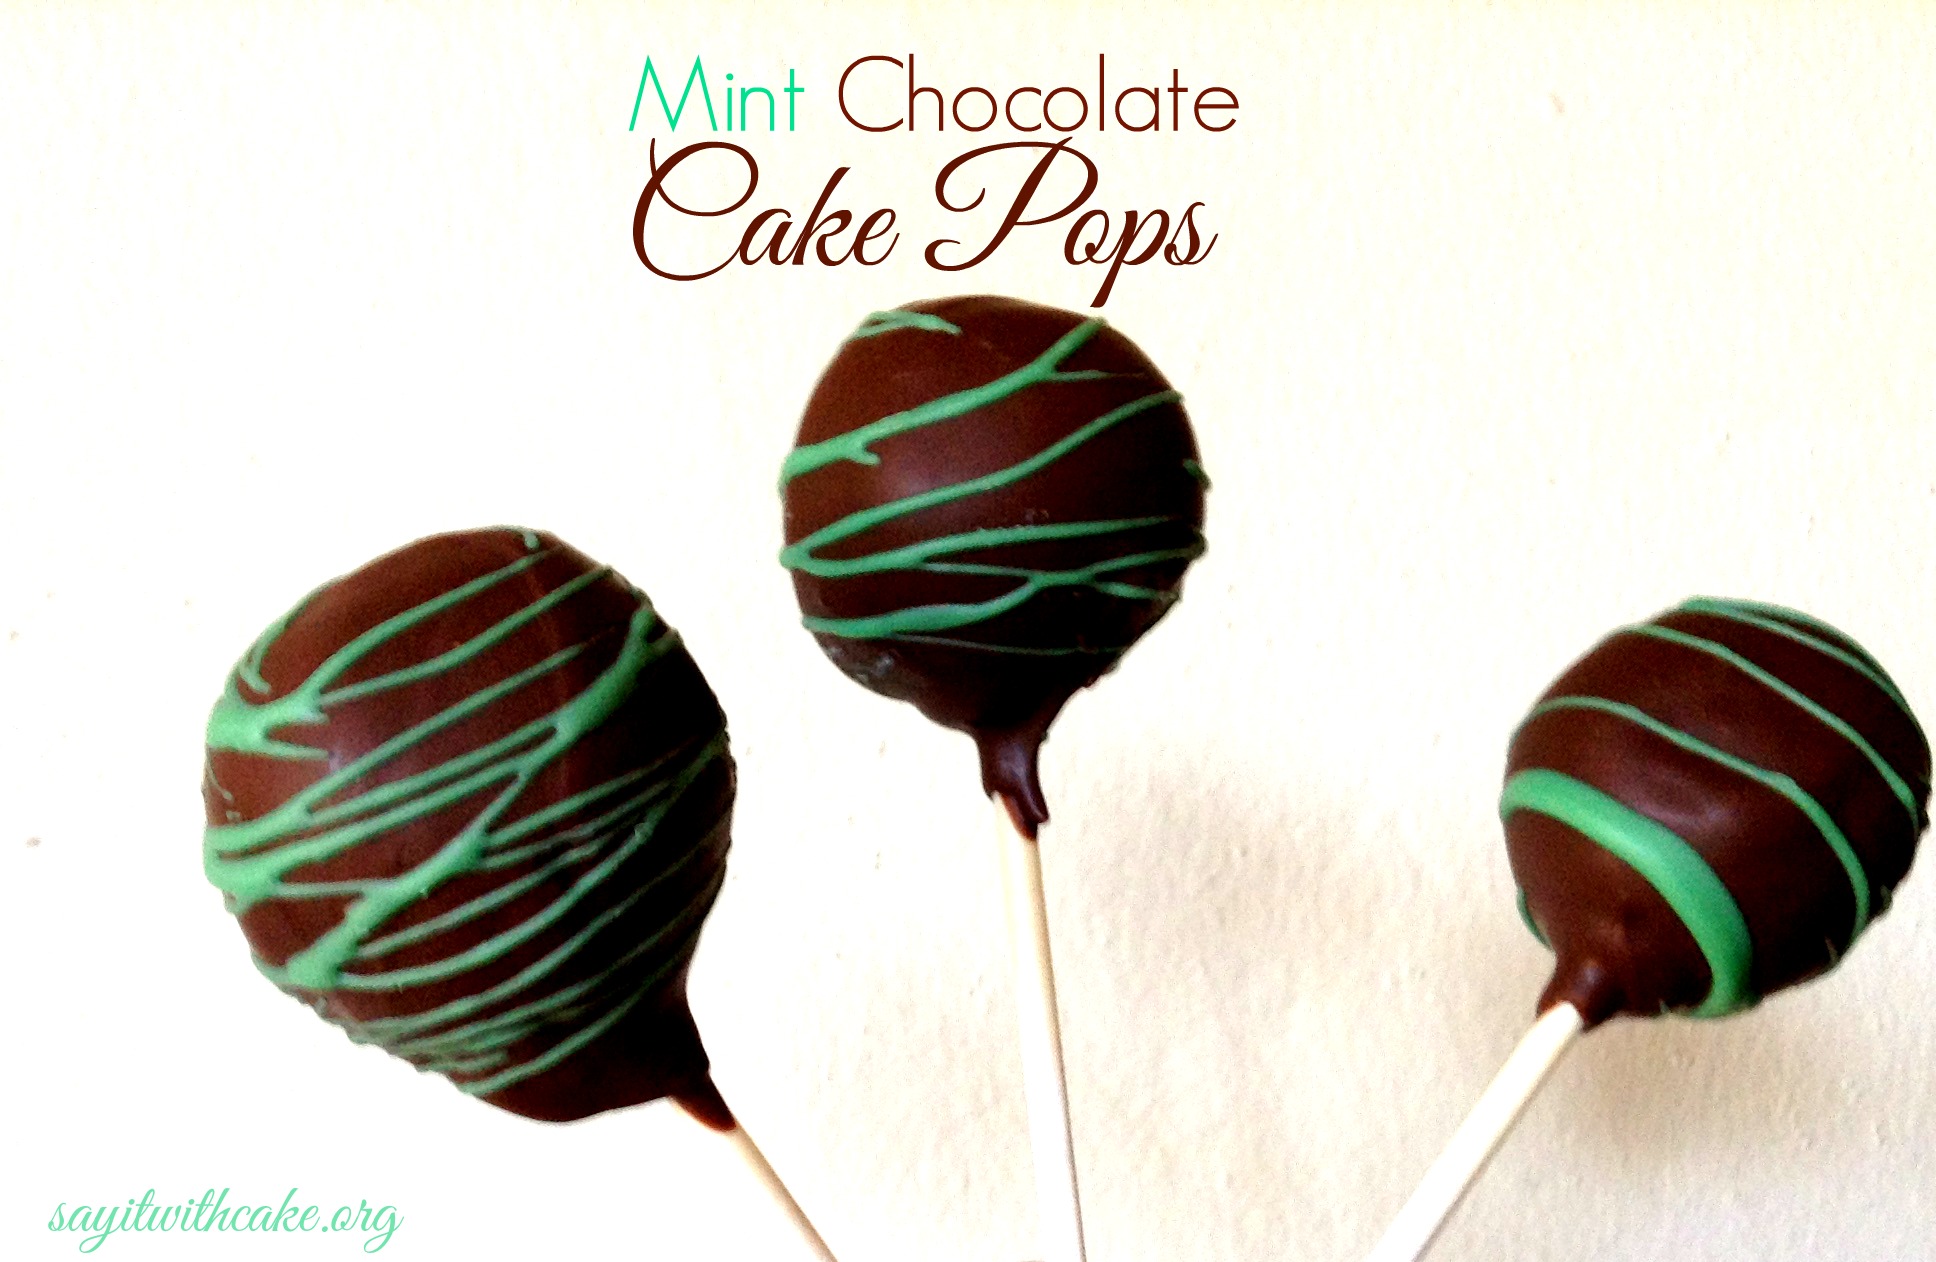
to make mint cake pops, add peppermint oil to candy coating.