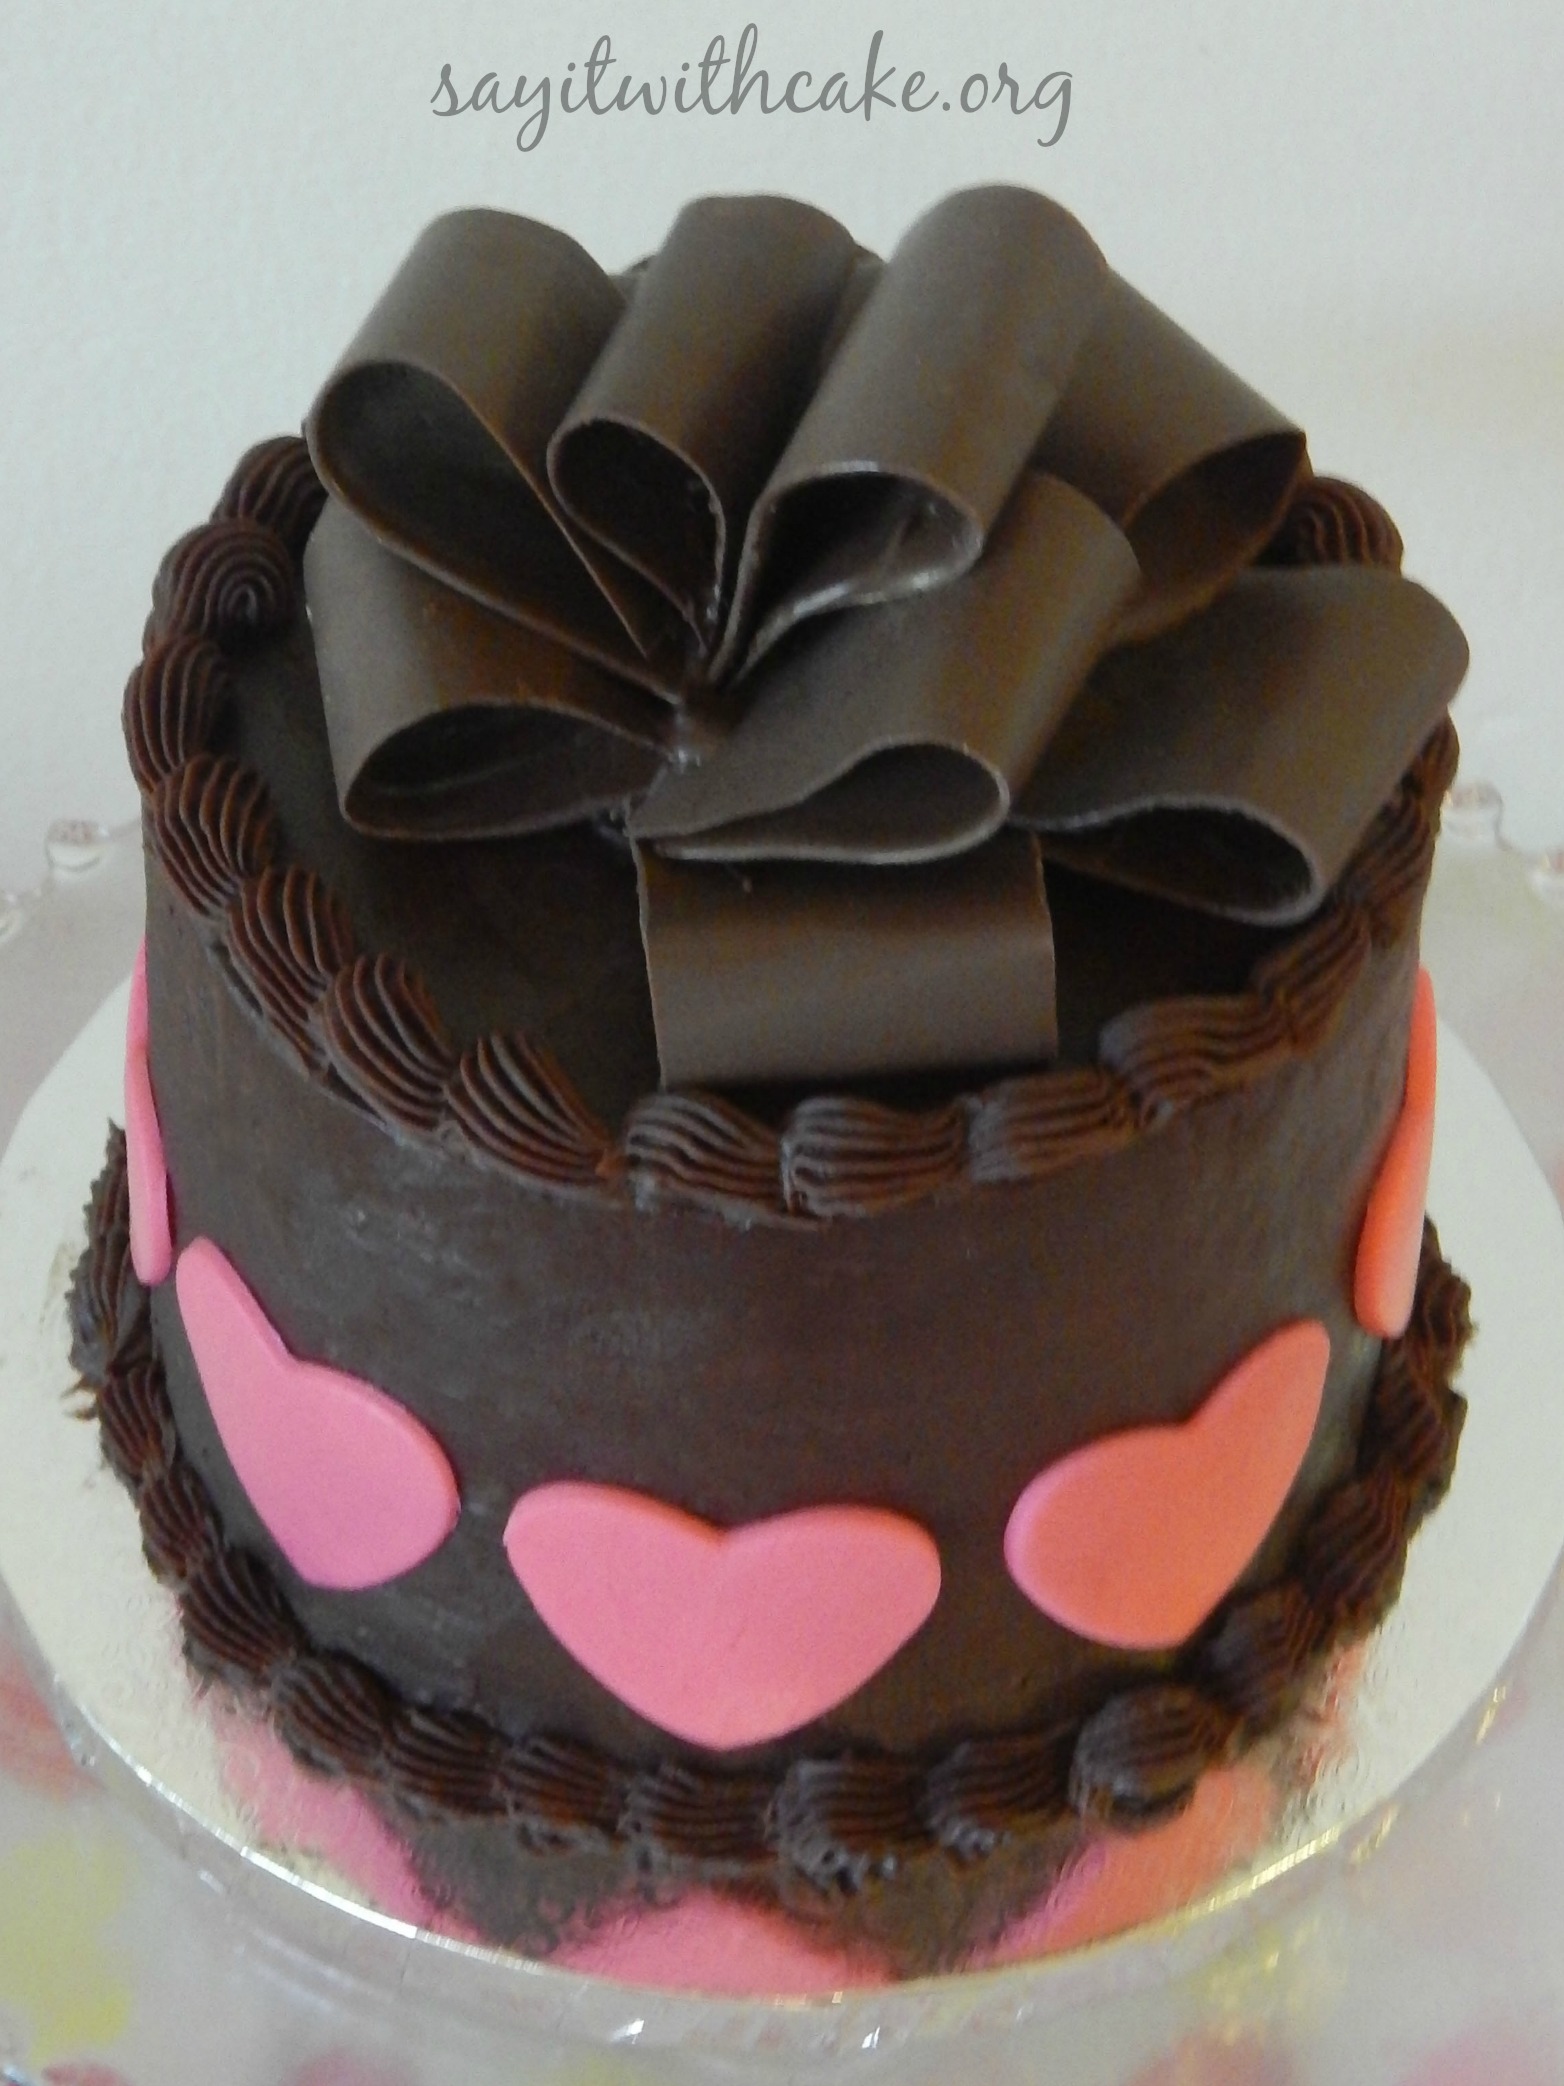
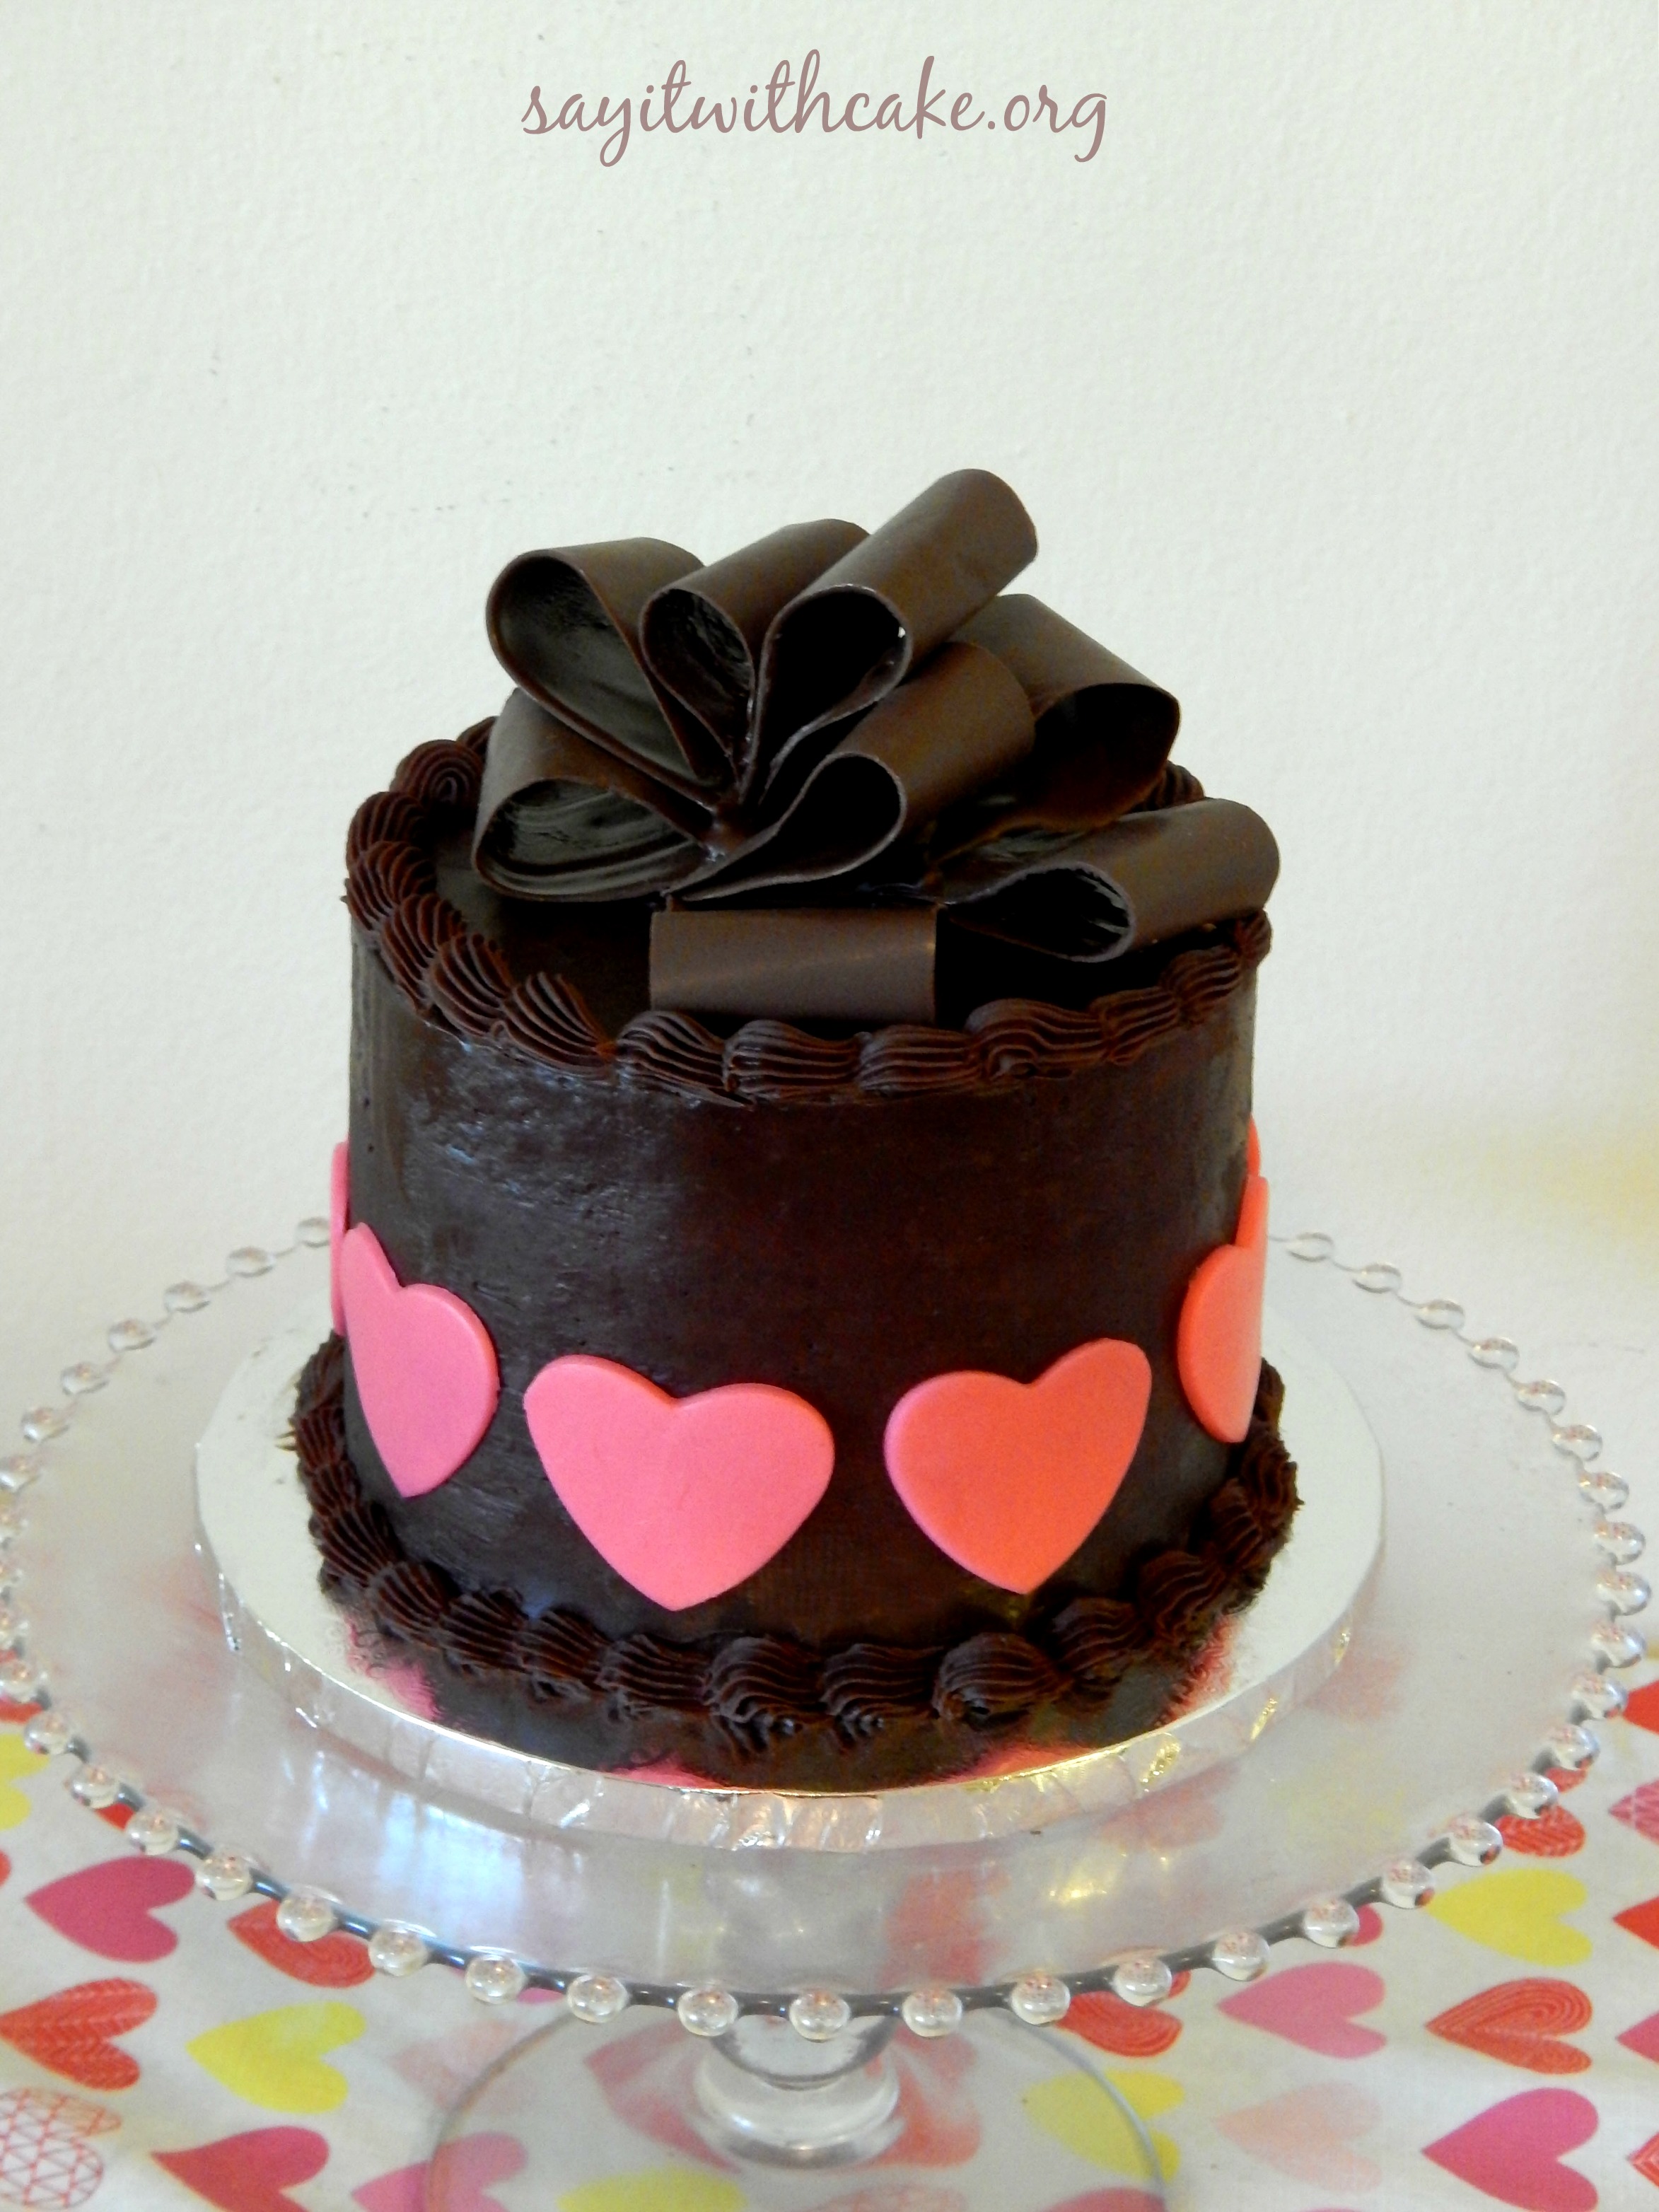 For me, Valentines Day is all about chocolate! I love all kinds of chocolate, dark chocolate, milk chocolate, white chocolate….and I love getting chocolate for Valentines Day. The great thing about this cake is that it is pure chocolate, including the bow! This cake is a rich dark chocolate cake, with chocolate mousse filling, and a chocolate ganache frosting….a dream for a chocoholic like me!
I tried to make a replica of a beautiful cake I found here at Sweet Dreams, and she has an awesome tutorial on how to make chocolate bows! I will definitely try this bow again and hope it turns out more like hers!
The bow can be made ahead of time and stored in a dry, cool place until you are ready to place it on your cake. Don’t store it in the refrigerator, though, or condensation could form on it and ruin it.
The only supplies you will really need for this project are freezer paper ( I actually used wax paper because I couldn’t find freezer paper and it worked fine), one and a half bags of candy melts
(I prefer to use Candyquick, it melts perfectly in the microwave), an offset spatula
and wax paper
.
Making the chocolate bow (From Sweetdreamscakeapp.com)
Step 1: Determine Size
You need to first figure out how big you want your bow. I wanted to place mine on an 8-inch cake and wanted it slightly smaller than the cake so I chose to go with a 7-inch bow.
Step 2: Cut Out Freezer Paper Strips
You will need around 10-12 strips that are 1 1/4” wide and the same length as your desired bow. In my case, these were 7” strips. You will also need around 5 or 6 strips that are also 1 1/4” wide but one inch shorter than your other strips. In my case these were 6” long. I always make a few extra strips of both sizes because I usually have some break.
Take a sheet of freezer paper and use a ruler to draw out the measured strips on the paper side. Don’t worry, the chocolate will be placed on the waxed side so it won’t touch any of your ink.
Cut out all of your strips.
Step 3: Melt Chocolate
There are several ways to melt chocolate. My favorite is in a melting pot. I like melting pots because they melt it slowly and evenly and then allow you to keep it warm while using. If you don’t have a melting pot then I would recommend melting it in a double boiler
or in a bowl placed over a pot of simmering water that has been removed from the heat. You can also melt it in a microwave but I don’t personally like this method because I always seem to overheat chocolate and ruin it when I do it that way. Whichever way you choose, be sure to stir it as it melts to keep it melting evenly.
While the chocolate is melting, prepare a baking sheet by placing a piece of wax paper on it and keeping it near your work area.
Step 4: Cover Strip in Chocolate
Cover your work area with wax paper then lay a freezer paper strip on it and pour some melted chocolate on the strip.
Use an offset spatula to spread the chocolate over the entire strip. Try to use one sweeping motion each way to keep from getting ripples in your chocolate. If your chocolate is too thin, just pour a little more on top and spread it again.
Use the spatula to lift the edge of the freezer paper and lift up the strip.
Step 5: Clean Edges
Hold the very top of the strip with your fingers and use the fingers of your opposite hand to slide down the edges of the strip and clean off any chocolate that has run over the edge. You wilLay the cleaned strip down on the wax paper covered baking sheet.l want to keep a damp rag next to you because you will be constantly cleaning chocolate off your hands.
While it sets up, use your spatula to scrape up the excess chocolate and add it back to your bowl of melted chocolate.Lay the cleaned strip down on the wax paper covered baking sheet.
Step 6: Make Loop
Now this is the part that may take a little practice. You need to allow the chocolate strip to set just long enough that it is no longer runny but not too long or it will be too stiff to bend and will break on you. This is also the point where it starts to lose its shine. For me, this was about a minute. You will have to experiment because your levels of humidity, room temperature, and the temperature of your chocolate can all affect the drying time. If you let it set too long and it breaks, don’t worry, you can just allow it to dry a few more minutes then peel it all off of the freezer paper and melt it back in your bowl of chocolate. The freezer paper can be wiped off with a paper towel and used again.
When the chocolate is at the setting point, carefully pick up the strip, bend it, and attach the two ends together. They will stick to each other without any needed adhesive.
If you want it flatter, attach more of the ends together and lay it flat on the wax paper. I like to make at least 6 of the larger strips flatter since they will be the bottom loops.
After all the strips are covered, place the baking sheet in the refrigerator for about 15 minutes to allow the chocolate to firm up completely.
Step 7: Remove Freezer Paper
Remove the loops from the refrigerator and then carefully peel the freezer paper off of each one. It helps to wear light cotton gloves while doing this, to keep from getting finger prints on your chocolate, but I forgot to do that.
Step 8: Assemble Bow
Now to assemble the loops and create the bow. Lay out a clean sheet of wax paper on a baking sheet and melt some more chocolate. I like to pour my chocolate into a squeeze bottle for this part but you can also put it in a decorating bag
with a #4 round tip
or just carefully use a spoon.
Squeeze out a mound of melted chocolate on the wax paper.
Place two of the flatter loops directly across from each other with their ends settled in the chocolate.
Squeeze some more melted chocolate on top of the ends and then attach two more loops.
You will notice that I have a slight crack in one of the loops but I wasn’t too concerned because I knew it would be covered by other loops.
Continue evenly spacing the loops so that you have six loops going around in a circle.
Now add melted chocolate to the end of another large loop and gently lay it on top of the bottom row of loops, trying to space in between loops. Add 3 or 4 more large loops the same way.
If needed, squeeze melted chocolate in the middle or on to ends to make sure it all adheres.
Now squeeze some more melted chocolate in the center of the bow and start attaching the smaller loops. You may have to carefully move them around or tilt them a bit to fit them in. You may not need all of your loops, just use as many as you need to make it as full as you want without cracking them to fit them all in.
The final loop will go straight up in the center of the bow.
Step 9: Refrigerate
When the bow is completely assembled, place the baking sheet in the refrigerator for about 15 minutes to allow the chocolate to harden completely. Remove and store in a cool, dry place.
Once your cake is made and you are ready for the bow, use a turner and slide it under the bow, releasing the chocolate from the waxed paper, and carefully lift. You can either just lay it directly on top of the cake or you can add a small mound of icing on top of the cake and adhere it to the icing.
My cake is a six inch cake so my bow was only 5 inches. Next time I want to try a 7 inch bow, it looks fuller. I hope you have a chance to make this bow it is so pretty! Here is the recipes I use for my chocolate cake.
Ingredients
- •12 ounces chocolate, chopped into small pieces
- •1 cup heavy cream
- •optional 3 tablespoons flavored liqueor
Instructions
- 1.Place chocolate pieces in a large bowl. Heat heavy cream on medium high until it comes to a boil. Remove from heat and immediately pour cream over chocolate and stir until completely mixed and glossy. Allow ganache to cool before pouring over cakes as a glaze. The longer you allow the ganache to cool, the thicker it will set. Typically I stick mine in the refrigerator so it is slightly cold before whipping. For piping or frosting, allow the ganache to completely cool and set up. When you are able to spoon the ganache and it can hold its texture, it is ready for piping.
Chocolate Cake recipe Here
Chocolate Mousse Recipe Here
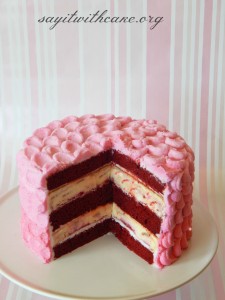
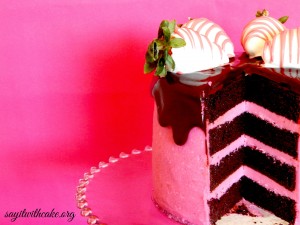
Other Valentines Day Recipe’s you might like

Wonderful article! We will be linking to this particularly great article on our site.
Keep up the good writing.